Other – Installation and deployment of one of the best ticketing systems

I leave you this document for those who need to deploy OTRS5, one of the best Open Source ticketing systems! If you are looking for a solution to manage your business incidents, You may be interested 😉 in In a couple of documents that I will publish, we will see the installation and configuration of OTRS to leave a fully functional Support department.

What I said, with OTRS we will be able to create a system of attention to our users, Managing each incident with a ticket, where we can see the tracking, Times, Scaled, Problems and solutions! We can also integrate it with the email and when they send us an email, an incident is generated directly, We may use satisfaction survey systems if we are interested, an internal knowledge KB where we can create our own solution documents… all from a customizable web portal!

We start from the fact that we already have a Linux computer that will act as an OTRS server, in my case I will choose a Debian Jessie 8.7 64-bit, that we will have fully updated and with a static IP address already configured, registered in our DNS… Bah come on, to install the prerequisites for you, Logged in like root:
[SourceCode]
apt-get install libapache2-mod-perl2 libdbd-mysql-perl libtimedate-perl libnet-dns-perl libnet-ldap-perl libbio-socket-ssl-perl libpdf-api2-perl libdbd-mysql-perl libsoap-lite-perl libgd-text-perl libtext-csv-xs-perl libjson-xs-perl libgd-graph-perl libapache-dbi-perl libxml-libxml-perl libxml-xslt-perl
[/SourceCode]
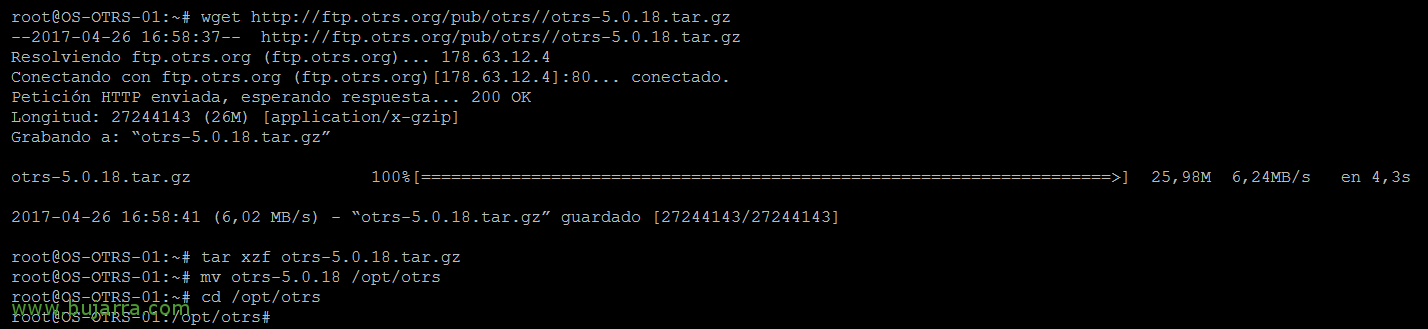
We unload OTRS, We search for the latest version in http://ftp.otrs.org/pub/otrs/ and we execute:
[SourceCode]
WGET HTTP://ftp.otrs.org/pub/otrs//otrs-5.0.18.tar.gz
tar, laugh out loud otrs-5.0.18.tar.gz
MV OTRS-5.0.18 /OPT/OTRS
cd /opt/others
[/SourceCode]

We must choose a database system, in this document we will rely on MySQL, therefore, We check if we have all the necessary dependencies, with:
[SourceCode]
perl /opt/otrs/bin/otrs. CheckModules.pl
[/SourceCode]
And we install the components that we have pending, in addition to the DB system that we will use, Be:
[SourceCode]
apt-get install -y libarchive-zip-perl libcrypt-eksblowfish-perl libdbd-odbc-perl libmail-imapclient-perl libtemplate-perl libxml-libxslt-perl libyaml-libyaml-perl
[/SourceCode]
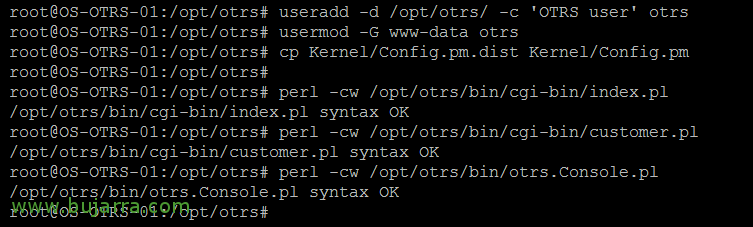
We create a user that will run other, In this example we will use 'other’ as a username as well, We set your home, We add you to the www-data group, We copy the configuration file and check if we have the modules installed:
[SourceCode]
useradd -d /opt/otrs/ -c 'OTRS user’ Another
usermod -G www-data otrs
cp kernel/config.pm.dist kernel/config.pm
perl -cw /opt/otrs/bin/cgi-bin/index.pl
perl -cw /opt/otrs/bin/cgi-bin/customer.pl
perl -cw /opt/otrs/bin/otrs. Console.pl
[/SourceCode]
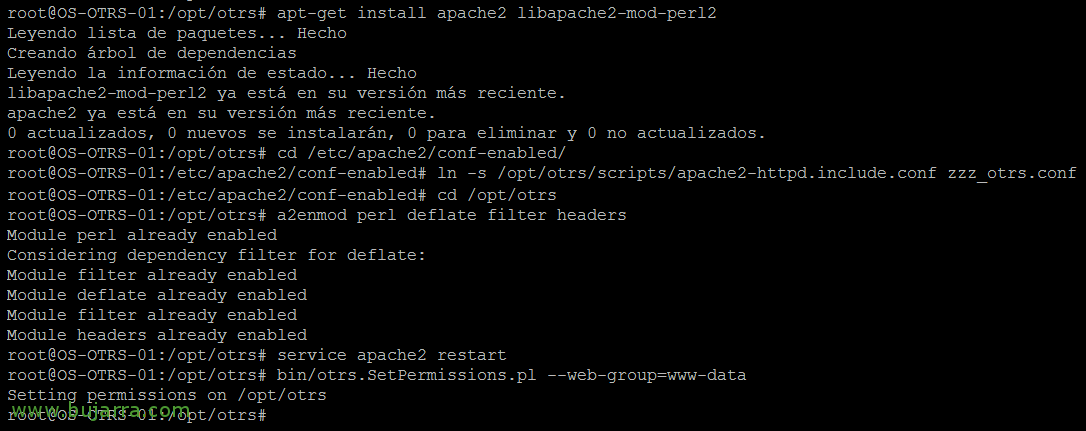
Now we continue installing Apache and create a configuration file for it, in addition to enabling some modules and correcting permissions:
[SourceCode]
apt-get install apache2 libapache2-mod-perl2 -y
cd /etc/apache2/conf-enabled/
ln -s /opt/otrs/scripts/apache2-httpd.include.conf zzz_otrs.conf
cd /opt/others
A2Enmod Perl Version Deflate Filter Headers
Service Apache2 Restart
bin/otrs. SetPermissions.pl –web-group=www-data
[/SourceCode]

We proceed by installing MySQL, But we'll need the version 5.6, since the MySQL that we can currently install through the current apt lists is the version 5.5 and would not allow a necessary parameter in the configuration such as 'innodb_log_file_size'. Well, we download the MySQL APT Repo and install it. An assistant will start that will detect the system we have and propose the best version of MySQL that we need, we must select “Server”.
[SourceCode]
WGET HTTP://dev.mysql.com/get/mysql-apt-config_0.3.5-1debian8_all.deb
dpkg -i mysql-apt-config_0.3.5-1debian8_all.deb
[/SourceCode]

Select “mysql-5.6”,
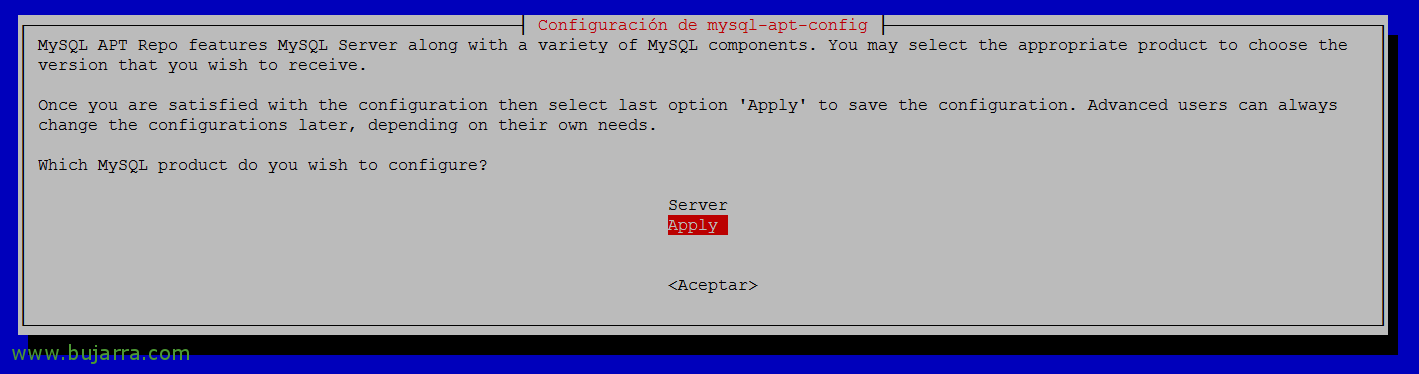
And we click on “Apply”.

Now, we update the list of APTs and we can start with the installation of MySQL 5.6! During installation, It will ask us to set a password for the 'root' user’ from MySQL.
[SourceCode]
apt-get update
apt-get install mysql-community-server
[/SourceCode]
We add in the MySQL configuration file '/etc/mysql/my.cnf', The following:
[SourceCode]
[Mysqld]
max_allowed_packet = 20M
query_cache_size = 32M
innodb_log_file_size = 256M
[/SourceCode]
Now we can continue the base configuration from the browser, we open one and open the following URL:
[SourceCode]
HTTP://IP_SERVIDOR_OTRS/otrs/installer.pl
[/SourceCode]
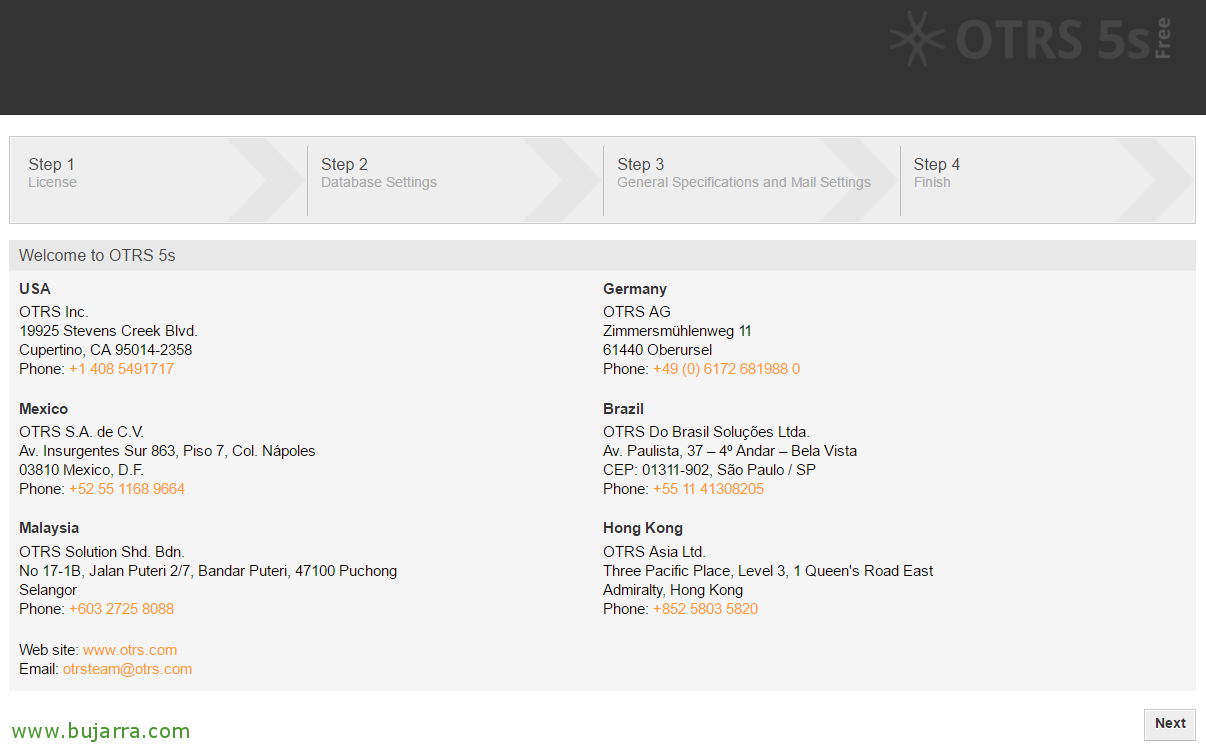
Pressed “Next” To get started with a short wizard,

We accept the GNU contract, “Accept license and continue”,
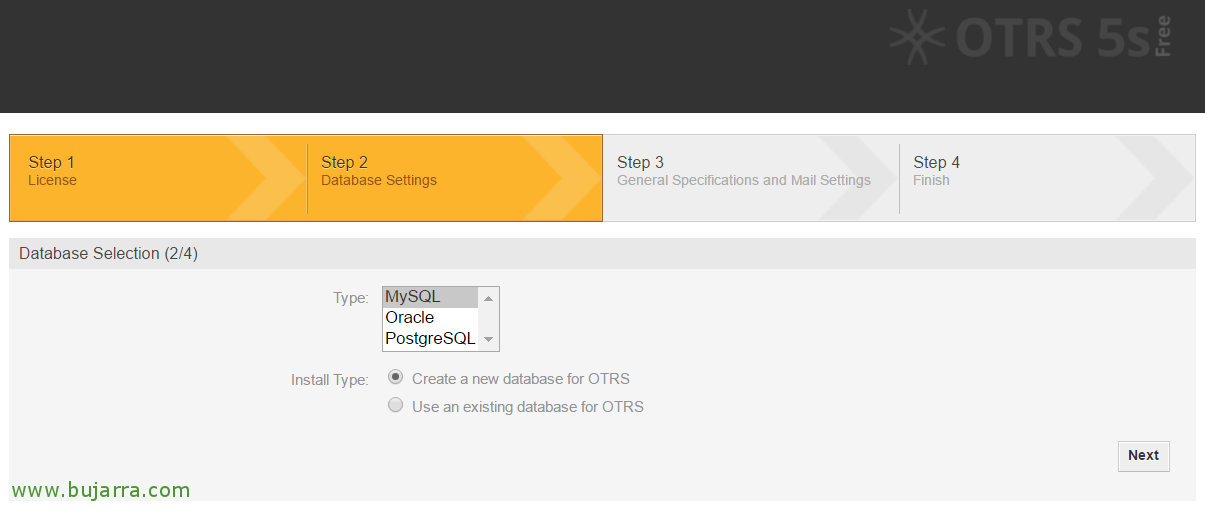
Select the type of database that we have chosen before when installing the requirements, in this example we will use a MySQL, we also click on create a database, “Create a new database for OTRS” & “Next”,

We set up the connection to DB, First we will indicate the user 'root'’ and your password, we indicate as host to localhost or 127.0.0.1, we create a database user and a name to the database, In my case I will always use 'other'.
“Next”,
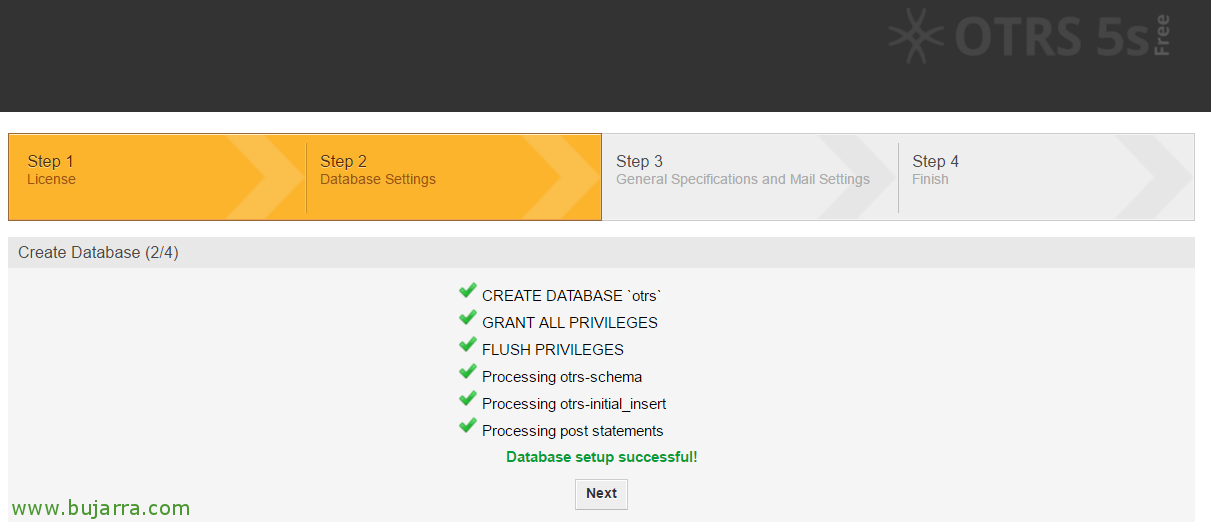
If everything has been correct, he will have already created the DB and its structure, We will be able to continue “Next”,
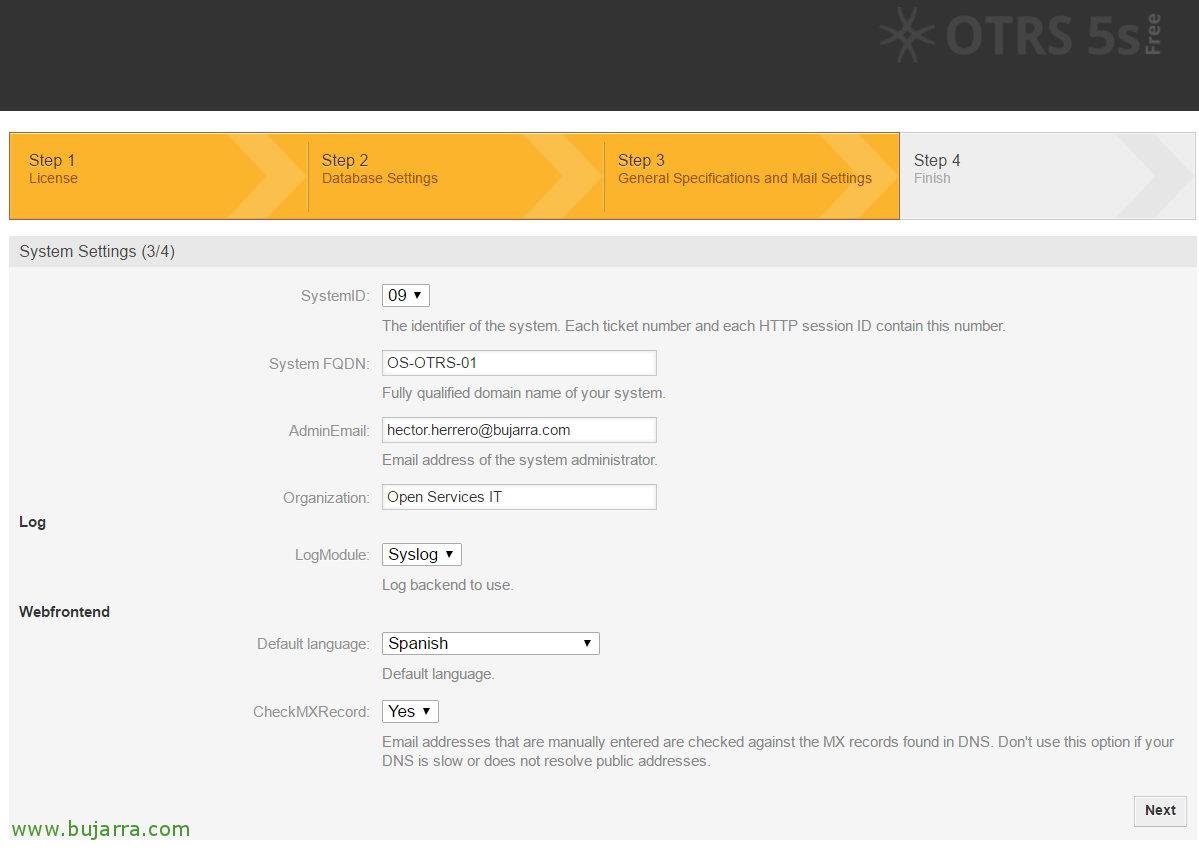
We indicate the FQDN that this server will have (we will be able to put the public FQDN that OTRS will have…), We provide an email address for the administrator's account, the name of Organization for OTRS, we leave Syslog as a backend of Logs, we indicate the default language of the portal and if we want to check the emails that we add to the system with the MX. “Next”,

We set up the OTRS email system, we will use Sendmail for outgoing mail and leave the default port 25. For incoming mail, We can register now if we want a first address, all email sent to that address will be processed by OTRS and will be moved to a Service Queue. Therefore, We register the mail server and the email account that will be checked, as a practical example so*****@*****io.eso. Click on “Check mail configuration” to check it or we'll skip this step with “Skip this step” and we create them after the fact.
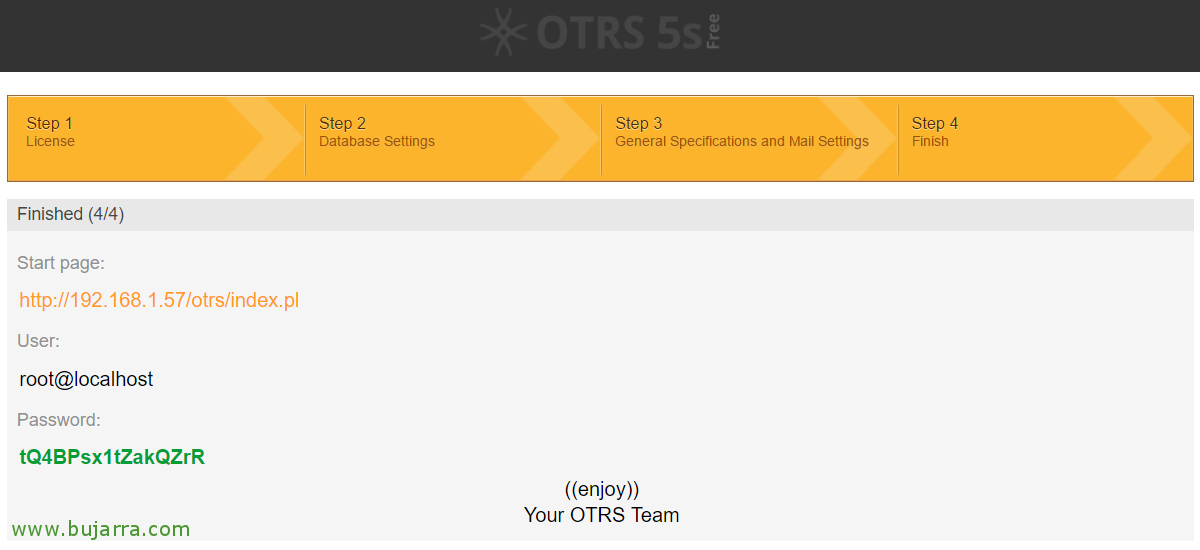
List! It tells us the default administration system access account 'root@localhost’ and the random password that it has generated for us and after logging in we must change!

We finally access the OTRS URL: HTTP://IP_SERVIDOR_OTRS/otrs/index.pl
We logged in as root@localhost and the password you set for us,

Perfect, we already have the OTRS dashboard! where we can manage the entire product! We notice that the OTRS demon is not running…
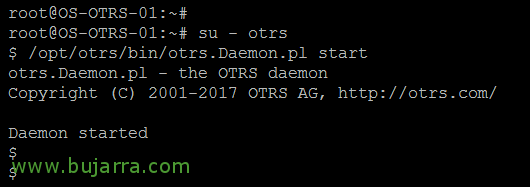
We start it manually:
[SourceCode]
his – Another
/opt/otrs/bin/otrs. Daemon.pl start
[/SourceCode]
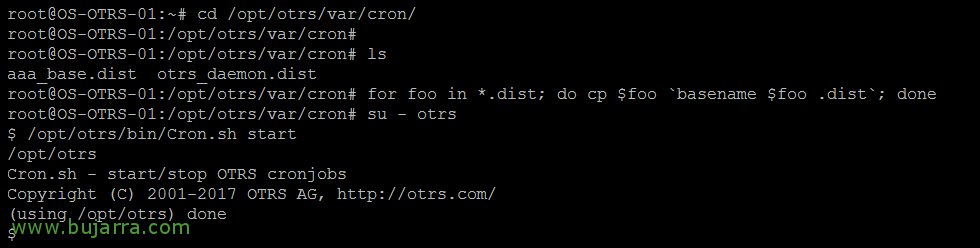
And finally we create the cronjobs:
[SourceCode]
cd /opt/otrs/var/cron/
for foo in *.dist; do cp $foo 'basename $foo .dist'; Done
his – Another
/opt/otrs/bin/Cron.sh start
[/SourceCode]
With this we already have our OTRS5 server fully deployed! Now we need to start setting it up basically, where we will create an example Agent who will be the one to attend to the incidents, We will register the customers who will be able to create incidents, We'll create destinations for incidents, queues to manage us, priorities, We will see how to get consumption reports…