Creating our Floorplan or Animated House Plan in Home Assistant
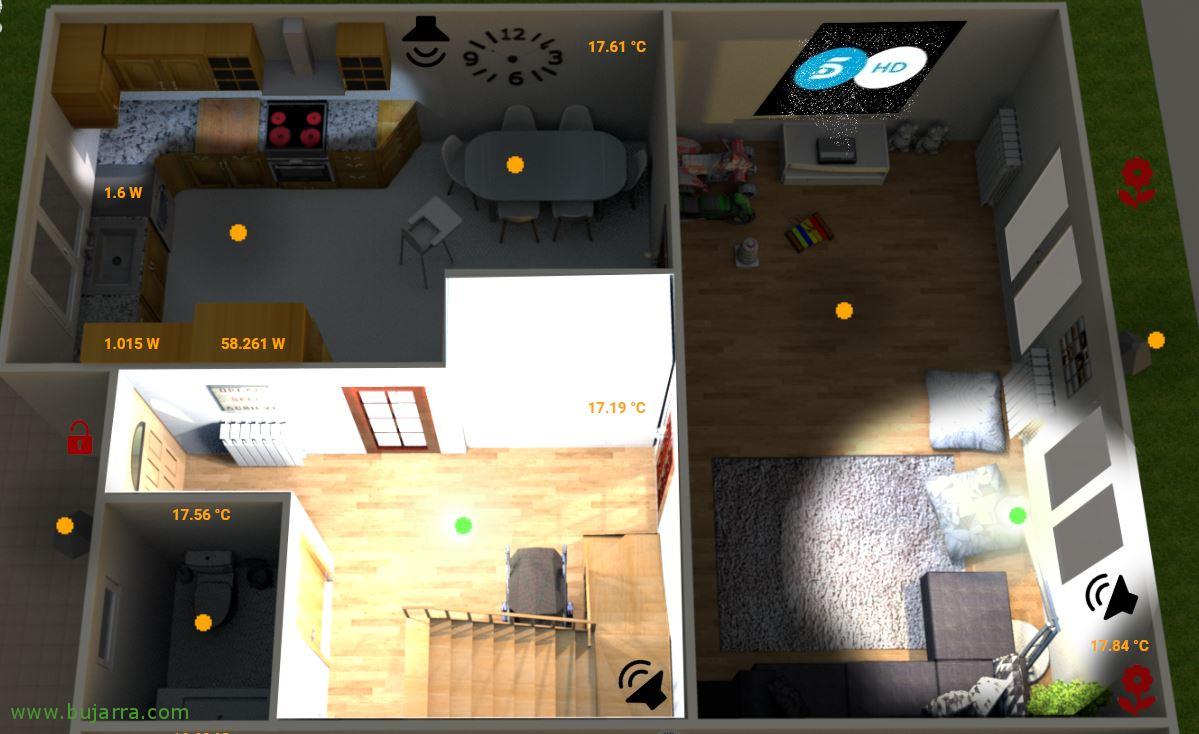
In this post we are going to try to explain how we can make a plan of our house and integrate it into Home Assistant, with the intention of integrating the devices that we already have in Hassio and giving life to the plan. It is something very attractive and above all visual, It is something they will appreciate at home, since with an image we can see the state of our home and we can interact from it with the devices that we add.
This is the example that we will do in the post, we will have the map of our house with information in real time, we will see the lights on, with its shadows, what we see on TV, values of any metric that interests us… and we can even interact with each of them, mute speakers, raise or lower the blinds, see security cameras, the state of our plants, Temperatures, humidity, consumption, people if we put ourselves…
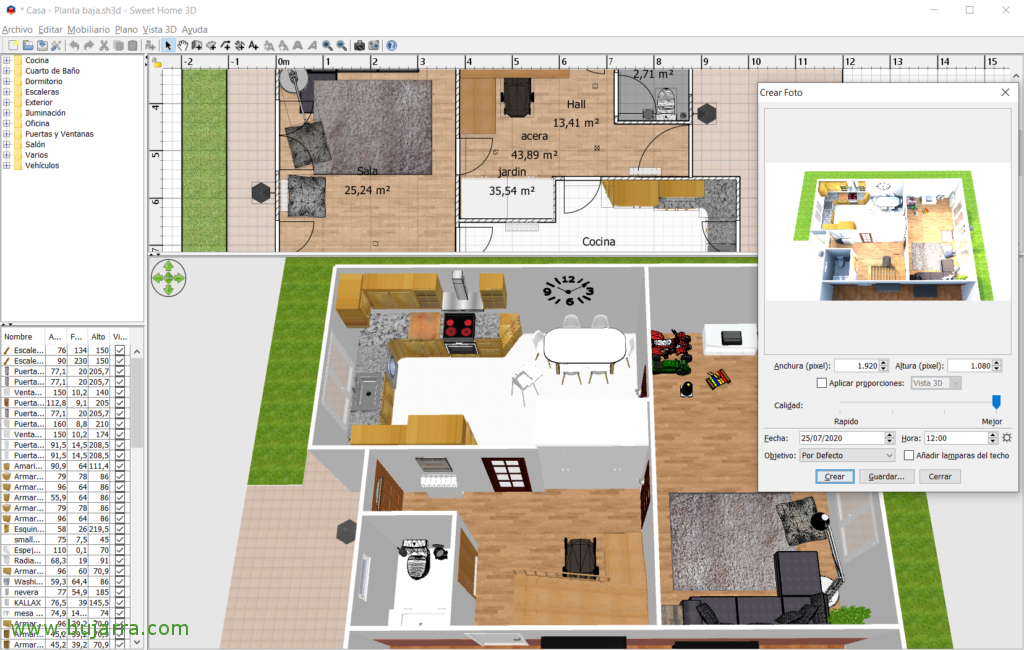
First of all, before starting it will be the most laborious, we will have to make a plan of our house, The easiest thing in the world will be to use a Sweet Home 3D type tool, a free and super intuitive tool that we will not explain the use of in this post, since with 5 minutes that you dedicate to it, I am sure you will know how to use it and you will be able to make your plan., That will take you time to make it pretty., but this will depend on each one of us, the level of detail we want.. You will start by drawing the walls, Then you will add your objects that you have to make it as similar as possible to reality.
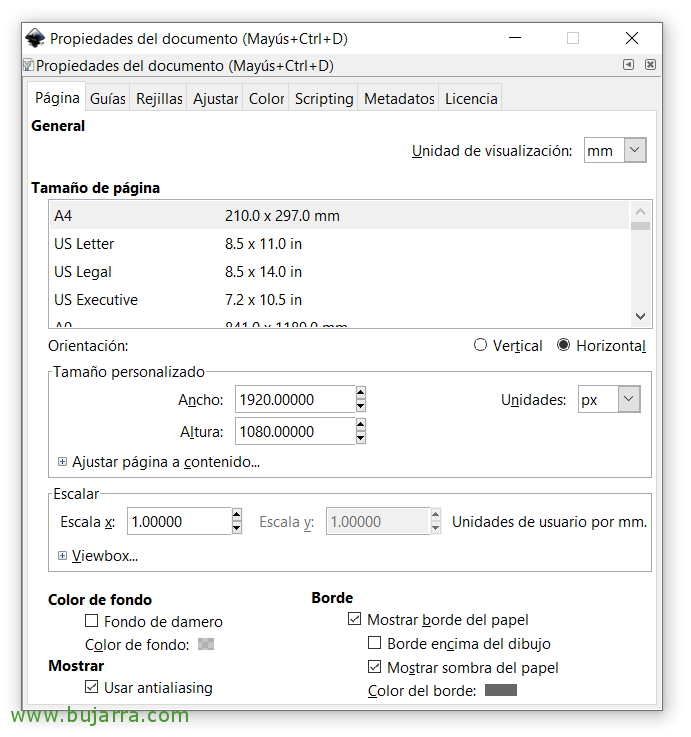
As help I leave you the website of 3D WareHouse de Sketchup as a bank of importable images, It is a good idea to look for the furniture we have, objects, sofas, lamps… And it also depends on how thin you want to leave it, you still need to import some texture to make it more realistic., For this I have noted to use Archive Textures. We will work in the upper view and in the lower one we will see the results as they look in 3D, the idea is that, leave it as close to our home as possible. When you have the plan more or less finalized, The idea is that we will have to take different aerial photographs of what we want to see, Personally, I recommend taking several photos at different times., since then we can put them in Home Assistant and the general shot will change the shadows of the sun depending on what time it is, or at the end of the day and the night comes, so the house is dark. It really is simple, really, Spend a few minutes on it and you will have it sucked. another tip, make images with the highest quality possible, In my case I use 1920×1080 resolution pixels (both in the document/drawing properties, like when the photo is taken).
 |
 |
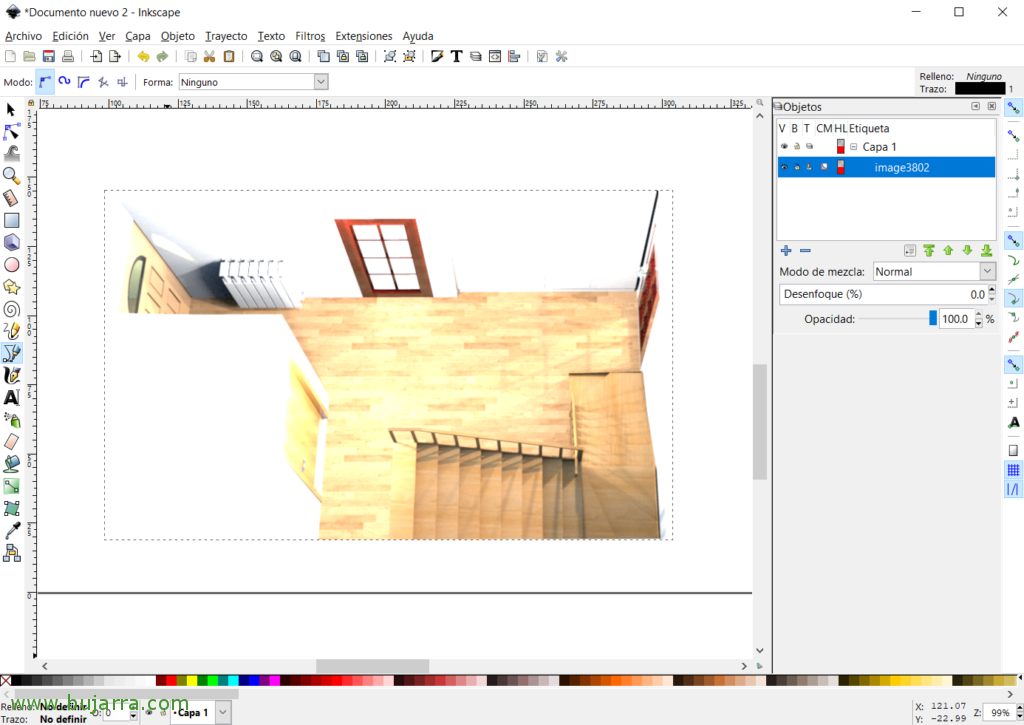 |
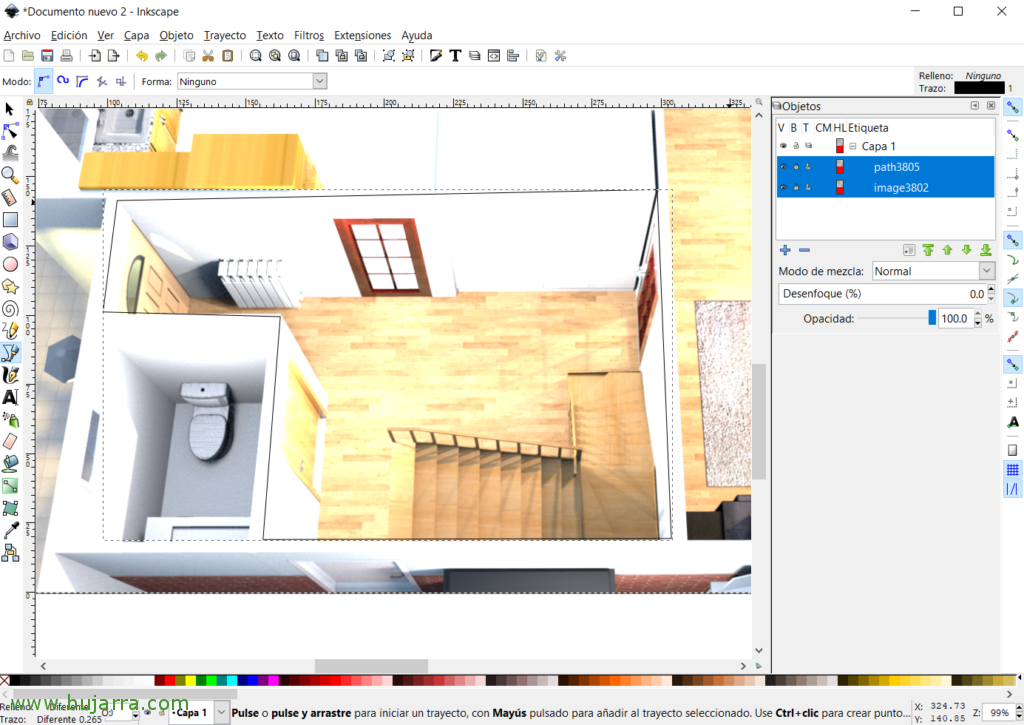
Then, with any Photoshop type editor, or Inkscape (open source) We will have to make all the images that we will need of the house. I explain my example, I will have 3 images of the entire plan, one with the morning light, another in the afternoon and another at night, Photos taken at 12 noon, 17h and 10 p.m. respectively. In addition to the photo of the night, we will have to take another photo, but this time with all the lights on, I have something like:
- planta_baja_manana.png 01/08/2020 a las 12h
- planta_baja_tarde.png 01/08/2020 at 5pm
- ground_plant_night.png 01/08/2020 at 21:27h
- low_plant_night_light.png 01/08/2020 at 21:27h
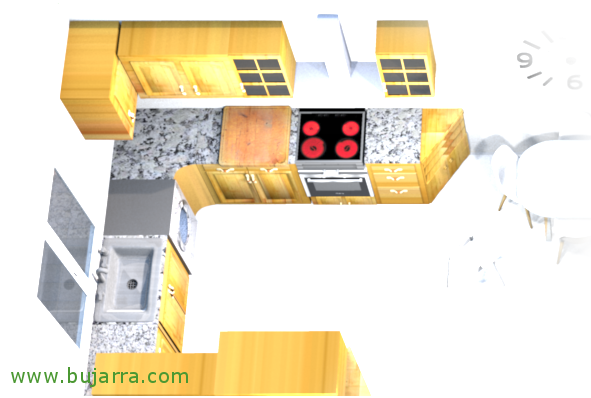 |
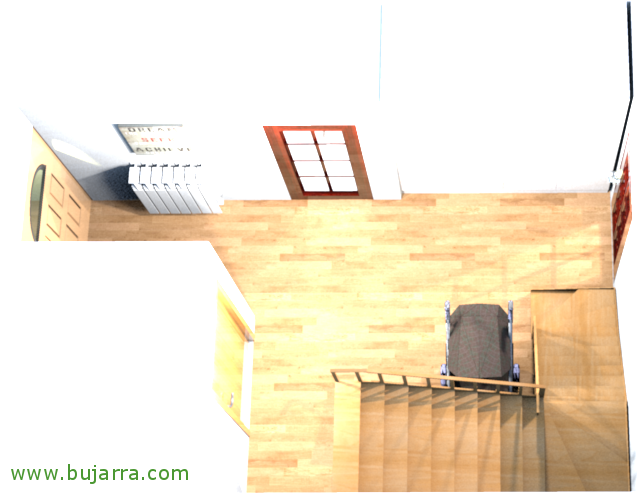 |
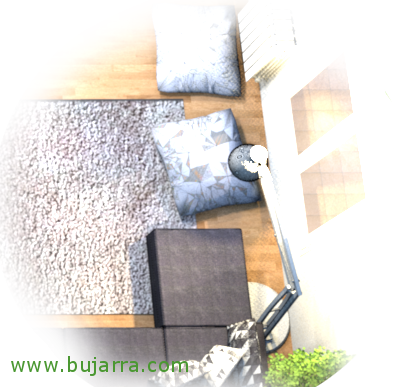 |
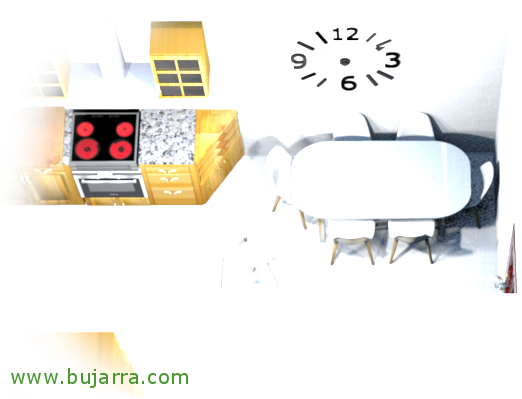 |
And in the night image with lights, We will have to cut out the light areas with these editors, for example the kitchen, the hall, aisle, rooms… Sometimes it will be necessary to make a gradient in the case of lamps or if we have several lights in a cabin… Keeping the following images (I repeat, is my example) in PNG format with transparencies:
- hall_luz.png
- lamp_room_light.png
- sala_luz.png
- kitchen_light.png
- comedor_luz.png
GOOD, when we have this part ready, We can now start with Home Assistant, where we will have to create a plan and little by little add all the images that we have generated. Before anything, The first thing we are going to create in the sensor area (sensors:), is something that the elevation of the sun tells us, and so we can use it next when we start and the background of the plane changes if it is the morning, noon, the afternoon or at night, and with this let's put different backgrounds with the corresponding shadows of the sun, and darkening the image more as night falls.. We will create a sensor, that I called him sunshine_shine, I leave you the code that we would put in our configuration.yaml:
sensor:
...
  - Platform: template
    sensors:
      sun_shine:
        friendly_name: "Sun Shine"
        value_template: >-
          {% if state_attr('sun.sun', 'elevation') > 20  %}
            bright
          {% elif state_attr('sun.sun', 'elevation') > 9 %}
            mid
          {% elif state_attr('sun.sun', 'elevation') > -3 %}
            dark
          {% else %}
            black
          {% endif %}
...
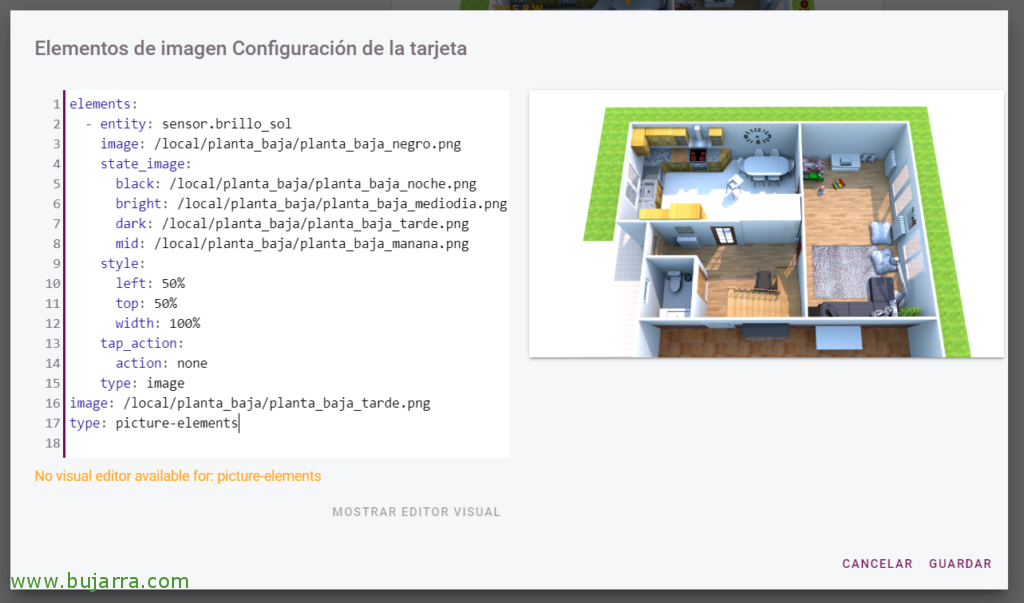
Remember to restart Home Assistant so that it can reload the change we just made. (every time we touch the configuration file, you already know). At last, Now we can start with the plan! We start!!! In the Lovelace UI we can now create a manual card. I leave you the code below as an example that does what was said., will read from the sensor 'Sun Brightness’ your status and it depends on what status you have, Well, it will put a background image or another. Example of our first card:
elements:
  - entity: sensor.sun_brightness
    image: /local/planta_baja/planta_baja_negro.png
    state_image:
      black: /premises/ground_floor/ground_floor_night.png
      bright: /premises/ground_floor/ground_floor_midday.png
      dark: /local/ground_floor/ground_floor_afternoon.png
      mid: /local/planta_baja/planta_baja_manana.png
    style:
      left: 50%
      top: 50%
      width: 100%
    tap_action:
      action: none
    type: image
image: /local/ground_floor/ground_floor_afternoon.png
type: picture-elements
 |
 |
 |
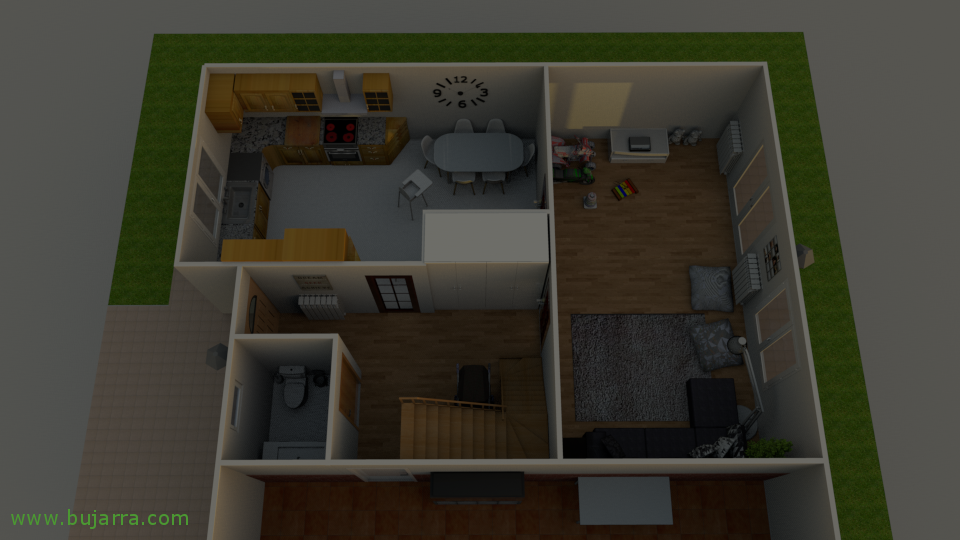 |
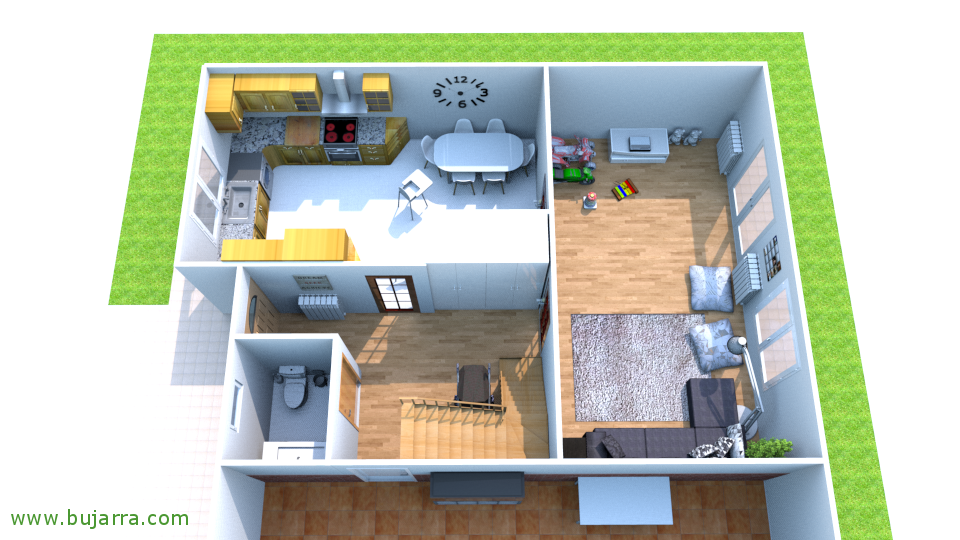
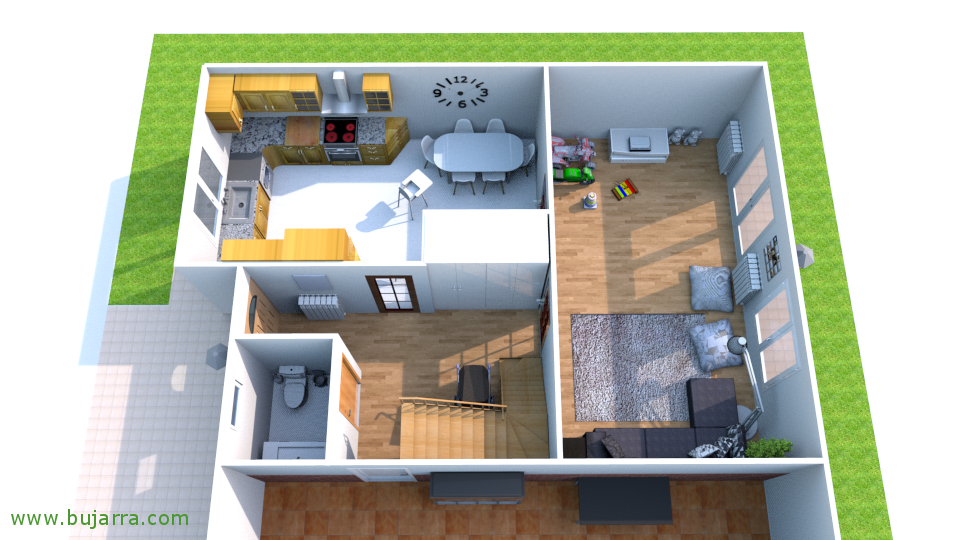
In case anyone has doubts about the result, this is what we will get, (in my case) son 4 images, the following, and you see the shadows how they change, the light of day and the last of night. How do you see, You will have to save each PNG image in the directory that you create on your Hassio machine, In my case I have it in a docker container, and inside we will have created a folder and for example copied the images there with WinSCP.
 |
 |
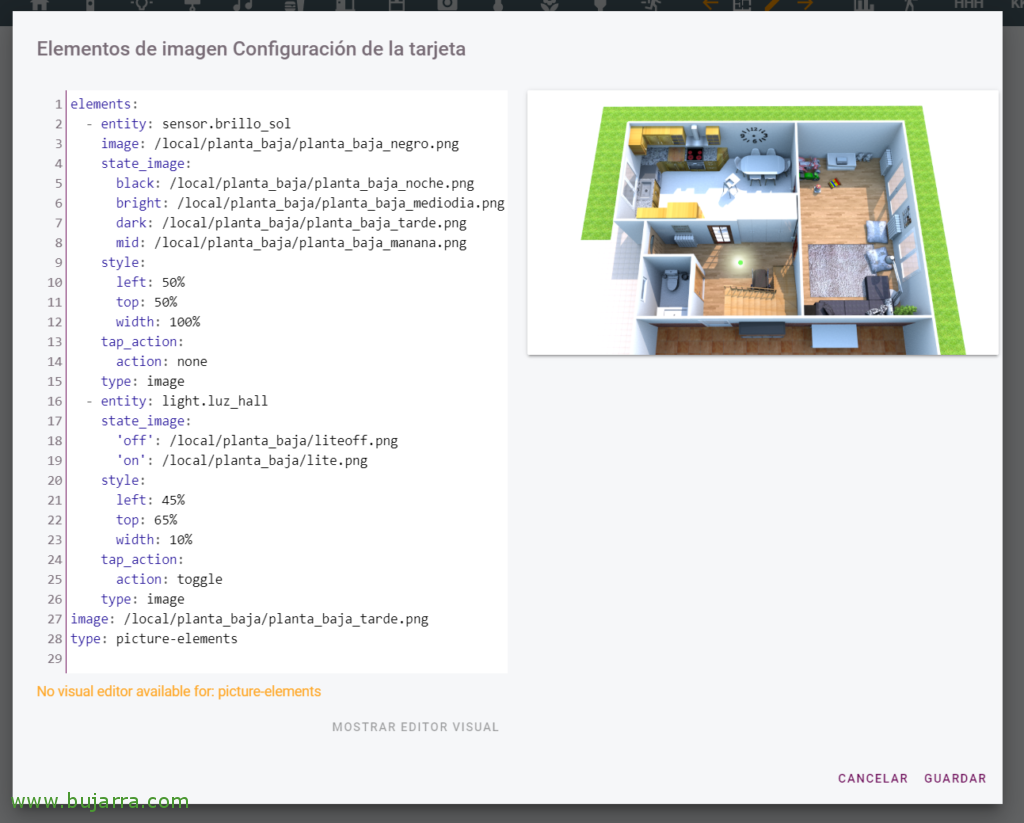
GOOD, where do we go now? Shall we add a light bulb? Also, when you press it, the corresponding light turns on., ¿No? Let's go!!! Here and here You have two images that are going to be of great help to us., The idea is to put them where we are interested, In this example we will put them in the center of the Hall, With the following code that we add to the previous Lovelace card we will have it, yes indeed, each one will have to move it and change the size to their liking, and of course select the identity corresponding to the light in the hall:
- entity: light.luz_hall
  state_image:
    'off': /local/planta_baja/liteoff.png 'on': /local/planta_baja/lite.png
  style:
    left: 45%
    top: 65%
    width: 10%
  tap_action:
    action: toggle
  type: image
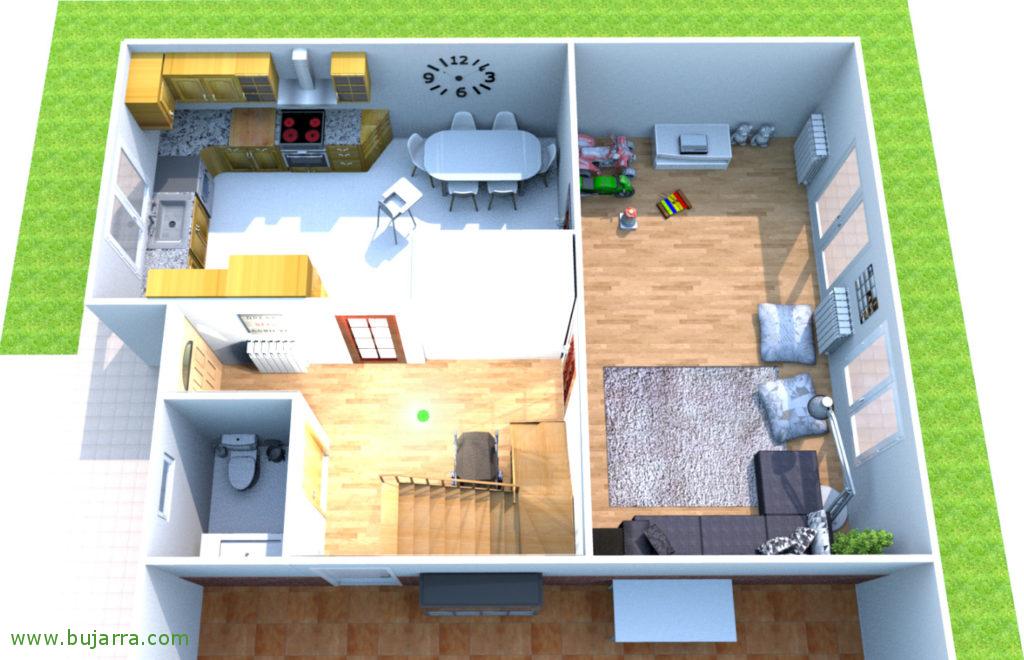
And that would be the result, we would have in the Hall if you look at a light bulb, If it is off it is a red dot, and if we click on it, it will turn on the light and the point will also change to green with a beautiful white blur around it.. List? We follow!
 |
 |
Let's light up the cabin, in this case the Hall, and that when the light bulb is on, change the image of the hall and come out illuminated. It will also be cool for the lamps to use the gradient images with light only as far as they illuminate… To do this,, first we will have to download this file and save it in our folder '/config/www/js/’ and then we will have to add in “Configuration” > “Lovelace Control Panels” > ” Features”:
URL: /local/js/color-lite-card.js
Tipo: js[/SourceCode]
Now yes, we can return to our card, and keep feeding her. If we remember, At the beginning of the Post we indicated that we have to have each cabin trimmed with light, we would add it with the following code to our card:
- entity: light.luz_hall
  image: /local/planta_baja/hall_luz.png
  style:
    left: 50%
    top: 50%
    width: 100%
  tap_action:
    action: none
  type: 'custom:color-lite-card'
 |
 |
 |
If we have an LED strip, we can show you the color you are wearing right now, In my case, I remind you for the umpteenth time COUNTRY they are wonderful, We will need an image with the area illuminated and transformed only with red color, How do I leave this one for you? my example renamed _color. And with the following code we can begin to visualize our LED strip integrated into the floorplan.
- color_image: /local/planta_baja/wled_cocina_color.png
  entity: light.wled_cocina
  image: /local/planta_baja/wled_cocina_normal.png
  style:
    left: 50%
    top: 50%
    width: 100%
  type: 'custom:color-lite-card'
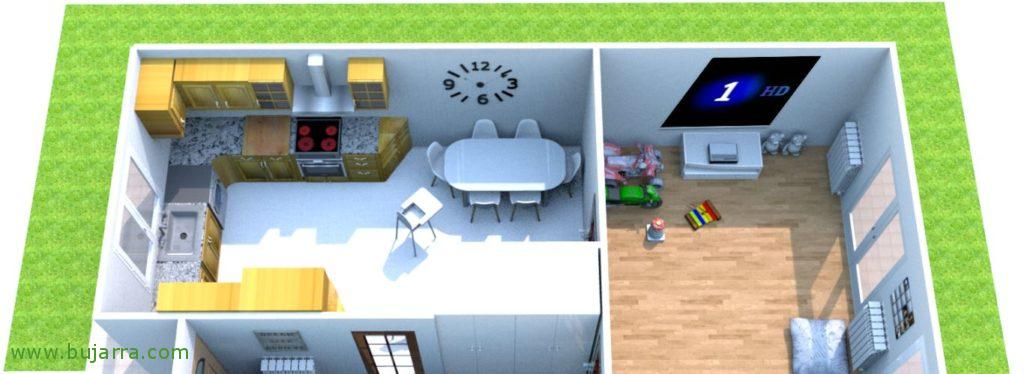
what else? Do you use Kodi to watch TV?? Well, it's also cool to be able to add what you are watching on the TV or on the wall if you have a projector.… This way it will show what you are seeing 🙂 The first thing will be download this file and leave it as before, en ‘/config/www/js/’. And again from “Configuration” > “Lovelace Control Panels” > ” Features” we add:
URL: /local/js/now-playing-card.js
Tipo: js[/SourceCode]
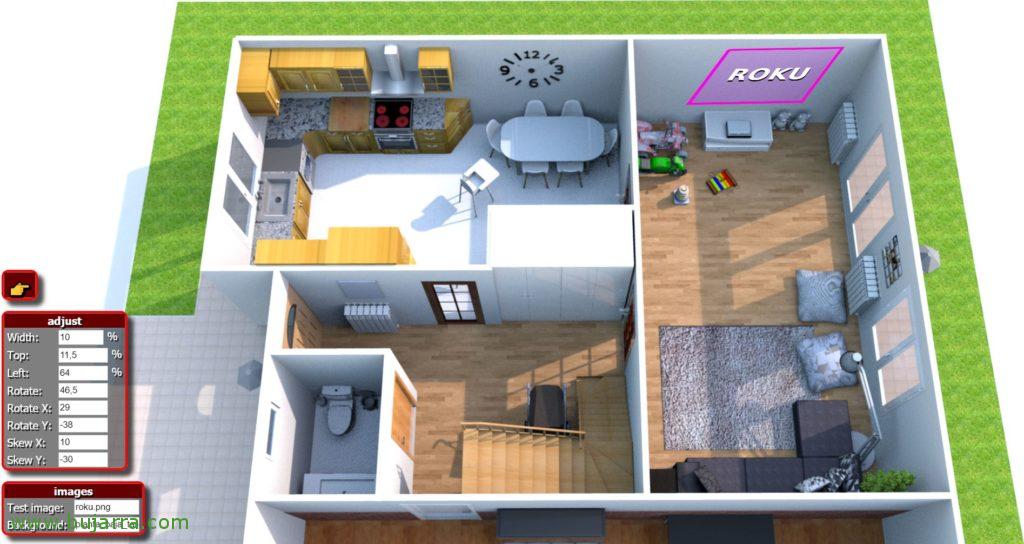
Vale, now, for shaping TV or wall projection, we will have to make a trapezoid, why of course, each one will have in perspective what they want to see, and to make it more realistic you must make the figure with what is seen in Kodi. For this it has a design tool What will you see? It's nonsense to use it., just download it, open the website that it brings and play, We add our background and we will quickly take the measurements we need to rotate or twist it. Total, In our card we will add the Kodi entity and we will put the code that generated the output of this wonderful tool., we would have something like:
- entity: media_player.kodi_sala
  style:
    left: 64%
    top: 11%
    transform: >-
      rotate(46.5deg) rotateX(29deg) rotateY(-38deg) skewX(10deg)
      skewY(-30deg)
    width: 8%
  type: 'custom:now-playing-poster'
And this would be the wonderful result, Of course if you have a projector, You can also put an animated GIF file that simulates dust where it is projected… etc, etc… you can do cool things. And of course, if you modify the action of each object that we add to the card, you will be able to interact with them..
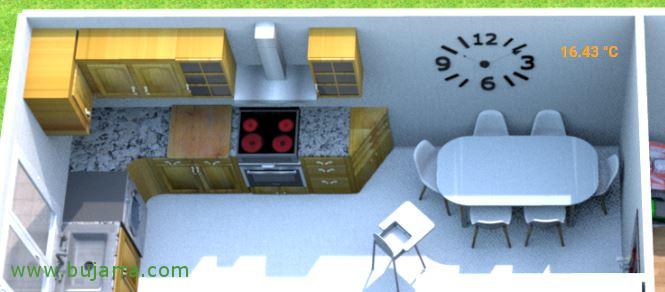
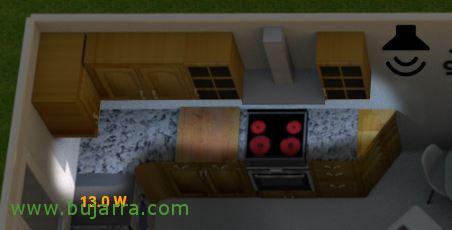
Well and as last, but you can do many many more things, eh! to put, let's see the value of some entity in Home Assistant, For example, Yes we have temperature sensors, well what it marks, the degrees you make, and it is placed in each room where we have the thermometer… The same can be done if we are measuring the consumption of a device, and so when we see the map, Well, in real time we will see the temperature, humidity, consumption… whatever! Come, we add this to the card we are working with, each one will put their entities, your font color…:
- entity: sensor.0x00158d000444587d_temperature
  style:
    colour: orange
    font-size: 12px
    font-weight: bold
    left: 54%
    top: 16%
  type: state-label
Well, each one gives to the imagination, I leave you here a GIF of how all this would look animated, I hope it inspires you and helps you, Thank you very much to everyone who makes Home Assistant possible, and to all those who share their work on GitHub (inter alia). Thanks for sharing on social networks!!!


