FreePBX Installation and Basic Configuration

In this document we will look at the installation of an IP PBX using FreePBX, the distribution that comes with Asterisk installed and allows us to configure our PBX in a simpler and more intuitive way through a GUI. This first document only consists of a basic installation and configuration that we will use in future documents to do very cool things integrating it with a Raspberry Pi.
Among others, we have 2 options, or perform FreePBX installation on a virtual machine, or use for example a Raspberry Pi and install RasPBX directly. In this document we will do the installation in a VM, And what I said, In this and other documents we will see, for example, how to create extensions, How to connect a softphone… if we have Movistar fibre optics, How to make and receive calls with our switchboard, or better yet, How to make calls thanks to a Raspberry Pi directly with voice commands, In a plan “Call Mom” and have a call system for the amazing living room, a good microphone and speaker… We have a cool hands-free!
Install FreePBX,
What I said, In this post I'll use a virtual machine that I'll create in my VMware environment, it will be a very light machine since Asterisk depending on the environment does not need large resources, I remind you that in a Raspberry Pi it is great too!
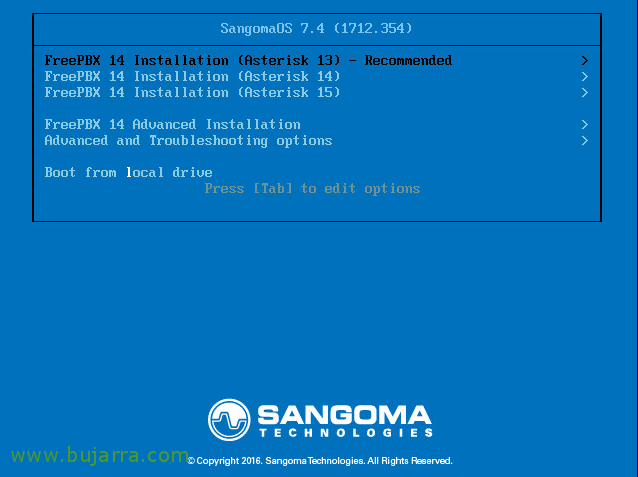
We download the ISO of the FreePBX website, we introduce the ISO to a virtual machine and do the installation, we usually select the recommended option (although we will update it later), FreePBX 14 Installation (Asterisk 13).

Select “Graphical Installation – Output to VGA”,
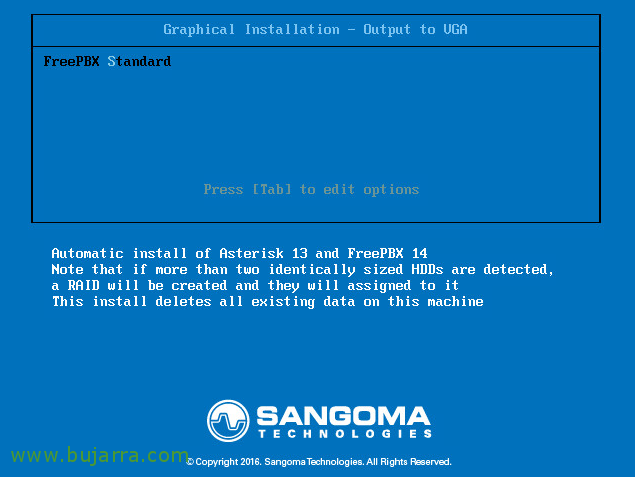
And we select “FreePBX Standard”,
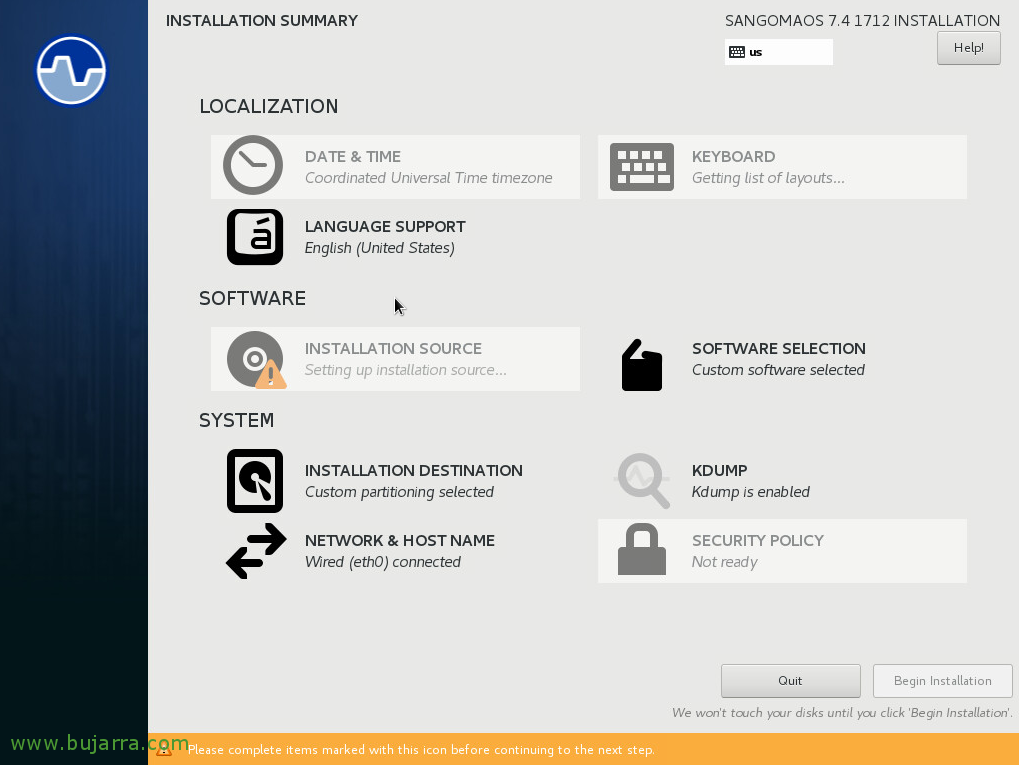
In the settings menu, Before doing the installation we will configure what we are interested in, at least the network options from “Network & Hostname”,

We set up a team name and from “Set” > “General” We will mark the interface as active and in “IPv4 Settings” we will set up our static IP address. “Save”, and after configuring the rest of the options that interest us, We start the installation from “Begin Installation”,
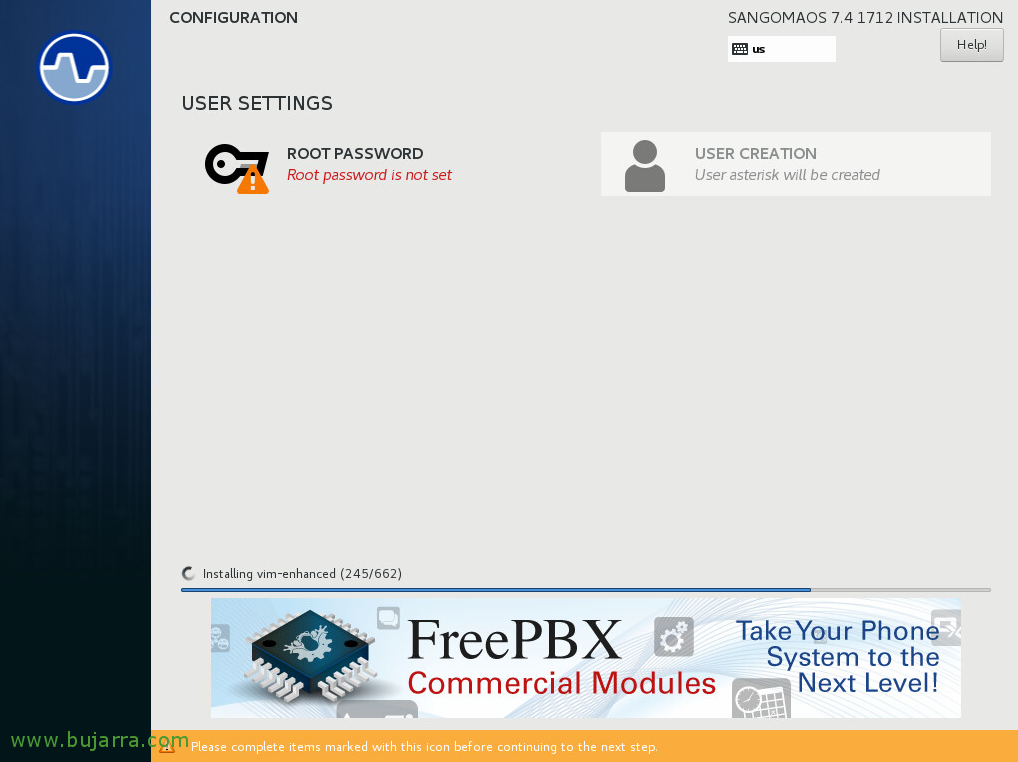
During the installation process, We will have to set the password of the root user from “Root password”,

We set a strong password & “Save”,

… and nothing, to wait while you install…

Once installed, Click on “Reboot” to restart, remove ISO/DVD.
Initial setup,

After installation, if we access the FreePBX URL with a browser, It will tell us that we have to create a user with administrator privileges, We set a password and provide the email address, Click on “Create Account”,

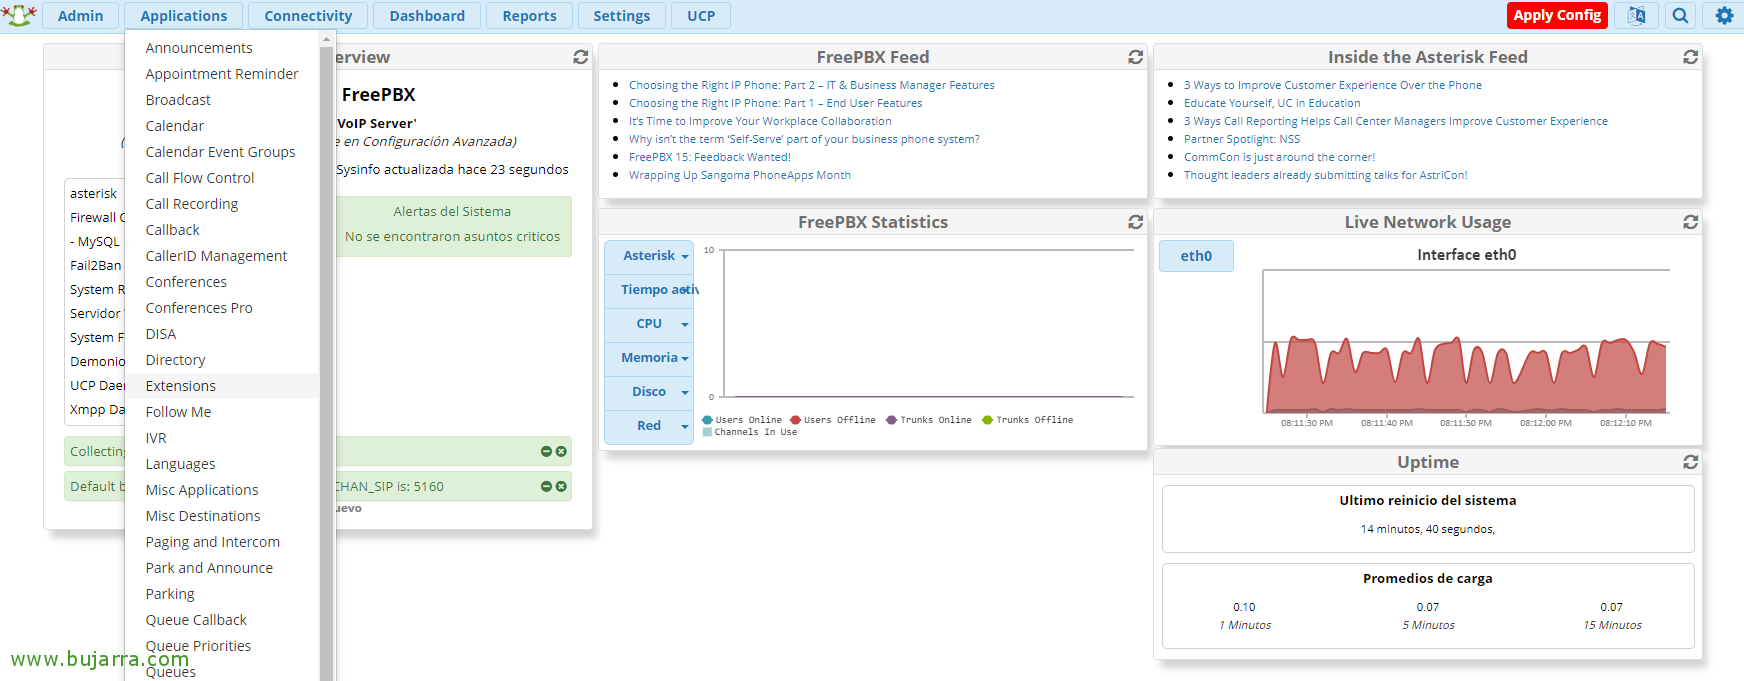
At last, We can now enter the administration panel from “Free PBX Administration”,

We are validated with the administrator account we just created & “Continue”,
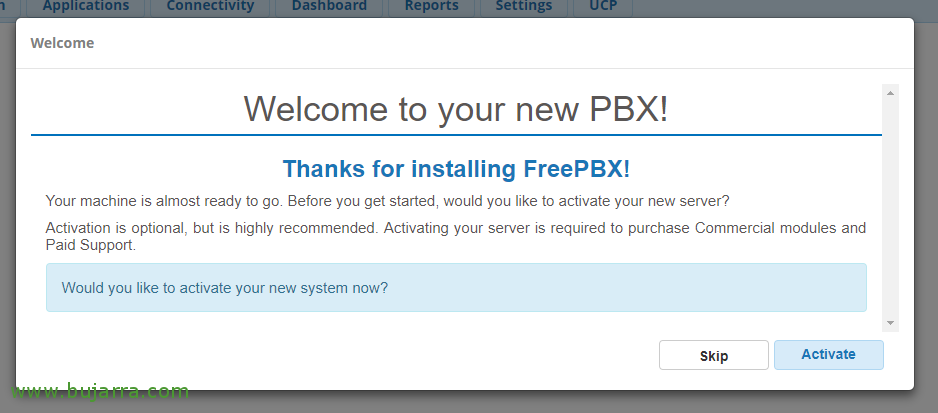
If we want, we can activate our installation, will be necessary if we are going to buy commercial modules.

We indicate the main language for the sounds, System language or time zone & “Submit”,
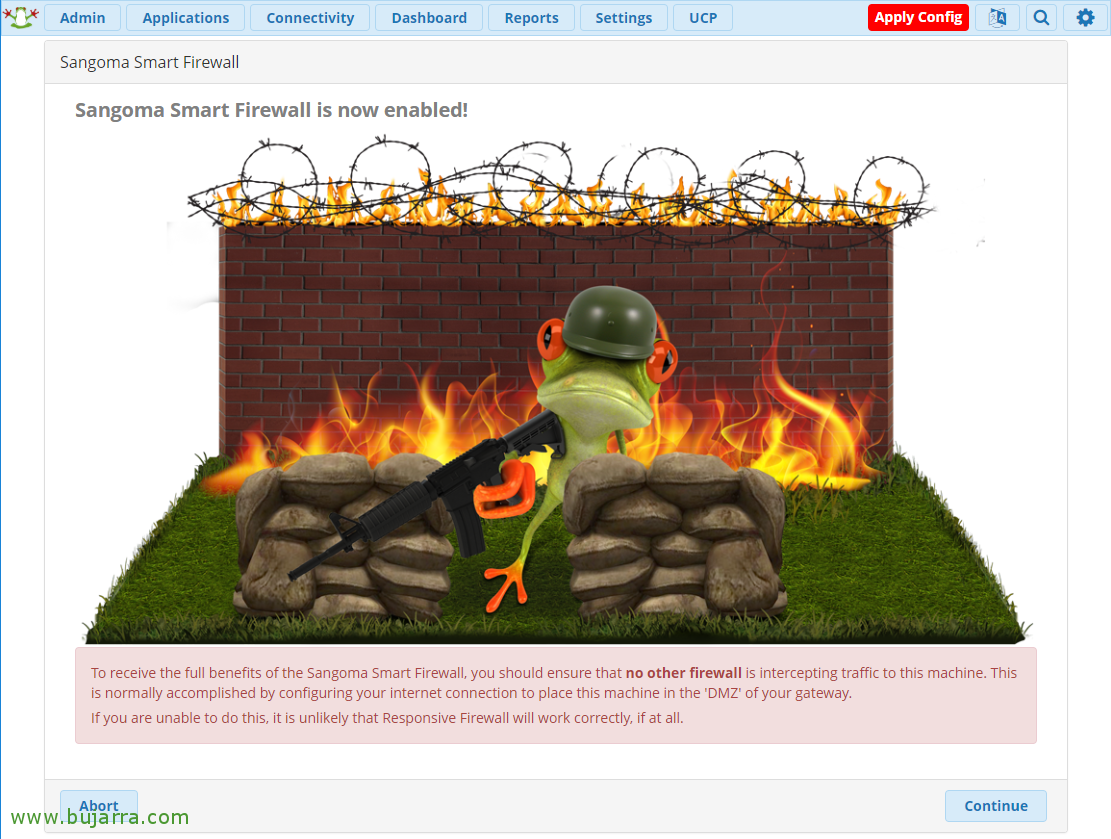
“Continue” to configure the FreePBX firewall,
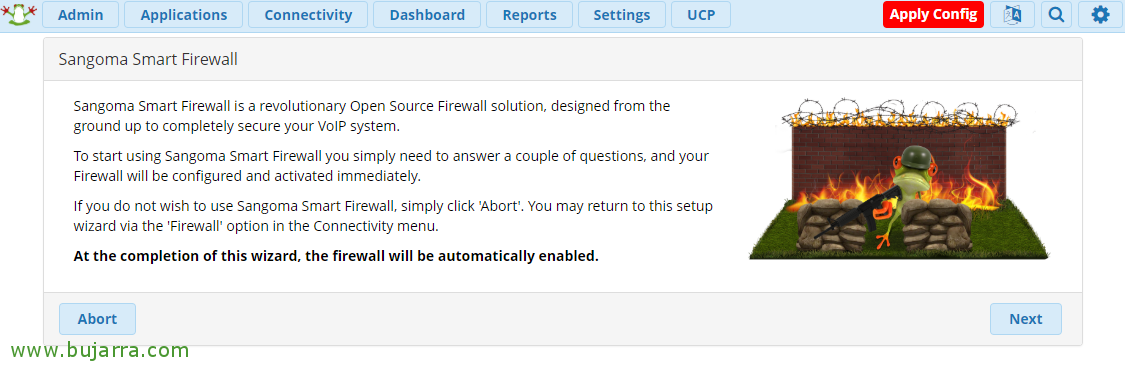
“Next”,
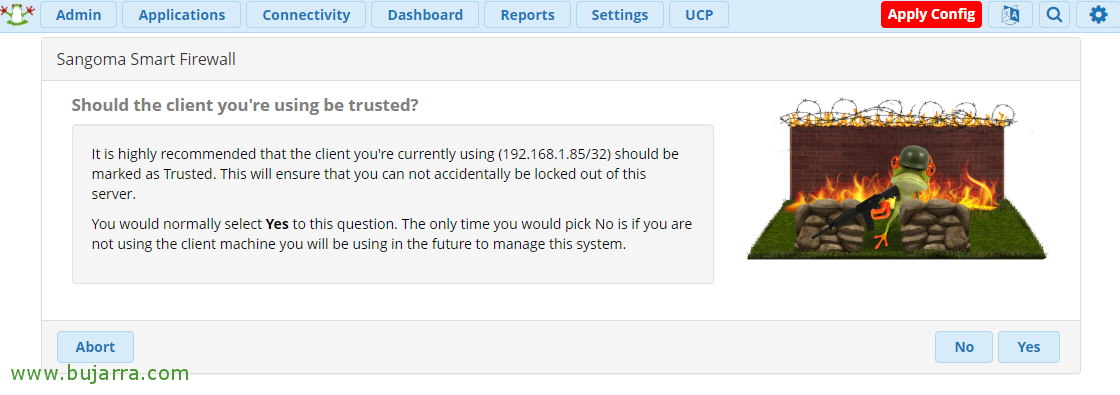
If we are interested in adding the IP from which we are accessing the access list, click “Yes”,
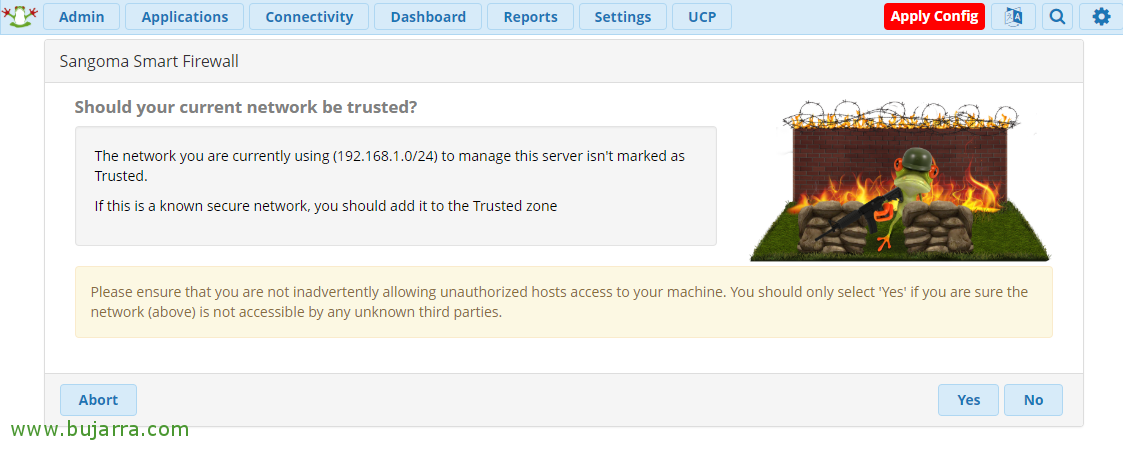
If we are interested in adding the current IP range to the access list, click “Yes”,
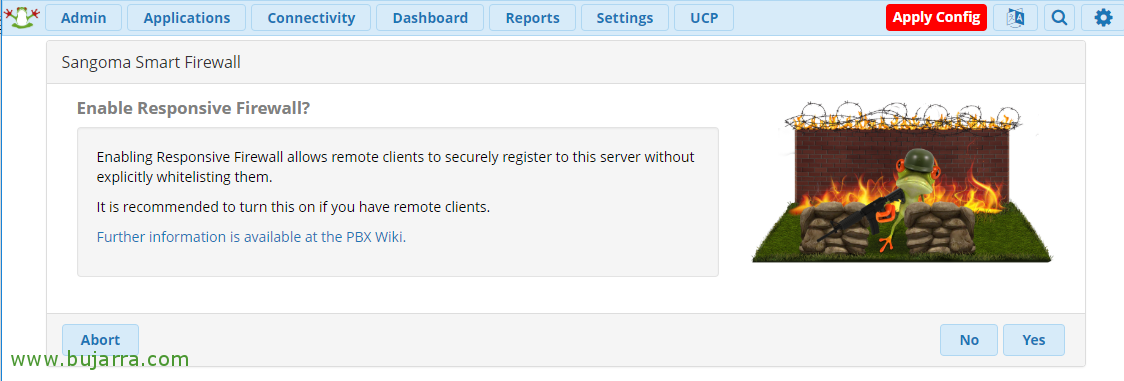
Click on “Yes” to enable the Responsive Firewall that will allow our remote customers to register directly,

Pressed “Yes” to auto-detect Asterisk network configuration,
Creating Extensions,
To create extensions for use on softphones, we will do it from “Applications” > “Extensions”,
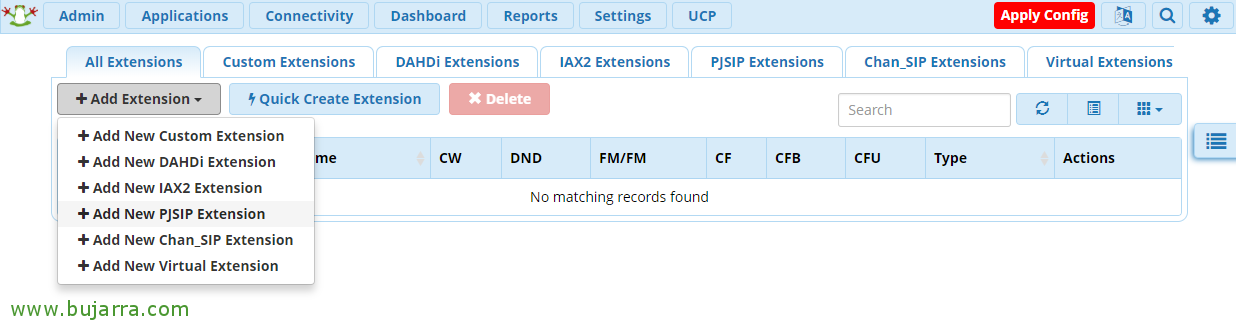
“Add Extension” > “Add New PJSIP Extension”,
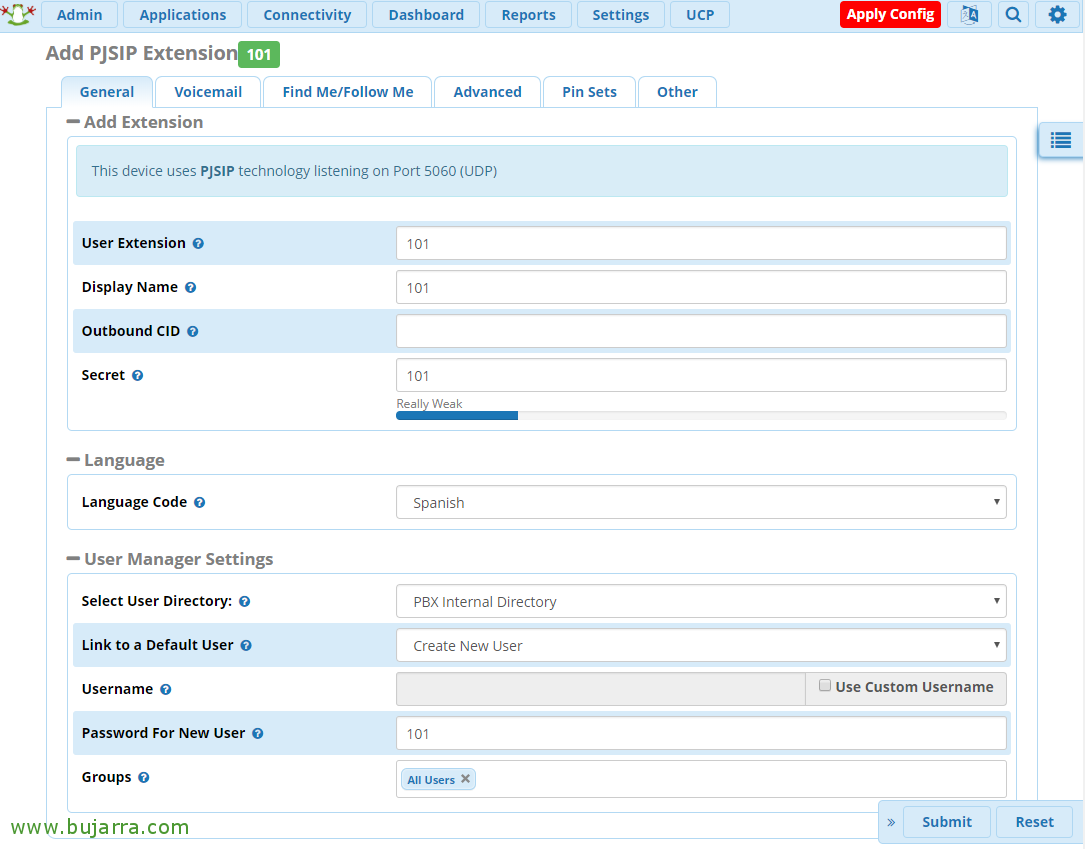
And we create as many extensions as we need, we will assign them at least the Extension and password, In this example I'll create a couple of them to make the example the 101 and the 102.
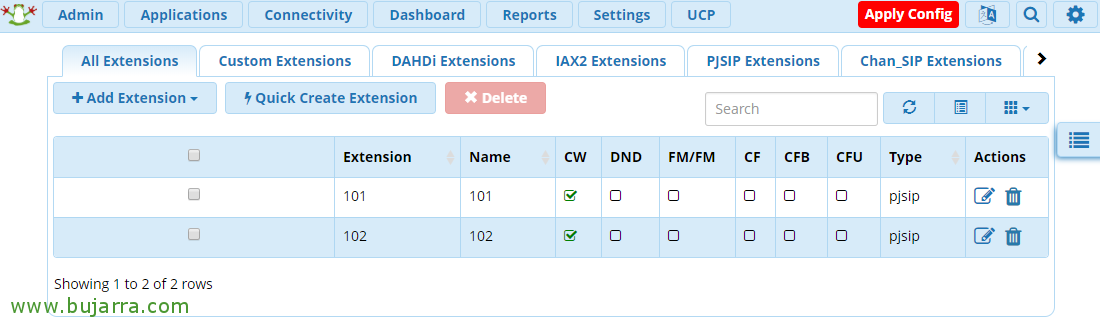
Once we have the extensions created, we can now save and load the configuration, Click on “Apply Config”,
Testing, Testing…

Now on our laptop or computer, as well as on our phone, we can download any softphone to use the IP PBX and make IP voice calls with it. The most used or common are usually the 3CX softphone, Zoiper or X-Lite, even though in this screenshot it is Linphone on a Windows 10, What does it matter for you to see the configuration that needs to be put.
We validate ourselves with one of the extensions we just created, in this case I will use the 101, we confirm the IP address of our FreePBX and the UDP transport we will use.

If we have a mobile phone or tablet, Well, the same thing, Download and install the softphone app that we like the most and configure it, on this Android I'm using the extension 102, So there's nothing left to do but mark 101 and test the call!!!
System Update,
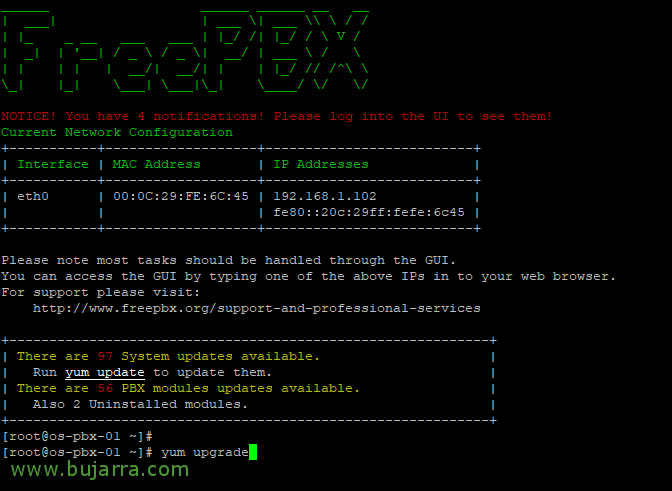
We must have FreePBX updated and secured with good passwords in the extensions and users, truth? From the shell we can update the system by:
[SourceCode]Yum Update[/SourceCode]
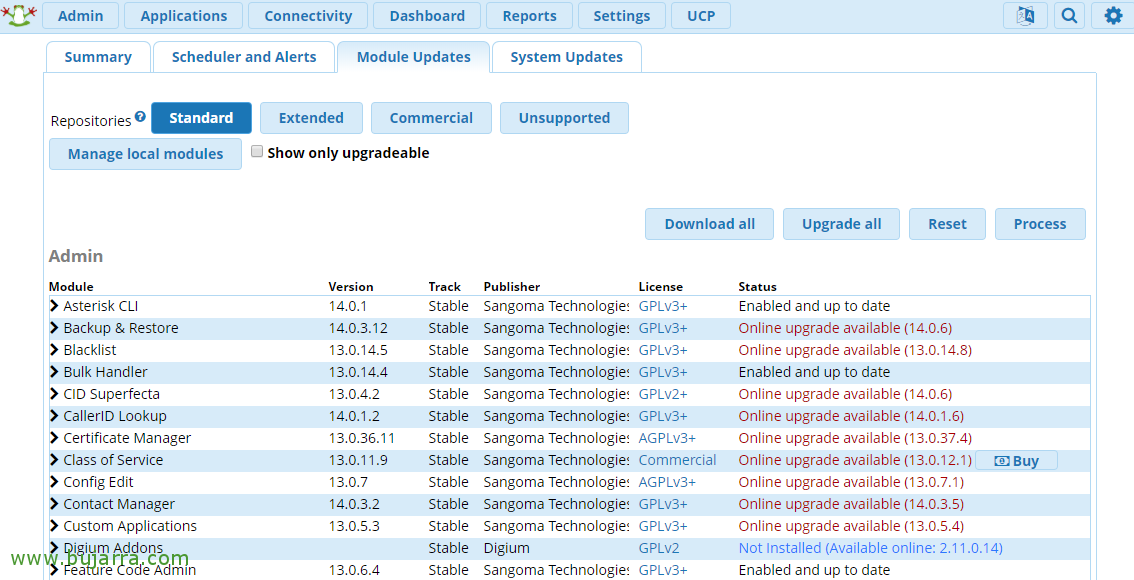
The modules will be updated from “Admin” > “Updates”, on the “Module Updates”, We select the repository, default Standard, Click on “Check Online”, After checking we marked all to update with “Upgrade all” and we perform the update with “Process”.
Enabling Video Calls,
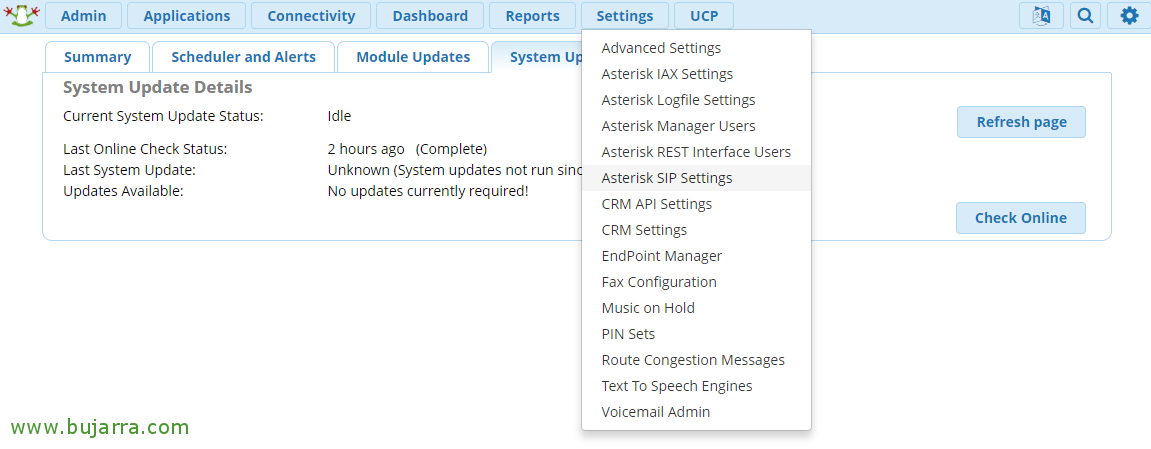
Something interesting is to be able to make video calls or that? Well, Well, if we want to enable them, First I recommend you to have both the system and the modules updated, and from “Settings” > “Asterisk SIP Settings”,
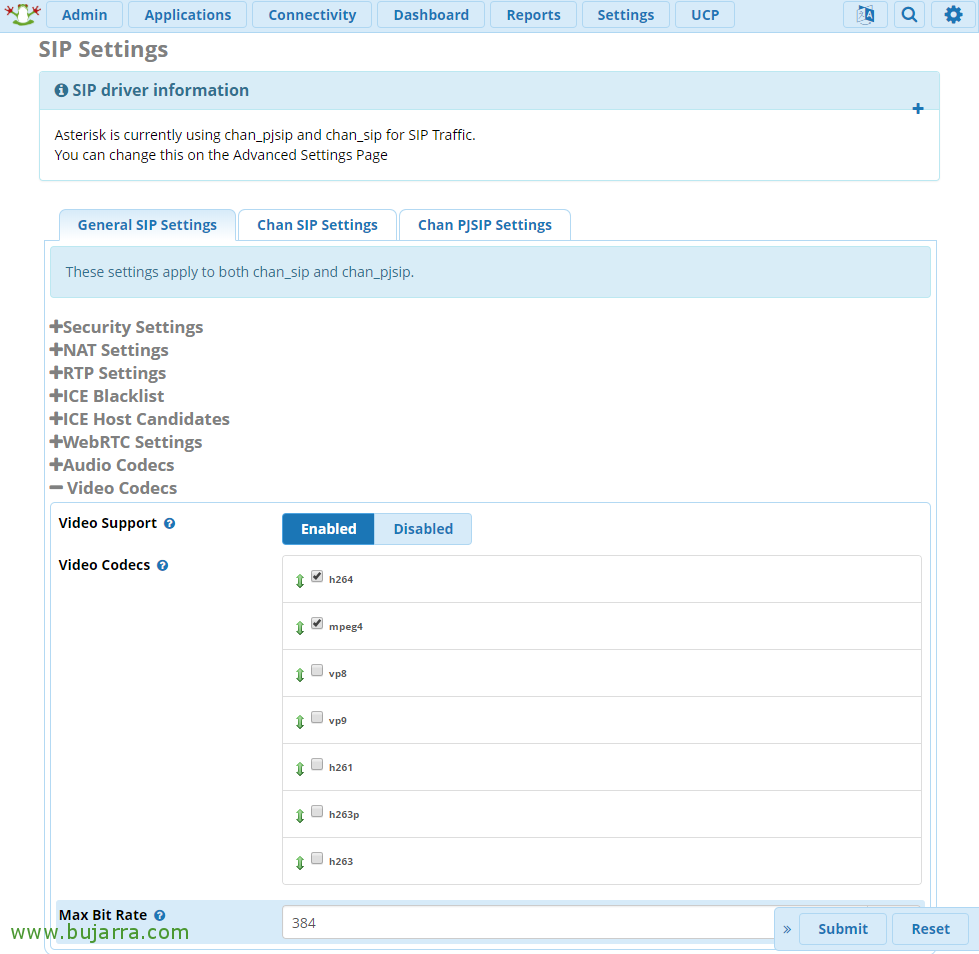
In “General SIP Settings”, In the end, in Video Codecs, we must enable Video Support by clicking on “Enabled”, and select all the codecs to have more compatibilities with any softphone we use. Click on “Submit” and “Apply Config” to await changes, we can already try to make a video call on our IP phone if it supports it.
So with this I finish a first initial tutorial on how to deploy FreePBX with Asterisk and configure it very basically to make calls and video calls! I hope you have been interested! In another document we will do a hands-free with a Raspberry Pi that answers or makes the calls we ask for through the microphone, and another post on how to use Movistar's fiber optics to make or receive calls from our office or home!