Spanish voice assistant with Home Assistant + OpenAI integration + VoIP

How Home Assistant has already announced, this 2023 It will be the year of the voice, the year where we can safely control our home through voice. But not only that, but we can integrate our assistant with OpenAI to ask it whatever we want! And hope that's not all, we will also see how we can talk on the phone with our Assistant!!!
Just as you're understanding, it is now possible to create an Assistant in Home Assistant to attend to requests, or in writing, Well spoken by voice. This native Wizard will be available in a multitude of languages, among them, in Spanish or Spanish, go. We will be able to give you basic instructions to turn on/off lights, etc… but we can also create our own particular phrases, to get the vacuums out, The lawnmower… And as we say in the title, we can also ask questions for the AI to answer (so fashionable already), so we can integrate it with OpenAI and ask it whatever we want that will always know the answer 😉
At the end of the post we will also see how we can enable VoIP in Home Assistant to be able to call these Assistants by phone and attend to our requests. We will do it with a traditional phone and with a couple of softphones, one for PC and one for your mobile… The Bomb!!!
Setting up the Assistant,

We start! the first thing will be to install Whisper, This plugin will convert audio to text, that is, Speech to text, to install it we are going to “Settings” > “Accessories” > “Add-on Store” and we search for 'Whisper',

Click on “Install” to install it,

Once installed, In its configuration we have the transcription models, by default tyni-int8 will be the most common if we have a Raspberry Pi 4 or similar, We will be able to choose more complete models but we will need more computing. Here we must indicate our language, in language we select 'es'. Click on “Save”.

We start it by clicking on “Start”
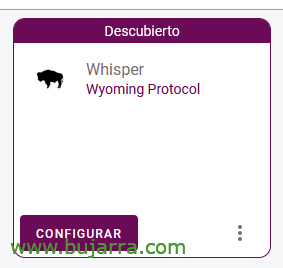
If we are going to “Settings” > “Devices & Services”, we will see that he has discovered it for us, Click on “Configure” of the Whisper.

“Send”,
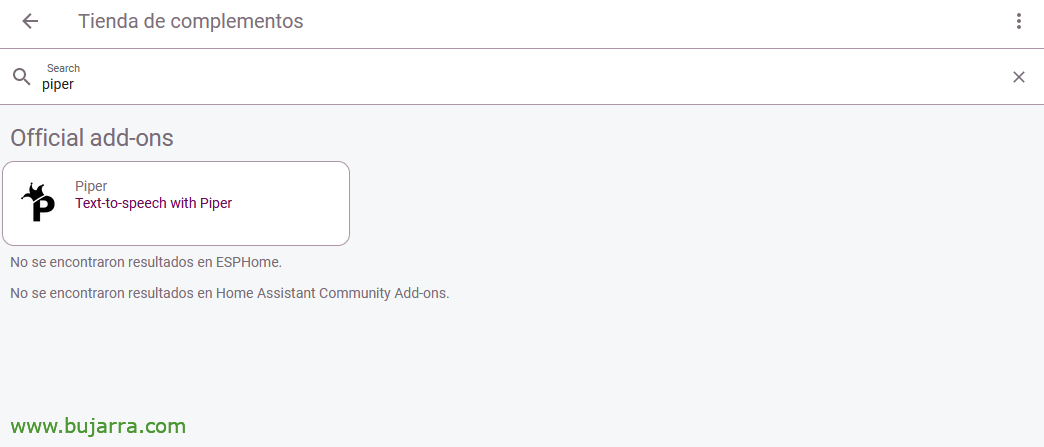
Now we'll install another plugin, in this case it will use Home Assistant to convert the text to speech (text to speech), We'll use Piper. So let's “Settings” > “Accessories” > “Add-on Store” and we look for 'Piper',

We install it by clicking on “Install”,

Once Piper is installed, In its configuration we select the voice we want it to use, In this case we will use 'es-carlfm-x-low', Spanish Male Voice, We have the rest of the voices here in case we want to listen to them to choose the one we like the most: https://rhasspy.github.io/piper-samples/
We save changes from “Save”,
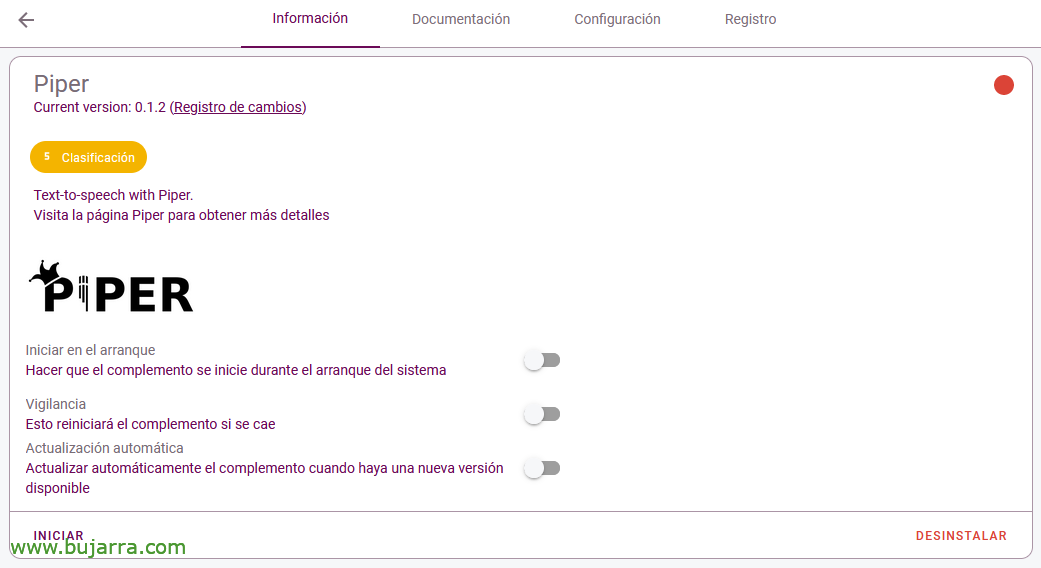
Click on “Start on Boot” in addition to starting it immediately from “Initiate”,

Piper Must Have Discovered Us, We verify it from “Settings” > “Devices & Services”, and click on “Configure” From Piper.
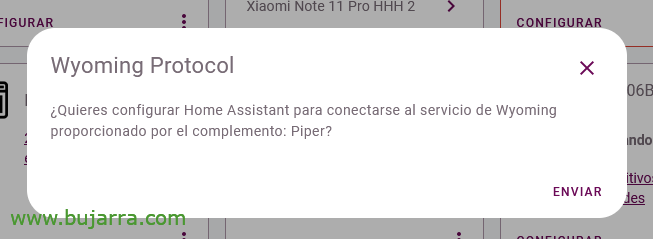
“Send”,
Create the Wizard,

Well, Let's get to it, Let's create our first Wizard, which will help us manage and know the status of any device or Home Assistant entity. To create it we are going to “Settings” > “Voice assistants” and click on “Add Assistant”,

We give it a Name, in my case the butler will be called Sebastian, We assign it a language, in this case 'Spanish'. As a Conversation Agent we will indicate 'Home Assistant’ and the 'Spanish' language. For the use of Speech to Text we will use 'faster-whisper’ with the language in 'Spanish'. And for the use of Text to Speech, we'll use 'Piper', We select 'English'’ and we choose the voice we have indicated above.
Click on “Test the voice” to test and listen. Finally we click on “Create”,

To test at the top right in the Home Assistant GUI with a browser or the mobile client, We will have an icon to talk to the assistant.

We select the newly created wizard and we can already give it some instructions, We can try to turn off/on some light, device, raise/lower a shutter, gate… For now it has a basic functionality and that if we want to grow, Well, I understand that we don't wait for new updates, or we will have to work on our own phrases/sentences; But we'll see that another day 😉
By the way, if we want to use our device's microphone to talk, instead of written. We will have to make sure that we are entering Home Assistant with HTTPS and not with HTTP. If you don't have HTTPS enabled, I recommend you install 'NGINX Home Assistant SSL proxy’ and in a moment you enable the secure connection. From there, the microphone can be used with the assistant!!!
OpenAI Integration,
GOOD, This part is optional, so only if you are interested in your Home Assistant being able to answer queries that the AI knows (Artificial intelligence). The integration in this case is with OpenAI and a paid account will be required, But don't worry, this costs almost nothing, (Consultation with GPT-3.5-Turbo outputs $0.002), but it is necessary that the account be 'paid'.
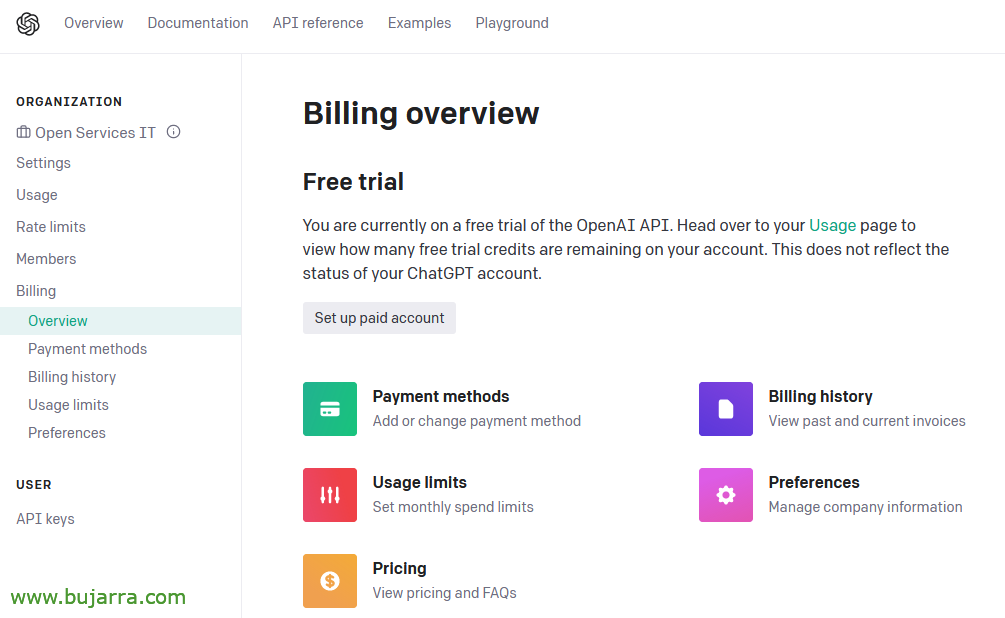
Total, that in https://platform.openai.com/account, We're going to “Billing” and we have it in “Set up paid account”.
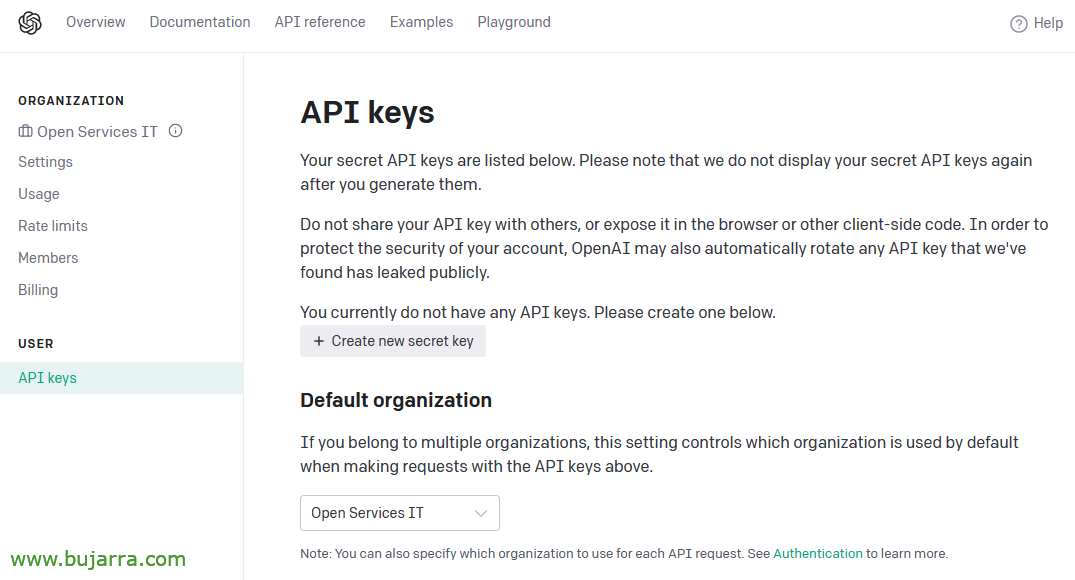
Once ready, we will now be able to obtain our API Key, We're going to “Users” > “API keys” and click on “Create news secret key”.
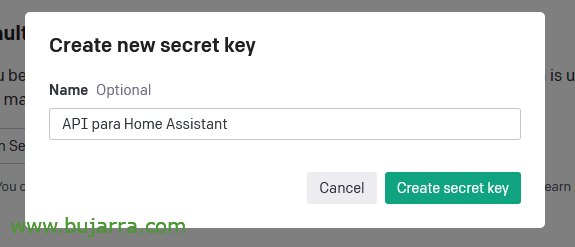
We give it a name, API for 'Home Assistant'’ & “Create secret key”. And it will generate the key that will show us on the screen, we copy the API key to a safe place.

To install the conversation integration with OpenAI, We will go to “Settings ” > “Devices & Services” > “Add Integration” > and we seek “OpenAI Conversation”
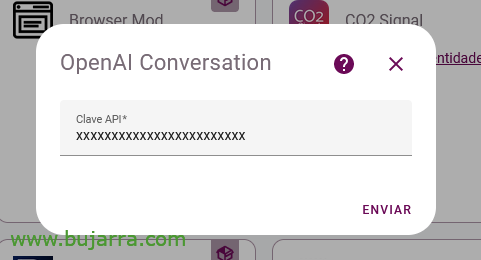
And as simple as pasting the API key, “Send”,

Let's set up OpenAI, To this end, from “Settings” > “Devices & Services”. Click on “Configure” from the OpenAI Conversation.
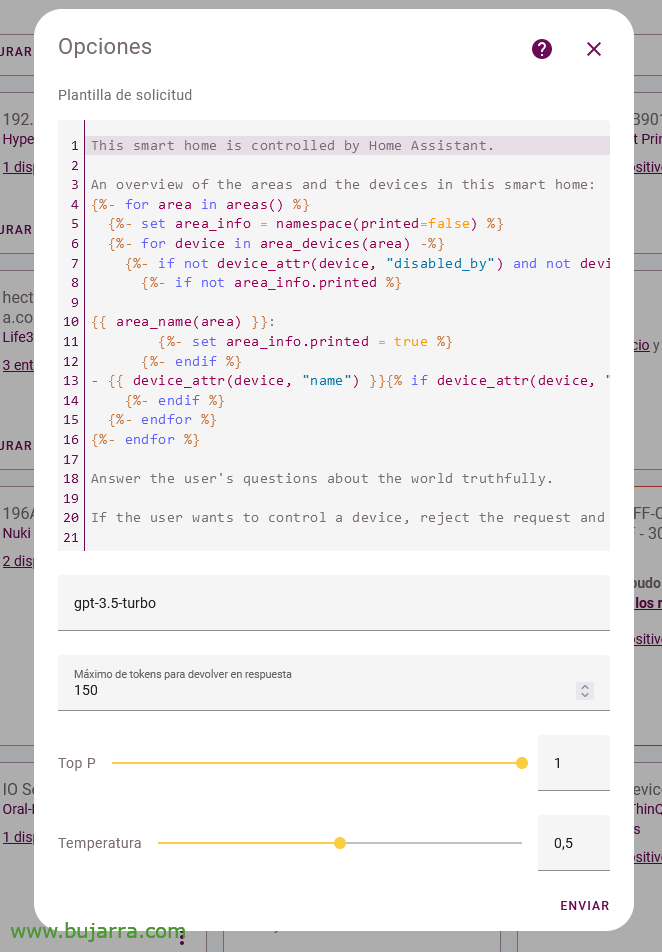
Select, In my case with GPT-3.5-TURBO it is enough for me and “Send”,
Create an Assistant with OpenAI,
In order to use OpenAI in Home Assistant we will finally need to create an Assistant in Home Assistant and link it.
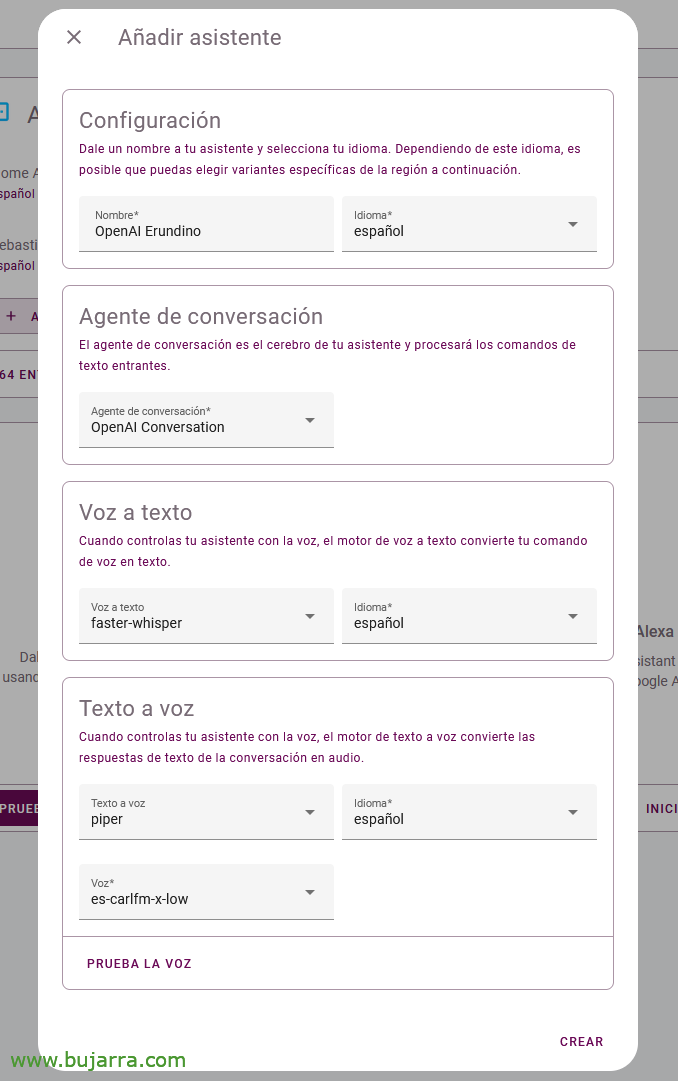
To do this,, We're going to “Settings” > “Voice Assistants” and create an Assistant from “Add Assistant”. We give it a Name, in my case you see that it will be called Erundino, There are few smarter than him… We associate a language, in this case 'Spanish'. As Conversation Agent we will indicate “OpenAI Conversation” and the language in “Spanish”. How Speech to Text We Choose “faster-whisper” and the language in “Spanish”. In Text-to-Speech, Use “Piper”, The language in “Spanish” and the voice we selected above. Click on “Create”,

And that's it, To test, we already know that in the Home Assistant GUI, top right we have it, we select the OpenAI assistant we have just created and ask it for whatever we feel like! He knows almost everything 😉
VoIP with Home Assistant,
And to finish this article we will see how it is possible to use a traditional phone, one that has an RJ11 connector, the ones of a lifetime; or we have a VoIP phone, or better yet, a softphone installed on our PC or mobile phone.
Yes, How are you understanding well, you will be able to control your home automation by VoIP from your mobile phone, or company… You will be able to have a direct access on your mobile, that when you press it will make a call and your assistant will answer you instantly 🙂
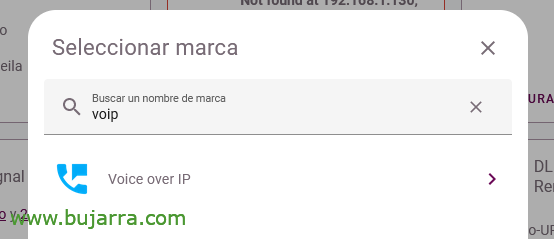
To enable VoIP in Home Assistant, We will install the integration that allows it, We're going to “Settings” > “Devices & Services” > “Add Integration” > and we search for 'voip'.
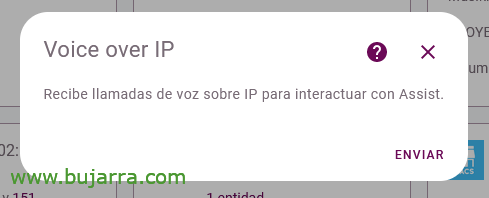
Send,
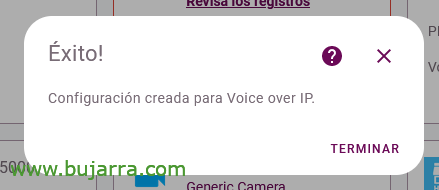
Finish,
List, that's how easy it is for us to have a VoIP switchboard waiting for calls!
Making calls with a classic phone,
GOOD, if we have a phone with an RJ11 connector, A traditional phone, or a retro one that we want to put in the office, or in the kitchen to talk to the assistant…
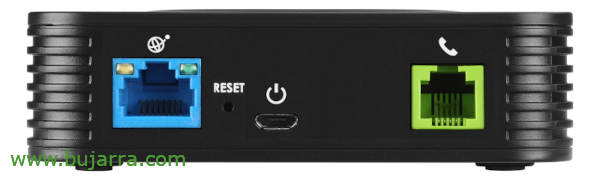
The best option is through the Grandstream HT801 device, this device turns any phone with an RJ11 connector into a VoIP phone, It's that simple. There is a model with several RJ11 connectors in case we want an additional phone… The operation is very simple:
- We connect the RJ45 to the network.
- We connect the RJ11 to the phone.
- Connect the micro USB with the charger to turn it on.
When you turn it on it will take an IP address by DHCP, If we want to know, We pick up the phone and press *** and we choose the 02, the IP will tell us the phone.

We access your IP with a browser, We validate ourselves, Default admin / Admin
And we perform a minimal optional configuration such as a static IP address, change your password, set the NTP of our network…

So that as we pick up the phone it dials Home Assistant, Let's go to the tab “FXS PORT”, in the “Offhook Auto-Dial” we will enter the IP address of Home Assistant in the following format: *47192*168*1*116*5060 and we press “Apply”
If we pick up our phone, it will make the call automatically and we will be able to hear how the handset tells us that we have to configure this phone in Home Assistant before we can use it.
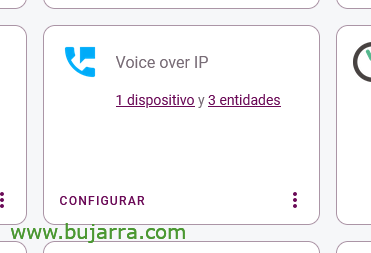
If we go to Home Assistant, in the 'Voice over IP' settings’ we will see that it has already detected our first device! Tap on the device,
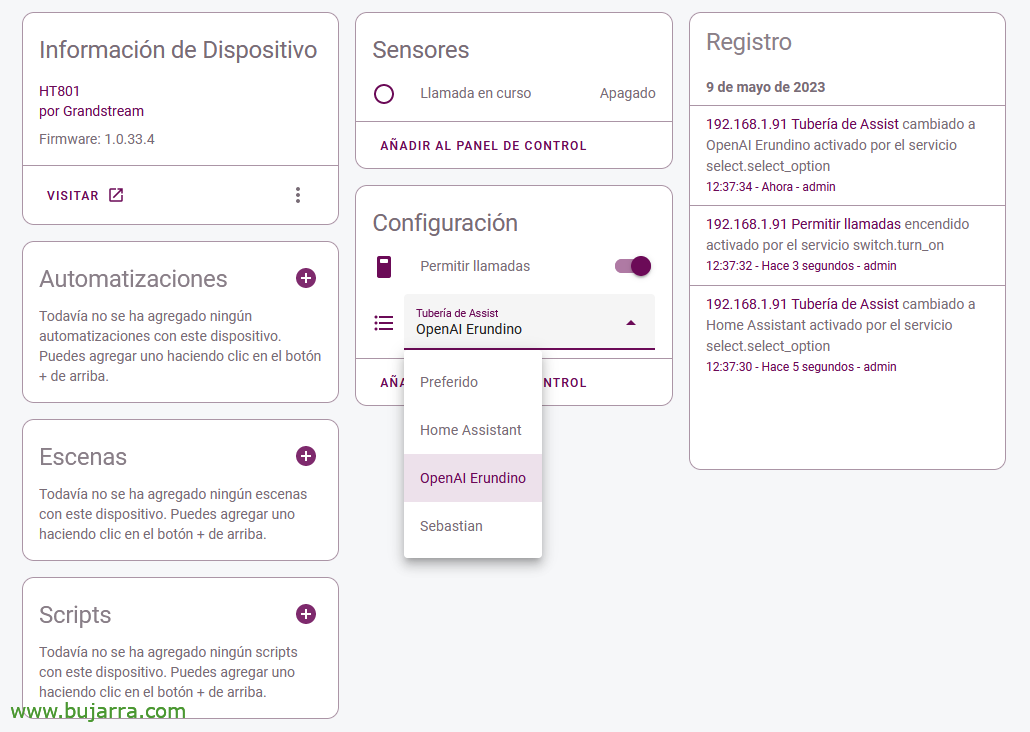
And here we will first have to allow it to make calls and associate it with a Voice Assistant that we have previously created,
This phone is ready, We can talk to the assistant with a traditional phone!
Making calls with a PC softphone,
If you want the same from your team, Easily make calls to Home Assistant to talk to one of your assistants, Here are the steps.
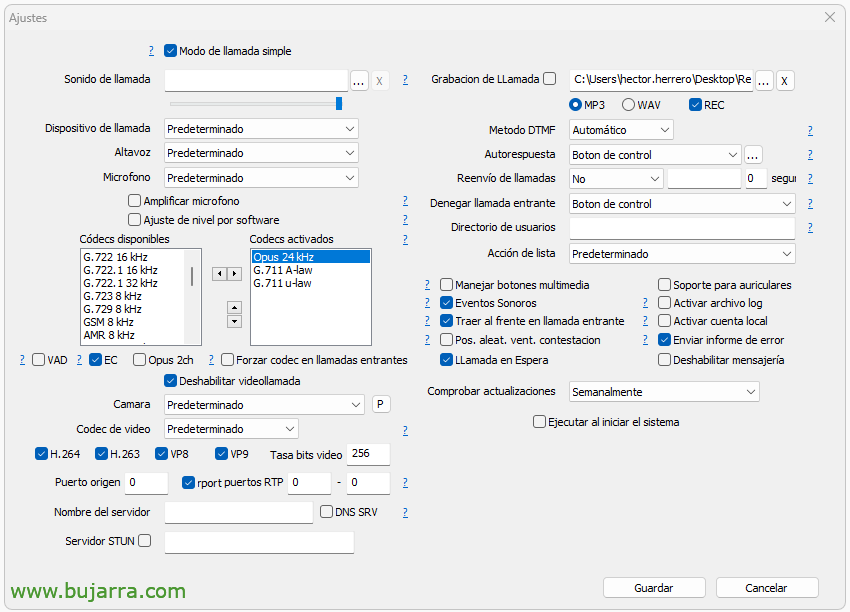
I'm using MicroSIP, but I understand that in principle any softphone would be good. Once MicroSIP is installed, or whatever it is, we must take into account that we have the Opus codecs enabled. If we have an account already configured in MicroSIP against another VoIP, we must check here the option 'Activate local account',

And directly, Without doing much else, we can dial our Home Assistant switchboard by dialing in the following format: DIRECCION_IP_HOME_ASSISTANT:PORT
We will also see that a sweet voice tells us that the phone has been connected well, but must be set up before being used.

To do this,, The same, in the Voice over IP integration it will have detected a new phone that we must activate, for this we will mark 'Allow calls’ and assign the Assistant we want to attend to you.
Making calls with a softphone on your mobile,
And well, this last example where we see how to configure an app on an Android mobile phone to make IP voice calls such as Mizudroid.
 |
 |
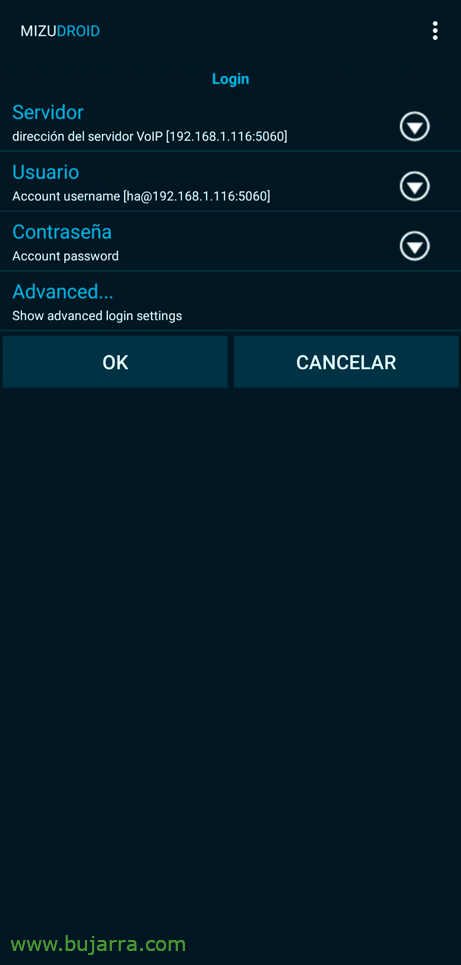
Once the app is installed, we must configure it, we indicate the Server and the User, It doesn't matter the user, must not exist previously, We don't even have to create anything. We can try making the call to Home Assistant, We mark with the format: yes:ha@DIRECCION_IP:PORT
 |
 |
If it went well, We will hear again the sweet little voice that tells us that it has connected well, and that as always we will have to activate it from the VoIP integration in Home Assistant, (allow you to make calls and assign you an Assistant).
In addition, if we add this call to Contacts, We can then create a shortcut on the mobile screen, so that you just press it and make the call to our Assistant, Easy and simple!
Well, In this post we have seen a lot of things that we can do with Home Assistant and voice, we can create assistants to interact with our home, to talk to OpenAI, Talk to attendees from your browser or native mobile app, as well as via VoIP, Crazy! But it doesn't end here, In future documents we will continue to give the, We have a lot to see!
I hope as always that it has been of benefit to someone, Thank you very much for reading if you have come this far and of course for the little hearts and likes and stuff on social networks, It is appreciated!
Hugs!