Citrix XenMobile – XenMobile Device Manger Installation
We continue to deploy Citrix XenMobile in our environment, as we saw last week, we had to comply with the Requirements installation of this MDM. In this document we will look at the pure installation of the binaries and other components, If we need, in this article we have a good overview of what makes this great MDM solution!
The first thing will be to download the Citrix XenMobile software from MyCitrix and choose the edition we need, in this scenario we will implement the Citrix XenMobile MDM edition 8.5. The requirements will be to have a Windows server 2008 R2 or 2012 Server, we will be able to integrate this solution perfectly with a NetScaler that we have in the DMZ and to provide external access from the devices, It will be enough to redirect the 80TCP ports, 443tcp and 8443tcp from outside the MDM in addition to having a public name registered in the external DNS's (guy… xenmobile.tundra-it.com).
Installing XenMobile Device Manger,
We start with the installation of XenMobile Device Manager, “Next”,
We accept the licensing agreement, “I Agree”,
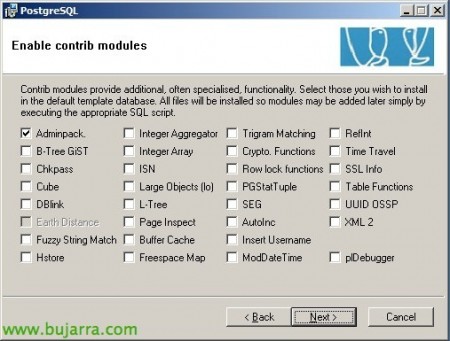
Select the components that we are interested in installing, Default, in production environments it is not recommended to use PostgreSQL as a database server, SQL Server is recommended (2005, 2008, 2008 R2 or 2012). We have in this Citrix KB a PDF with the definition of the XenMobile architecture and how to perform different implementations, Including, Use another database server. So we could uncheck the 'Database server' option’ and use a SQL later. Being a LAB I will mark it,
Default Path of the '%ProgramFiles' installation (x86)%CitrixXenMobile Device Manager', Click on “Install” to get your installation started,
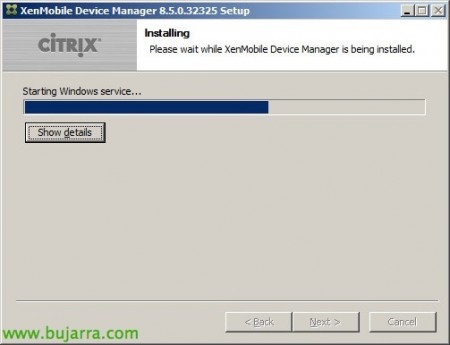
… We wait while you install all the components for us…
If we have selected PostgreSQL, its installation will begin, We will then perform a default installation, “Next”,
“Next”,
“Next”,
We will create a service account to raise PostgreSQL, We will set a password for you,
“Yes” to create the local account of 'postgrZDM',
“No”, this is because you have used a non-complex password.
Let's also set the password for the superuser 'postgress'’ & “Next”,
“Next”,
“Next”,
“Next” and to finally start with the installation of PostgreSQL!
… Wait a few seconds…
“Finish”,
At last, We continue the installation of XenMobile MDM 8.5!
…
Continuing with the wizard, a valid XenMobile license will be requested, in .crt format that will license the users or devices as well as the Zenprise components (Device Manager, Secure Device or Remote Support). Without a valid license we will not be able to continue with the installation,
This would be in step where we will configure XenMobile against a DB server, in the current case, having installed in a LAB, we will opt for PostgreSQL, in case of production, we'll go to SQL Server; we will indicate a user with privileges to create and access a database, in addition to indicating the name that we are interested in, Click on “Check the connection”,
When it does not detect an existing database, it will ask us if it will create it for us, Click on “Create”,
Everything is fine, “Accept”!
If you have a license for the Crystal Reports Java Reporting components, we will enter the key, “Next”,
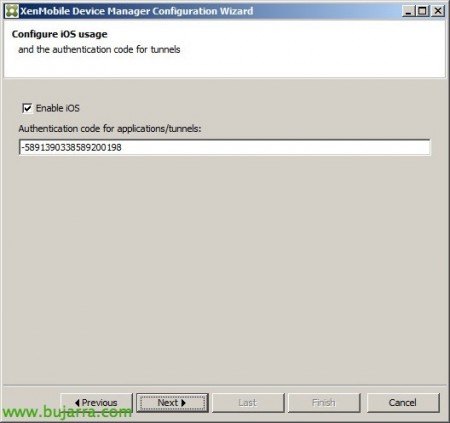
If we also want to manage iOS devices (iPhone, iPad…) We will mark “Enable iOS”,
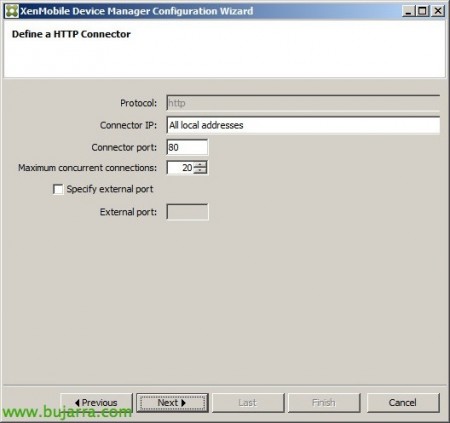
We'll define the connector for HTTP, Normally at 80TCP,
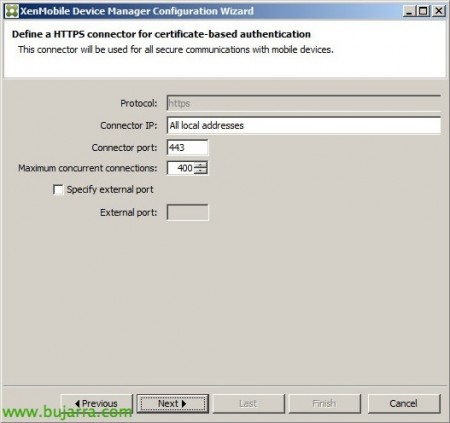
We'll define the connector for HTTPS with certificate-based authentication, Typically on the 443TCP,
We'll define the connector for HTTPS for NON-certificate-based authentication, typically on 8443TCP,
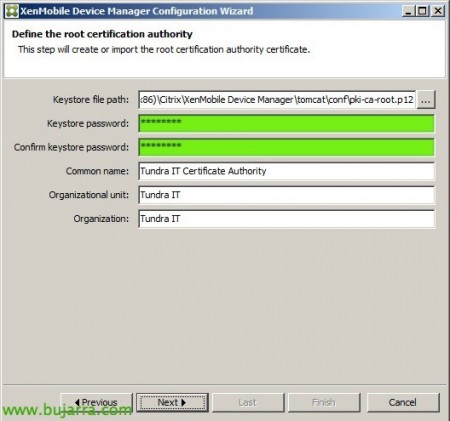
We set a password for the certificate store, in this case for the root of the AC, in addition to completing the common name, Organizational unit or organization, “Next”,
Ditto for devices AC, “Next”,
And finally, we will define the certificate for HTTPS, we must indicate the FQDN that we have publicly selected, in our case it will be: 'xenmobile.tundra-it.com'. “Next”,
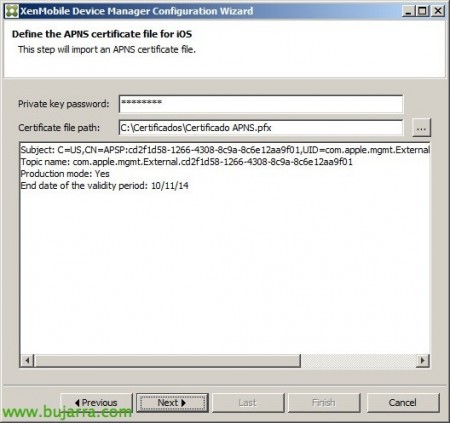
We will have to import the APNS certificate (Apple Push Notification service) that we will have generated in the previous post in PFX format and enter the password of the private key, “Next”,
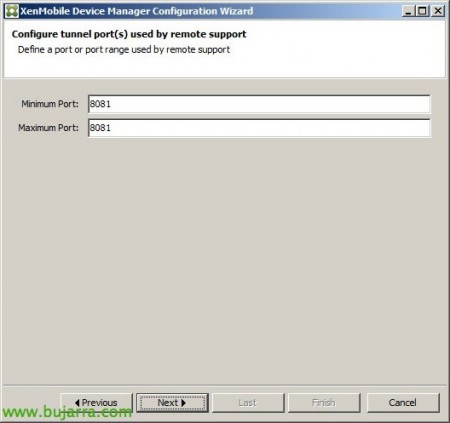
Select the port for remote access which by default will be 8081tcp, “Next”,
We will create an account with administrative privileges in XenMobile and set a password for it, “Next”,
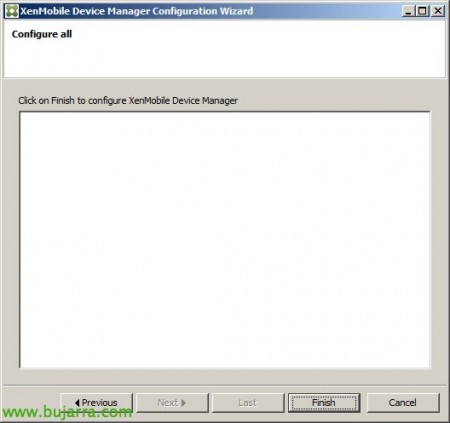
And that's it! Click on “Finish” to finish setting up the Device Manager,
We will see the tasks that are being carried out and once finished we press “Close”,
… Waiting while you start services…
Complete installation, “Next”,
& “Finish”.
Last, all that remains is to install the patch for XenMobile Device Manager 8.5.0 and have iOS compatibility 7: Simply copy the 'a_patch_850_9995.jar file’ to '%ProgramFiles (x86)%CitrixXenMobile Device ManagertomcatwebappsNOMBRE_INSTANCIAWEB-INFlib'. Later we will restart the 'XenMobile Device Manager' service’ and confirm that it's applied from 'http://URL_DE_XDM/INSTANCE/help-patches.jsp’


