Installing phpIPAM

Good, In this post we are going to see the steps we need to follow to have phpIPAM installed correctly, at the end we will have an excellent IP address manager! A utility based on php that will allow us to control the IP addresses of our company through a web interface, we will be able to analyze and understand the ranges we have by seeing consumptions, Inventories of the different devices, Existing VLANs, Subnets…
![]()
GOOD, We start by installing all the requirements, in this document I am using the latest version of Debian, one 9.6, we will have to install Apache as a web service and MariaDB as a data store, as well as other PHP dependencies:
[SourceCode]sudo apt-get install apache2 mariadb-server php php-pear php7.0-gmp php7.0-mysql php7.0-mbstring php7.0-gd php7.0-mcrypt php7.0-curl git php-fpm[/SourceCode]
We corrected the time zone of the server where we are located, We edit '/etc/php/7.0/apache2/php.ini’ and indicate in the time zone:
[SourceCode]date.timezone = Europe/Madrid[/SourceCode]
We enable mod_rewrite
[SourceCode]a2enmod rewrite[/SourceCode]
It's a good time to create the 'phpipam database'’ and a user 'phpipam’ of access that will later be necessary 😉 and we verify that we have done it well:
[SourceCode]mysql -u root -p
create database phpipam;
grant all on phpipam.* to phpipam@localhost identified by 'PASSWORD';
flush privileges;
show grants for phpipam@localhost;[/SourceCode]
We download phpIPAM:
[SourceCode]git clone –Recursive https://github.com/phpipam/phpipam.git /var/www/html/phpipam
cd /var/www/html/phpipam
git checkout -b 1.3 origin/1.3[/SourceCode]
And we create a configuration file by copying the base:
[SourceCode]CP config.dist.php config.php[/SourceCode]
We edit it and replace the login data that we will use in phpIPAM, as well as if we want to change the base directory of access to phpIPAM and not use the root of the website, In this example it would be to access via HTTP://DIRECCION_IP/phpipam
[SourceCode]$db['host'] = "localhost";
$db['user'] = "phpipam";
$db['pass'] = "phpipamadmin";
$db['name'] = "phpipam";
…
Defines('BASE', "/"); → defines('BASE', "/phpipam/");
…[/SourceCode]
We import the SCHEMA.sql into the phpipam database and restart Apache!
[SourceCode]mysql -u root -p phpipam < dB/SCHEMA.sql
/etc/init.d/apache2 restart[/SourceCode]
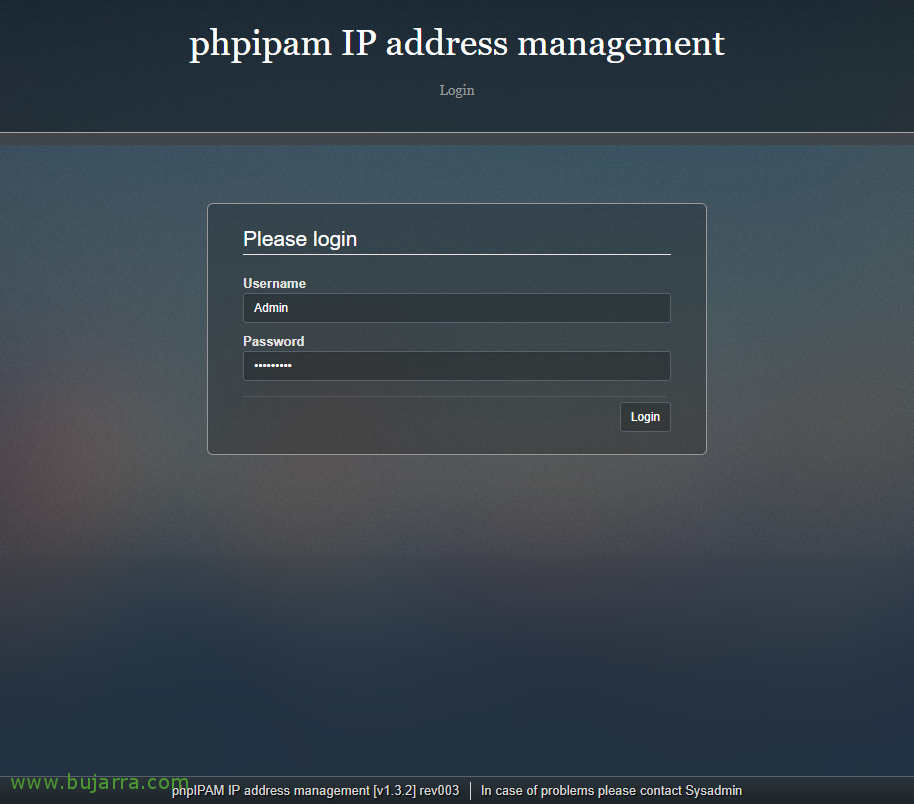
We will now be able to open the browser and access phpIPAM, from HTTP://DIRECCION_IP/phpipam and by default through the Admin username and the ipamadmin password we will enter.
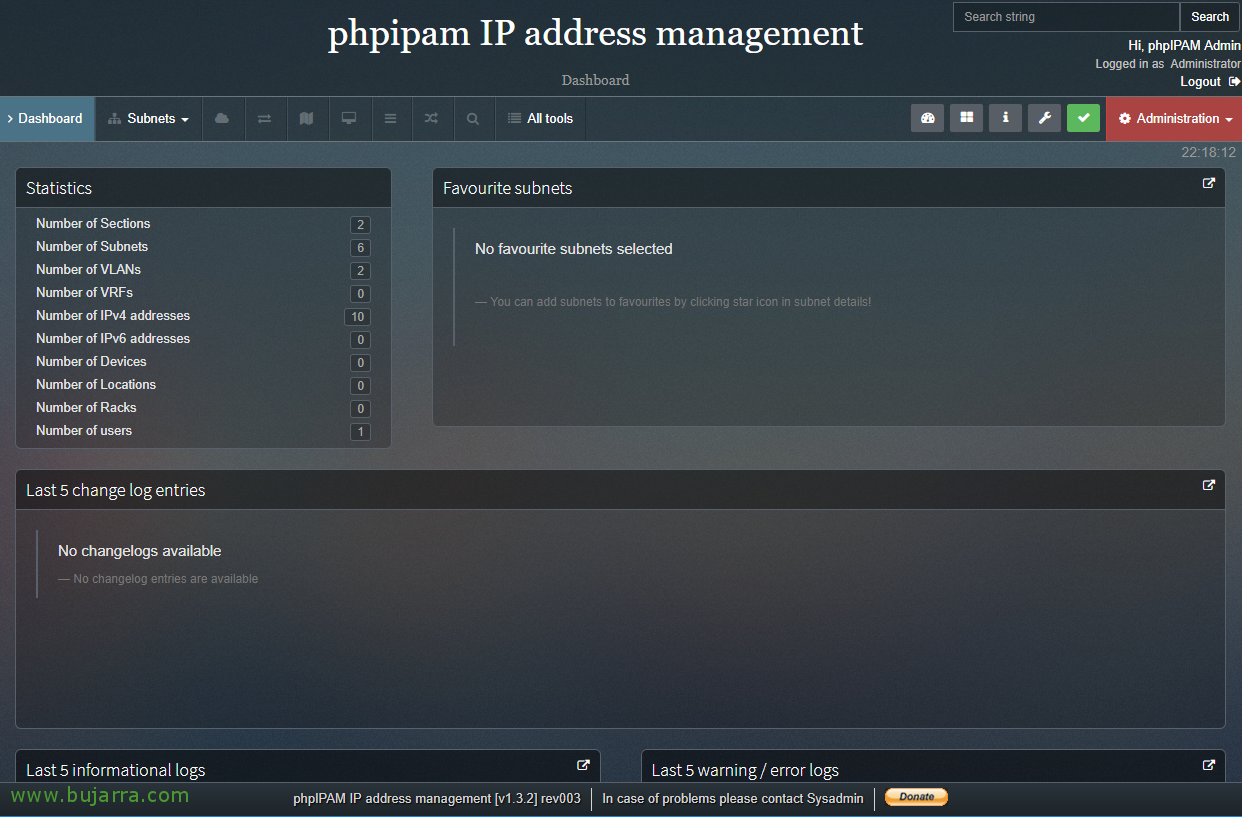
And nothing! List! We already have phpIPAM perfectly installed, we will be able to start examining or registering the networks, the devices we have or network configurations among others! Later at a glance we will be able to control all this inventory, I hope that those of you who don't know it no longer have an excuse to continue using an Excel 😛
I hope you have been interested, Thanks to tod@s for sharing!