Installing and integrating NagVis at Centreon

Let's start getting more out of monitoring, Something fun and enjoyable to watch, at least something different and it doesn't have to be as technical as it has been until now. We are going to integrate into our Nagios and/or Centreon a layer of visualization of interactive maps or drawings, it is nothing more than taking the monitored items to fully customized live drawings, are drawings of logical schemes, of photos of the DPC, SMTP traffic… of what our imagination gives us!
What I said, in this document we will look at the steps required to install NagVis and integrate it with our existing Centreon installation; and in another document we will see how to use it, How easy it is to create the maps, Upload background images, Put the monitored items, The addons, etc… which will be the beauty of NagVis!!! Anyone who does not know it will be amazed, this thing of putting the drawings on a TV in our systems department (Visio, PhotoShop…) of our organization… we will end up putting a pool of images that rotate, the screen that generates an alert is activated… impressive!!!
Prerequisites
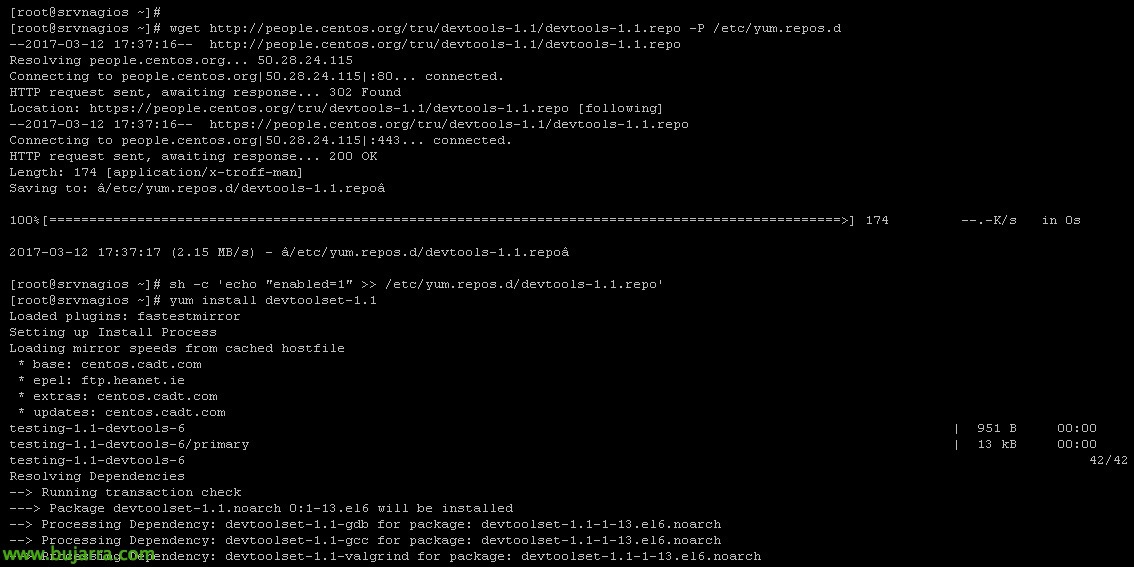
We start!! We go down to the shell of our appliance, We must update GCC to the version 4.7 on the CentOS machine if we don't already have it, in addition to adding and updating variables:
[SourceCode]sudo wget http://people.centos.org/tru/devtools-1.1/devtools-1.1.repo -P /etc/yum.repos.d
sh -c ‘echo "enabled=1" >> /etc/yum.repos.d/devtools-1.1.repo’
yum install devtoolset-1.1
SCL Enable Devtoolset-1.1 Bash
Gcc –version
export CC=/opt/centos/devtoolset-1.1/root/usr/bin/gcc
export CPP=/opt/centos/devtoolset-1.1/root/usr/bin/cpp
export CXX=/opt/centos/devtoolset-1.1/root/usr/bin/c++[/SourceCode]
And we add:
[SourceCode]vim ~/.bash_profile
export PATH=/opt/centos/devtoolset-1.1/root/usr/bin/:$PATH[/SourceCode]
Install MK Livestatus

We will install MK Livestatus to access in real time the status of the objects of our Nagios, it will be a requirement of NagVis to obtain the information and paint it on the spot:
[SourceCode]Yum install GCC-C++
cd /tmp/
wget 'http://www.mathias-kettner.de/download/mk-livestatus-1.2.8.tar.gz’
tar, laugh out loud mk-livestatus-1.2.8.tar.gz
cd mk-livestatus-1.2.8
./Set && Make
mkdir /usr/lib64/centreon-engine/bin
cp /tmp/mk-livestatus-1.2.8/src/livestatus.o /usr/lib64/centreon-engine/bin/[/SourceCode]
Config en Centreon
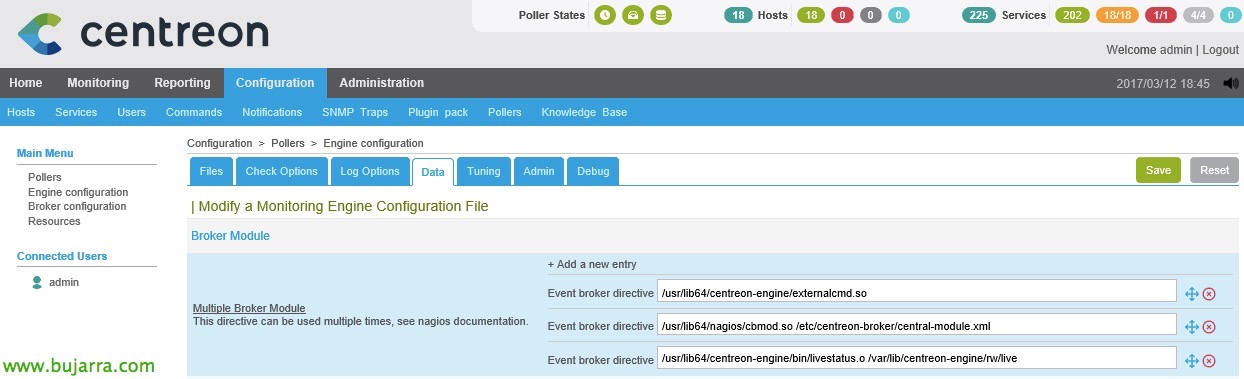
Inside Centreon, We're going to “Configuration” > “Pollers” > “Engine configuration”, eyelash “Date”, We add a new module by clicking on “+ Add a new entry” and we add:
[SourceCode]/usr/lib64/centreon-engine/bin/livestatus.or /var/lib/centreon-engine/rw/live[/SourceCode]
We recorded the Centreon setup as usual, restarting services and reloading the config, As we already know 😉
Install NagVis Backend
GOOD, we started as such with the installation of the NagVis backend on our appliance with Centreon… We see the steps required to download and install it!
Run:
[SourceCode]cd /tmp/
WGET HTTP://www.nagvis.org/share/nagvis-1.8.5.tar.gz
tar zxfv nagvis-1.8.5.tar.gz
cd nagvis-1.8.5
./install.sh[/SourceCode]
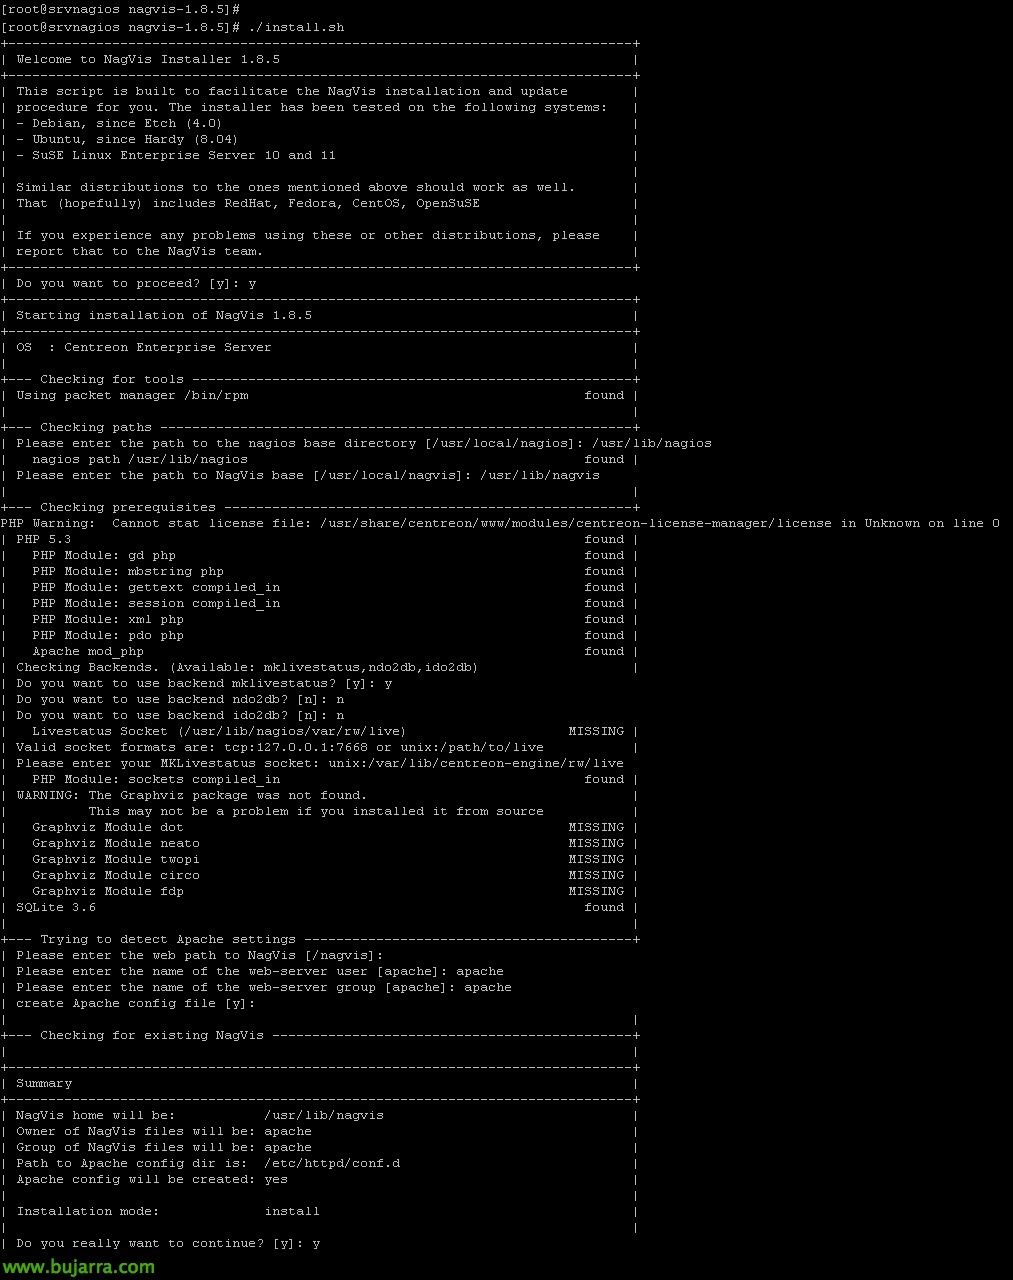
The NagVis installation wizard will begin, We must correctly fill in the questions he asks us, which would ultimately be:
[SourceCode]Do you want to proceed? [and]: and
…
Please enter the path to the nagios base directory [/usr/local/nagios]: /usr/lib/nagios
…
Please enter the path to NagVis base [/usr/local/nagvis]: /USR/LIB/NAGVIS
…
Do you want to use backend mklivestatus? [and]: and
..
Do you want to use backend ndo2db? [n]: n
…
Do you want to use backend ido2db? [n]: n
…
Please enter your MKLivestatus socket: unix:/var/lib/centreon-engine/rw/live
…
Please enter the web path to NagVis [/nagvis]:/nagvis
…
Please enter the name of the web-server user [Apache]: Apache
…
Please enter the name of the web-server group [Apache]: Apache
…
Create Apache config file [and]:
…
+—————————— ————————-+
| Summary |
+——————————————————–+
| NagVis home will be: /USR/LIB/NAGVIS |
| Owner of NagVis files will be: Apache |
| Group of NagVis files will be: Apache |
| Path to Apache config dir is: /etc/httpd/conf.d |
| Apache config will be created: Yes |
| |
| Installation mode: install |
| |
| Do you really want to continue? [and]: and |
…
[/SourceCode]
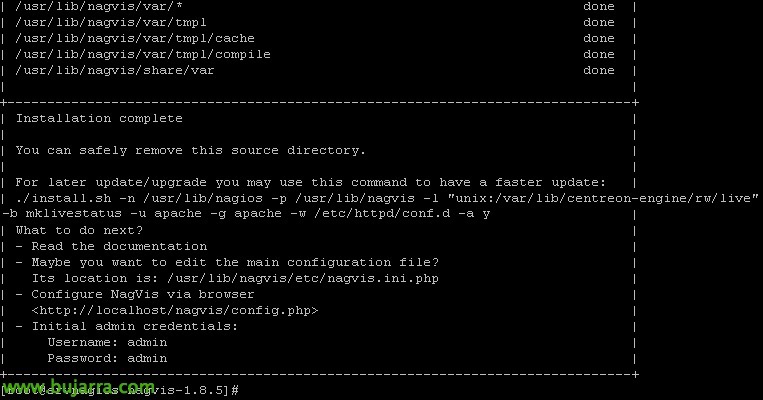
Y tras finalizar ya nos indicará que ha finalizado de una manera satisfactoria. Si necesitamos modificar algo, el fichero de configuración será: ‘/usr/lib/nagvis/etc/nagvis.ini.php’. Reiniciamos apache para que recargue la configuración:
[SourceCode]/etc/init.d/httpd restart[/SourceCode]

And we will be able to enter NagVis! We tried to access via the web through the URL: HTTP://SERVIDOR_CENTREON/nagvis. By default we will have the admin user with the admin password that we will have to change, eh!
Well, so much for this integration of NagVis with Centreon, Now the beautiful and easy part remains, What we will see in other posts, How to make interactive maps of our infrastructure and monitor it with interactive maps, Maps with logical drawings, CPD drawings or photos, Traffic between sites or connectivity of our services… There's really the magic left now!!!