FOG – Deploying Multiple Teams with Multicast

We continue with another document about FOG Project! Today we will see how from a Windows image 10, We will be able to deploy as many computers simultaneously as our switches can! By multicast, the image will be distributed to the equipment and in a few minutes we will be able to have large volumes of equipment deployed, Ideal for when we have classrooms…
Registering the equipment,

The process is very simple, As always, we must register all the teams that are going to play, This is, all the equipment in a classroom should be registered in our FOG, and then from the FOG administration console launch the image that we have already created with (For example) an installation of a Windows 10 with the applications that interest us. As always,, We start the equipment by network, If you haven't already done it, you have to change the boot boot in the BIOS, and after starting the equipment we must register them, either by making a complete record and filling in the questions you ask us or we simply make a “Quick Registration and Inventory” And we do it there!
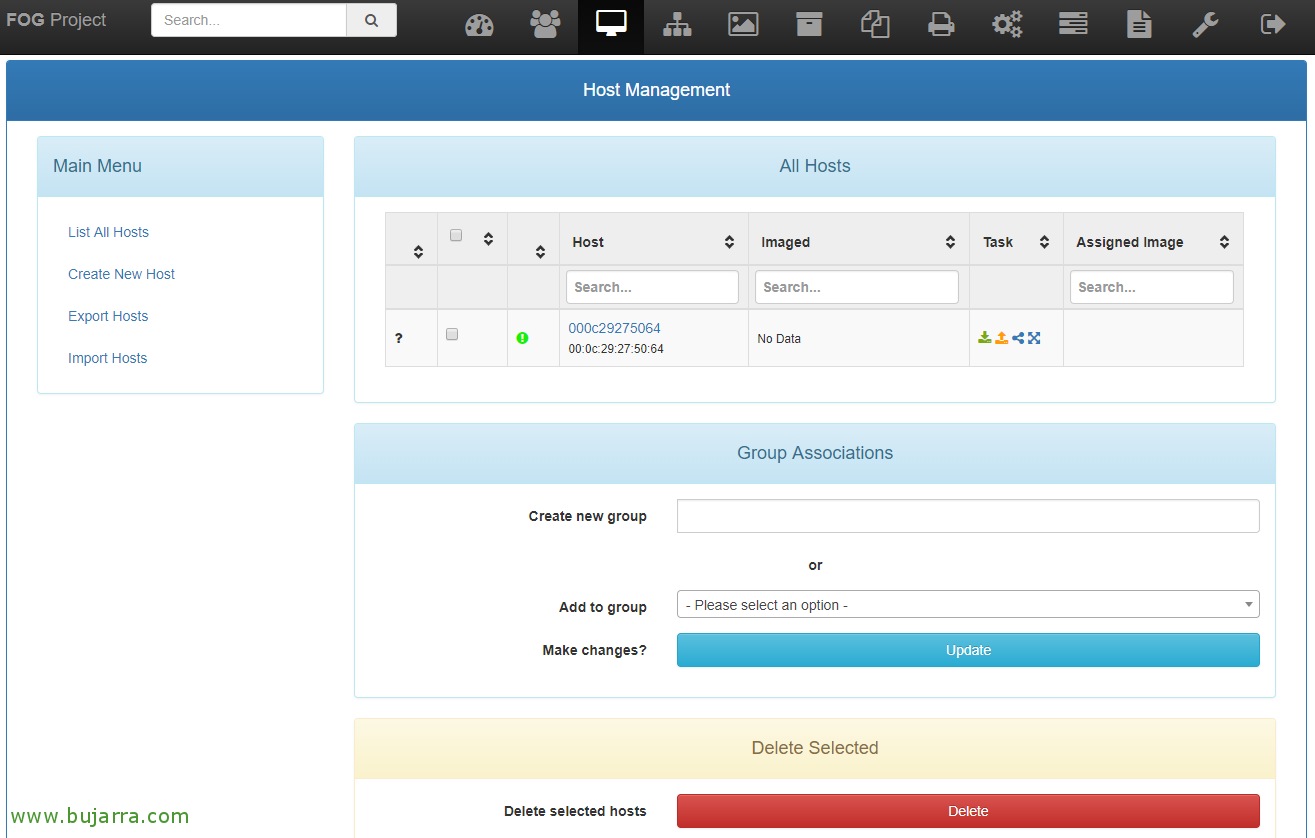
It would be a matter of assigning the MAC address to a machine name to better identify it, so after the registration, go to the FOG administration website, and in “Host Management” We will select each team,
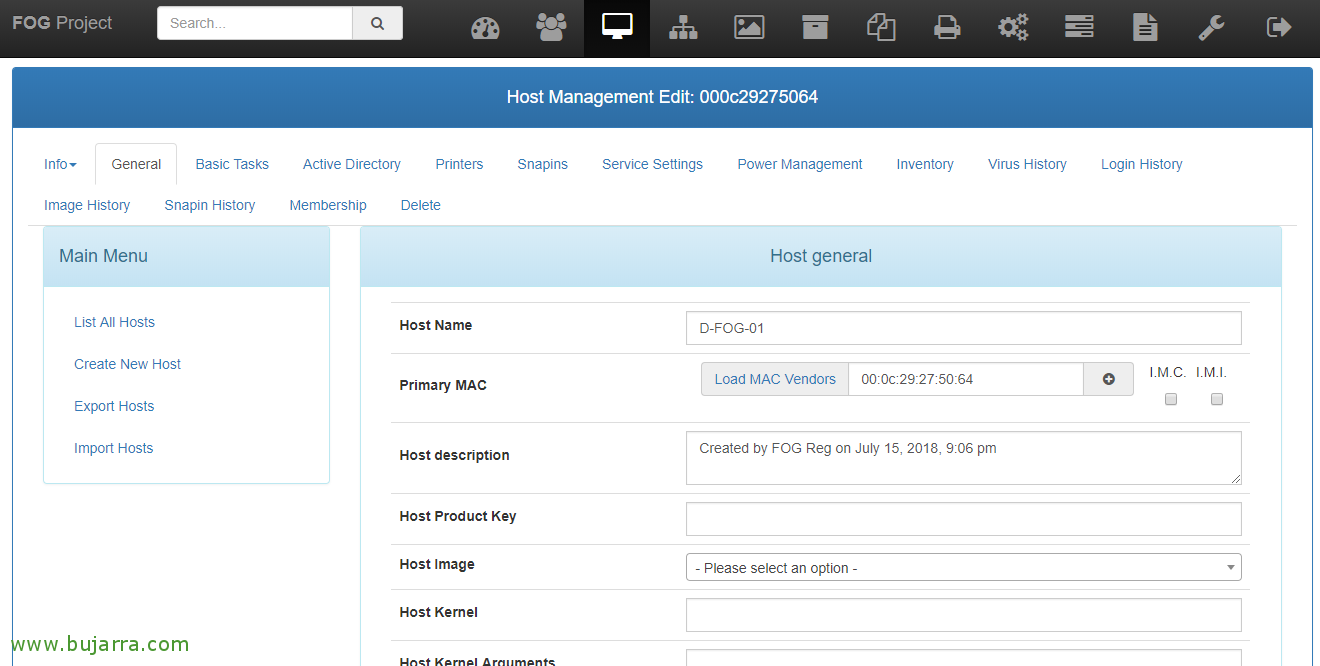
Indicating the Host Name may not be enough to identify it, No? It will be the name of the machine,
Creating groups,

This will be the scenario of the document, we have 4 machines waiting for us to send them a Windows 10 Ready to use! Well, after registering all, The easiest thing to do is to create a group to manage them all better, we select them and below in “Create new group” we indicate the name that we consider appropriate and save the changes with “Update”.
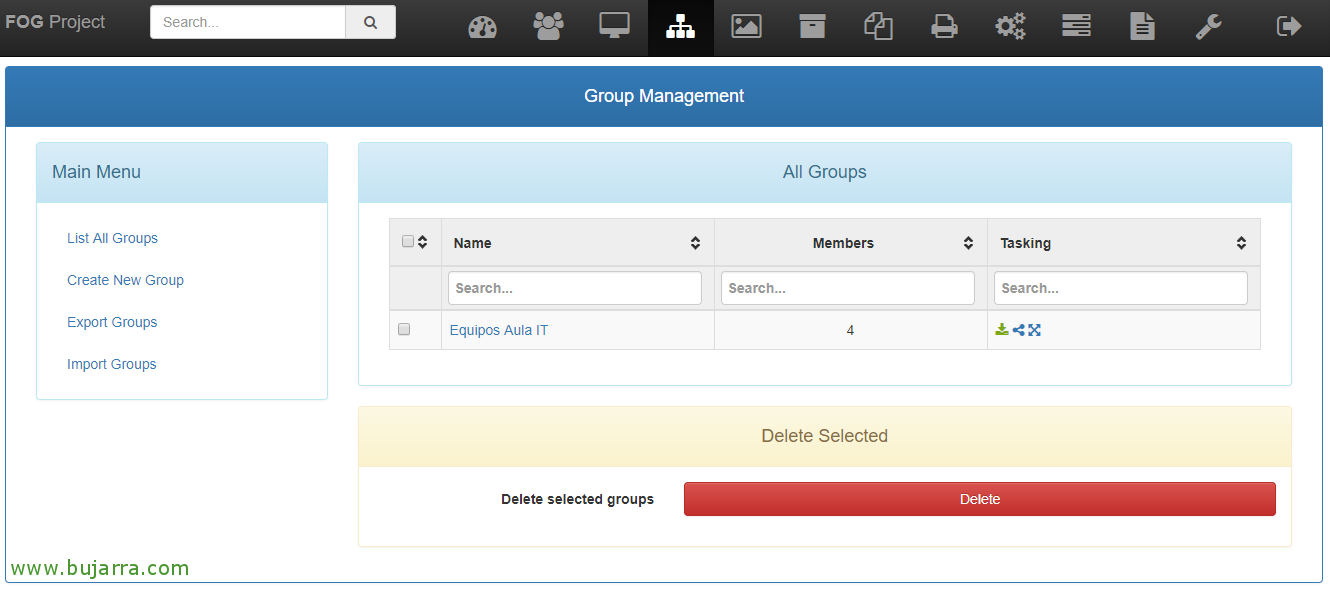
Once the group is created, from the “Group Management” We will have access to all groups and we will be able to change certain options so that they affect all the machines that are members. Select the group to modify,

On the “Image Association” We have to specify the image they will receive, We select the one we are interested in associating, in this case I will use a Windows image 10 that we have created in a previous document.
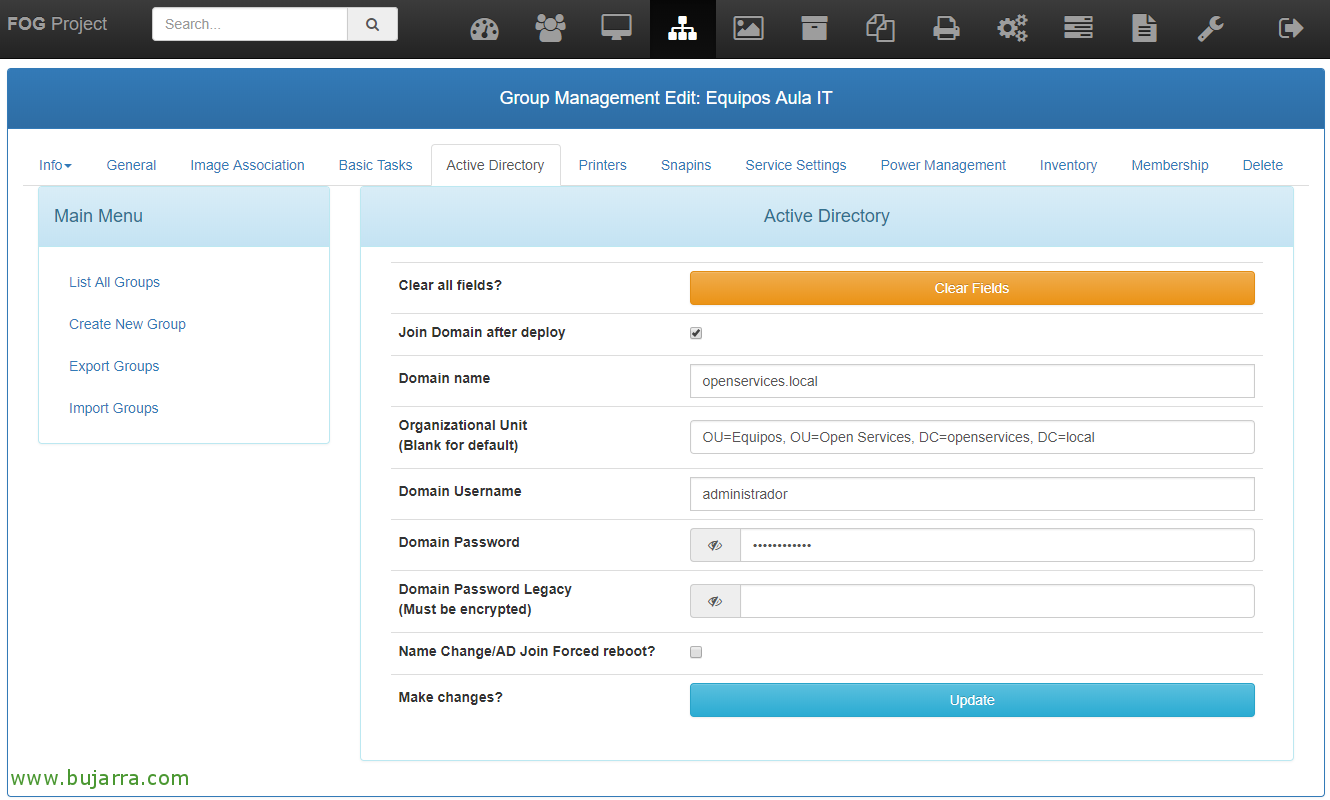
Also if we are interested in adding these machines to an active directory, We can do it from here, on the “Active Directory” we can mark the tick of “Join Domain after deploy” to achieve it. If we already have these parameters in FOG configured, we will see them and if not,, we will have to indicate which domain they will join, the OU where you will leave the computer account and credentials with privileges to join the computers to the domain.
Deploying images in bulk,
GOOD, since we have the group defined, we can from here send the Windows image 10 to all teams simultaneously, FOG uses UDPcast to distribute a single image to multiple computers at once, it is a process that takes the same time as if we were to send a Deploy to a single machine, It will wait until all the registered machines are ready and start deploying them and go at the speed of the slowest! It's amazing when it comes to deploying a lot of equipment!
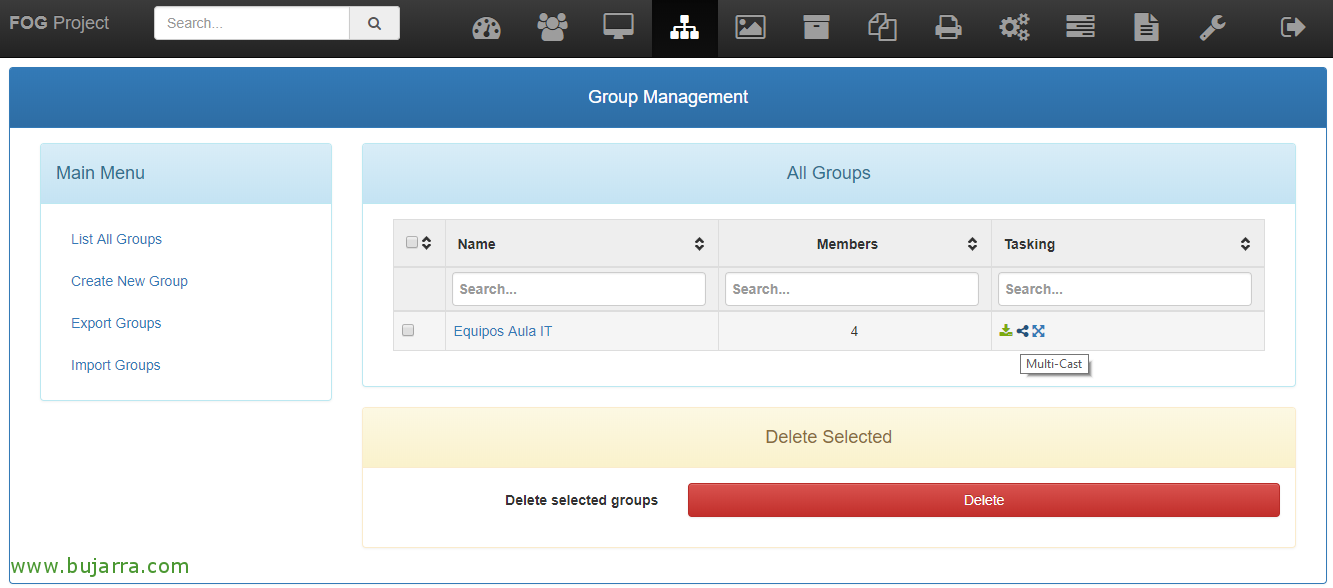
To create a Multicast task, since “Group Management”, we must click on the 'Multi-Cast' icon’ of the group we are interested in,
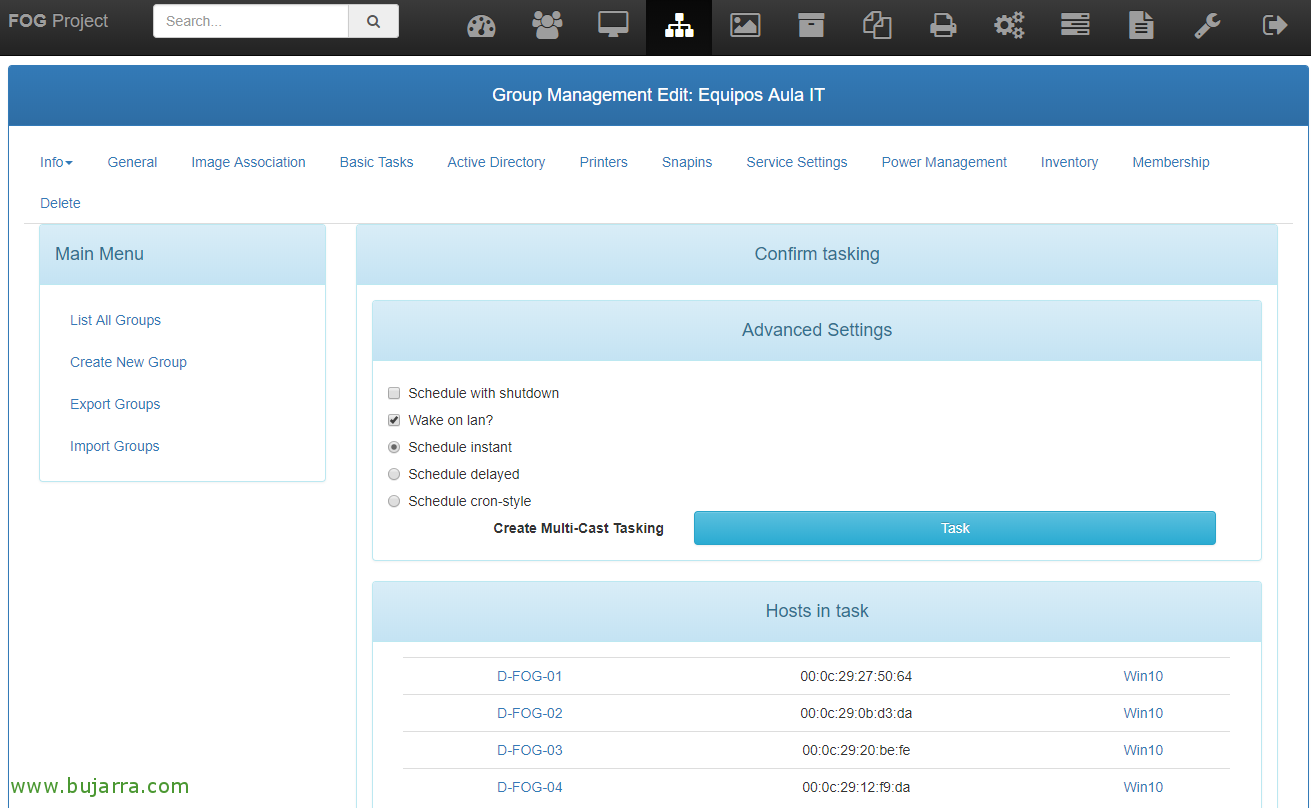
We indicate that we want to make a Wake on LAN so that all the equipment turns on, and they will automatically start over the network and receive the image, we verify the hosts that will be affected and if we want to start it now, Click on “Task”,
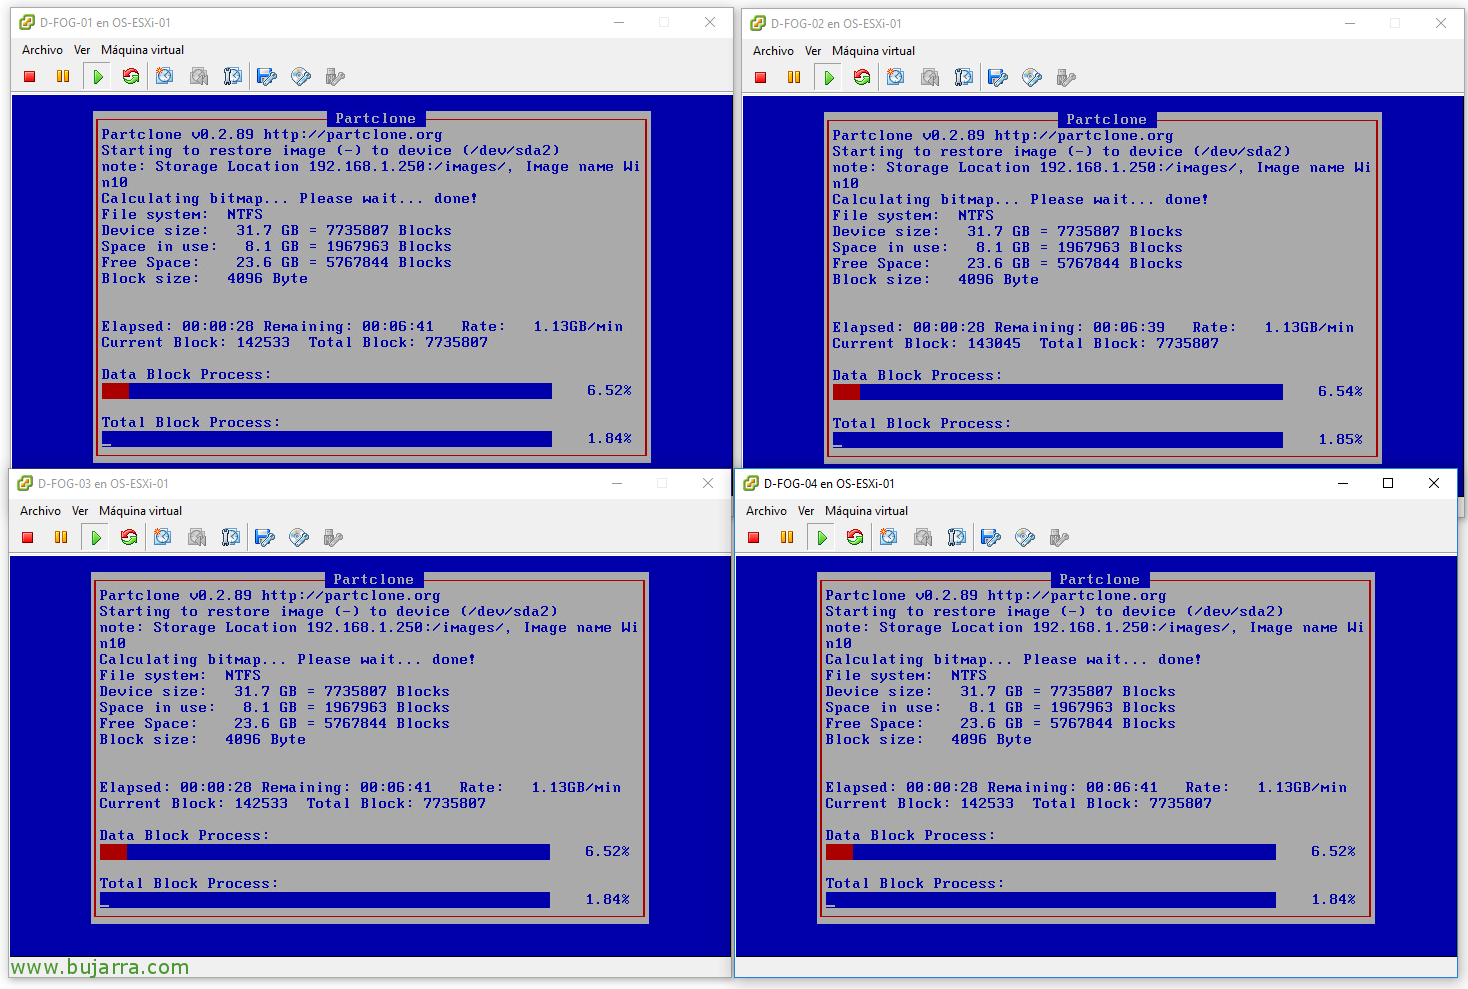
We will see how the computers turn on and start in a synchronized way the restoration of an image! In just 5 minutes we'll have in this lab scenario 4 Ready-to-use equipment, 4 equipment that will be identical, will be attached to an Active Directory and waiting for users!