Installing Centreon

We started a series of posts that are sure to generate a lot of interest! I'm going to post some documents where we are going to deploy a totally personalized and free monitoring system thanks to Nagios! We will use Centreon to generate all the necessary configurations and therefore super simple!!!

What I said, thanks to the Centreon interface, we will be able to monitor with Nagios in a simple way, We will deploy a central appliance that will store all the information and also execute the commands that we configure. A posteriori, in other documents we will see how to create satellites to distribute the Nagios cargo, but before all that we will monitor our Windows servers, Linux, ESXi, Virtual Machines, harbours, Certificates, services or running any script we can think of, be PowerShell, Batch scripts, Perl, vb… Without forgetting to make live maps with all this information! We will configure a series of alerts so that they reach us via email or whatsapp. And many more other things!!!
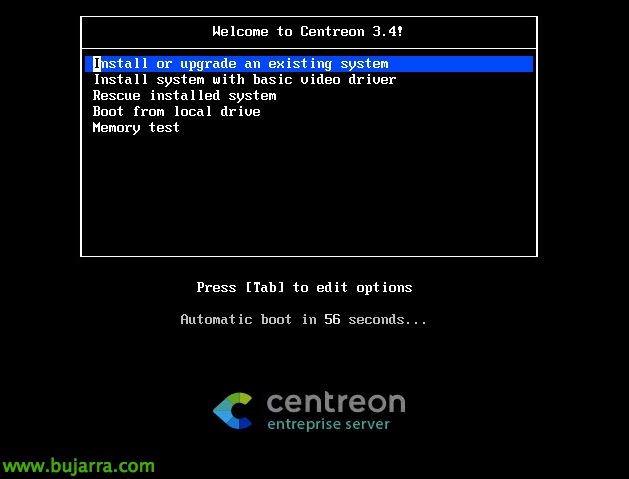
First of all, we will download the Centreon website what interests us most, either an ISO to install the CES or Centreon Enterprise Server distribution or in OVA format and download it to the virtual appliance. I usually prefer the first option, we generate a VM and proceed to install it. “Install or upgrade an existing system”.
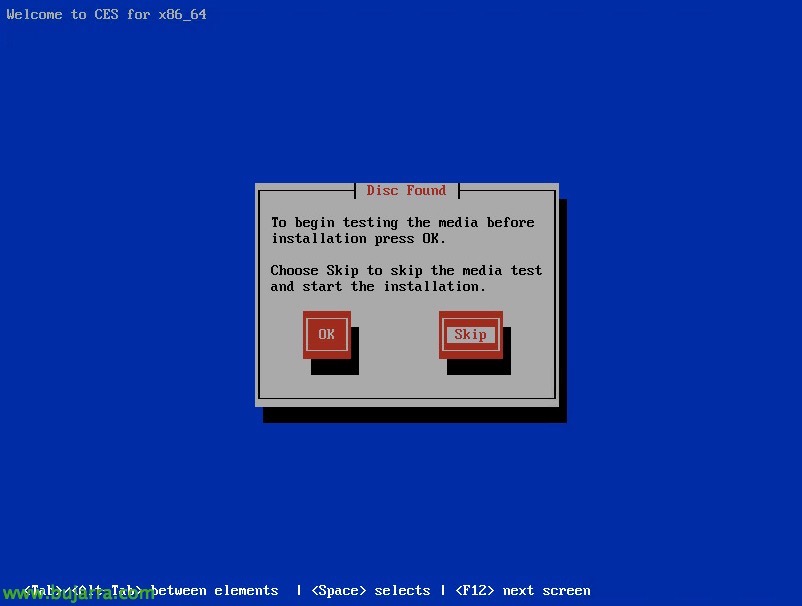
“Skip” for the middle test,
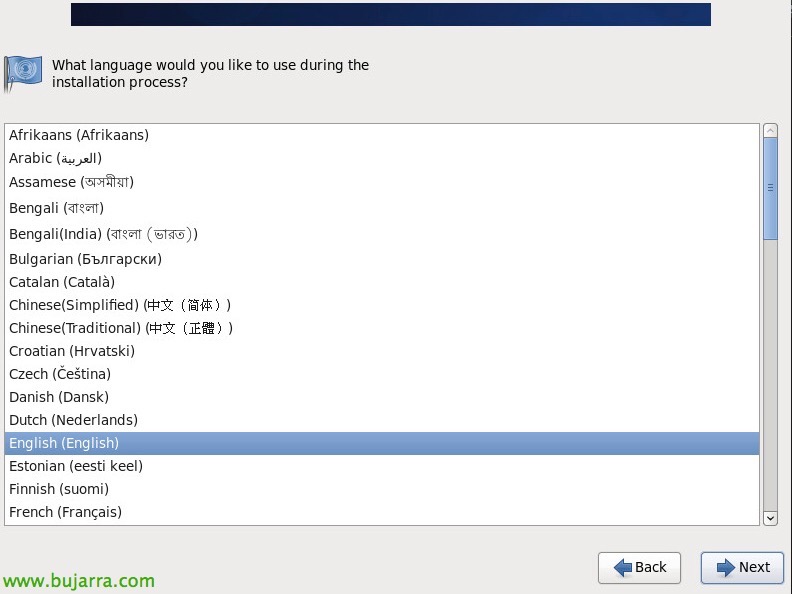
We select the language of the installation, “Next”,
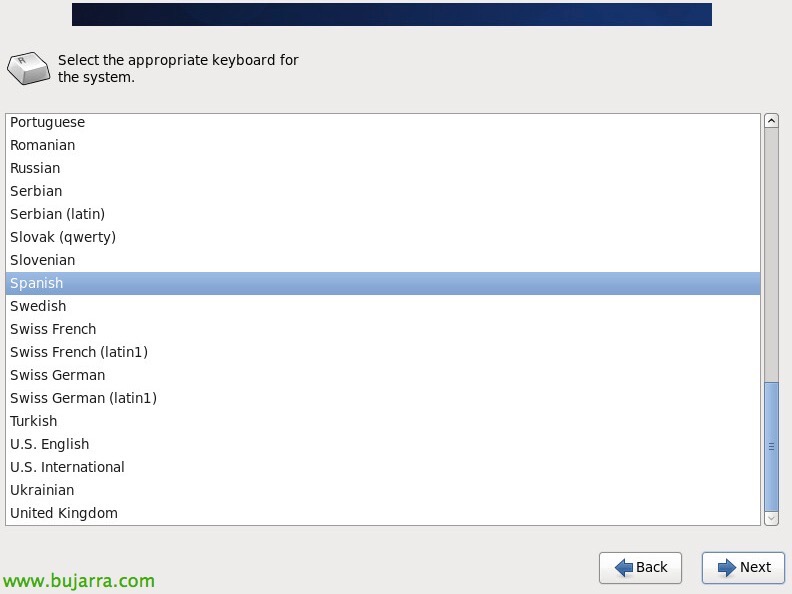
Select the keyboard language,

Select “Basic Storage Devices” to install on the local virtual disk, “Next”,

“Yes, Discard any data” to confirm the write to the disk.
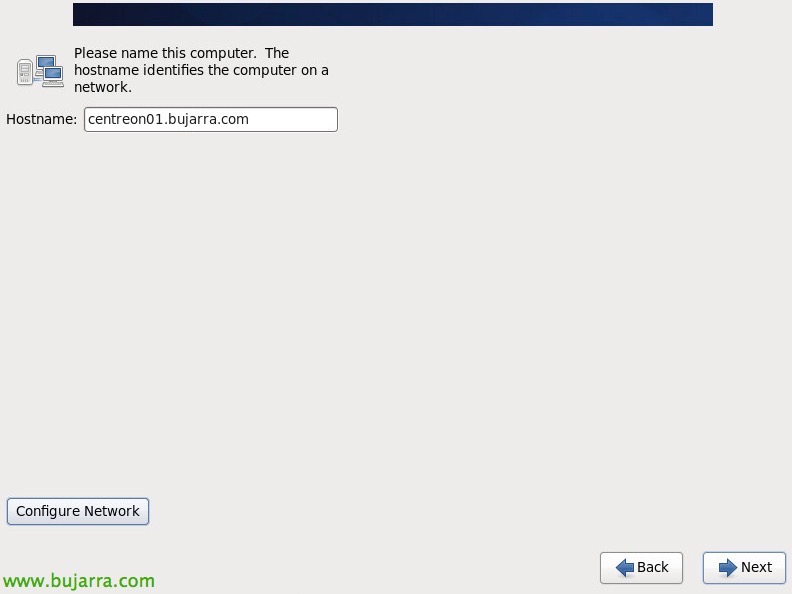
We must give the machine a name in FQDN format, Then click on “Configure Network”,

Click on “Edit…” To edit the eth0 interface.
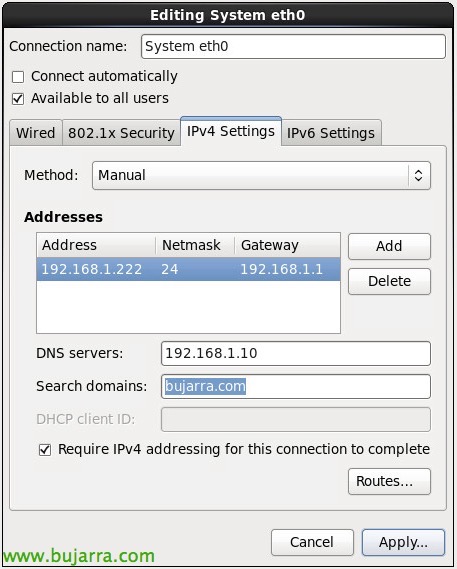
And we set up a static IP address to the machine, as well as mask, DNS gateway or servers, “Apply…”
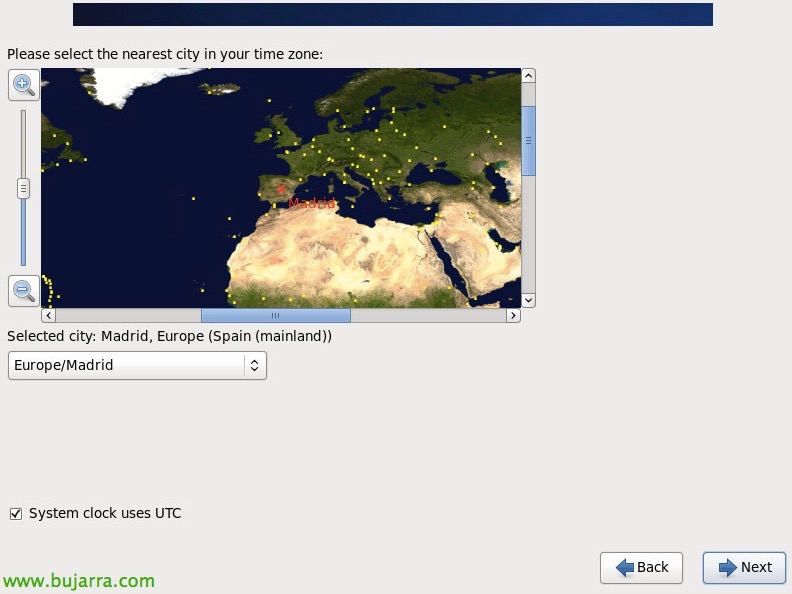
We select our time slot, Bilbao then!
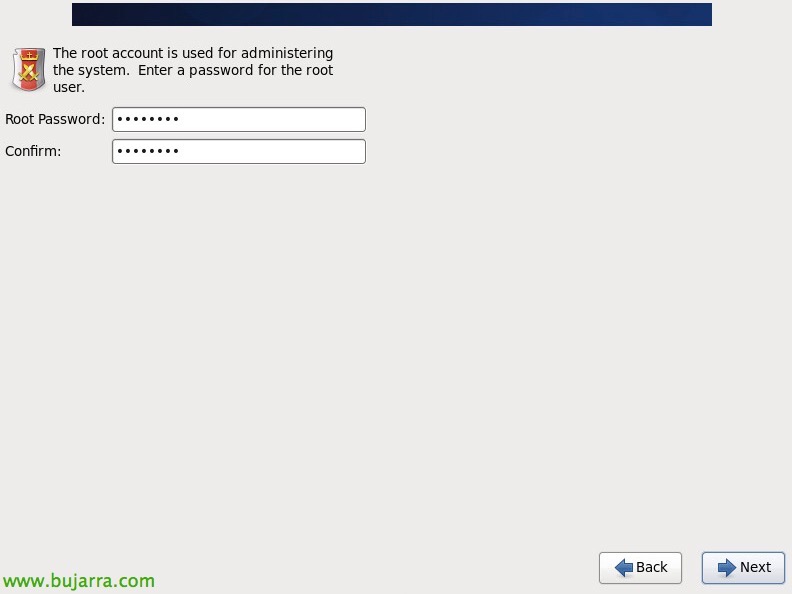
We must set the password of the user 'root'’ of the system,
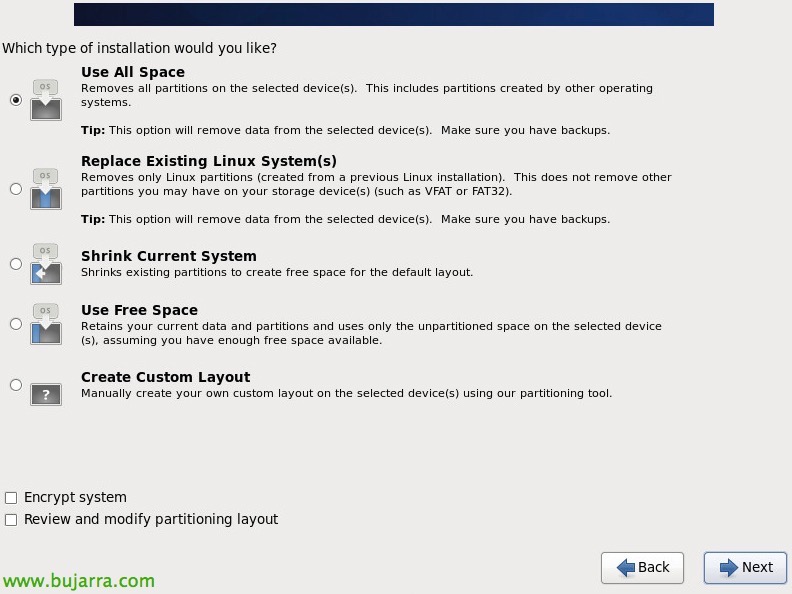
Select “Use All Space” to use all the hard disk space, “Next”,
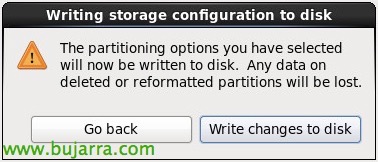
“Write changes to disk”,
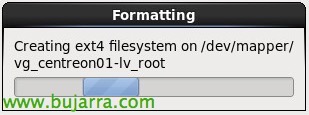
… We wait while you write to disk…
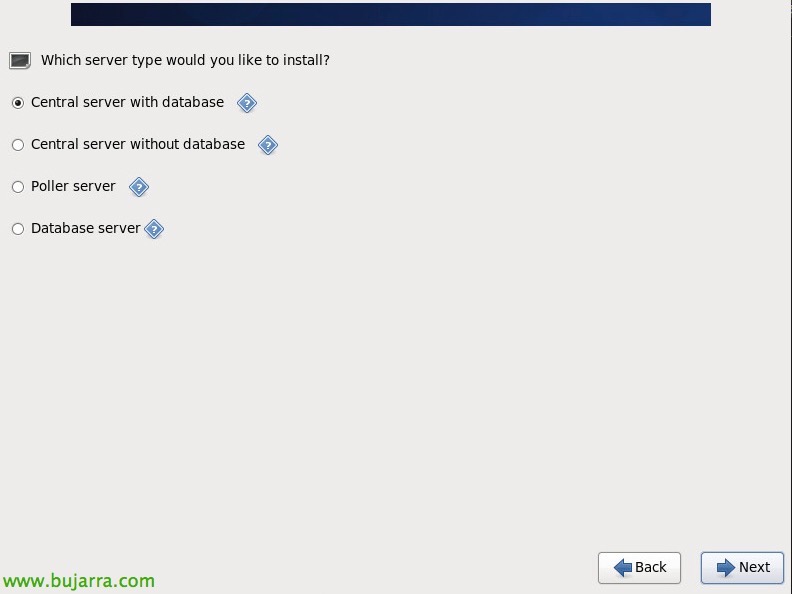
GOOD, We must select the role of this monitoring server, if it is the first server and the infrastructure is small or medium-sized we will normally select 'Central server with database'. We will be able to separate the database from the Central server, as well as install as many pollers or satellites as we need, or due to geographical issues and avoid network consumption, as well as to distribute the load if we have many elements monitored. “Next”,
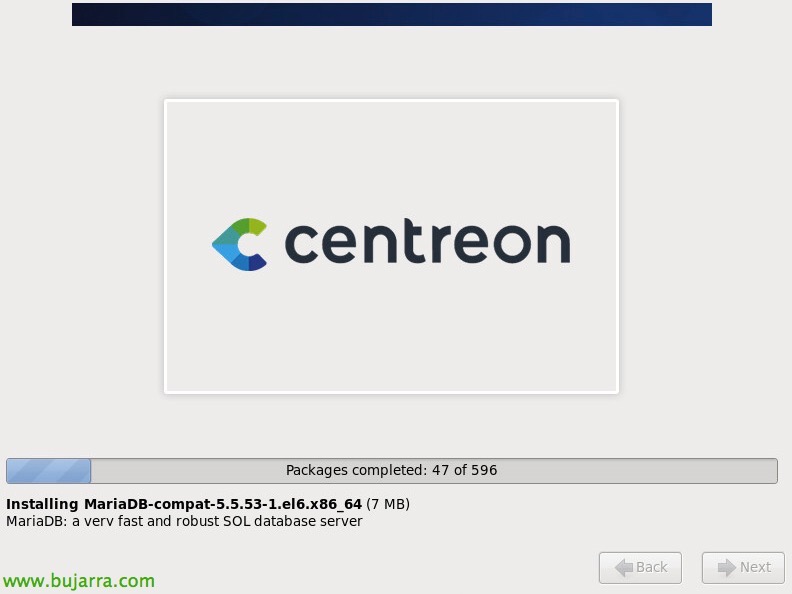
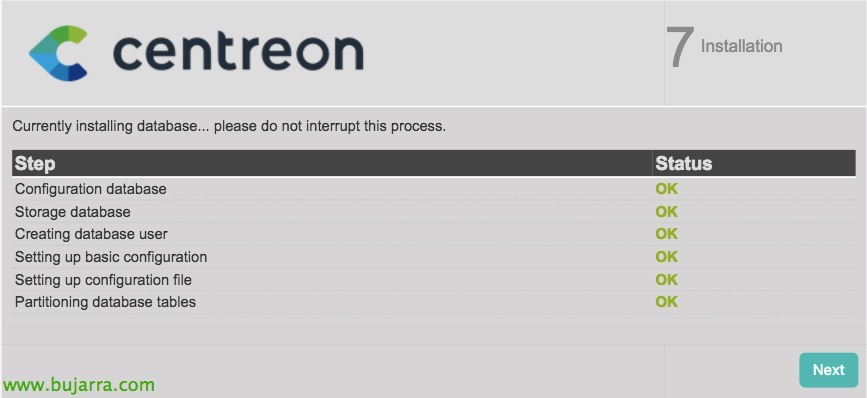
… We wait while it is installed…
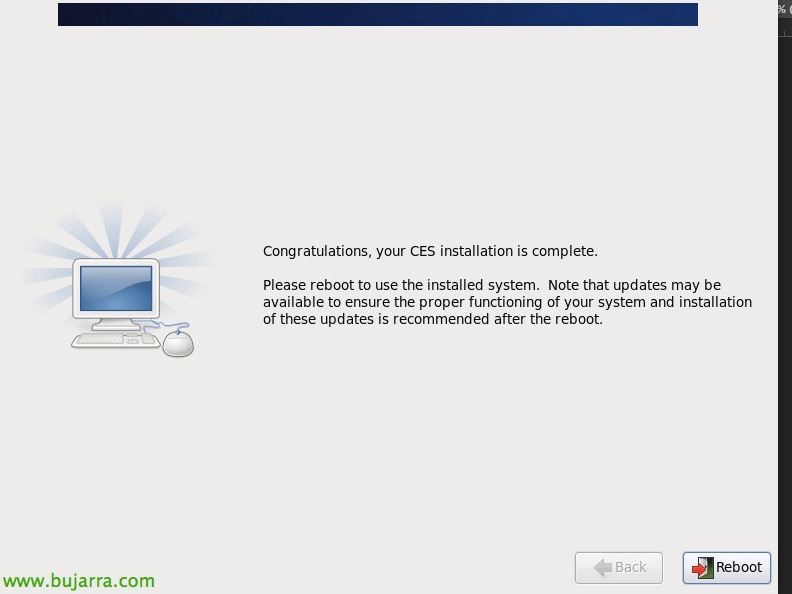
Ok, Click on “Reboot” to restart and start!

GOOD, Once restarted, From any other computer we open a browser and connect to the HTTP server://DIRECCION_IP/Centreon and we will configure any requirement using this simple wizard! Pressed “Next”,

In the step 2, we will see that the time zone or Timezone is not initialized (Not initialized), so we must configure it beforehand.

If we open the console of the Nagios or Centreon machine, We will edit the file '/etc/php.ini', in the 'date.timezone' section’ We must configure our area in the correct format, in my case 'Europe/Madrid'. Once ready, We restart Apache with '/etc/init.d/httpd restart'.
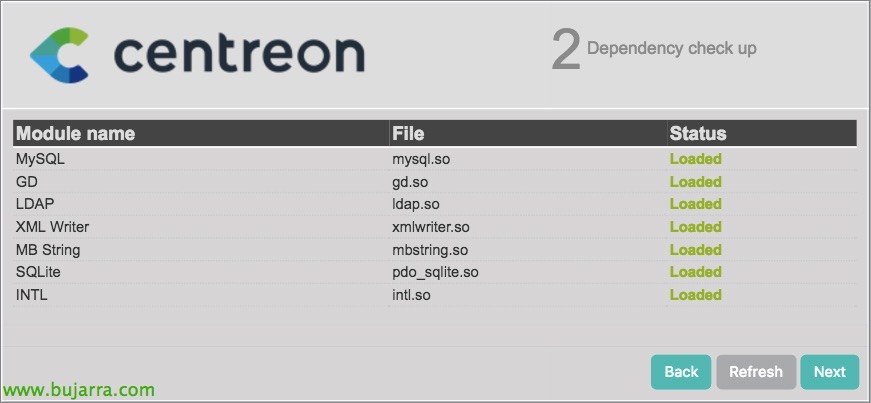
We load the wizard again and verify that we can continue,
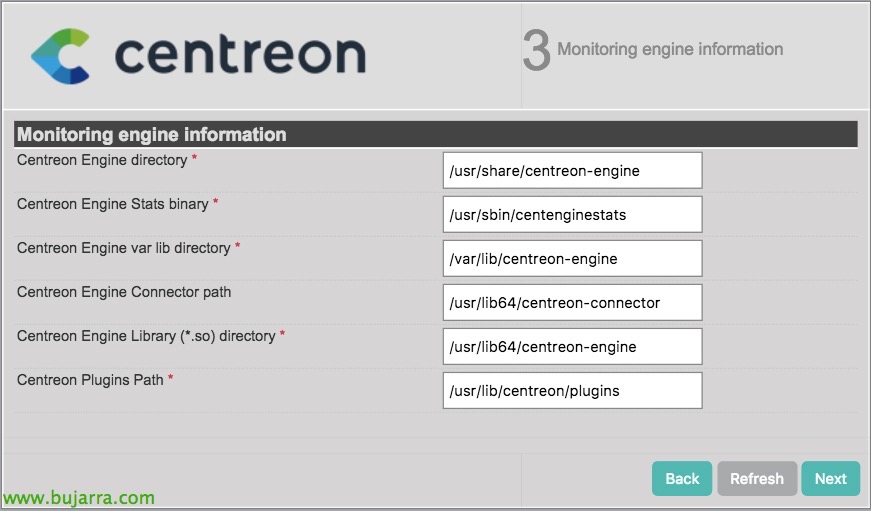
This would be the default data of the monitoring engine:
- Centreon Engine Directory: /usr/share/centreon-engine
- Centreon Statistics Binary: /usr/sbin/centenginestats
- Directory Centreon Engine en var lib: /var/lib/centreon-engine
- Centreon Connector Director: /usr/lib64/centreon-connector
- Centreon Bookstore Directory: /usr/lib64/centreon-engine
- Directory where we will leave the plugins to use with Centreon: /usr/lib/centreon/plugins
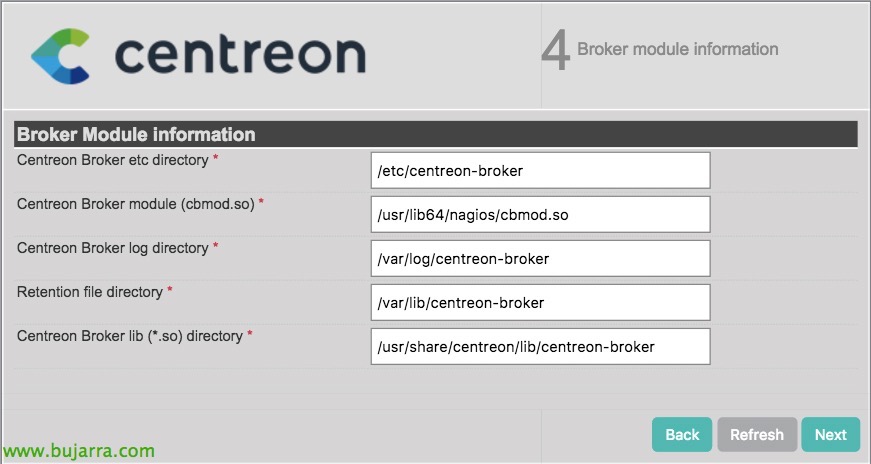
Information about the broker's side:
- Broker directory in etc: /etc/centreon-broker
- Broker Module: /usr/lib64/nagios/cbmod.so
- Broker Logs Directory: /var/log/centreon-broker
- Retention File Directory: /var/lib/centreon-broker
- Bookstore Directory: /usr/share/centreon/lib/centreon-broker
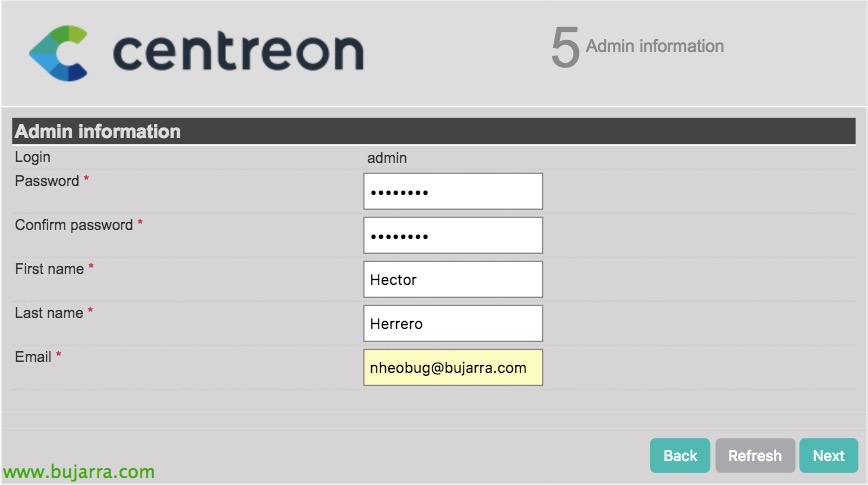
In this step 5 assign a password to the Centreon admin user, as well as we will establish a name for it, Last Name and Email Address.
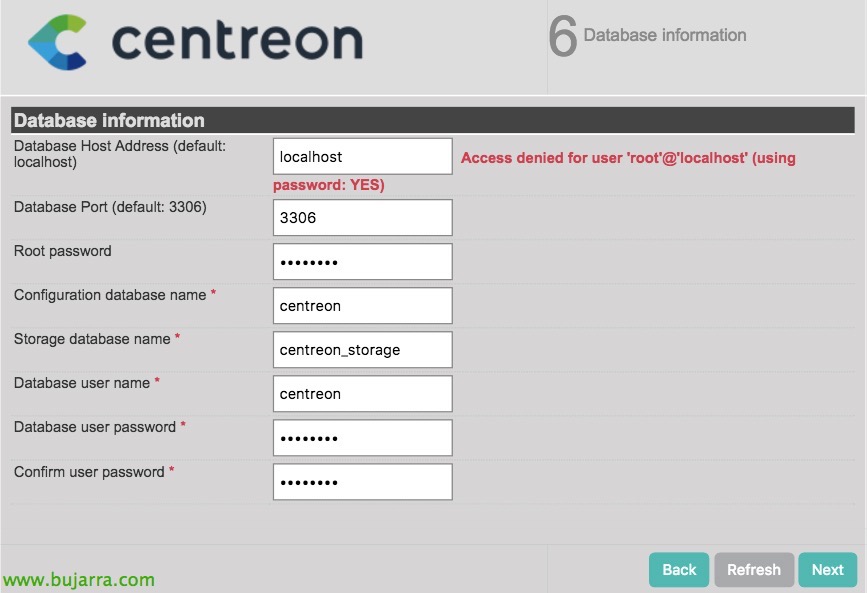
Here we will configure the connection of Centreon with the database, We will indicate that the server is 'localhost', port 3306, The root user's password, we will give a name to the configuration database, to the BD, We will create a user and assign a password to them. It will give us denied access when applying the data,

We add permissions from the console or access via SSH by running:
[SourceCode]mysqladmin -u root password PASSWORD
mysqladmin -u root -h localhost PASSWORD[/SourceCode]
We will be able to continue with the wizard as normal, “Next”,
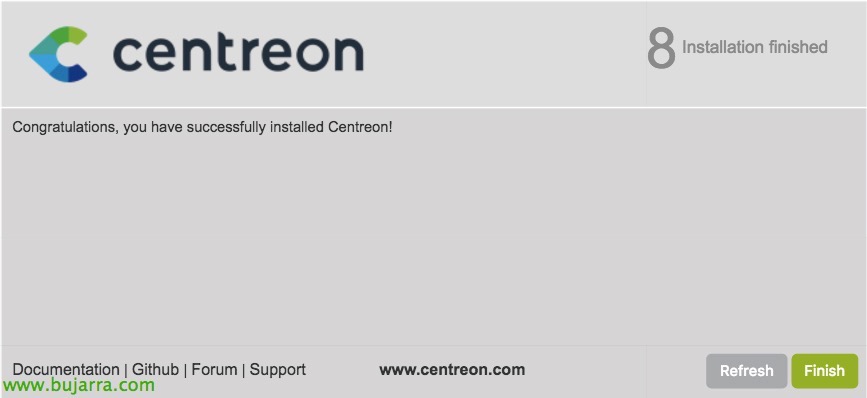
Perfect! we already have Centreon installed! Click on “Finish”.
Now I'm alone’ It remains to be basically configured, as we will see in following documents and start monitoring our infrastructure!
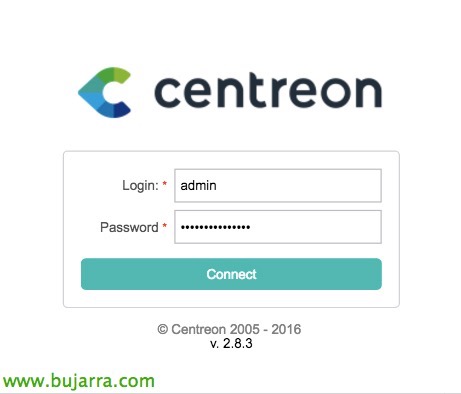
Well, we will now be able to enter the Centreon administration console from any browser to http://DIRECCION_IP/Centron, We will log in with the newly created admin account!
I hope you have found it interesting, You will see how in a very simple way we can control our entire environment and live more than peacefully, anticipating problems and controlling at all times!