Installing the first Citrix XenApp server 6
Once again Citrix releases a new version of its best-known product, XenApp or formerly Presentation Server; this time Citrix XenApp 6. In this document, we'll look at how to perform the first XenApp installation 6, which is becoming more automated every day, since in this version it will directly install all the necessary Software prerequisites. Increases end-user productivity as it only works under Windows Server 2008 R2 with 64 Bit. It also comes with HDX improvements (High Definition, improvements in multimedia and especially VoIP, Increased USB device support…), XenDesktop integration 4 (Complete Desktop Virtualization Solution…), Simplicity of administration (also PowerShell support, Workgroup servers, Console Integration, integration of policies with Active Directory,), integrates with Microsoft App-V, improvements in service isolation or IEA…
What I said, in this document we will look at the installation of the first Citrix XenApp server 6, we will have to take into account that MS Access databases are no longer supported, Therefore, one of the following databases will have to be used: such as DataStore: Microsoft SQL Server 2008 Express or Microsoft SQL Server 2005 o Microsoft SQL Server 2008. At the level of soft requirements, will automatically install the following: .NET Framework 3.5 SP1, Remote Desktop Services feature on Windows server, Windows Application Server Role, Microsoft Visual C++ 2005 SP1 (x64) and Microsoft Visual C++ 2008 SP1 (x64). Well, to start the installation it will be enough to have the server with Microsoft Windows Server 2008 R2 Ready (with a correct name, Stuck in dominance, without/with firewall, fixed IP address…), We have to take into account that system units can no longer be reassigned, so we will have to configure it later if we want these units to be hidden. We put the installation DVD in and in the author we select “Install XenApp Server”.
It will tell us that we don't have the .NET Framework 3.5 SP1 installed and it will be installed by clicking on “Accept”,
… Hope…
Vale, Once ready, click on “Add Server Roles” since from now on everything will work with functions or roles.
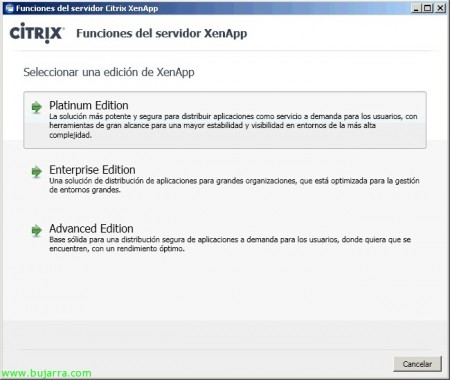
Select the edition we want to install, I always recommend installing the highest version and then setting on the servers (with a Citrix policy) Editing the servers, This will allow us to have components installed that, even if we do not have a license, we have them available to use, since if we install the lowest edition then we will not have these components and who is in charge is the edition established in the servers. So “Platinum Edition”,
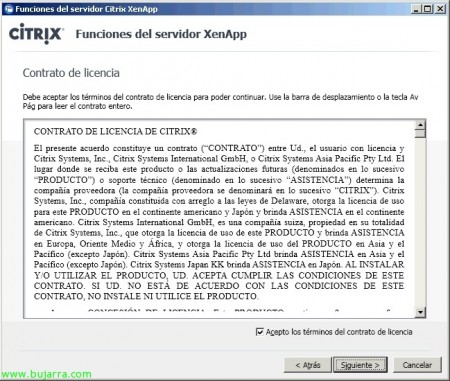
We accept the license agreement, “I agree to the terms of the license agreement” & “Following”,
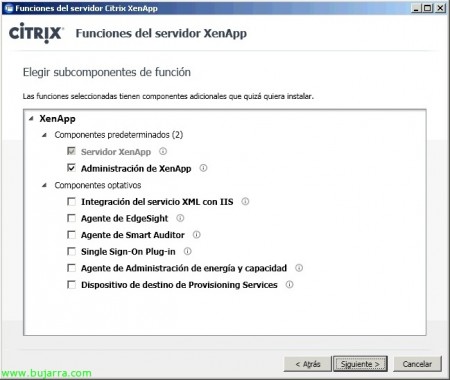
Select “XenApp” which is the function that said server will have and later we will add what we need, but in principle, being an application server, it should only have XenApp and the other functions distributed on other servers.
Added the Admin console “XenApp Management”, “Following”. At the component level, if we know that we are going to need one, we could indicate it now, But if not, nothing.
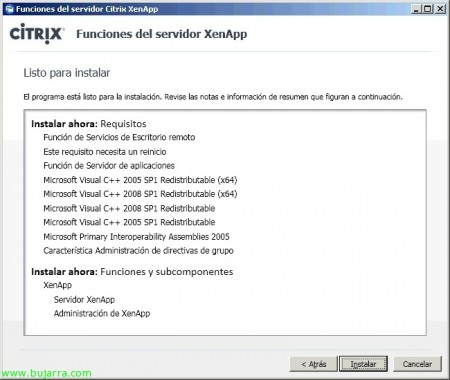
It tells us the installation prerequisites, “Following”,
Click on “Install” to get started with the installation,
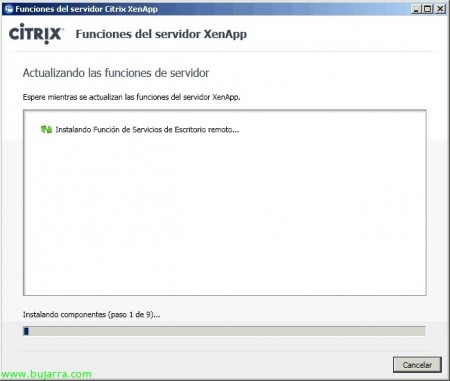
… We wait while you install the requirements…
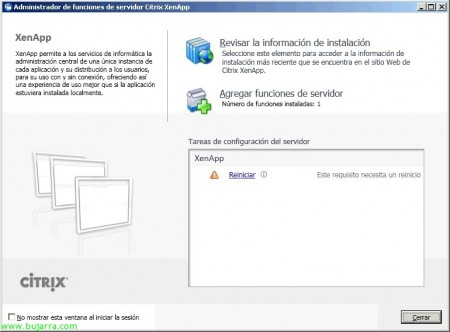
When installing the Remote Desktop Services feature, you will need to restart in order to continue with the rest of the requirements… So we close the wizard and restart the server.
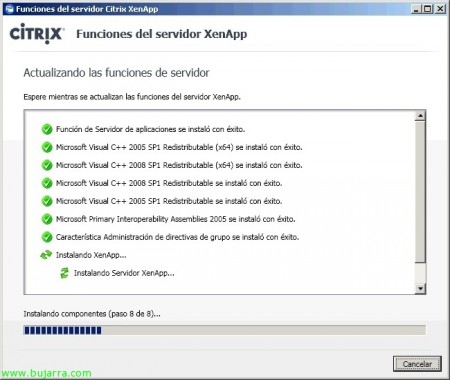
After restarting the server, We continue with the requirements… “Install”,
…
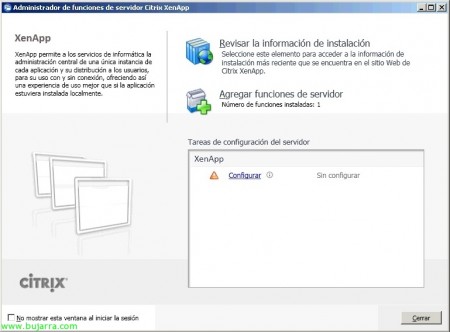
Perfect, we already have the XenApp feature installed, Pressed “End”,
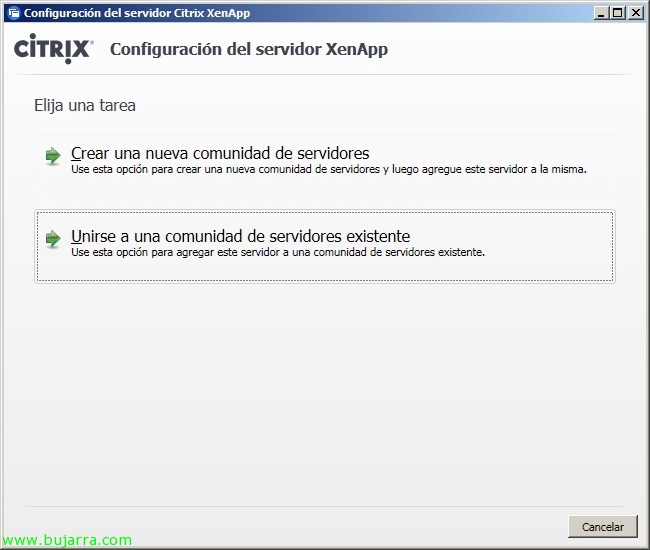
Of course,, we will need to configure XenApp now. If we want to create a template for this server we could do it now, with only the binaries installed, We do a cloning of the server and we would prepare it to be cloned. Well, Click on “Configure”.
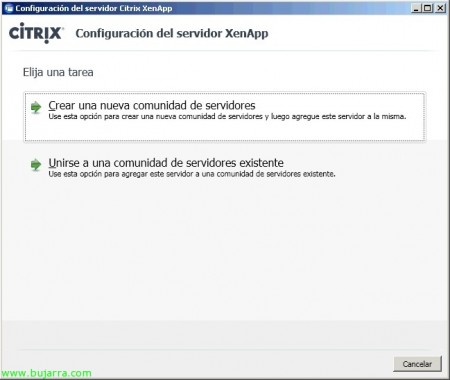
As it is the first installation, we must indicate “Create a server community” and with the following servers we will join it.
We provide a name and an administrator from our community for Citrix XenApp, “Following”,
If we already have the license server installed, we can indicate it, otherwise, “Enter the license server information later”, “Following”,
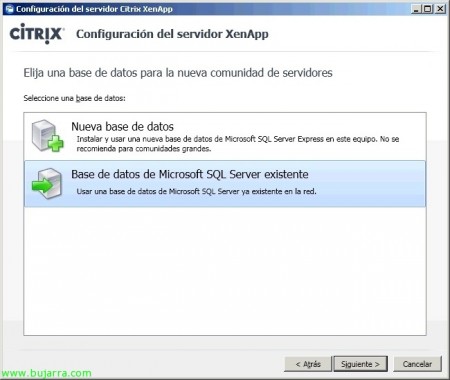
If we have a database server on the network (recommended) we will use a database that we have previously created on a SQL server (Existing Microsoft SQL Server Database). If we don't have a database server and we don't consider having one, We will choose the first option (New database), not recommended since we have one more critical point in this XenApp server and it would already be different from the rest of the XenApp servers in our community/farm. “Following”,
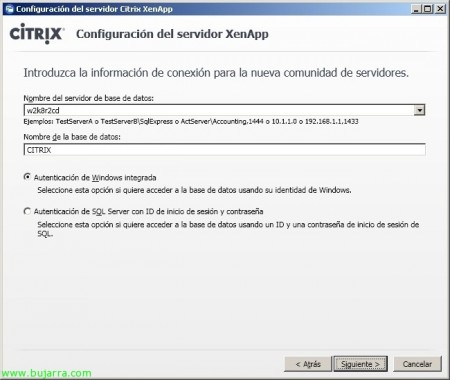
We indicate the database server and its database, in addition to the type of authentication, “Following”,
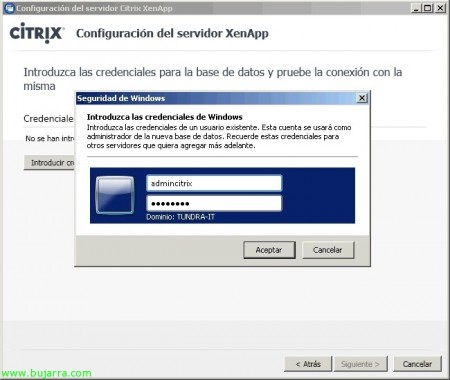
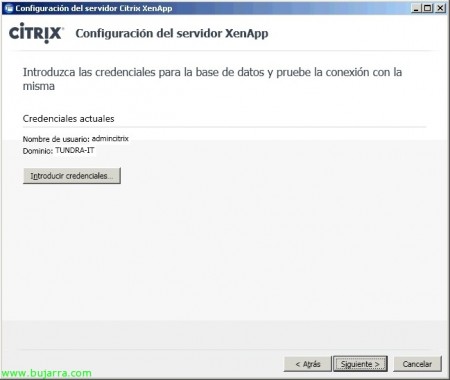
We enter the credentials, whether Windows or SQL,
“Following”,
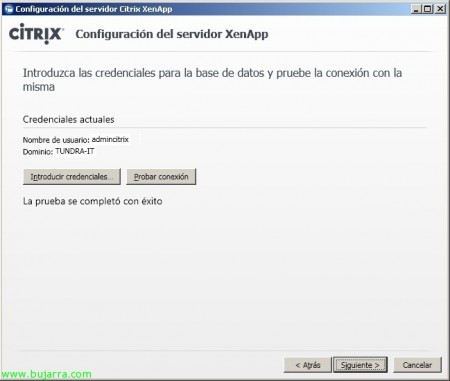
We need to test the data for connectivity to the DB, To do this, click on “Test Connection”, if they are satisfactory we continue “Following”,
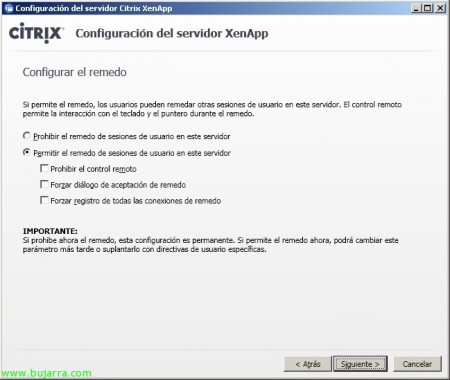
We configure the imitation as we are interested, this would be the remote control of the users' sessions (for support mainly), “Following”,
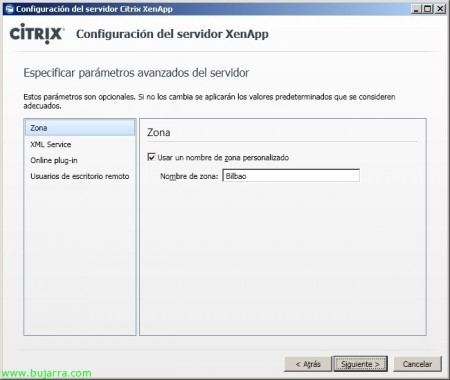
We must indicate the area to which we want the server to belong (in case we have different delegations with users and servers),
We'll set up the XML service, I always recommend separating it from the 80,
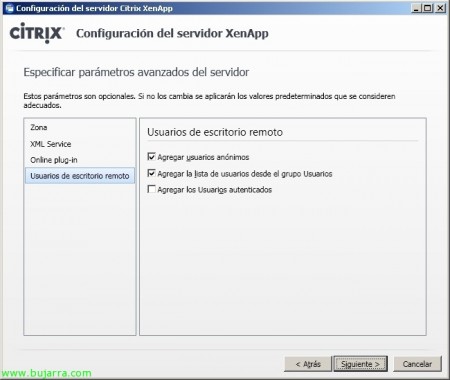
And the rest, if we want, we configure it or not, the plug-in that is the client to the Web Interface server with the PNA site, and to add the users to the 'Remote Desktop Users' group. “Following”,
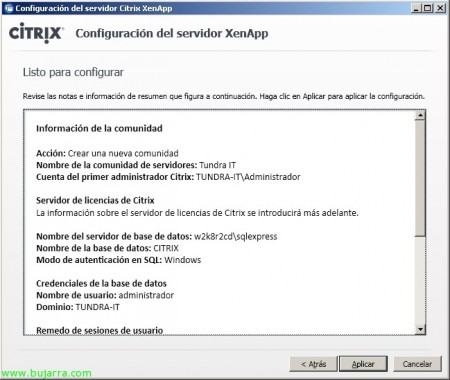
We confirm and “Apply” to save your changes,
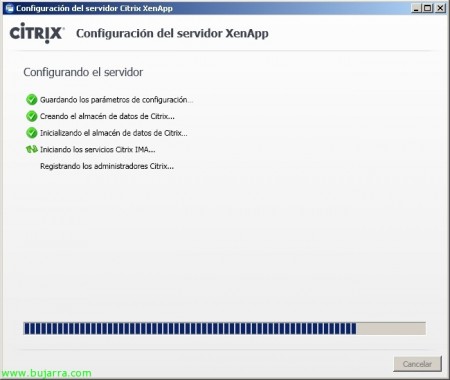
… Wait a few seconds…
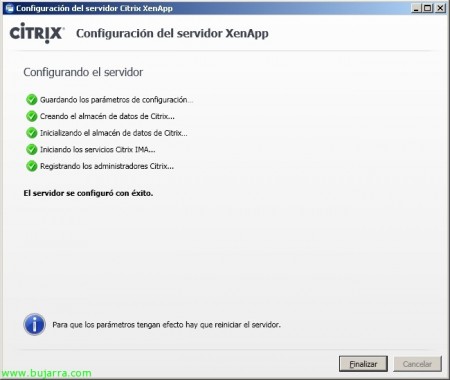
List! we already have the first XenApp server 6 installed and basically configured, Now we will have to publish applications or whatever interests us!


