VPN with Citrix NetScaler I – Deployment & Pre-authentication
We start with a series of documents for the assembly of the VPN service in our beloved Citrix NetScaler; The objective will be to allow users external to the organization to connect in a simple and secure way. Be 4 documents where we will add different complexities to secure access as much as possible.
In this first document we will see the steps required to enable the VPN on our Citrix NetScaler in addition to some base configuration. We will finish by enabling pre-authentication policies to require some conditions in the position to be able to connect, is an entry in the registry, An open program… In the second document we will force you to have a certificate on the user's workstation to be able to open even the Citrix NetScaler website, Without the certificate, no one sees our service. In the third document we will add the possibility of authenticating the VPN using user certificates with a smart card and in the last document we will enable the possibility for the VPN to be automatically lifted with the position, thanks to Always On.
This first document is structured as follows:
- Enable Smart Access on our NetScaler Gateway
- Session Profile and Policy for VPN
- IP range for VPN clients
- Preauthentication Profile and Policy for Preauthentication
- Trying for the first time
- Enable Split Tunnel
Enable Smart Access on our NetScaler Gateway
Getting Started, it is assumed that we have NetScaler fully deployed and a NetScaler Gateway Virtual Server deployed, in this case it was the gateway we used to present applications and desktops in ICA mode, and now we're adding VPN functionality so they can pre-access remotely and securely.
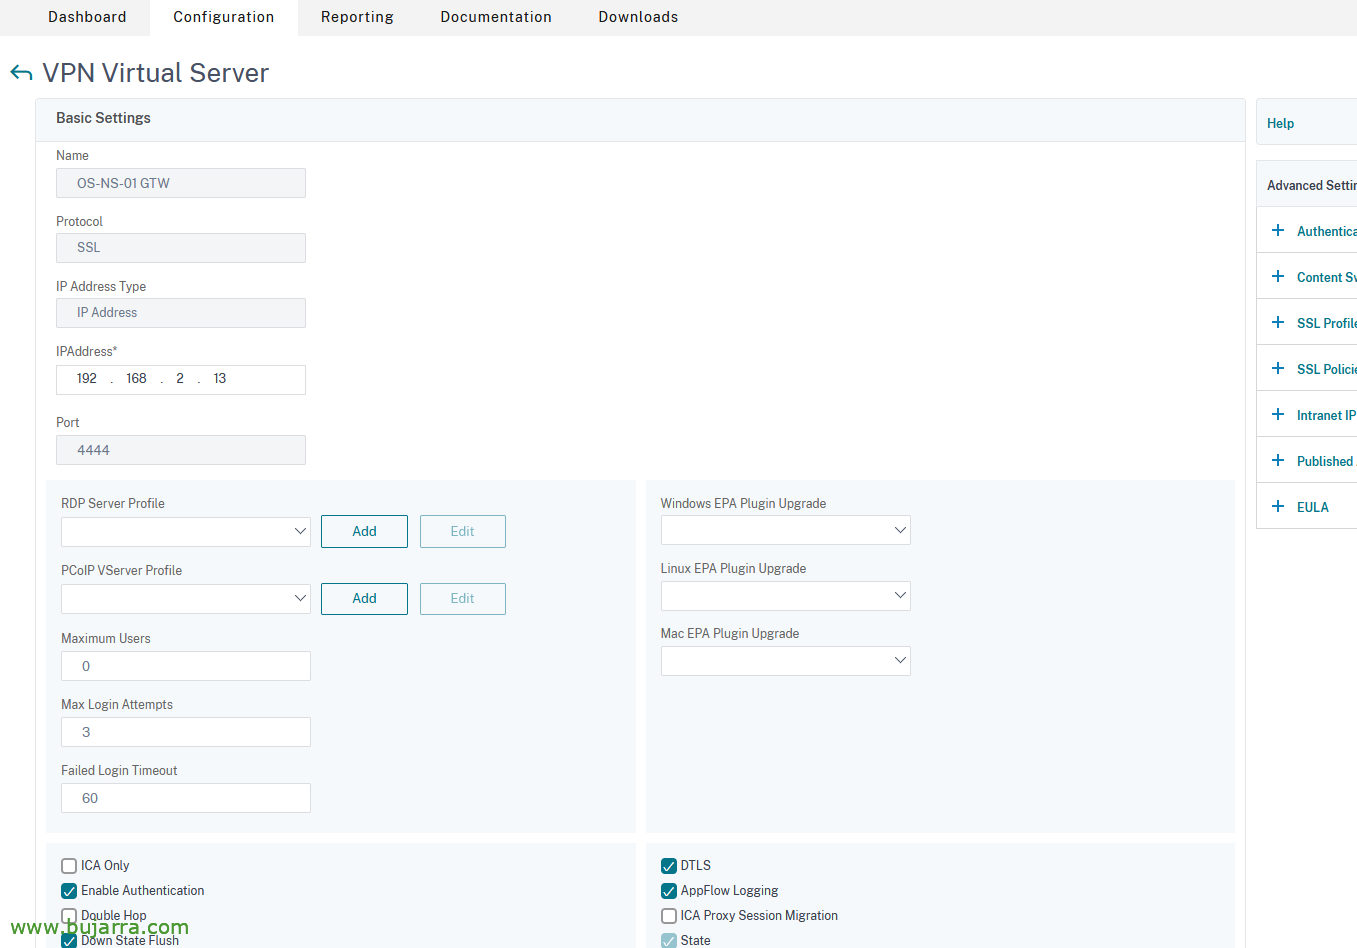
We have to enable Smart Access mode, is required to use the VPN. and therefore we will not act as an ICA proxy, just as we will need universal licenses. To do this,, on the Gateway's Virtual Server, in the 'Basic Settings', that does not use 'ICA Only', Uncheck the check and save.
Session Profile and Policy for VPN
We need to create a session profile and then a policy to finally apply it to the NetScaler Gateway Virtual Server
Create Session Profile for VPN
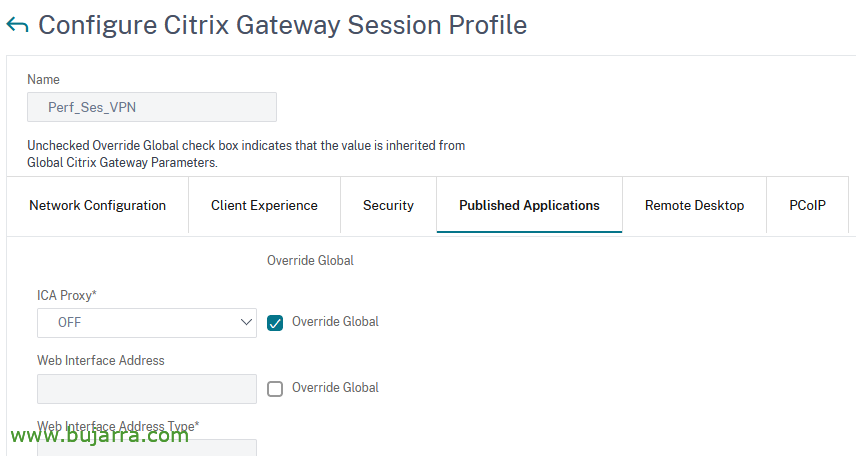
To create the session profile, we created it from “Citrix Gateway” > “Policies” > “Citrix Gateway” > “Session Policies and Profiles” > “Session Profiles” > “Add”.
We will take into account several things, in “Network Configuration“ > “Advanced Settings”
- Use Mapped IP: OFF so that you don't use the IP Subnet for clients and then we use a specific IP range.
- Use Intranet IP: NOSPILLOVER, so that if there are no free IPs left in the range, do not use the SNIP to browse the clients.
 |
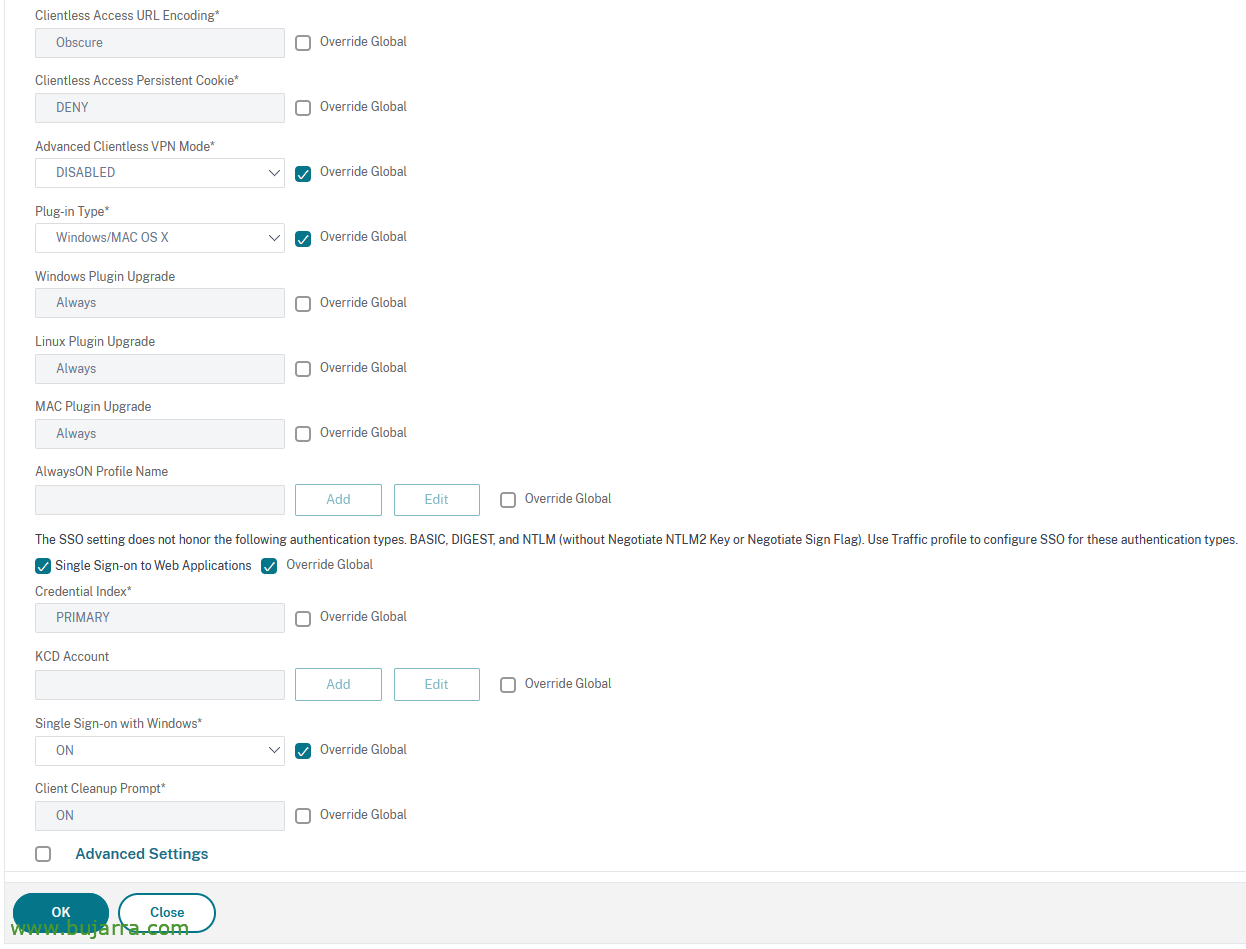 |
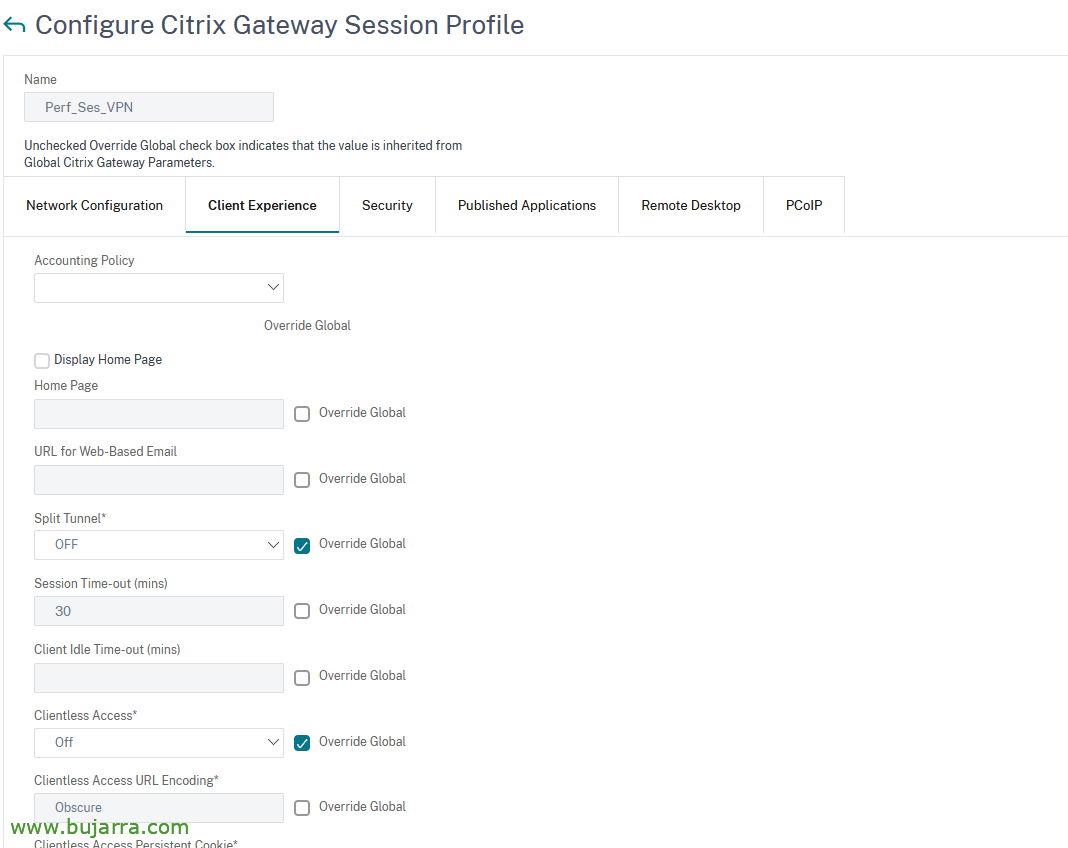
In “Client Experience”:
- Split Tunnel: OFF (to send all traffic around here)
- Clientless Access: Off
- Plug-in Type: Window/MAC OS X
- Single Sign-on to Web Applicattions: Tick
- Single Sign-on with Windows: ON
In “Security”:
And in “Published Applications”:
- ICA Proxy: OFF
Create Session Policy for the VPN
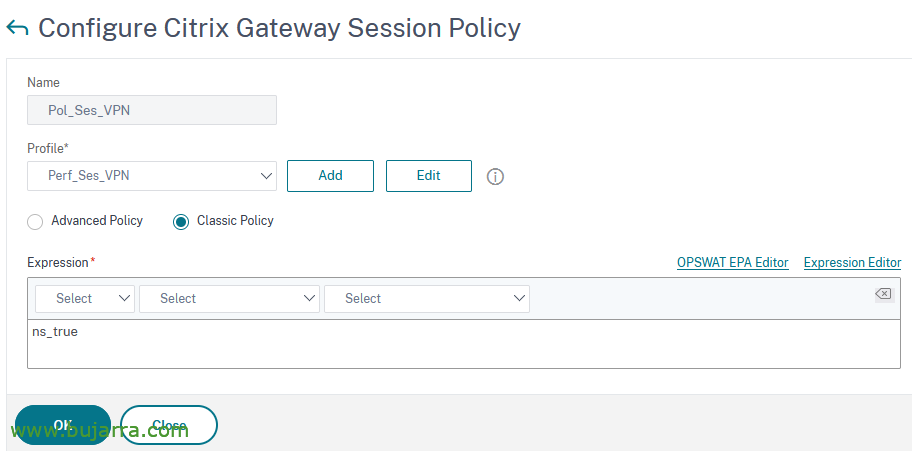
It's time to create the session policy and link to it the session profile we just created, to create the Session Policy we will do it from “Citrix Gateway” > “Policies” > “Citrix Gateway Session Policies and Profiles” > “Session Policies” > “Add”.
Link the VPN Session Policy to the NS Gateway
And we linked the newly created session policy on our NetScaler Gateway Virtual Server, since “NetScaler Gateway” > “NetScaler Gateway Virtual Servers”, in our VS > “Policies” > “Session Policies” > “Add Binding”, we select it and leave it with the default priority, “Close”,
The policies we have on the Virtual Server remain somewhat like this.
IP range for VPN clients
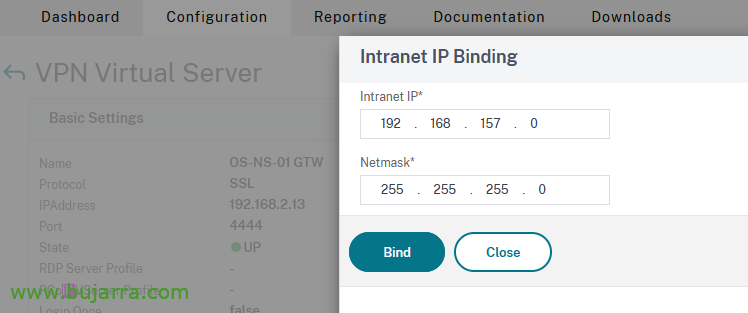
Next, we'll configure the IP range for clients connecting via VPN, from the NS Gateway Virtual Server we add an IP Intranet, since “NetScaler Gateway” > “NetScaler Gateway Virtual Servers”, in our VS > “Intranet IP Addresses” > “No Intranet IP”
Leaving something like this.
Eye! if we want these VPN machines to reach computers on the internal network. These servers on the internal network will need to have a route that tells them to go to the VPN's pool range, goes through the NetScaler Subnet IP, which is the one that routes.
Individually on a linux of the internal network we could run:
IP Route Add 192.168.157.0/24 Via 192.168.2.12 dev ens160
Or you can also make a static route in the firewall for all the machines, in this example in a Fortigate.
IP addresses assigned to users manually
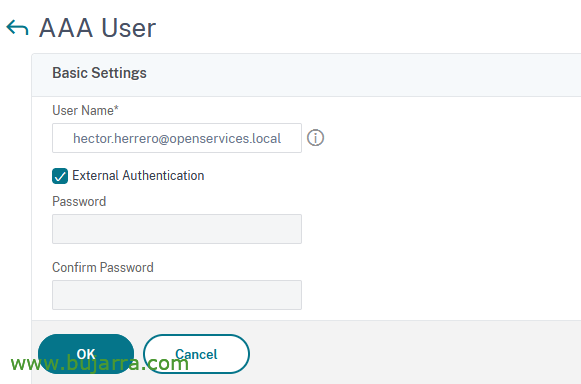
If we are going to want to assign a static IP address to a user, we will be able to do it from “Citrix Gateway” > “User Administration” > “AAA Users” > “Add”, We put the name of the user & OK,
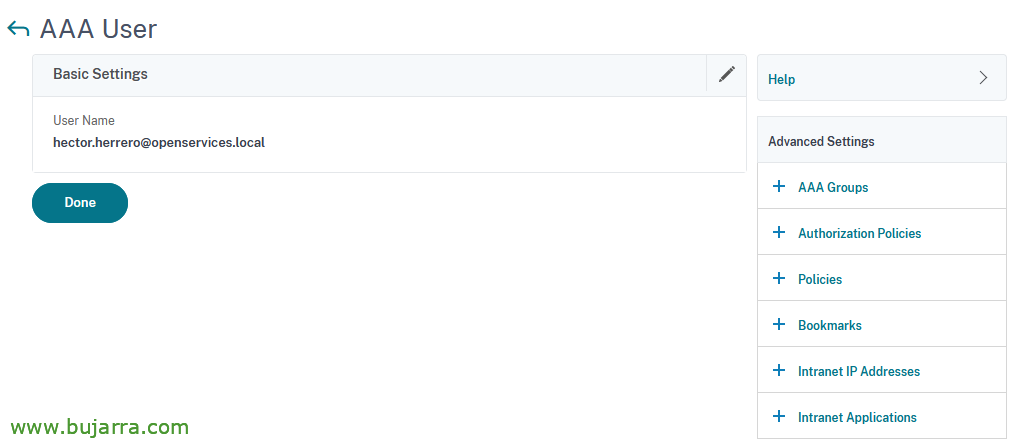
Click on “Intranet IP Addresses”,
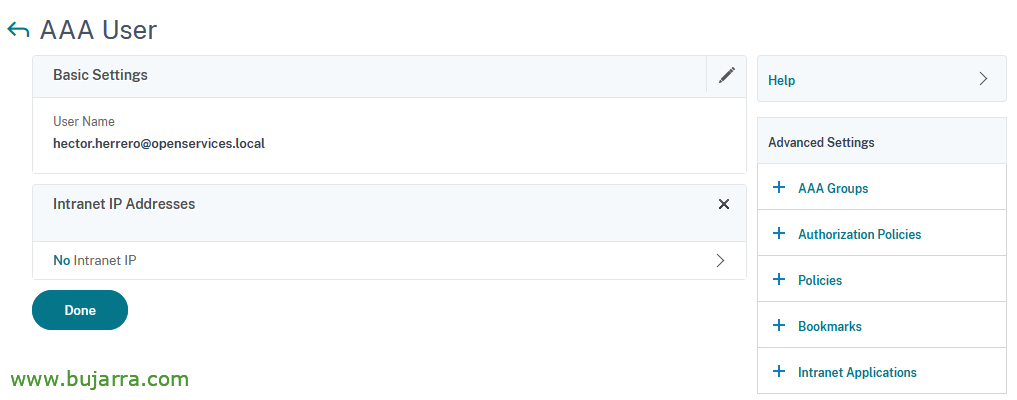
We click on the “No” IP Intranet to assign it a,
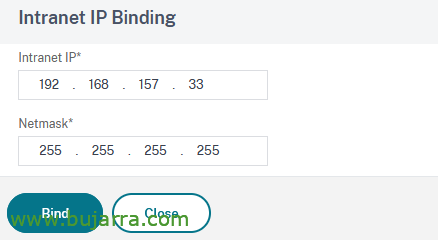
BIND & Donate
And when we connect with the customer, we will see that the IP will save it for us. That it's not the time to connect, but he had the screenshot saved and to validate that he takes the IP that corresponds to him.
Preauthentication Profile and Policy for Preauthentication
GOOD, This would be optional, but we may require certain pre-connection requirements, To do this, through pre-authentication policies, we can require some conditions on the client's side to allow the connection. For example, you have a particular entry in the registry previously created by us, that has a program running, a file in some folder, The state of the antivirus… I leave you here Some examples you could use. This will require that the user must have Citrix Secure Access Endpoint Analysis installed when connecting (EPA), that will perform these checks when connecting and will allow or not, To continue moving forward.
We'll make an example by requiring that the user who is going to connect has an app open, specifically Microsoft Notepad (o Notepad).
Create the Pre-Authentication Profile
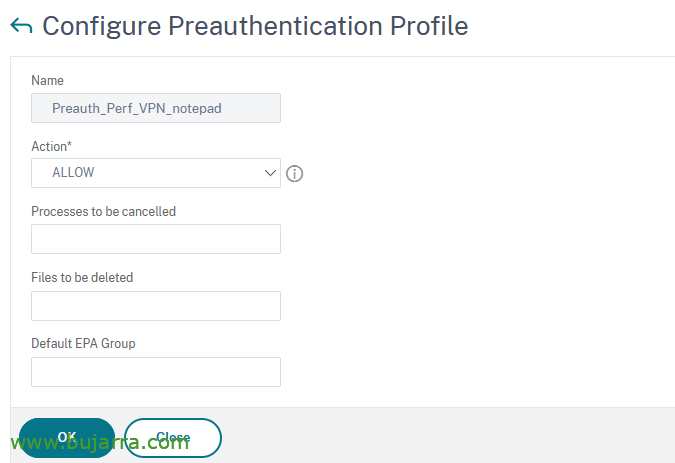
We start by creating the session profile for pre-authentication, since “Citrix Gateway” > “Policies” > “Preauthentication Policies and Profiles” > “Preauthentication Profiles” > “Add”. We give it a name and in Action we select ALLOW,
Create the Pre-Authentication Policy
Then we'll create the session policy “Citrix Gateway” > “Policies” > “Preauthentication Policies and Profiles” > “Preauthentication Policies” > “Add”. We link the action and add the expressions that interest us, This is an example, As we mentioned, If you have an open process, Notepad will be able to access the NetScaler website, otherwise I wouldn't show him anything.
Bind the Pre-Authentication Policy to the NS Gateway
And as usual, we must link it to the Virtual Server of our NetScaler Gateway, we look for Preauthentication policies and link it.
Thus the AAA Preauthentication Policy remains,
Trying for the first time
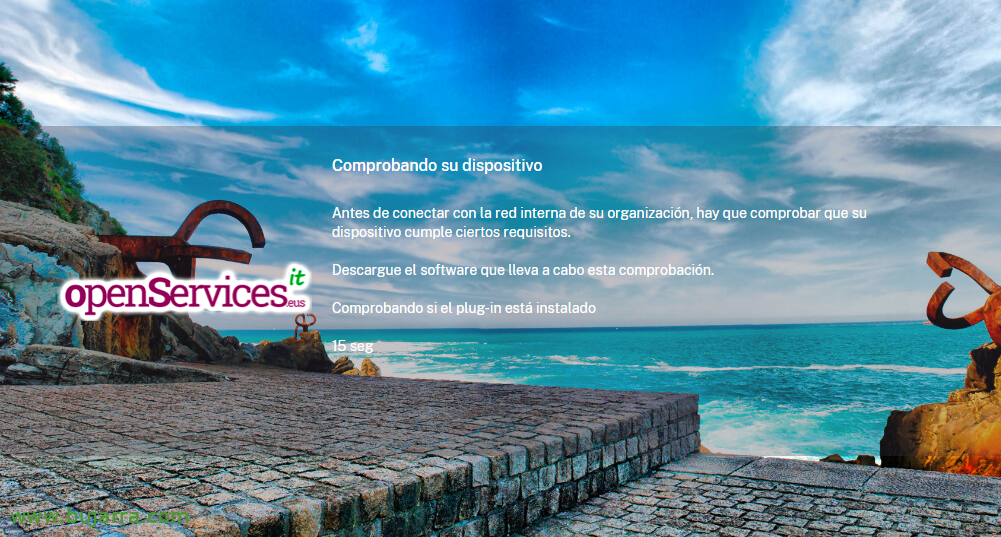
It's high time to start testing our new VPN! The first time we open the URL of our Gateway it will indicate that it is Checking our device, and that before connecting you must check that the device meets certain requirements, We expect a countdown…
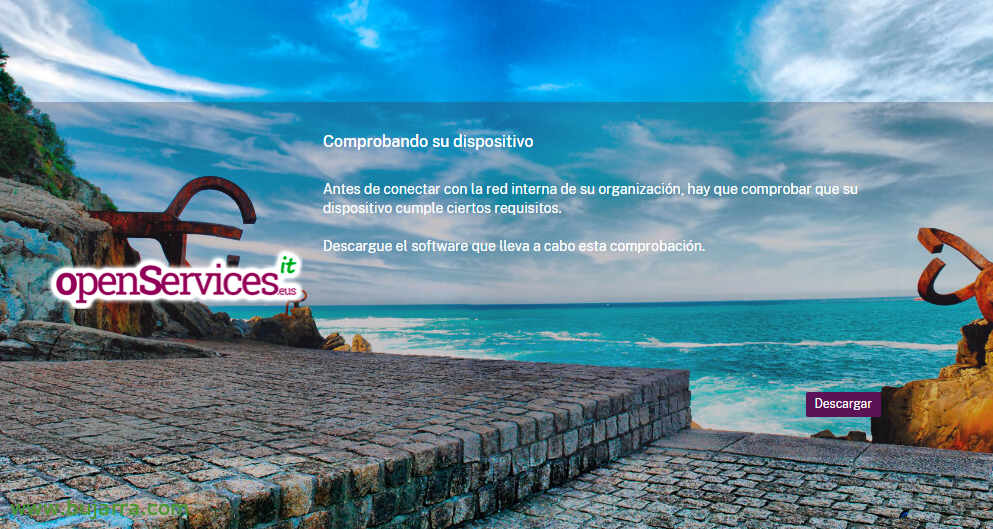
And since we haven't installed the software that will verify so far,, Click on “Download”
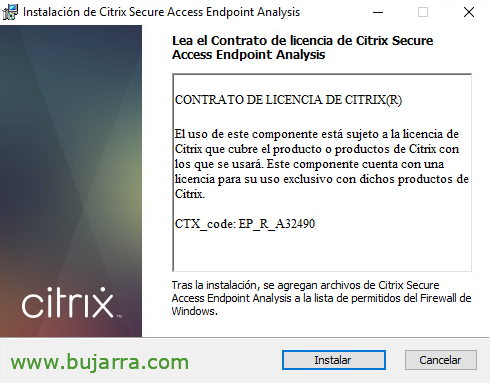
Installing Citrix Secure Access Endpoint Analysis,
We begin a short installation at our Citrix Secure Access Endpoint Analysis station, that will verify what has been said, any pre-authentication conditions we may need. Click on “Install”,
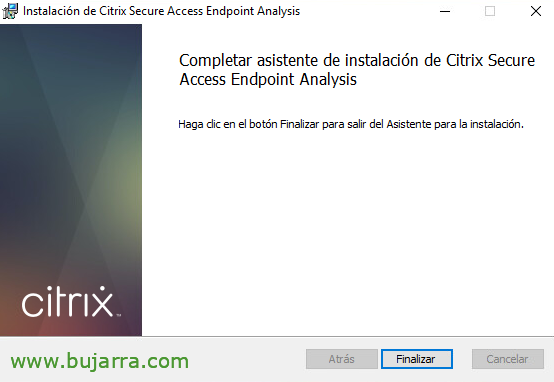
After the short installation we click on “End”. For mass deployments, This software can be installed using unattended parameters.
Once we have installed the scan agent, ask us if you can analyze our equipment to see if we meet the conditions of access, Click on “Yes”, or in “Always”,
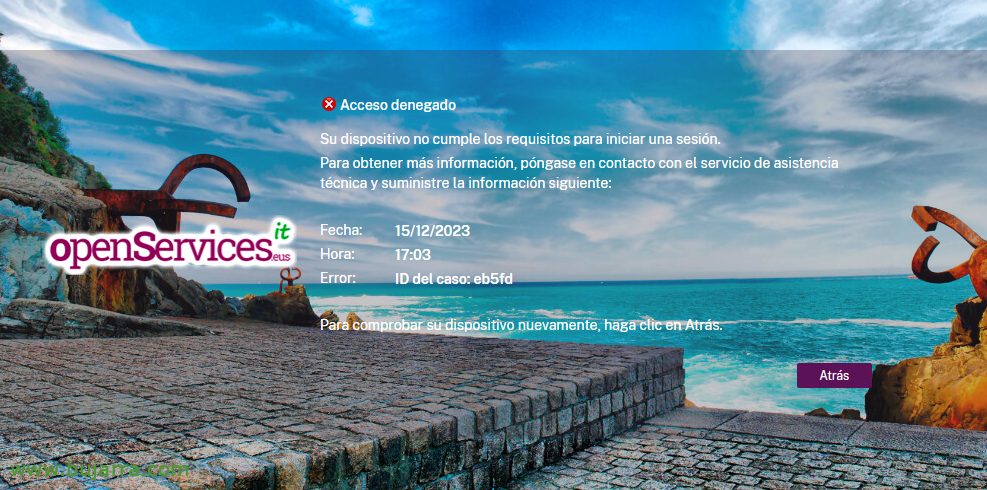
After analyzing the equipment, if we do not meet the conditions it will give us a denied Access, indicating that our device is not eligible to log in.
Instead, If we comply with them, it will show us the access panel to log in, In my case, in order to access it, I needed the Notepad open, Executed in the background, and so on, shows us the access website.
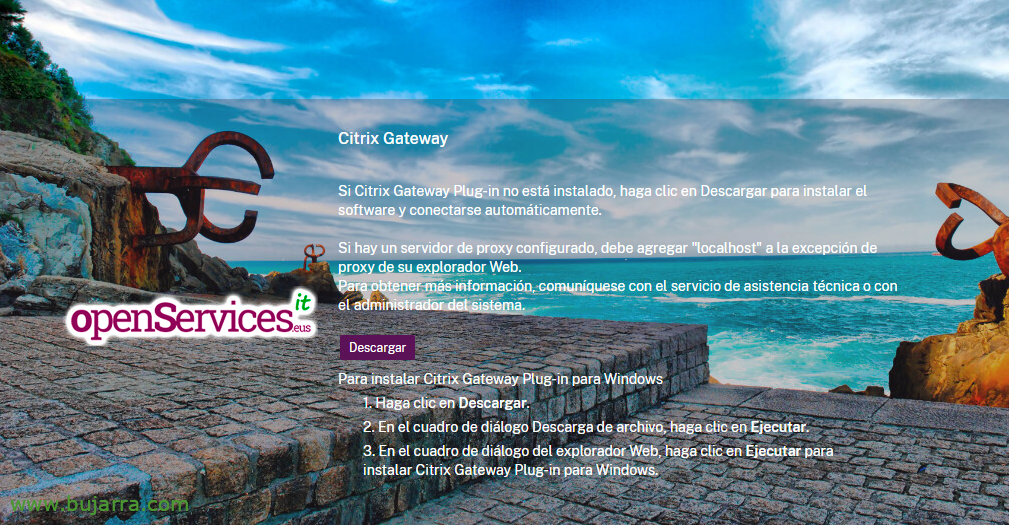
After authenticating ourselves on a regular basis, with username and password, it will detect that we do not have the VPN client installed, the Citrix Gateway Plug-in, Click on “Download”.
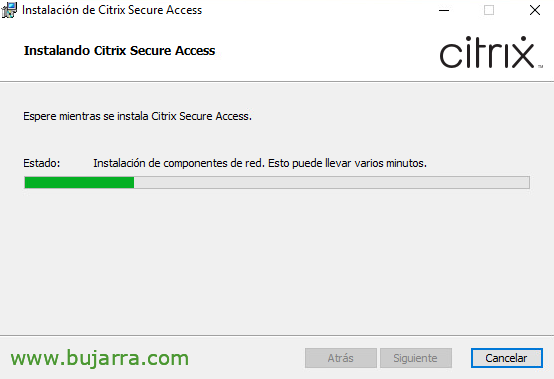
Installing Citrix Secure Access,
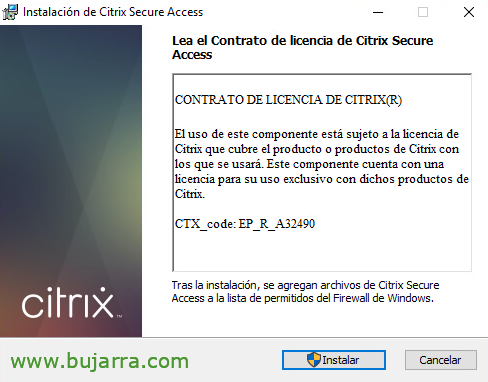
We therefore proceed to install them, in this case manually., but it could also be installed unattended, Click on “Install”,
… Wait a few seconds…
After installation, click on “End”,
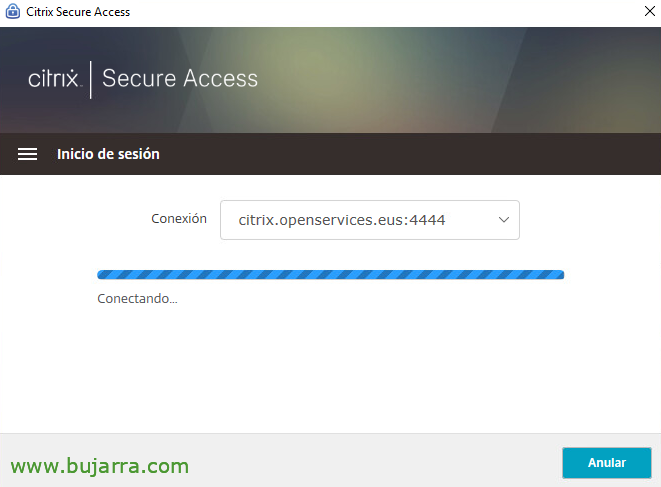
The Secure Access will open directly with the connection data already configured, it will only ask us for a username and password to connect securely with the VPN, Click on “Sign in”,
… We wait while it connects….
We verified that we would already be connected, here without IP range, using and sharing the NetScaler SNIP,
Or if we have an IP range,
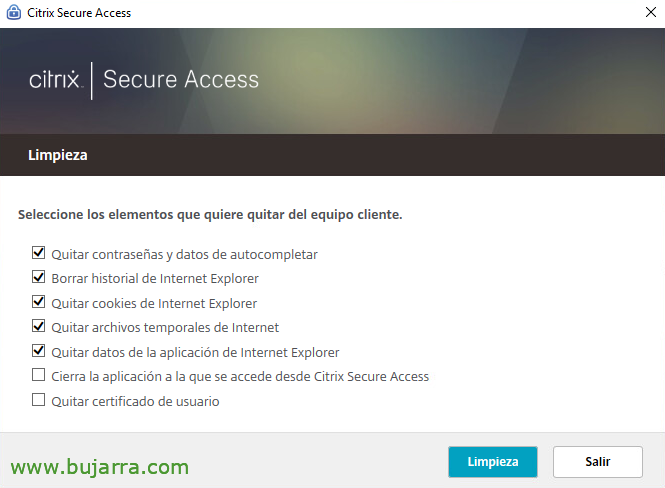
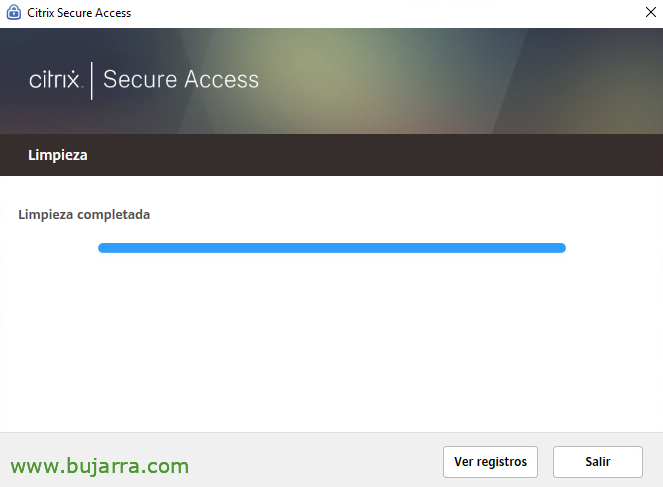
When you log out of Citrix, it will automatically ask which items to remove from the local computer to provide security and remove certain dangerous items, This could also be configured unattended by clicking on “Cleaning”,
“Get out”,
Enable Split Tunnel
We will have to enable the Split Tunnel if we want not all VPN traffic to go through our NetScaler, but we want each client to browse their connection and only the traffic we want to enter the VPN.
In the Citrix Gateway Session Profile that we created earlier, on the “Client Experience”, we marked Split Tunnel to ON.
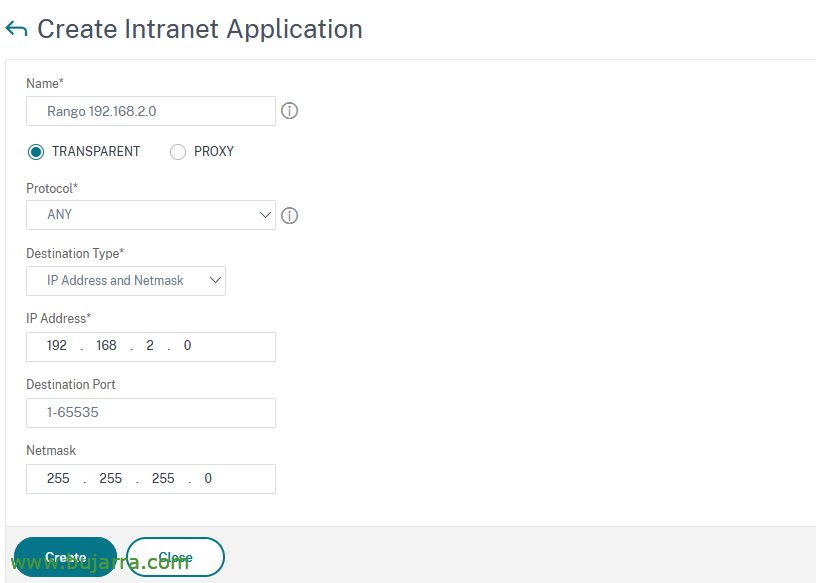
We must register the network or networks to which we want to give access, for this, since “Citrix Gateway” > “Resources” > “Intranet Applications” > “Add” and we create the destination where we want them to be able to access, a host, A network, Filtering by Port…
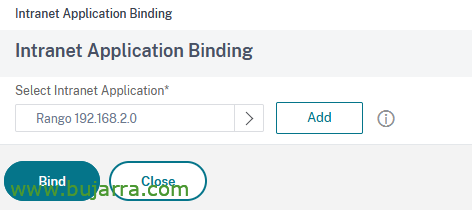
And we would end by linking to the Virtual Server of the NetScaler Gateway, in “Intranet Application”, we select our Intranet applications and “BIND”.
Well, I think it's more than enough for a first document where we can see how to configure our Citrix NetScaler Gateway as a VPN gateway and give secure access to the organization to any external user, we have seen how to assign IP addresses to them and how to create a pre-authentication rule to validate that the user has certain requirements before connecting! In future documents we will add different elements that will add complexity and security,
A hug, May it go well!


