Installing Hassio – Home Assistant

We started a series of super interesting posts, where in this first one we will see the installation of Hassio or Home Assistant on a Debian machine as a container will be quick and easy, From there, it will be time to grow and centralize all our devices so that we can manage them from here. Home Assistant is going to become the brain of our home automation system, From here we will know the status of each device and carry out the corresponding actions that interest us.
Home Assistant Installation
We start with a machine with Debian 9.x installed and functional (in this post we use Debian Stretch 9.9), Of course updated and with the network theme configured. Let's install Docker and its requirements, since what we will do is directly unload a container with Hass.io already installed (That's Hassio, the Home Assistant container image). We install Docker and its requirements:
[SourceCode]sudo apt-get install software-properties-common
his –
add-apt-repository universe
apt-get update
apt-get install -y apparmor-utils apt-transport-https avahi-daemon ca-certificates curl dbus jq network-manager socat software-properties-common
curl -sSL https://get.docker.com | Sh[/SourceCode]
And with this simple script that we download and run, We will lower the container and wait for it to install and start it:
[SourceCode]curl -sL "https://raw.githubusercontent.com/home-assistant/hassio-installer/master/hassio_install.sh" | Bash -s[/SourceCode]
That by the way, if we want to install it on a Raspberry Pi 3 or 4, We will have to indicate it, We can read see other types of supported machines in Your official documentation:
[SourceCode]curl -sL "https://raw.githubusercontent.com/home-assistant/hassio-installer/master/hassio_install.sh" | sudo bash -s — -M Raspberrypi3[/SourceCode]
A note, after having Home Assistant installed, As we can see, it is stuffed into a container, although when we connect to the Debian bash we can edit the Hassio files, If you want to enter the bash of the container session, Scores:
[SourceCode]docker exec -it homeassistant /bin/bash[/SourceCode]

It will be time to open a browser and access the Home Assistant website, Let's go HTTP://DIRECCION_IP:8123/
We must create a user with administrator privileges in Hassio, we indicate the account and password and proceed with “Create Account”,

We give a name to our Home Assistant and optionally our location, “Next”,
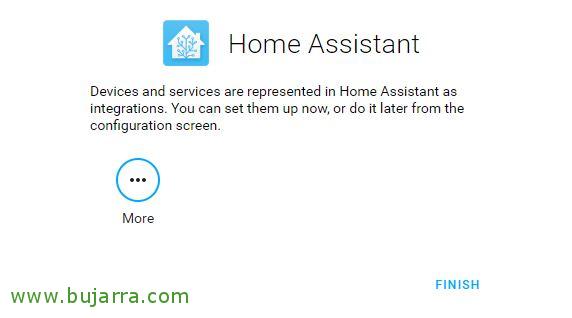
Click on “Finish”, We will add the devices we need later.

Work done! we already have Home Assistant installed, Now the adventure begins… in a series of posts we will see how to integrate it with SonOff Bridge and be able to control RF 433MHz radio frequency modules. We will make several examples, with IR motion sensors, Magnet sensors to detect window or door openings, Smoke Sensors, etc… Then we will see how to automate certain tasks or alerts, for example, to notify us by Telegram if we are not at home of any movement, etc… As I said, The party begins!