FAN – Fully Automated Nagios

I wanted to bring you a monitoring solution for all those who don't know it, It's a ready-made Linux distribution with almost everything you'll need already installed. It is FAN, that is, Fully Automated Nagios which, as its name suggests, has Nagios, Centreon and Nagvis among others already installed!
What I said, if we want to avoid the hassle of having to install an incredible monitoring solution based on Nagios and Centreon on our own, we can easily have this and more assembled in less than 15 minutes. All you have to do is download the distribution's ISO file and perform a very short installation.
The website of the mythical project is www.fullyautomatednagios.org, and after downloading the ISO we will have a machine with CentOS 5.9 with the following installed and configured:
- The core monitoring will be Nagios 3.4.4
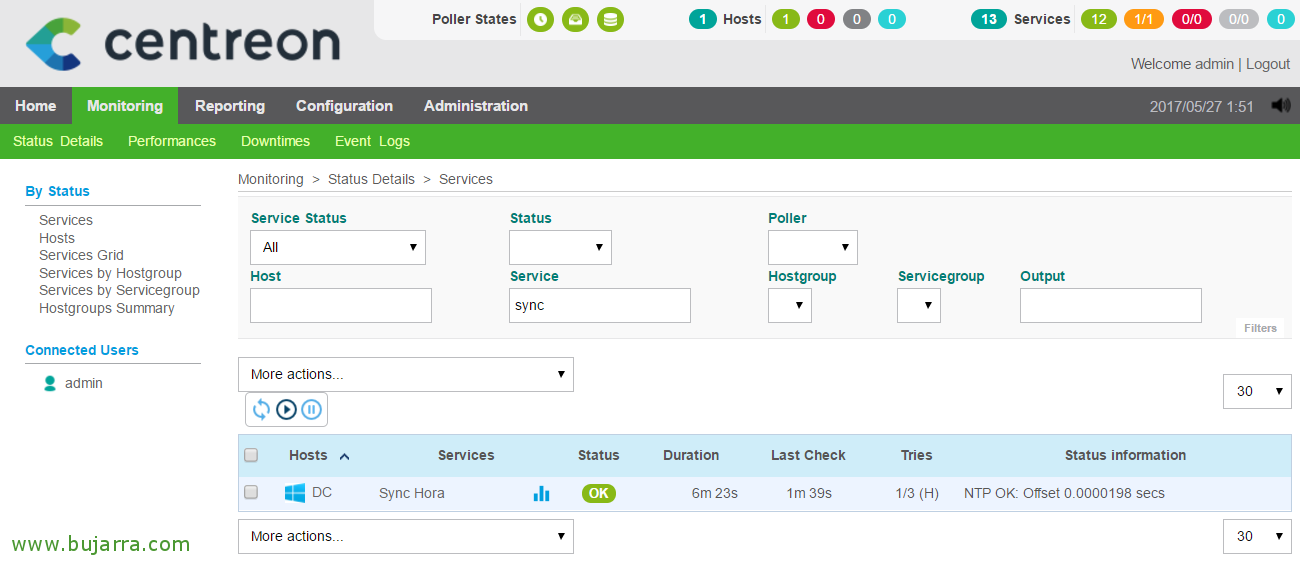
- That we can easily manage with Centreon 2.4.1
- It also has Nagvis 1.7.6 to draw our amazing maps, be drawings for services, networks, Functional…
- It also has Nagios plugins 1.4.16, A pack of plugins that will allow us to monitor different computers.
- NDOUtils, storing Nagios data in a MySQL database.
- NRPE, to monitor anything on a Windows remotely.
- …
Creating a virtual machine for small and medium-sized environments will suffice, which we can later expand if necessary, To get started with 1 vCPU, 2Gb of RAM and 20Gb of disk will be more than enough. If we have a large environment or with remote locations, we will be able to deploy FAN in a decentralized way, that is, having a central FAN as the main server, a FAN database where it will only host the database and we will have as many FAN pollers as we need to distribute the monitoring load.

Well, we start the machine with the CD image connected, Here will be the type of installation we want, we press Enter if we want a complete installation with all the components on the same machine.

We select the language for the installation& “OK”,

Select the layout of our keyboard & “Accept”,

Select “Yes” to erase all data on the disk!

Select the disk where you will create the partitions, If we want it encrypted… “Following”,

We select the region for the time zone & “Following”,

Set a password to the root user’ of the system, Click on “Following” and the installation will begin now!
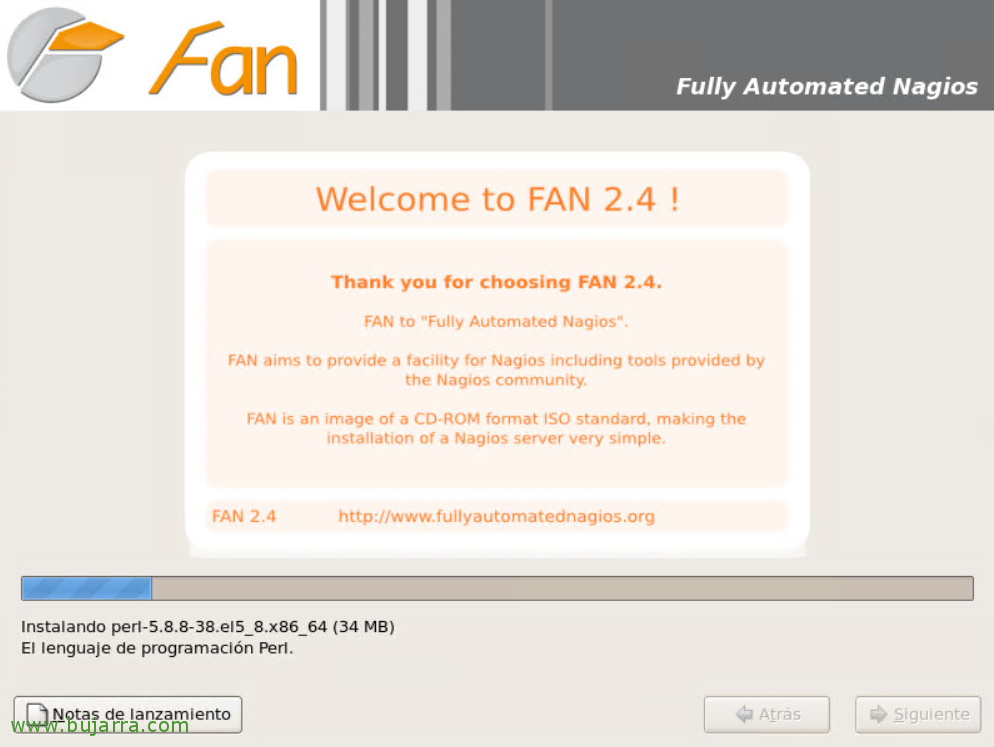
All that's left is to wait a while for nothing while the installation is finished…

List! Click on “Reboot” and then we will have the machine ready to start monitoring!
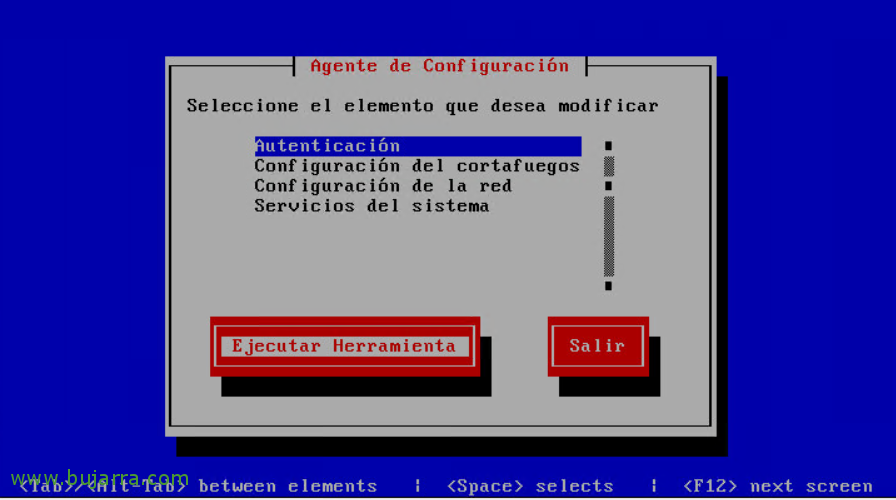
Once the machine is started, we can change if we want an option on authentication, firewall, Network configurations or services that boot at startup.
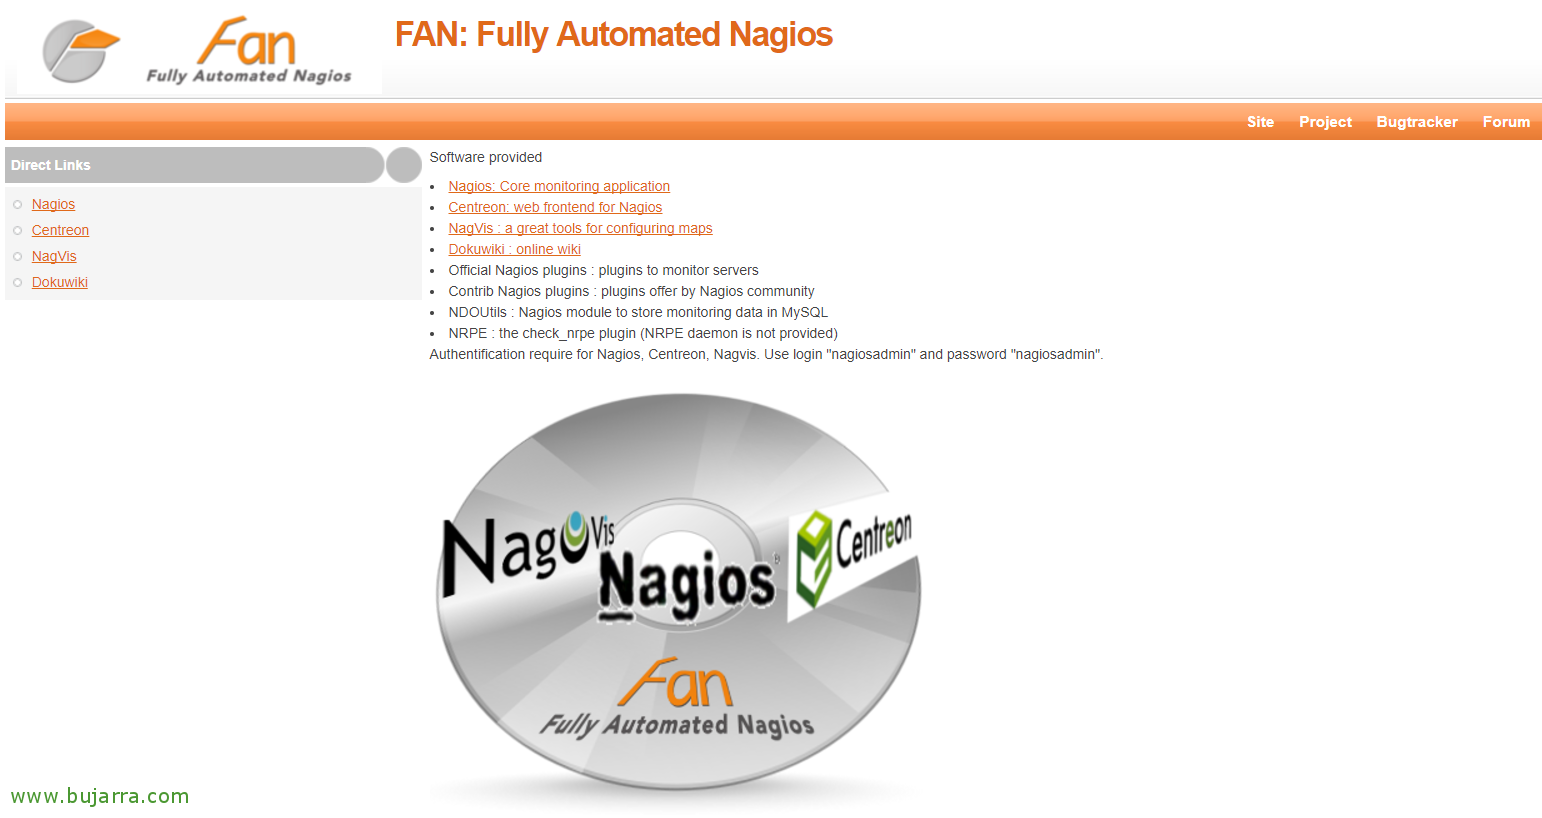
And all that remains is to open a browser against the IP address of the FAN machine, we will see that we already have the accesses in the menu on the left to access Nagios, Centreon or Nagvis! The default user will be nagiosadmin with the password nagiosadmin, Right, we'll change once we're logged in? I hope it helps those of you who want to simplify the deployment of a new monitoring environment based on Nagios, with the super intuitive Centreon management interface and the animated maps part with Nagvis!