Backup to Windows using NtBackup

This procedure explains how to configure backups using the Windows ntbackup tool. To open it: “Start Menu” > “Programmes” > “Accessories” > “System Tools” > “Backup”.

If this is the first time we run the program, an assistant will appear, I pass on him, I don't like it, So I'll explain it to you without assistants.

The first thing to do is to create a backup task for the data we are interested in and then set a schedule to run when we are interested. To begin with, click on: “Backup Wizard (advanced)”.

“Following”,

Select the central option, “Back up files, Selected network drives or data” and “Following”.

We select all the data that we are interested in backing up, thinking that where we are going to store them they are going to enter us. It is almost mandatory to make backups of it “System Status” or of the “System State”, and if possible from the drive where we have Windows installed, in my case C:. We give “Following”.

Select a destination where we are going to save the backup data, if we have a backup tape it will come out and if we don't have it, We store it in a remote place, We give “Examine” and we also indicate a name, We give “Following”.

We have to give “Advanced options” to set a schedule for you, If we give “End” We would make the copy now.
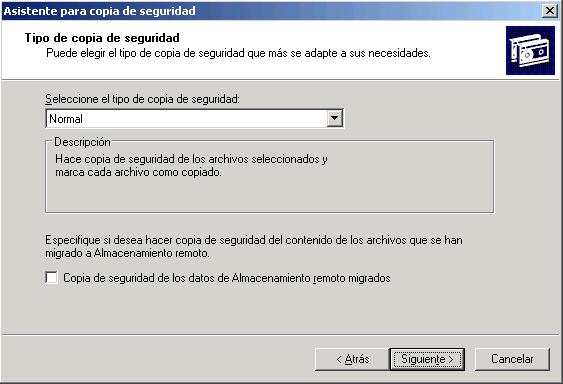
Type of copy “Normal” and we give “Following”.

Optionally we can check that the backup is carried out perfectly, We give “Following”.

We have two options, that when backups are made it saves all the previous ones in the copy file and we have a history of all the files, taking into account that every day that the copy is made, the file multiplies in size. Or the traditional one that crushes all the previous data, taking into account what this indicates, that if the file has been deleted two days or older it will have been lost. “Following”.

When we want the copy to be made, Select “Later”, we give it a name and in “Set schedule…” we select when we want it to be done.

We indicate the frequency with which we want it to be done, if it is an office normally on the days on which the data is modified, For example, and we indicate a time. “Accept”.

We must indicate a user with permissions for the execution of this task and with permission to access all the data, by default is any user who belongs to the “Copy Operators”, I use the domain administrator.

“End”.

When it is time to execute the task, we will get a screen like this, We check that there are no errors.

In “Beginning” > “Control Panel” > “Scheduled tasks” We'll see that we have the copy task we've scheduled there.

To restore data backups simply double-click on the .bkf copy file, and then click on the “Restore and manage media”, We mark what we want to recover, we indicate where to restore them and click on the button “Initiate”.

All data except for the data in the “System Status”, since the active directory is running, and the Windows registry… to restore any data we have deleted from the active directory:

The server must be restarted and when it is booting we press F8, Select: “SD Restore Mode (Only against. Windows domain)”. We give the [Enter]

Once the server is booted in this mod, We look for the backup file and double-click it, now we can restore the System State, we click on the “Initiate” and we accept and once done we restart the normal server and all the data that we have lost from the Active Directory will be recovered.