Installing Dashing on Raspberry Pi

This first document will serve as a basis for us to install one of the best dashboards we have in the Open Source world (In my humble opinion), Use Dashing Dashboard. And we will use it to make interactive graphs of everything that interests us! In my case, I'll document some widgets I used for my home dashboard, Where can I monitor the overall status.
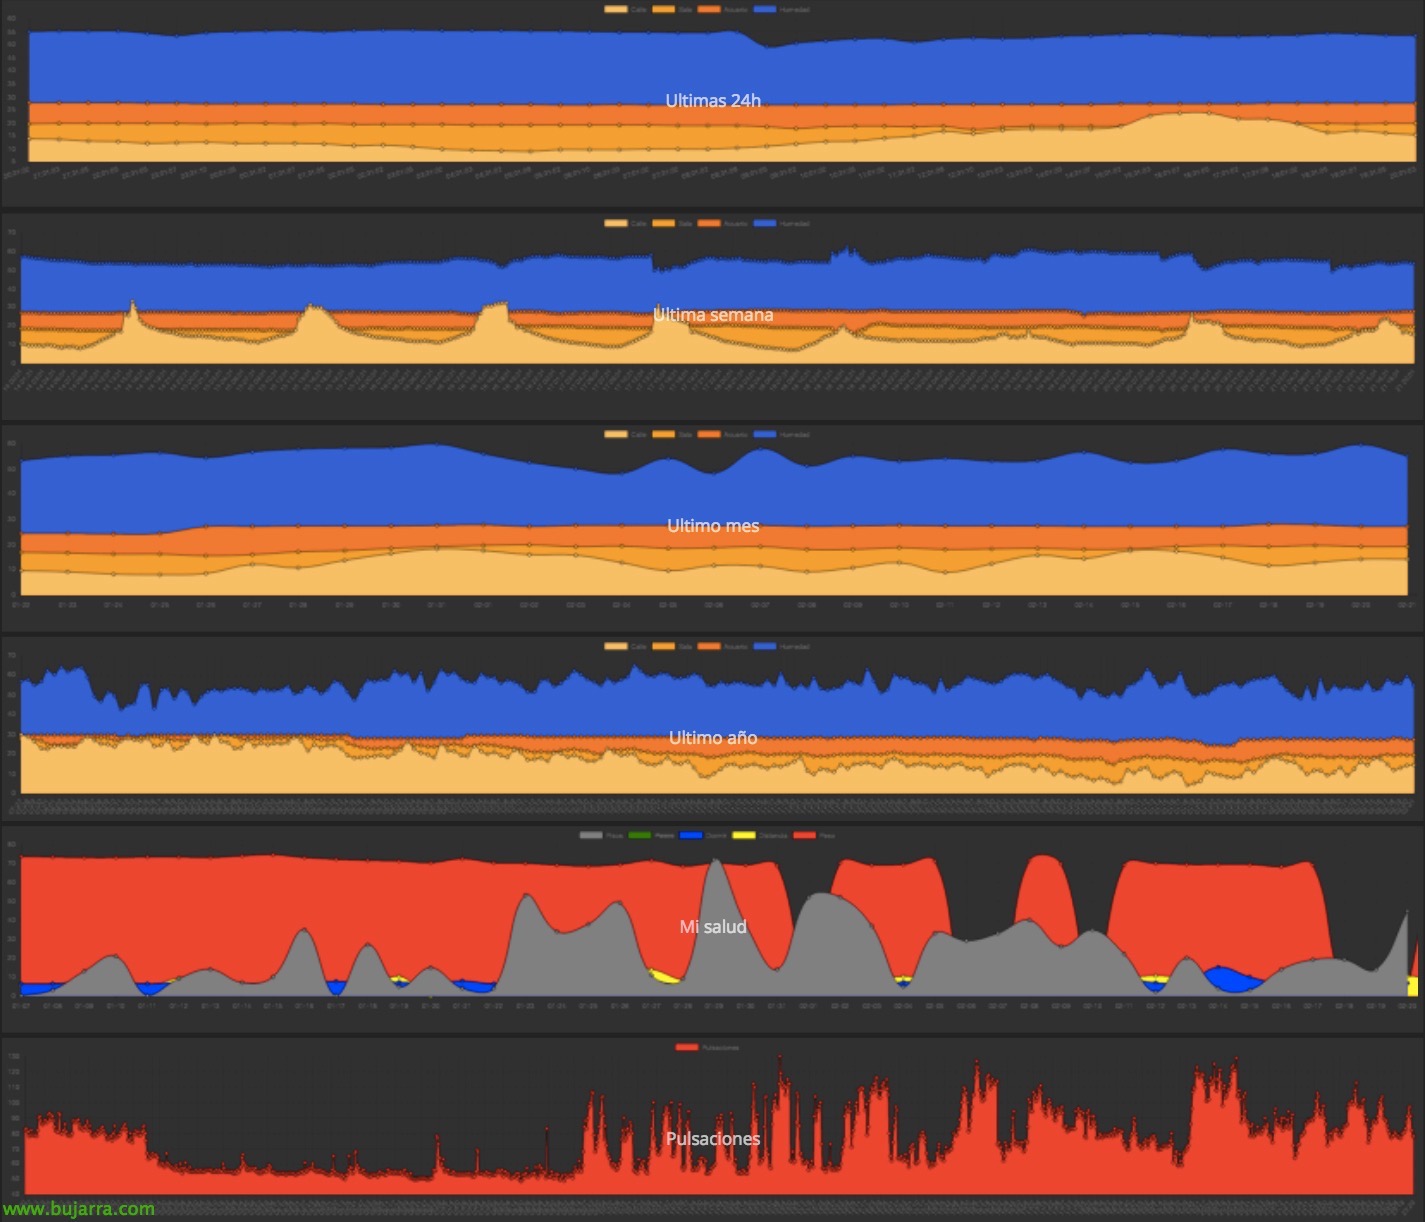
I leave you throughout the document, Images about how it could look in the end, For giving you ideas!

We can customize it and add as many options as we want, In my case I will give you several examples of taking periodic graphs of different temperatures that I measure as well as humidity.
Then we will link it with FitBit to put the graphs that we want to be steps, Floors Climbed, Distance traveled, Sleeping time, Pulsations… I'll make a post with each example to make it clearer.
I'll also link it to the scale, I have a Xiaomi Mi Smart Scale and we'll get weight graphs. We'll see how to connect via Python and export the data to a MySql 🙂 database

As well as a series of buttons that will show us the status of different devices such as lights, heating, eStore Status, TV channels… and when we press them we activate them.

You may also be interested in monitoring the performance of different Linux or Windows computers, in my case I will show you how to see the CPU status, RAM, disk, CPU temperature and GPU temperature of different Raspberry Pi that I have swarming.

And well, we will also see some other things!!!
Installing Dashing,
Before you begin, I'm using a newly installed and updated Raspbian Jessie. The following steps will be necessary to install certain prerequisites.
[SourceCode]Sudo apt-get install libssl-dev
install node.js, First add the apt.adafruit.com package repository
curl -sLS https://apt.adafruit.com/add | Sudo Bash
sudo apt-get install node[/SourceCode]
We will install Ruby as well, How beautiful!
[SourceCode]sudo apt-get install ruby ruby-dev[/SourceCode]
We installed Bundler and Dashing:
[SourceCode]echo 'gem: –No-Rdoc –No-ri’ && ~/.gemrc
sudo gem install bundler dashing[/SourceCode]
Creating a new Dashboard,
Next, we'll create a dashboard, we will enter the generated directory. With the 'bundle command'’ o 'bundle install’ we will install the requirements that will be described in the 'Gemfile' file’ and with the last command we will start Dashing!
[SourceCode]dashing new project
CD Project
Bundle
dashing start[/SourceCode]

Content,
This new project, you will have created the following folder structure for us:
- Assets – Where the images are saved, font types and JavaScript/Coffeescript libraries.
- Dashboards – Each dashboard will have a .erb extension.
- Jobs – These are the ruby jobs that are run on a scheduled basis to feed the graphs.
- Lib – Optional directory for use if necessary and to enter our files.
- Public – Where the site icon and error page go 404, We could put other files.
- Widgets – They will contain the html/css/coffee files of each widget.
In subsequent posts, I'll explain the widgets I've used for the example above and how to proceed with their installation, hence, Everyone can take the ideas they need for their personal or professional project! Here is a very interesting list of public widgets, plus your installation guide: https://github.com/Shopify/dashing/wiki/Additional-Widgets.