Installing a Poller de Centreon

In this post we will see what is only the process of installing a satellite server in Centreon. GOOD, Why do we need this kind of machine? for example, if we want to distribute the load of our Central server or, Better yet, in cases where we need to monitor from remote delegations 🙂 or companies
The normal thing in small environments will be to have 1 Central machine with all roles in it, it will be the server that executes the checks and also the database server. If we see that our server is overloaded, A good idea may be to put another server to run certain checks for it, or what I told you; companies that have delegations and want not all traffic to be remote, the most normal thing will be to have a Poller that collects the information and sends it to the Central server.

So what I said! We start with the installation process, after download and introducing the ISO of Centreon CES, Click on “Install or upgrade an existing system”
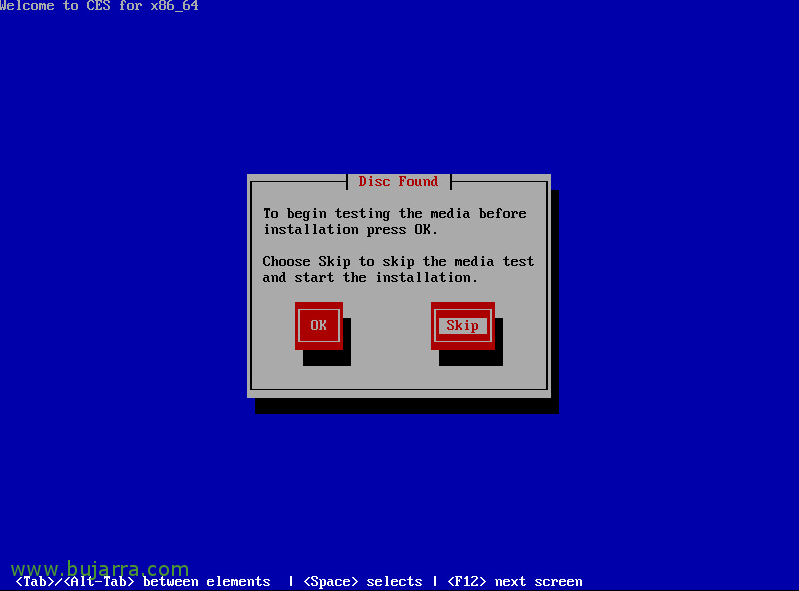
If we trust the ISO or have looked at the hash file, we can skip with “Skip” The Checkup…
Click on “Next” to begin installation,
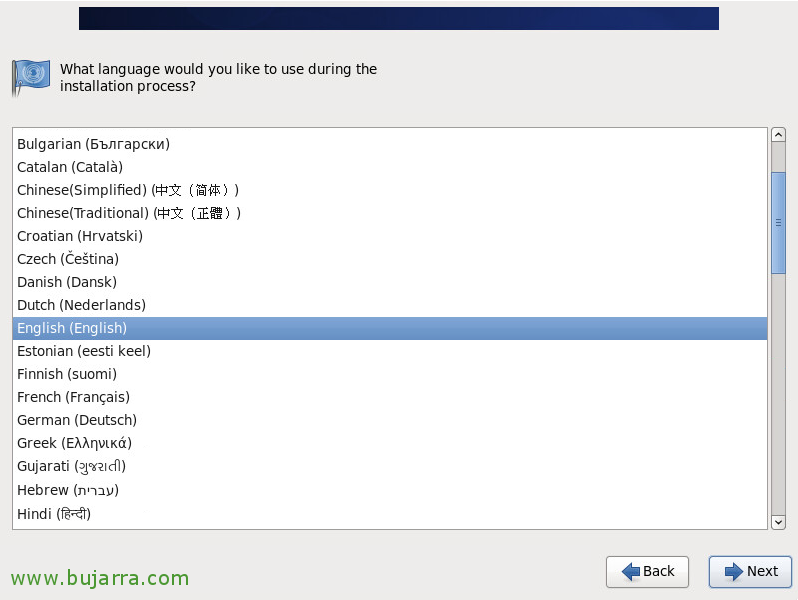
We select the language for the installation,
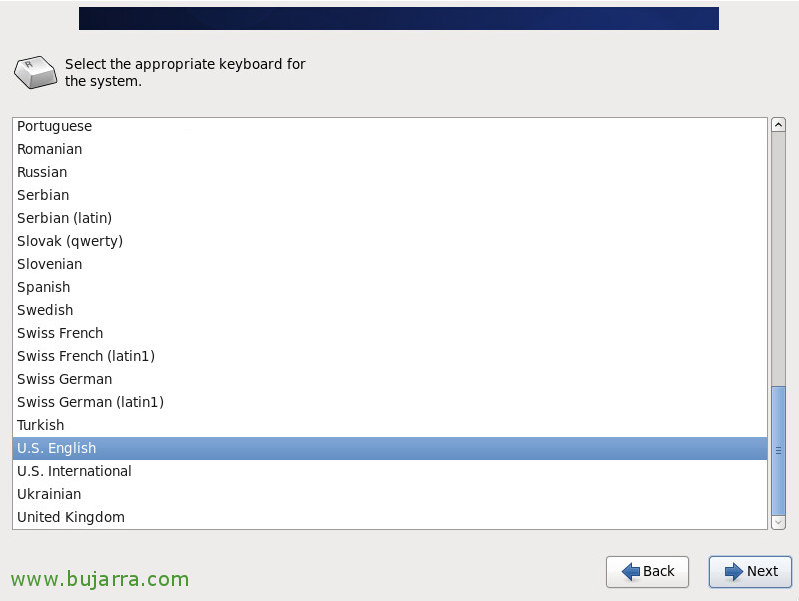
We select the language for the keyboard,

Select what type of device we will use to locate the installation,

We will detect your hard drive and confirm that we will delete your data,
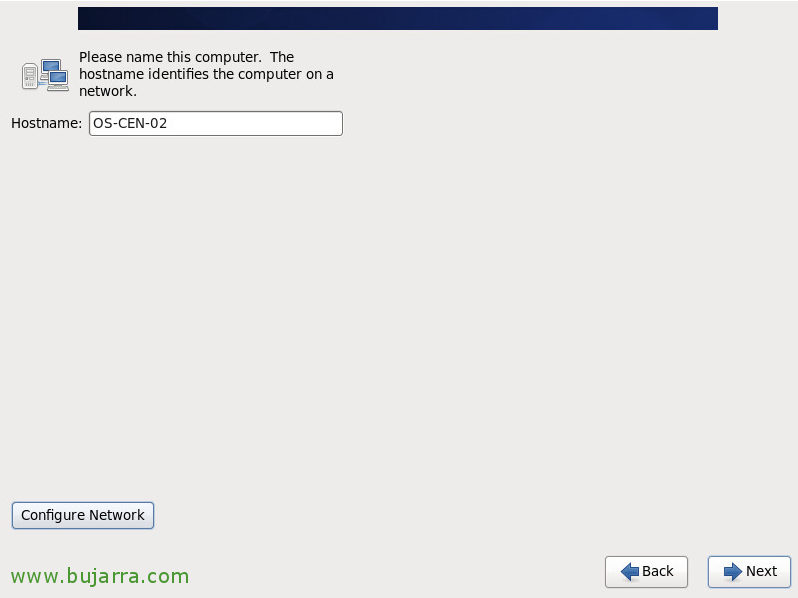
We indicate the hostname of the machine, Click on “Configure Network”,
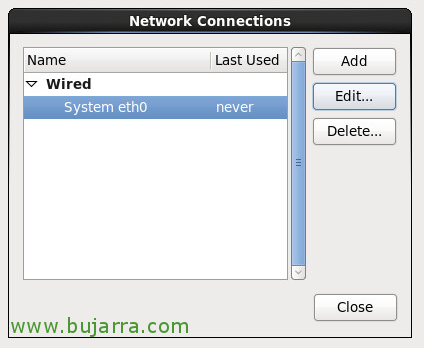
We will select our network interface, Click on “Edit…” To edit network settings,
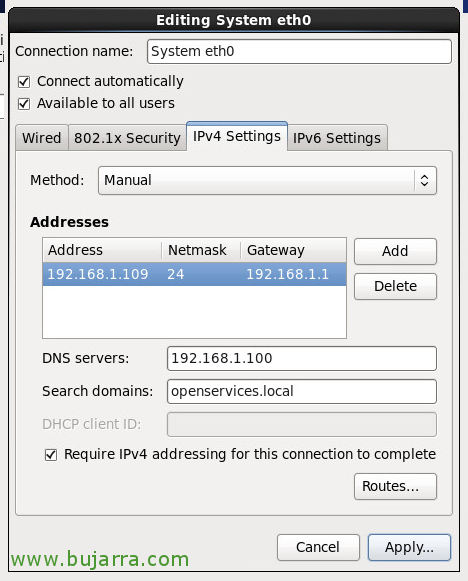
Pressed “Connect automatically” and in the “IPv4 Settings” we will set your IP address, mask, DNS Gateway and Servers.

After confirming network settings, We continue with the installation wizard, We will select our time zone, “Next”,

We indicate a password to the root user

We select that it uses all the space, “Next”,
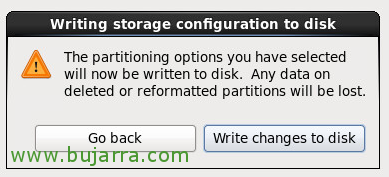
And finally in “Write changes to disk” to confirm that we will delete any data from that disk,
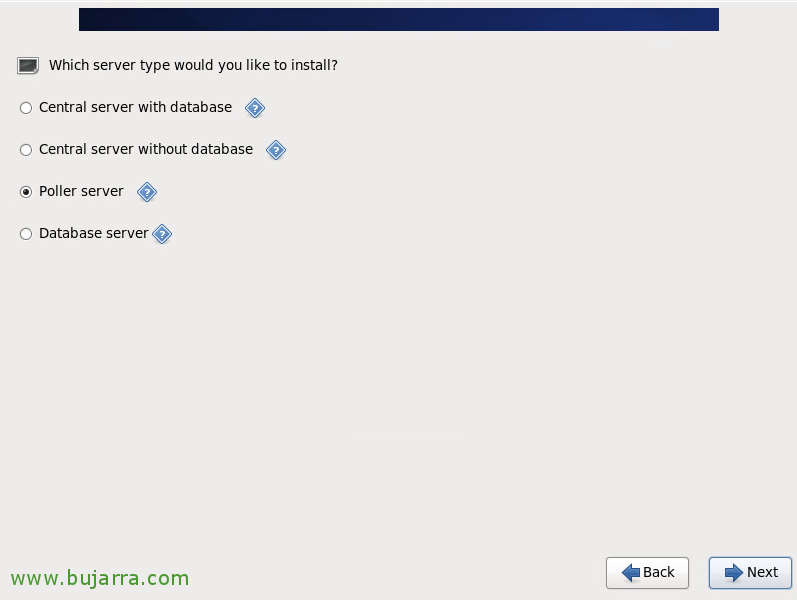
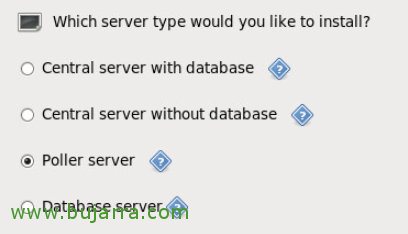
GOOD, This is the only step of the installation that we must pay special attention to, in the case that concerns us we will indicate “Poller server”, and it is here that we will see the rest of the roles that can be deployed in a decentralized way in a Centreon facility. Pressed “Next” to start the installation now,

… wait a few minutes while installing…

And that's it! We have the server ready! We restart it and the configuration that we must do to integrate it into an existing Centreon installation would be pending! We see that in a next post!