Installing VMware ESXi on a Raspberry Pi

¡Ole, ole and ole Rigodón! VMware through a fling presents a new version of the ESXi hypervisor, for ARM architectures, What a marvel! In this post we will see something that is not supported (For now), and it's nothing more than how to install ESXi on a Raspberry Pi 4. ¿For what? Then we discussed it.
Well, to test this we'll need a Raspberry Pi 4, we are fine with one with 4GB of RAM, but surely with the 8GB we enjoy it more. I can't wait to try an HA or a vMotion while I'm writing, What nerves, so many years waiting for this wonder that will undoubtedly mark a before and after in the world of IoT. Come to the nougat, What we need? 1 small microSD card, It doesn't matter the capacity since the hypervisor will not be installed there, in the SD we will save the UEFI 'only', We will also need 2 USB flash drives, one where we will store the installation media and another where we will install the ESXi. Before you go any further, remind you that you have here The official website of the FLING with all its documentation and many more details.
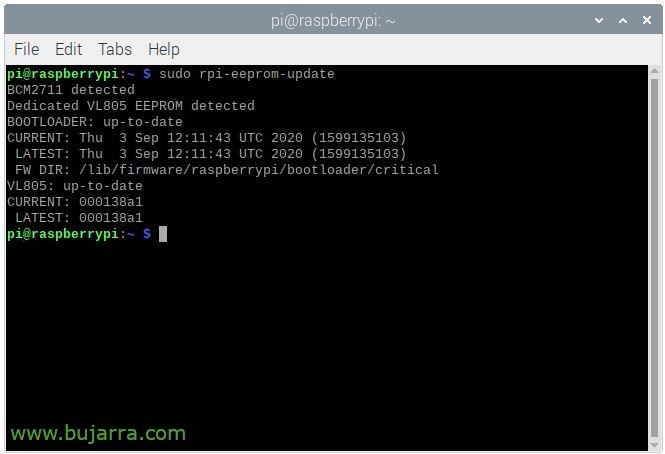
Before you begin, we need to verify that our Raspberry Pi has the latest EEPROM, for this we need to previously boot the Raspberry Pi with the Raspbian OS or now known as Raspberry Pi OS. Run
sudo rpi-eeprom-update
If we have any update we must install to have the latest EEPROM and we will restart:
sudo rpi-eeprom-update -a sudo reboot

GOOD, We, now the SD card we have to fSort with FAT32 and write to the UEFI volume label.
We will download the latest and official Raspberry Pi firmware, We extract the file firmware-master.zip, Enter the boot directory and delete the kernel*.img files, we copy all content to the root of the SD card.
We also download the latest UEFI firmware for Raspberry Pi 4. We extract RPi4_UEFI_Firmware_v1.20.zip and copy all the files to the same root directory on the SD card, If you ask if we want to write the files we will say yes.
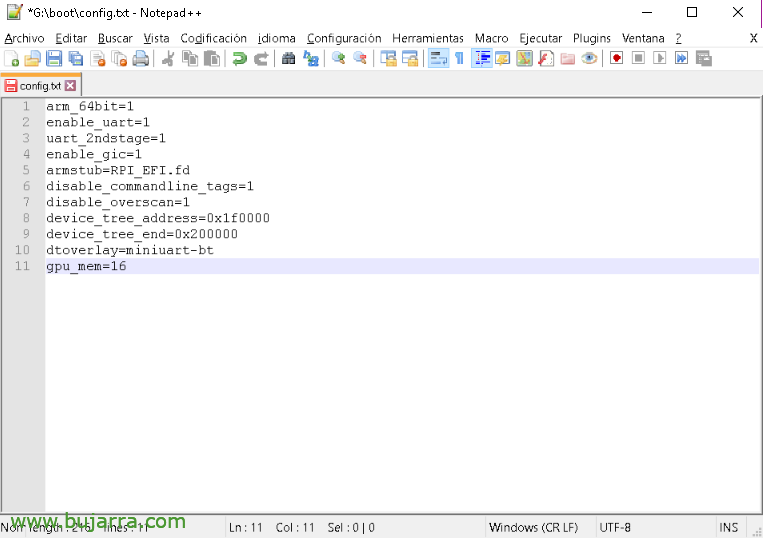
We edit config.txt and add at the end:
gpu_mem=16
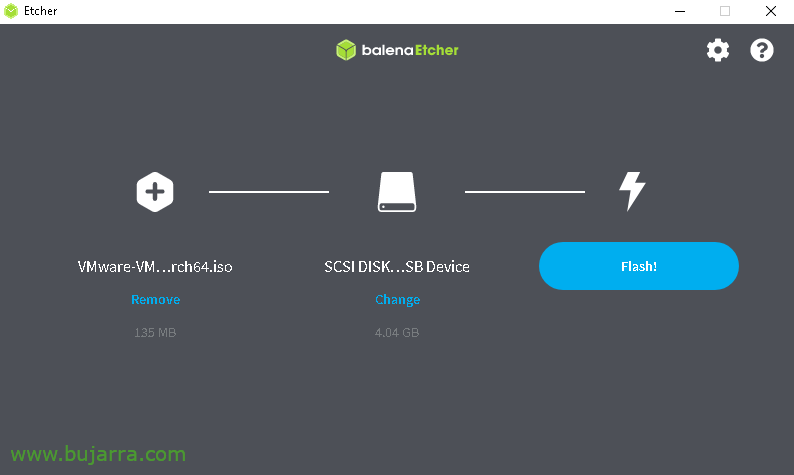
We download the image ESXi Installation ISO for ARM, with balenaEtcher for example we can copy the ISO to a USB flash drive that we will use as an installation medium.
It's time to plug the SD card and this USB flash drive into the Raspberry, And we turn it on!

When UEFI starts, press ESC, we have to remove the 3GB RAM limit that comes by default. Since the hypervisor needs at least 4GB.

Click on “Device Manager”,

Click on “Raspberry Pi Configuration”

Click on “Advanced Configuration”,
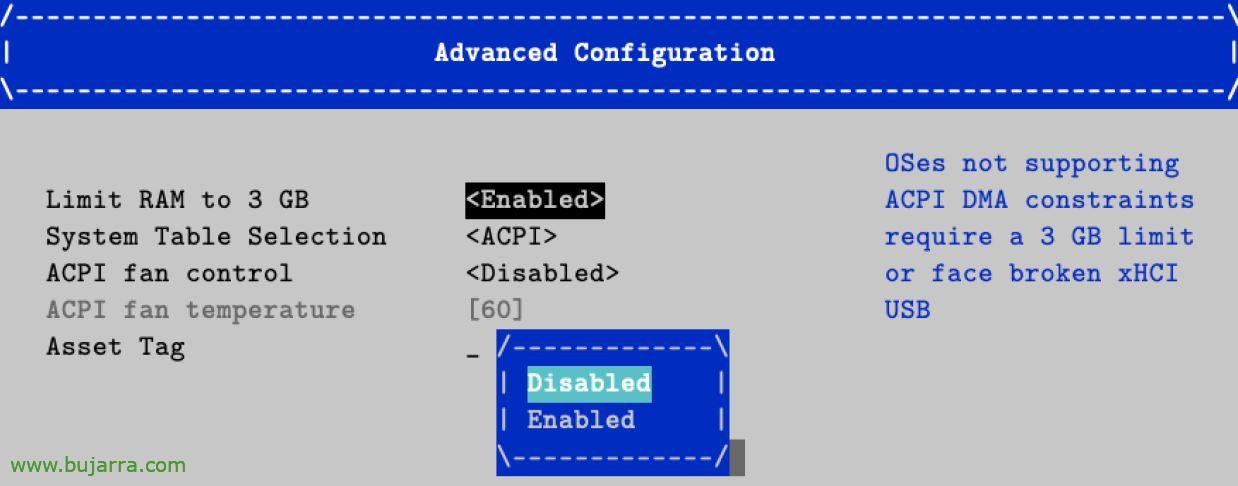
And in Limit RAM to 3GB, which will be in 'Enabled'’ we disable it with 'Disabled',
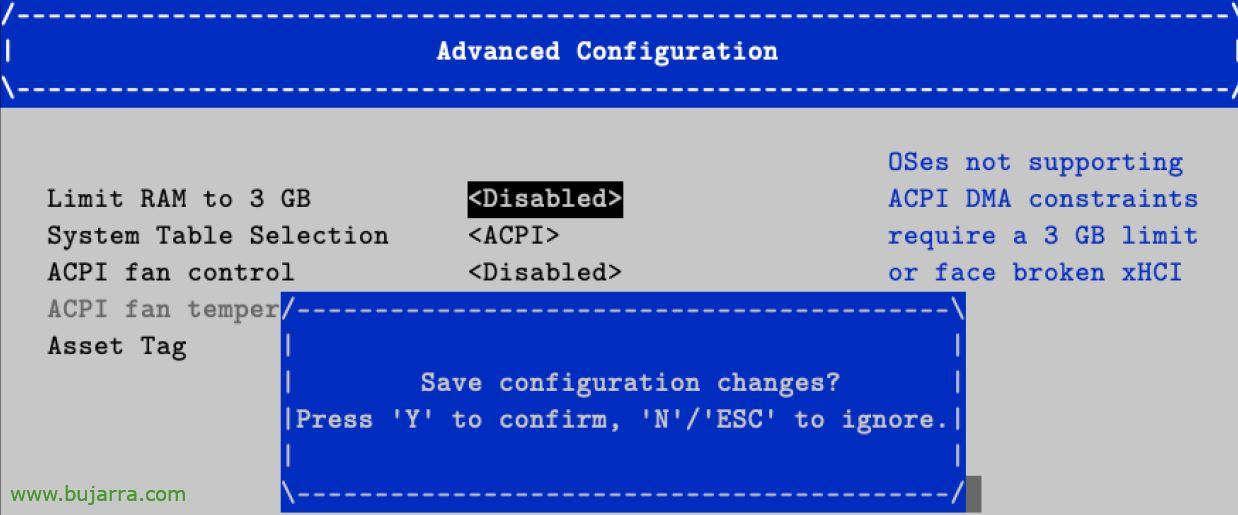
F10 to record the new UEFI configuration & 'Y'.

If the USB disk of the Raspberry where it is going to be installed is less than 128GB, we have to stop the boot process just by pressing Enter after seeing the UEFI screen. Then press 'Shift-O'’ and we type in the autoPartitionOSDataSize prompt followed by the size, 8GB example:
runweasel cdromBoot autoPartitionOSDataSize=8192
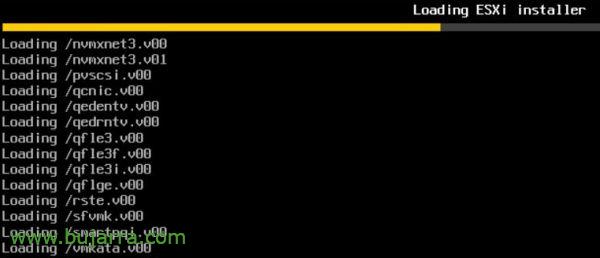
From now on we all know him, would be the process of installing a regular ESXi, we must install ESXi on a USB drive that we connect to it.
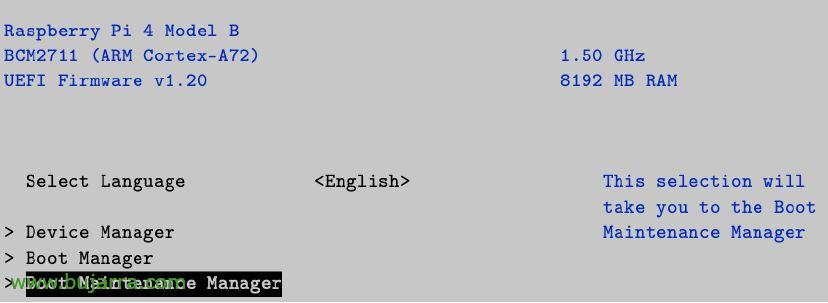
When we're done, After installation, disconnect the installation USB, And we restarted, we will have to go back into the UEFI configuration (with ESC). And we're going to “Boot Maintenance Manager”,
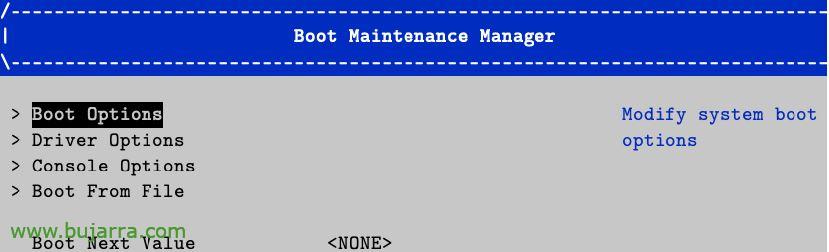
Click on “Boot Options”,
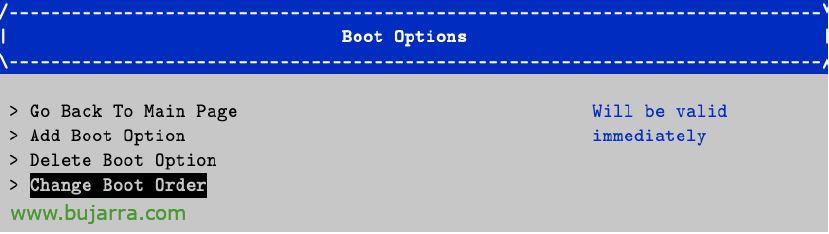
Click on “Change Boot Order”,
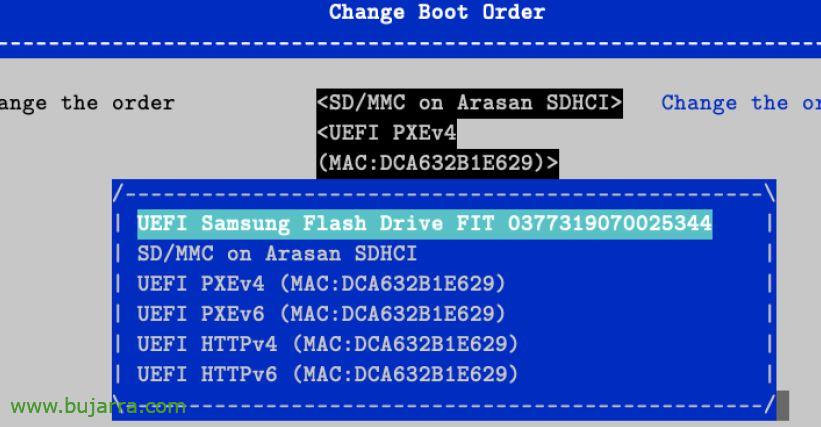
And by pressing the + we must upload our USB drive to the top of the list. We recorded with F10 and continued with the reboot.
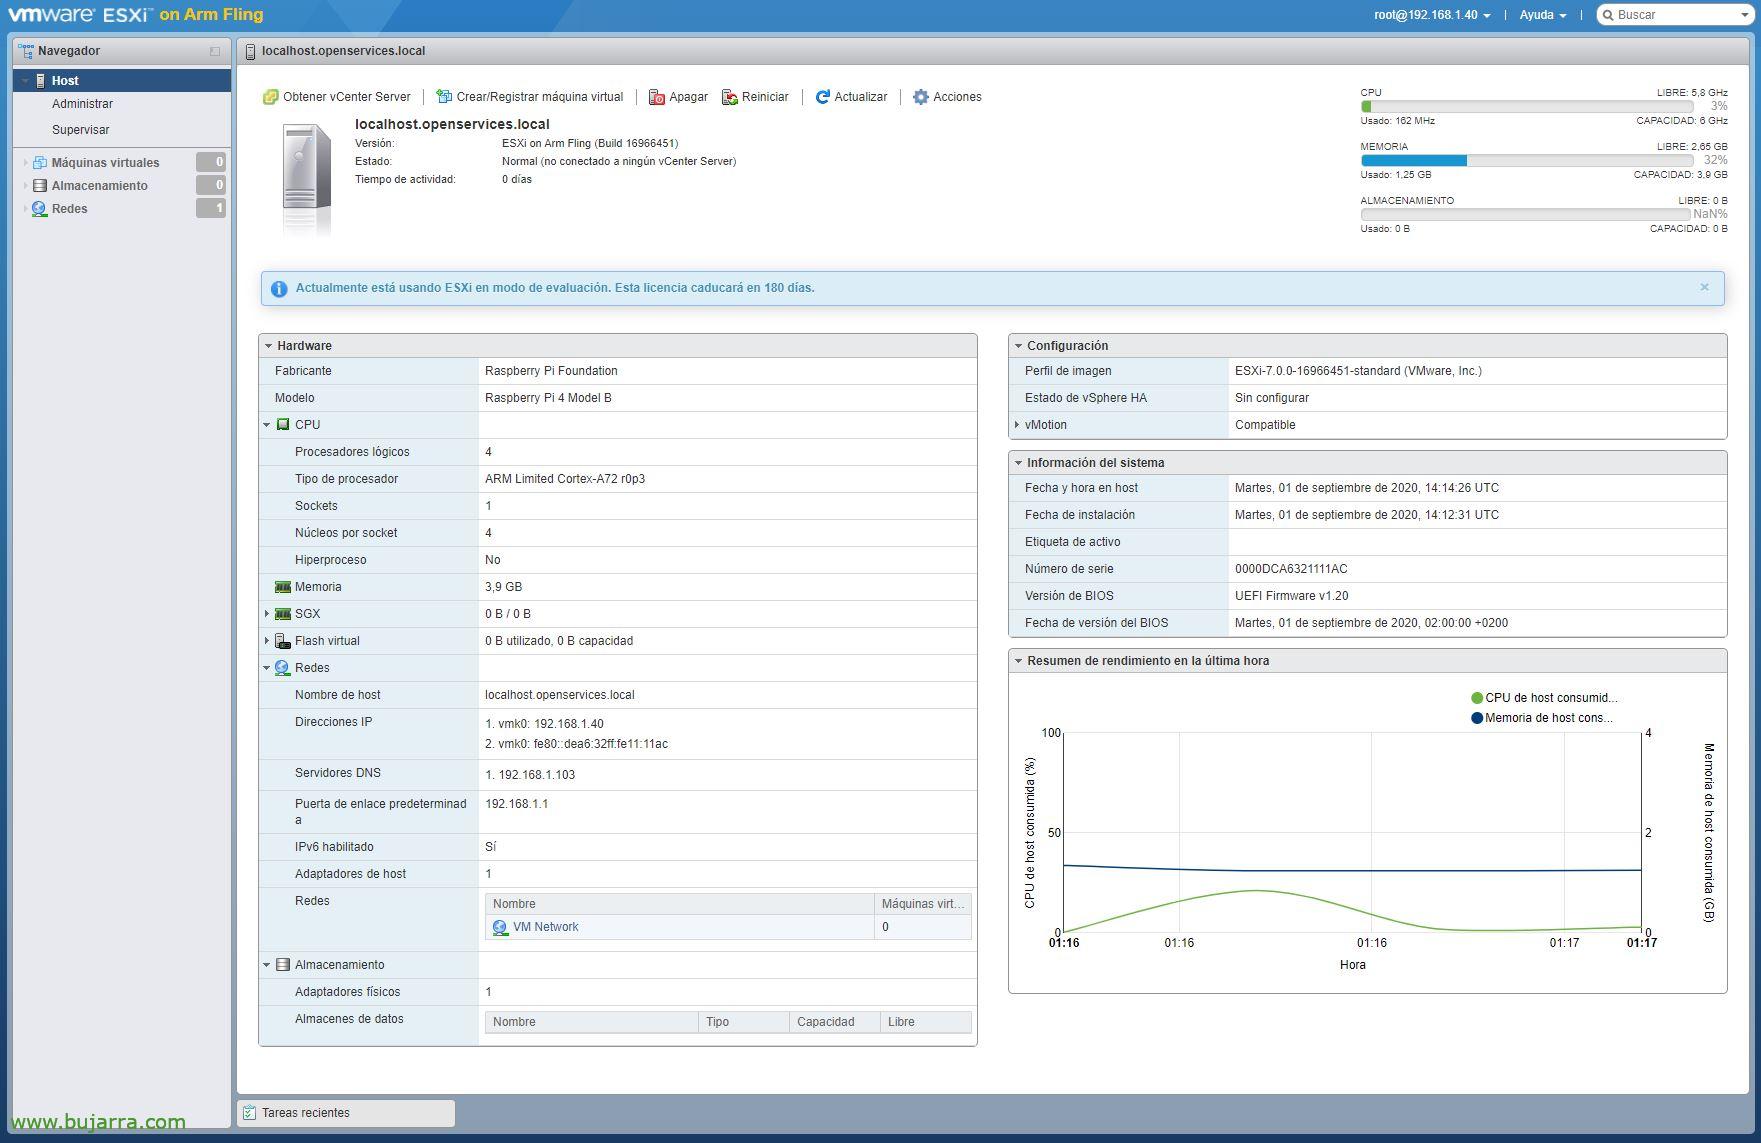
And nothing, Finally, If we leave him alone, the Raspberry Pi will boot the VMware ESXi hypervisor and in a few minutes we will be able to connect as usual through a web browser to the UI. If you look closely, it detects the hardware perfectly and we can start creating virtual machines, and give it a hard time!
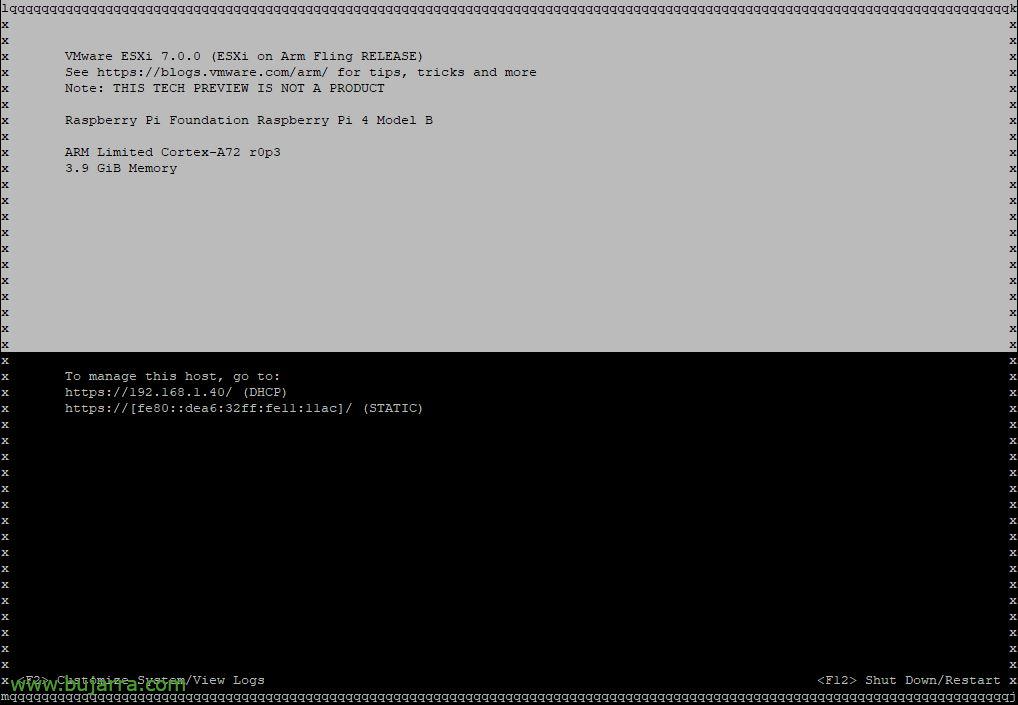
And nothing, a txorra image of the DCUI to verify which version we are running. Now I open a debate for you, How and for what purpose? Personally, the virtual layer is great for deploying VMs and backing them up centrally, I don't see for now the need to set up a cluster beyond to geek, Well I hope you liked it and any comments welcome, Thank you all very much for sharing on social networks!