Matterwiki, setting up a Wiki for our company

Starting from the good objective of each one (and each company), We know that we have to have documented everything we can, avoiding having it in our head or when a technician leaves us do not leave us with vital information, yes or yes we all have to document. So what I said, I leave you Matterwiki, which is nothing more than a super simple Wiki, we can use it as a repository and store all our How To's, Tricks, Notes…
And of course everyone can use whatever they want, I've been using this Wiki for quite some time and without any drawbacks, It is based on a Docker container, So it couldn't be easier, we download it, we pull it out and we have it ready. Personally you will see that I like to take the data out, This is, is stored using a local MySQL, Below I will put the steps to use an external one if you are interested, And to top it off, Well, an example by personalizing it and changing the theme to make it more corporate and better integrate into our company.
We are based on a Debian 9.9, I leave you the steps if you need to install Docker, where we will first install the dependencies, then we will import the GPG key from the Docker repository and finally install Docker:
[SourceCode]Sudo apt install apt-transport-https ca-certificates curl software-properties-common gnupg2 git -y
curl -fsSL https://download.docker.com/linux/debian/gpg | Sudo apt-key add –
sudo add-apt-repository "deb [arch=amd64] https://download.docker.com/linux/debian $(lsb_release -cs) stable"
sudo apt update
Sudo apt install Docker-C[/SourceCode]
And once we have Docker running, Matterwiki installed in a minute, First we clone your repository and create the container image
[SourceCode]git clone https://github.com/hydrog3n/dockerfiles.git
cd dockerfiles/matterwiki
docker build -t matterwiki .[/SourceCode]
We modify the secret in the JWT file:
[SourceCode]/var/lib/docker/overlay2/[ID]/diff/matterwiki/config.js[/SourceCode]
And we could start the container with:
[SourceCode]docker run –name=matterwiki -p 5000:5000 matterwiki[/SourceCode]
In my case, as I mentioned, I use an external MySQL server, So I give you the parameters that we should indicate when starting the container:
[SourceCode]docker run –Name MatterWiki -p 5000:5000 -e MYSQL_HOST=DIRECCION_IP_SERVIDOR_MYSQL -e MYSQL_USER=USUARIO_MYSQL -e MYSQL_PASSWORD=CONTRASEÑA_MYSQL -e MYSQL_DATABASE=BASE_DE_DATOS -e AUTHSECRET=SECRETO_JWT matterwiki[/SourceCode]

And we could already access the URL of our Matterwiki, since: “HTTP://DIRECCION_IP:5000/#/setup”, we will create our first account with admin privileges within Matterwiki, We indicate name, surname, Email and password, Click on “Setup My Account”,

And nothing, This would be our main view, on the left we will see the categories, And this is very simple, we can only create more categories to order our content, and the other thing we can do, Well, it will be creating the documents on the wiki from “New Article”,
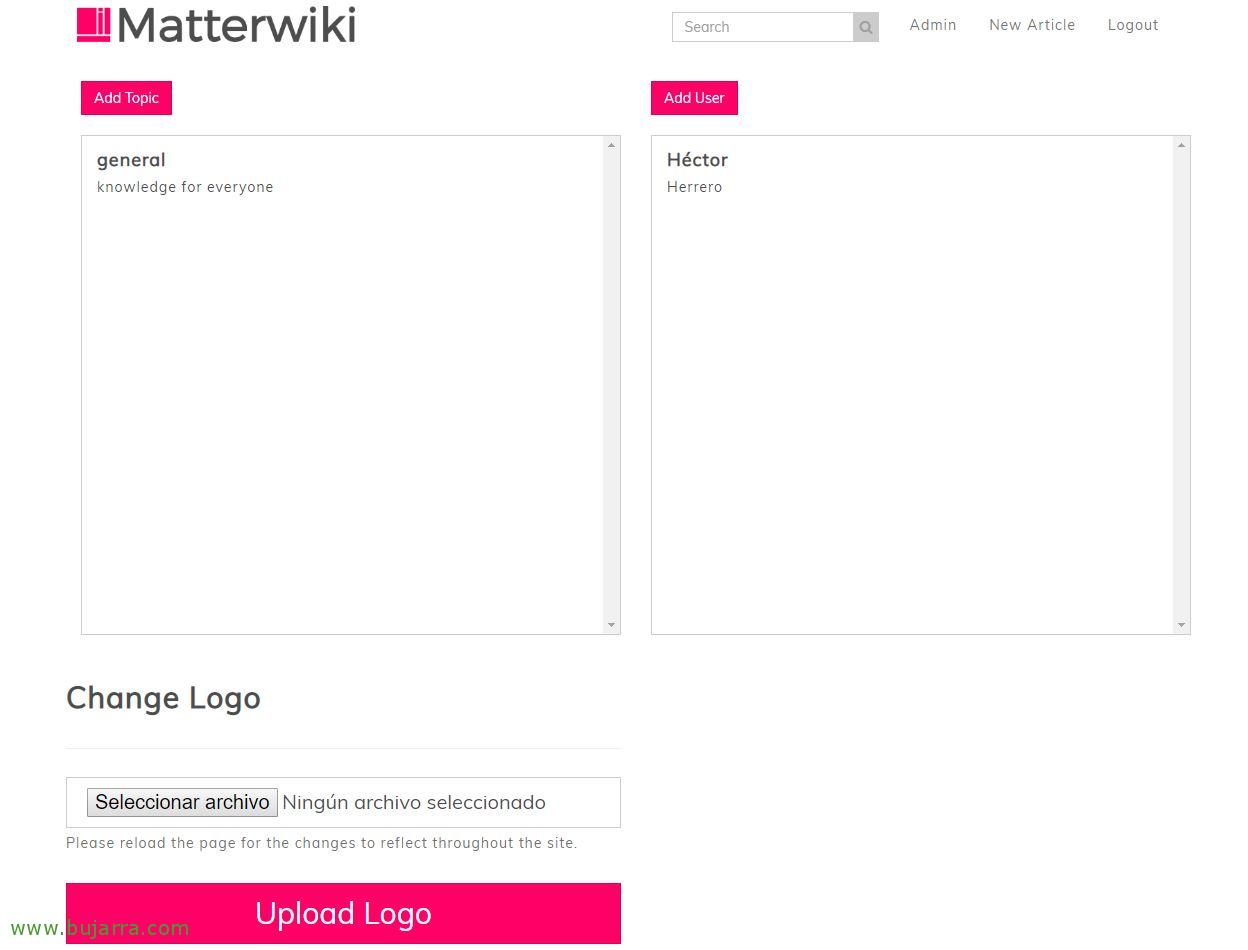
What I said, we will be able to create the Categories that we need to order the content, as well as upload our own logo to give it a more personal touch or add more users to access the wiki. By the way, if you want to also customize the colors of Matterwiki to put your corporate color, you will need to modify these 2 CSS:
[SourceCode]/diff/matterwiki/client/assets/bootstrap.css
/diff/matterwiki/client/assets/style.css[/SourceCode]

This would be a snapshot of what the interface is like to create posts in our corporate Wiki, It's very simple, simple…

This would be a snapshot of how a document would look on the Wiki for later consultation, We can edit it and review its modification history if necessary.

And this last screenshot would be of the initial screen, where we can see the latest documents, We can browse through the categories or directly using the search button we can quickly locate any article.