VMware Mirage – Part 3 – Migrating from Windows XP to Windows 7
Una vez ya tengamos nuestros escritorios centralizados, si tenemos en la organización Windows XP y queremos migrar nuestros equipos a Windows 7 de una forma totalmente rápida y automatizada, manteniendo además las configuraciones de los usuarios, así como sus aplicaciones y además aprovisionandole nuevas apps, podremos aprovecharnos de VMware Mirage!
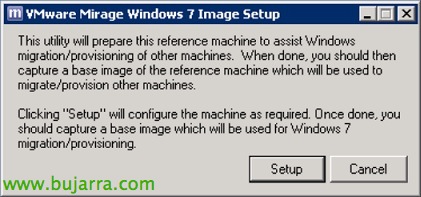
Lo primero será crear una imagen o plantilla de una máquina con Windows 7, para ello podremos seguir el documento anterior donde vimos cómo generarlas (con XP), en el caso de Windows 7 el proceso sería el mismo, pero antes de generar una plantilla de Windows 7, debemos preparar la imagen base. To do this,, una vez tengamos el cliente de Mirage instalado sobre la MV, “Tools” > “Windows 7 Image Setup”, We will execute this process and at the end we will generate the base image as we usually do.
It informs us that this utility will prepare this reference machine for migrating from XP to 7 or to apply this image on other CVDs with Windows 7. Click on “Setup”,
… we wait a few seconds while it prepares the machine…
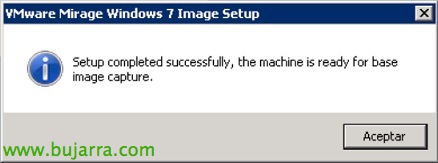
“Accept”, ready, we already have the machine ready for us to create an image of it. To do this, we will now take a capture of it from “Capture Layer” following the process we already know.
Well, what I said, once we have a base template of a Windows 7 we will be able to apply it to the Windows XP that we are interested in to upgrade their Operating System. Open “Windows 7 Migration”,
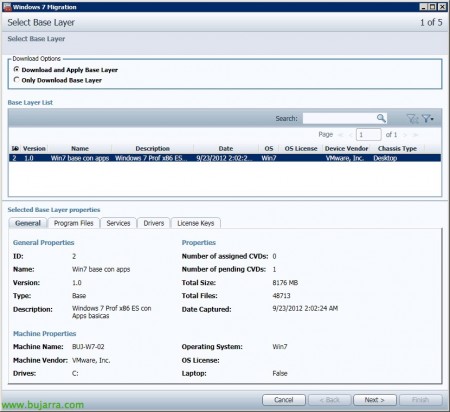
Select “Download and Apply Base Layer” to download and apply the selected template in the indicated CVDs, “Next”,
We select who we want to update the OS, logically we select CVDs or Collections that are XP, “Next”,
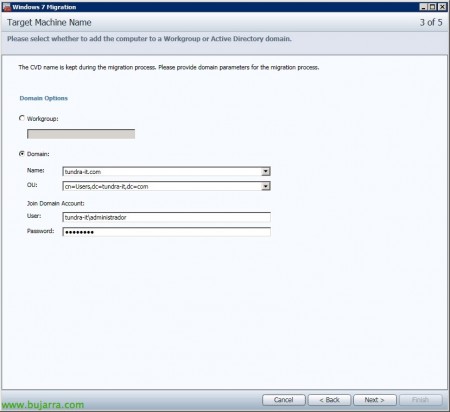
We specify a user with permissions to create computer accounts in AD,
We check that the CVD passes the verification test,
And we confirm the summary, where we will see which layer we will apply of Windows 7 to our Windows XP!
In the CVD we will see that the quick progress of migration to Windows 7 begins…
Once completed, it will indicate to reboot and apply it!
After rebooting, it will ask us to reboot one last time, ya que se arrancará con una cuenta temporal para finalizar el proceso de migración. Cuando lo volvamos a reiniciar, ya podremos entrar con el usuario que corresponda y comprobar cómo seguimos teniendo los mismos datos, documents, Applications… pero ahora en Windows 7!!!


