VPN de Microsoft Windows 2003 with EAP certificates

In this proceeding, the VPN connection between the client and the Routing Server will be secured. We will use two ways of connection, one through the username/password of the Ativo Directory and the other through the use of certificates (EAP).
SERVER CONFIGURATION:

First of all, create a group in Active Directory, we will use it to grant permissions to its members who connect with the VPN.

It will be a Security group and we will call it 'GroupVPN'.

End.

Now we need to install the IAS server (Internet Authentication Service) to configure it with the VPN Server, and make the RADIUS call. To do this, go to the Control Panel > Add or Remove Programs > Windows Components > And enter 'Network Services'.

Check 'Internet Authentication Service'’ and click OK to install it.
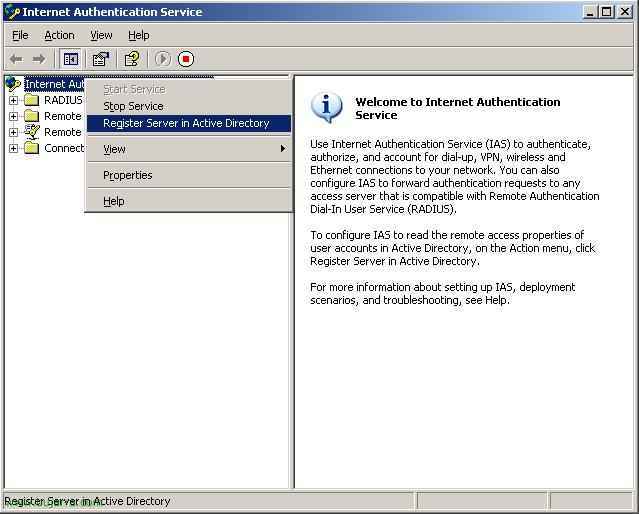
Open the console that will be in Administrative Tools > Internet Authentication Service. We need to register IAS in Active Directory (A.D.), for this, right-click on our IAS server > 'Register in A.D.'.

Ok.

Ok.

Once authorized to operate in our A.D.. we have to create a RADIUS client, that will be the VPN server (that should already be installed, otherwise, look at the VPN Server configuration chapter – HERE). We create the client by right-clicking on 'RADIUS Clients'’ and 'New RADIUS Client'’

We must enter the name of the VPN server which may be the same as where IAS is installed, we enter its name and its IP. Following.
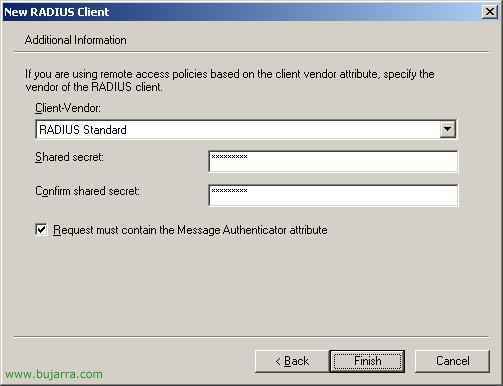
We enter a secret so that IAS and the VPN Server have one in common.
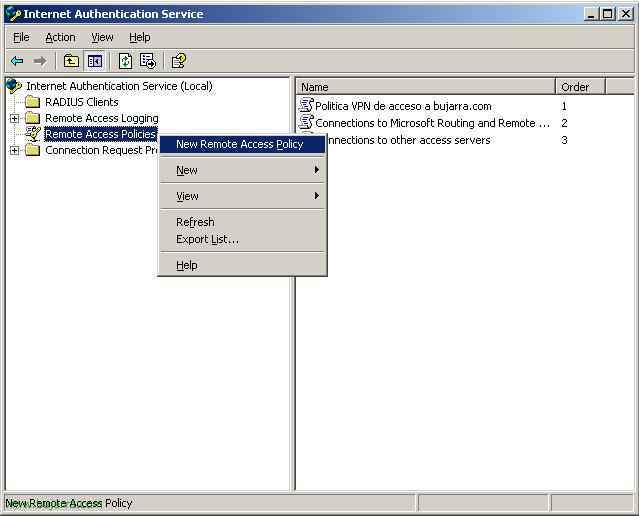
Now we need to create an Access Policy for the group created earlier.

Following.
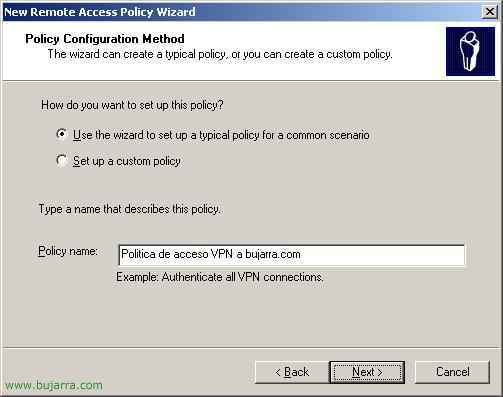
We give it a name to identify it.

VPN and Next.
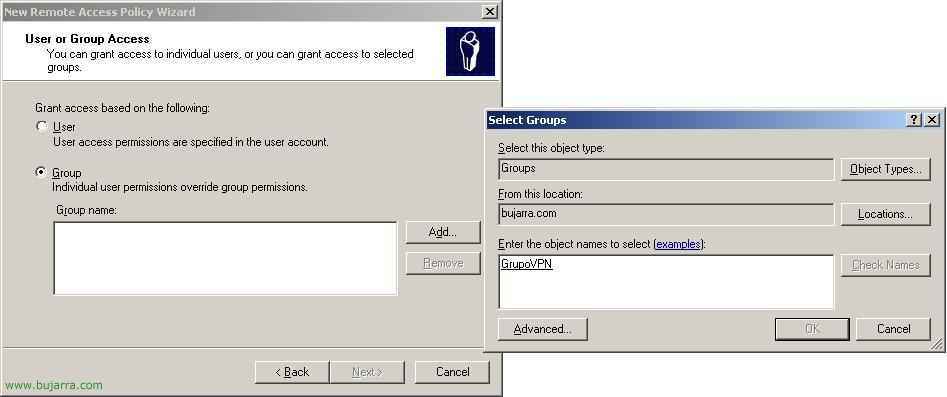 We select the group we created at the beginning. And we click Next.
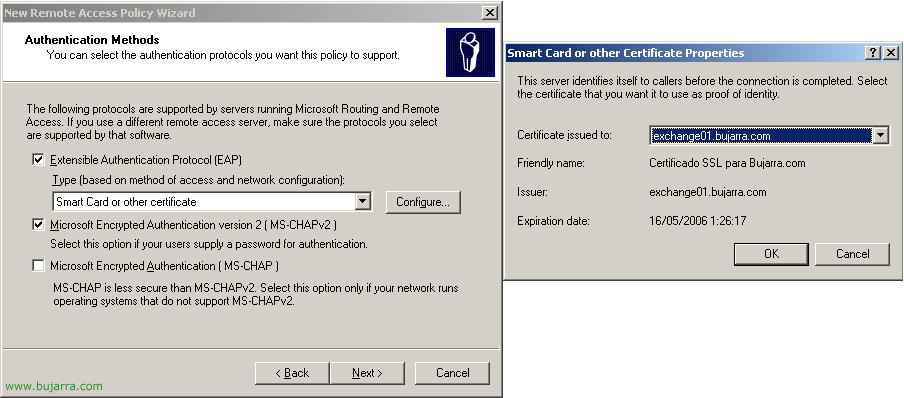
We select EAP (with certificates or smart card) and click on 'Configure'…’, seleccionamos el certificado que hemos creado en el capitulo de poner seguridad al OWA (HERE) y marcamos el check de MS-CHAP2 (is optional).
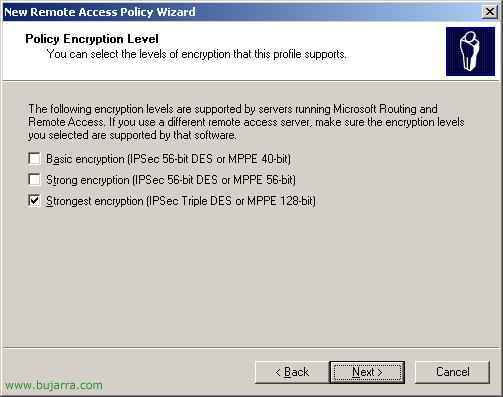
La encriptación más fuerte, Following.
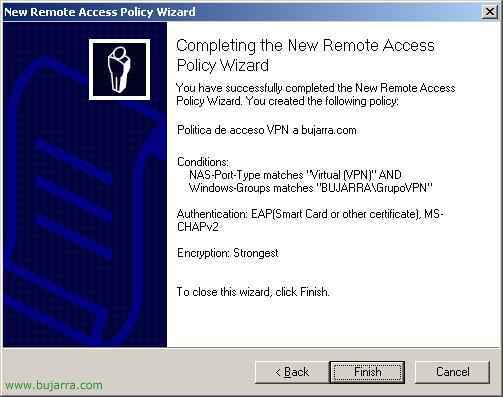
End.

Abrimos la consola de configuración del Servidor VPN, en Herramientas Administrativas > Enrutamiento y Acceso Remoto. Entramos en las propiedades del Servidor.

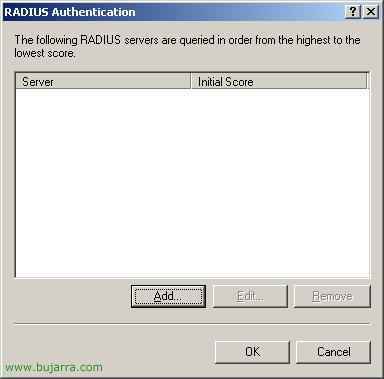
Pestaña Seguridad > Seleccionamos Authenticación RADIUS y pinchamos ‘Configure…’

Pinchamos en ‘Añadir’

Seleccionamos el nombre del servidor IAS (que como he dicho antes puede que sea que el mismo que el Servidor VPN). Tenemos que meter ahora el secreto que se configuro en el IAS pinchando en ‘Change’.

Metemos el secreto que se puso en el IAS y Ok.
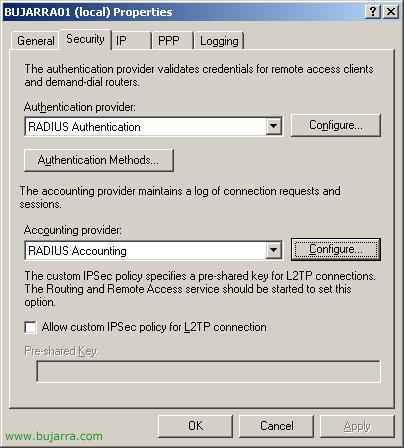
De nuevo en las propiedades del Servidor VPN, en la pestaña Seguridad > En Proveedor de cuenta metemos ‘RADIUS Accounting’ y pulsamos en ‘Configure…’
Add…

Aquí lo mismo que antes, metemos el nombre del servidor IAS y metemos el secreto en comun que tienen el IAS y el Servidor VPN, en ‘Change…’.

El secreto ese famoso y Ok.

Ahora pinchamos en ‘Metodos de Autenticación…’
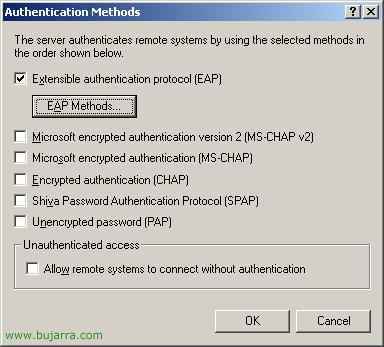
Seleccionamos EAP y opcionalmente MS-CHAP2, pulsamos en ‘Metodos EAP…’
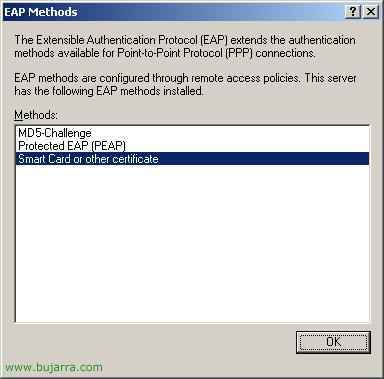
Seleccionamos ‘tarjeta inteligente u otro certificado…’ y Aceptamos todas las ventanas.
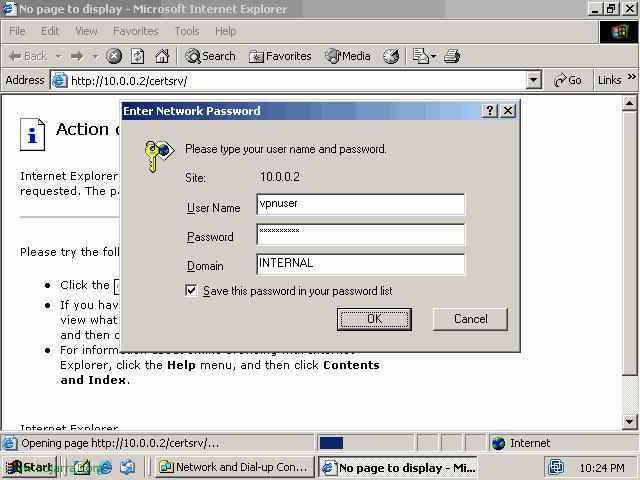
Lo que quedaría ahora es generar el certificado por cada usuario que nos interese que se conecte a la VPN, para ello abriremos el explorador y nos conectamos a nuestro servidor C.A. HTTP://t. Lo importante aqui es logearnos con el usuario en cuestión, So we can't be logged in as the administrator in Windows because it will take the credentials from this.. Or by changing in the properties of the site 'certsrv',’ In IIS, the type of authentication so that it always asks for a username and password, allowing us to log in with the user we are interested in..
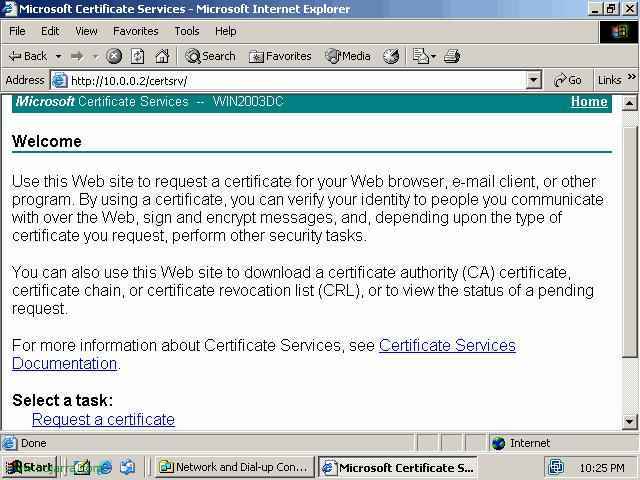
We click on 'Request a certificate'..

Now we click on 'User Certificate'.’
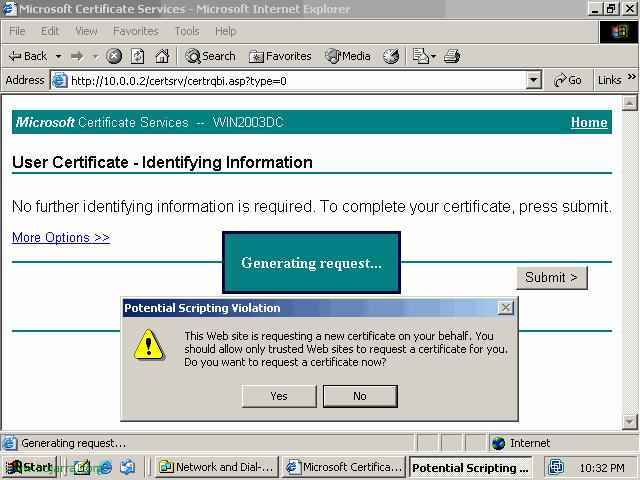
We click on the 'Submit' button.’ And a warning message will pop up that we will confirm the certificate request by saying yes in the message..
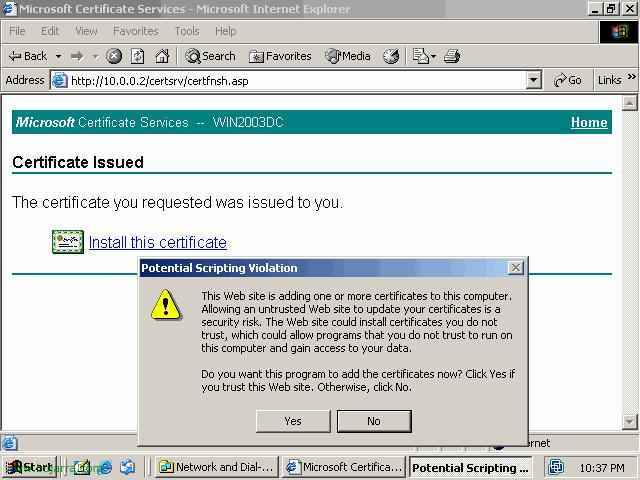
It will open the website with the generated certificate., What we need to do now is click on the link 'Install this certificate'.’ And we will say yes for the certificate to be installed on this PC.. If we want to use the certificate on another PC (that's logical) we will need to export it from the Internet Options in the Control Panel.
CLIENT CONFIGURATION:
This is the part that remains now, it would only have to be done on the devices that want to connect to the server.

We go to the 'Control Panel',’ and then to 'Network Connections',, we create a new connection, this assistant will appear, we click NEXT.
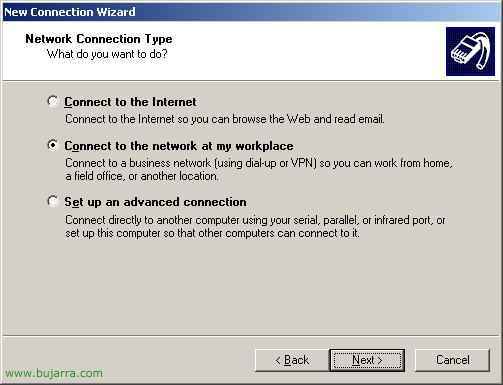
'Connect to my workplace',’ and 'Next',’
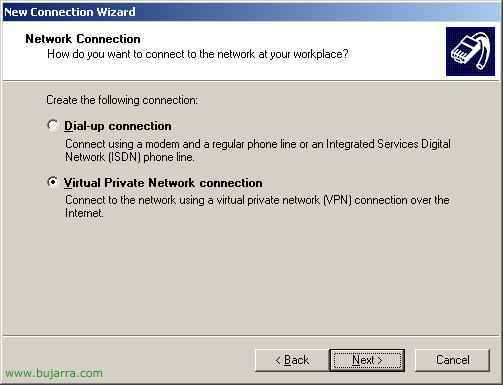
'Connection to Virtual Private Network', (VPN)’ and 'Next',.
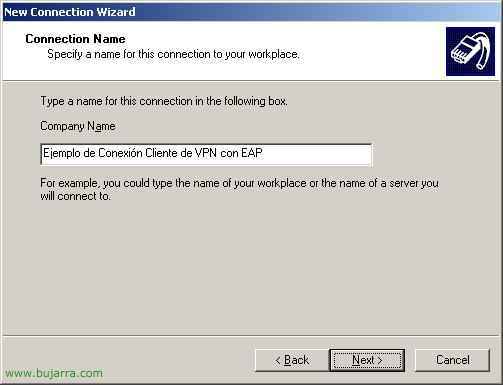
We name the VPN connection and click 'Next',.
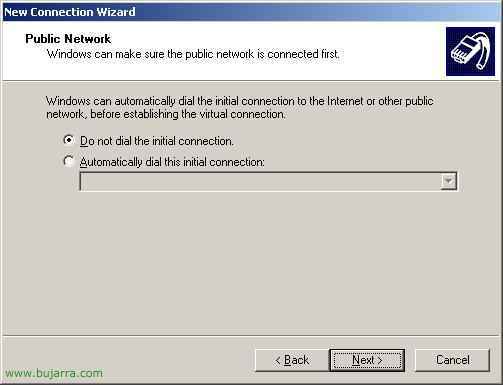
This really depends on each individual's connection. In my case, do not mark a connection beforehand. 'Next'.

El nombre del servidor al que nos vamos a conectar o la dirección IP, normalmente será un nombre público.

‘Sólo para mi uso’ and 'Next',’
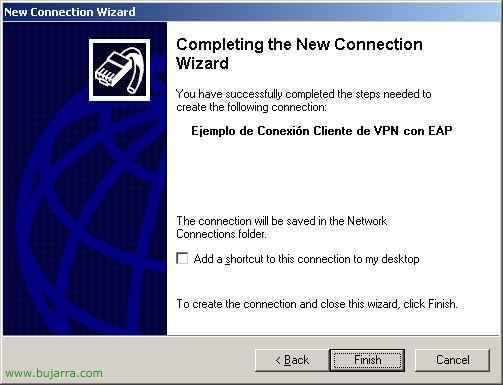
‘Finalizar’
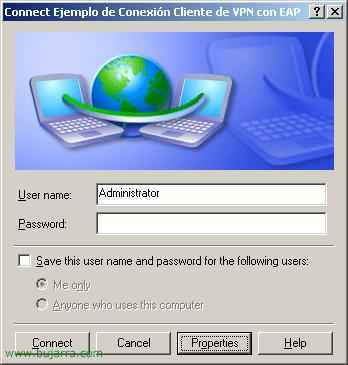
Entramos en las propiedades de la conexión VPN que acabamos de crear.

Vamos a la pestaña ‘Seguridad’, marcamos el combo ‘Avanzadas’ y pinchamos en el botón ‘Propiedades’.
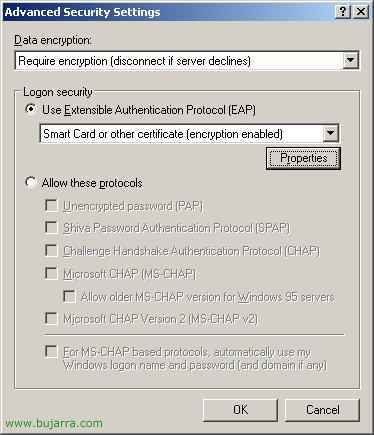
Seleccionamos ‘Usar protocolo EAP’ y seleccionamos ‘Tarjeta inteligente u otro certificado’ y pinchamos en el botón ‘Propiedades’.

La segunda opción ‘Usar un certificado de este equipo’, We mark the check. Conectamos con los siguientes servidores, que meteremos ahí el servidor CA, y marcamos el certificado abajo. Si el certificado está creado a otro nombre de usuario marcaremos el check de ‘Usar un nombre de usuario diferente para la conexión’.
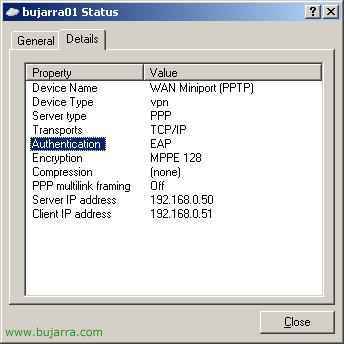
Pinchamos en ‘Conectar’.
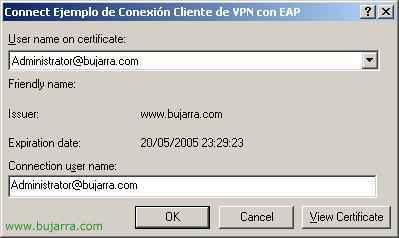
‘Ok’. Y ya nos conectaríamos.