vShield Endpoint con Trend Micro Deep Security
In this document, we will see the deployment of vShield Endpoint with Trend Micro's Deep Security antivirus, As we already know, with vShield Endpoint we will be able to avoid having on each virtual machine (hosted on our vSphere infrastructure) of antivirus/antimalware software, with this we will be able to further optimize our VDI environments by not having as many AVs as MVs, The processing of this payload is executed only once by our hypervisor.
vShield Endpoint Offload Processing for Each Agent (antivirus or antimalware) from each VM to a dedicated security appliance on each ESXi host (Provided by VMware Partners), giving that security at the hypervisor level and significantly offloading the load from each MV and host. It is installed as a module and distributed as such a third-party appliance, on each ESXi host.
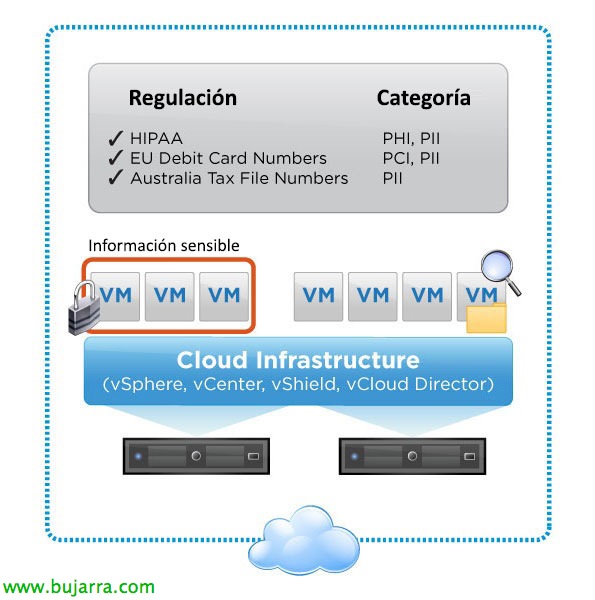
This will be the final scheme that will be assembled, In this document we will use the version 8.0 Deep Security that is compatible with ESXi 5.0 Update 1, software that we will need to have:
Deep Security Manager: Manager-Windows-8.0.1448.x64.exe or Manager-Windows-8.0.1448.i386.exe
Deep Security Agent: Agent-Windows-8.0.0-1201.i386.msi or Agent-Windows-8.0.0-1201.x86_64.msi
Deep Security Notifier [optional]: Notifier-Windows-8.0.0-1201.i386.msi
Deep Security Relay [optional]: Relay-Windows-8.0.0-1201.i386.msi or Relay-Windows-8.0.0-1201.x86_64.msi
Deep Security Virtual Appliance: Appliance-ESX-8.0.0-1199.x86_64.zip
Deep Security Filter Driver: FilterDriver-ESX_5.0-8.0.0-1189.x86_64.zip
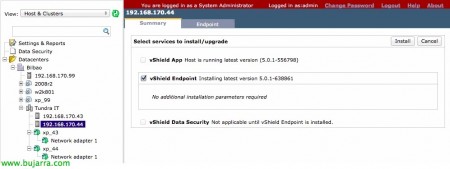
We start, from the vShield Manager management console we will deploy the module to each host from the 'Hosts' view. & Clusters' > Datacenter > Cluster > Host, from the 'Summary' tab in vShield EndPoint "Install",
Select 'vShield Endpoint’ & “Install”,
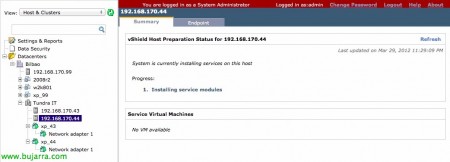
… We wait while you install & Load the module…
OK.
On a new machine we will deploy Trend Micro Deep Security Manager, who will be in charge of managing our Deep Security infrastructure, in addition to downloading the latest definitions and displaying them on each host. We start with your installation,
We accept the license agreement & “Next”,
Select the installation path, default in '%ProgramFiles%Trend MicroDeep Security Manager', “Next”,
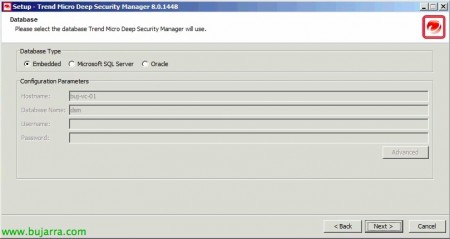
Select the DB format we want to generate, can be embedded (Apache Derby), Microsoft SQL Server or Oracle, “Next”,
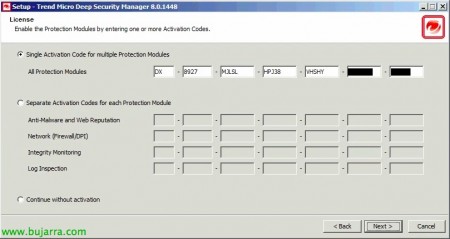
Enter the Trend Micro activation code that will allow us to run different modules, “Next”,
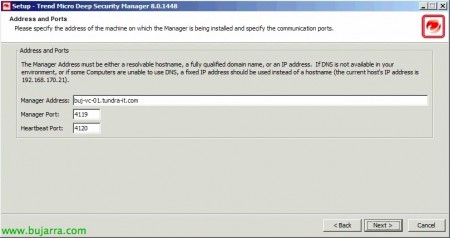
Enter the host FQDN name where we will install the Manager, as well as the default port of management (4119TCP) or the heartbeat (4120TCP), “Next”,
We specify a password for 'MasterAdmin',
Mark “Automatically Update Components” & “Automatically Check for new Software” to create scheduled tasks where you will update all the components of Trend Micro at all times, as well as the definition engines, etc…
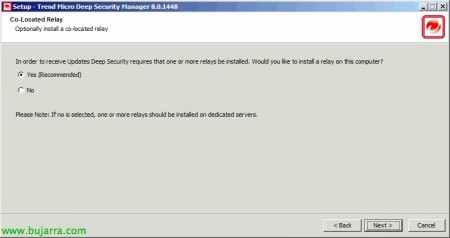
We will be able to install the relay service on this same computer that will be the one that connects directly to Trend Micro
Active Update to download updates, otherwise, we can install it on another computer, “Next”,
If we enable Trend Micro Smart Feedback, we will send reports of our malware to the Smart Protection Network for analysis/logging, “Next”,
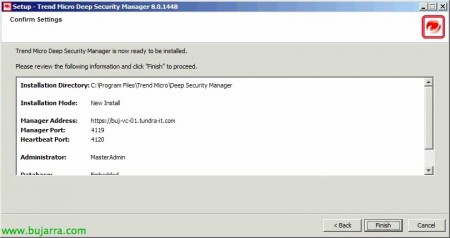
We confirm the data & Pressed “Finish” to begin installation,
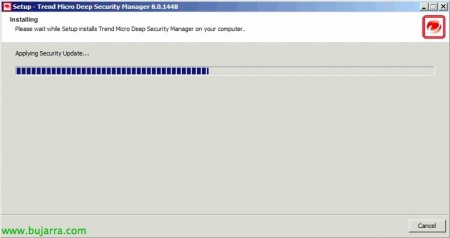
…
We leave the check mark to be able to manage Deep Security immediately, “Finish”,
A browser will open or we open it to: https://DEEP_SECURITY_MANAGER:4119, we authenticate as 'MasterAdmin’ and the password we set earlier,
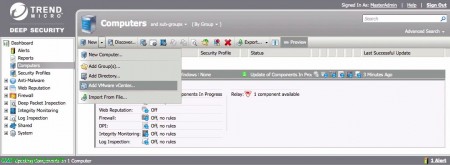
The first thing will be to add to our vCenter server from the 'Dashboard'’ > 'Computers’ > 'New’ > 'Add VMware vCenter…’
In the web wizard we enter the IP address/hostname of our vCenter, Your port, We indicate a name & A description, as well as an administrator user and their password, “Next”,
We also provide the data from our vShield Manager, we will provide your IP address/hostname and credentials, “Next”,
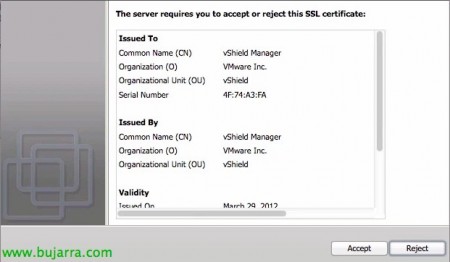
Introduce us to the vShield Manager certificate, We will click on “Accept” to trust him.
Introducing VMware vCenter Certificate, We will click on “Accept” to trust him.
We confirm that the data in our vCenter is correct & “Finish”,
… we wait while hosts and VMs are added to the view…
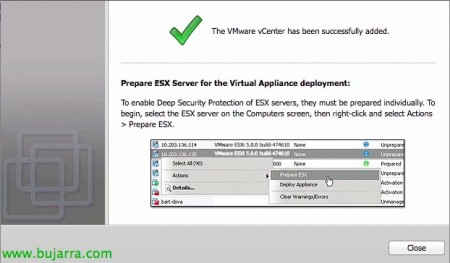
List, vCenter added, “Close”.
The next thing will be to prepare the ESXi hosts of our organization with the filter driver to intercept all the I/O traffic of our MV's and be able to analyze it, From the main view, 'Computers’ > 'vCenter’ > 'Hosts and Clusters’ > 'Datacenter’ > 'Cluster', we will select each host and about it: 'Actions’ > “Prepare ESX…”,
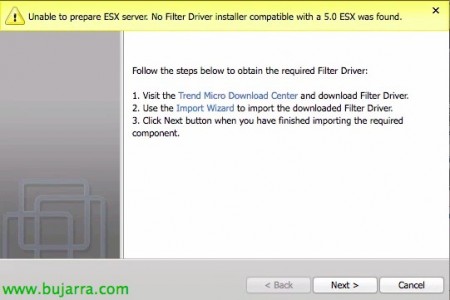
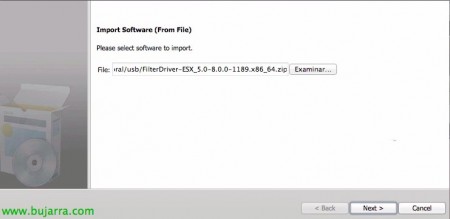
If this is the first time we have run it, it will tell us that we do not have the Filter Driver and that we will have to import it, Click on “Import Wizard”,
This new wizard will allow us to import the software, We have been looking for it since “Examine” & “Next”,
We confirm that it is the right component & “Finish”,
GOOD, Back in the previous wizard, we will now be able to continue with the preparation of our ESXi hosts, with this we will deploy the necessary component, “Next”,
Well, Before you begin, We will have to take into account that our host will be put into maintenance mode, the Filter Driver will be installed and then restarted, so watch out for production MV's. “Finish”,
What I said, first the VM's will be turned off/moved to be placed in maintenance mode,
… Install…
… and it will restart.
List, Correct server! Now it remains to deploy the Deep Security appliance, So we checked the first option “Deploy a Deep Security Virtual Appliance now” & “Next”,
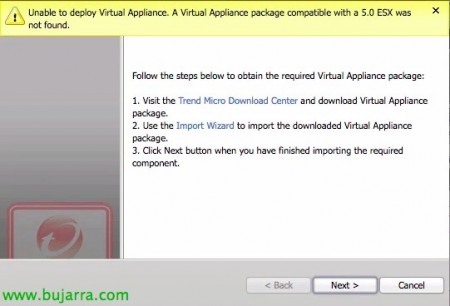
Just like we didn't find the Filter Driver, This time we will have to import the virtual appliance, so we click on “Import Wizard”,
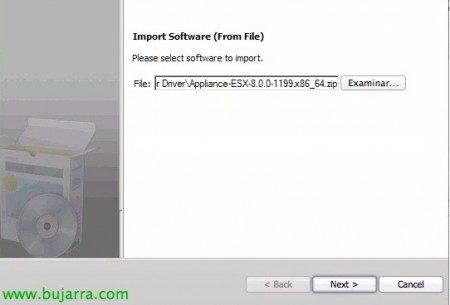
We select from “Examine” The appliance & “Next”,
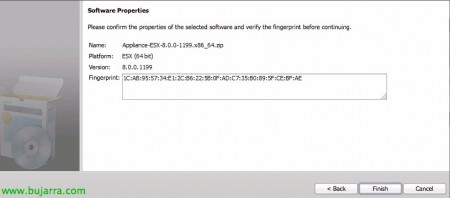
We confirm that it is the right software & “Finish” To close the Import Wizard,
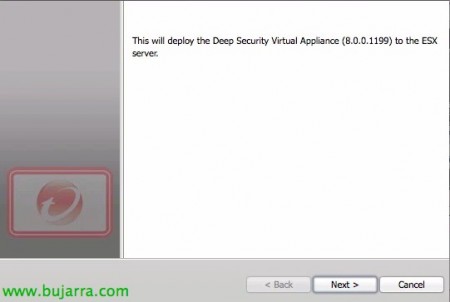
Ok, we will finally be able to start with the deployment of Trend Micro's vapp, “Next”
Naming the virtual appliance for VMware, a datastore where we will store it, Your folder and your management network, “Next”,
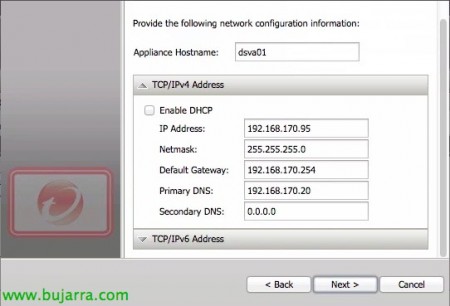
We enter the hostname for the vapp, we will assign your network by DHCP or we may specify a manual configuration, “Next”,
We will select whether we want Thin or Thick disk & “Finish” to get started if you deploy,
… we wait while the VM is created & Configured…
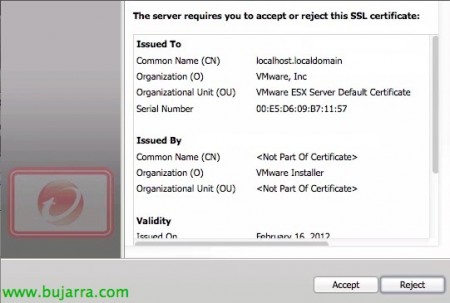
OK, We accept our host's certificate,
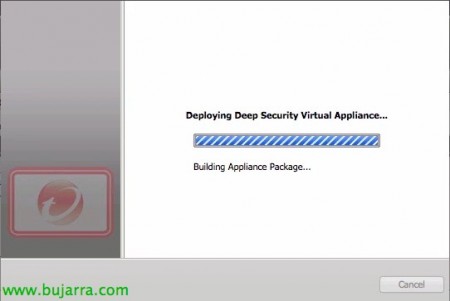
… We wait while the virtual appliance is deployed…
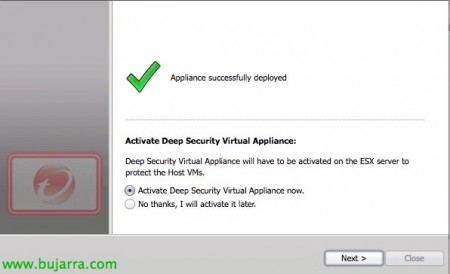
Click on “Activate Deep Security Virtual Appliance now” & “Next”,
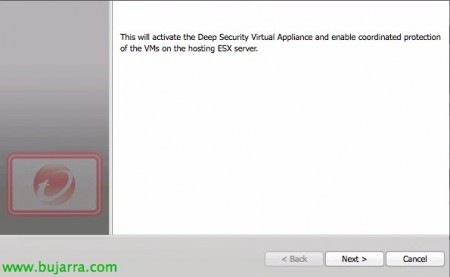
“Next”,
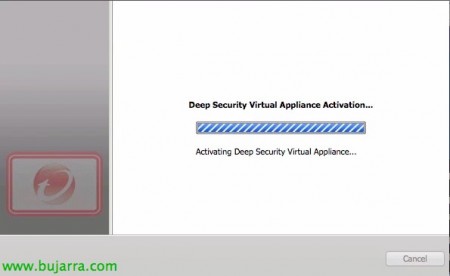
Well, we will activate the virtual appliance to which we will have to assign a security profile, in this case it will have to be 'Deep Security Virtual Appliance’ & “Next”,
…
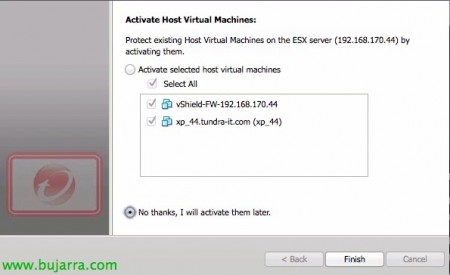
And we check if we want to immediately activate the VM's that the host executes, We will mark “No thanks, I will activate them later”, Since we're not in a hurry.
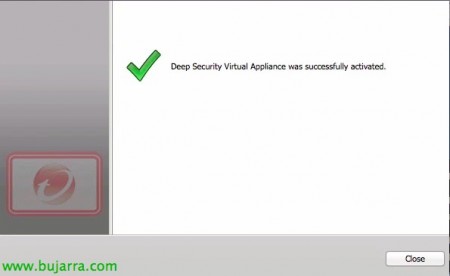
List, Click on “Close”.
GOOD, Now about the machines we want to protect with this appliance, from the view of 'Virtual Machines' > 'Datacenter', we look for the VM that interests us, and right-click > 'Actions’ > 'Activate/Reactivate', with this we will activate that VM to be analyzed by the Trend Micro appliance.
We must associate it with a safety profile, So right-click > 'Actions’ > 'Assign Security Profile…’
We will select the existing security profile of your operating system & “OK”,
We will see how we already have the machine protected, if you do not see the changes reflected, We will reactivate it again.
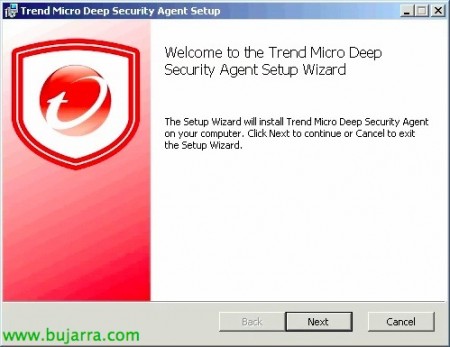
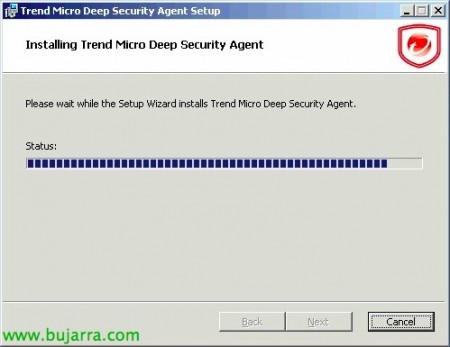
We will additionally install the Trend Micro agent on each virtual machine, or in a manual way as is the case this, or in an automated way with the deployment of software through an Active Directory policy. So we run the installer of Trend Micro Deep Security Agent & “Next”,
“I accept the terms in the License Agreement” & “Next”,
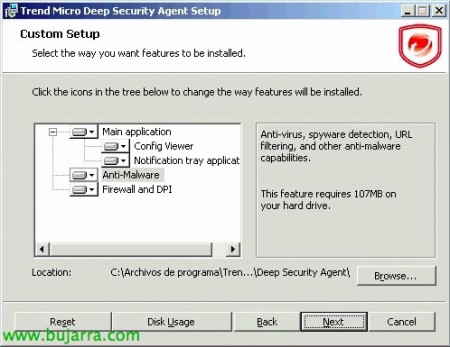
We will select all the components we want, In my case I will do a complete installation to detect viruses, spyware, URL filtering, Anti-malware…
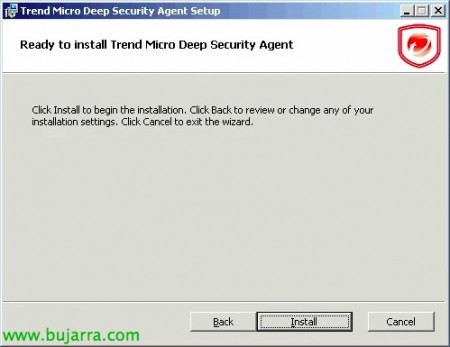
And that's it, Click on “Install” to start installing the agent on each VM to be protected,
… Wait a few seconds…
& List.
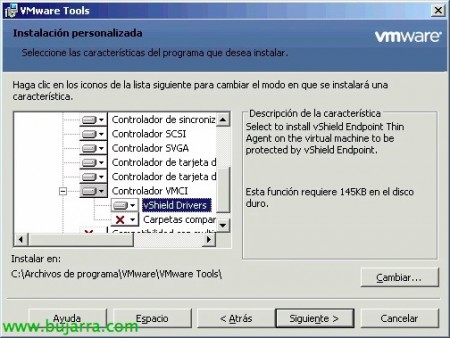
GOOD, the next step will be to install the vShield Endpoint Thin Agent on the virtual machines that will be protected by vShield Endpoint, now it is perfectly integrated into the VMware Tools, so we can customize the installation and check 'vShield Drivers'’ to be installed. We will have to restart the VM later.
It would be necessary to have the patch ESXi500-201109401-BG on ESXi hosts 5 or ESX410-201107001 on ESXs 4.1, that will allow us to have updated VMware Tools, we could download the tools in addition to his repository.
We will be able to update the Tools in the VM's in different ways, manually (Interactive Tools Upgrade), semi-automatically (Automatic Tools Upgrade) or in a fully automated way running either on the command line or via a GPO: PATH_TOOLSsetup.exe /S /V “/qn REBOOT=R ADDLOCAL=VMCI, REMOVE=Hgfs”
For example, if we have the patch downloaded ESXi500-201109001.zip, We unzip it, we can find the binaries of the Tools in: ESXi500-201109001vib20tools-lightVMware_locker_tools-light_5.0.0-0.3.XXXXX.Xtoolstools-light.tgz*.iso
We will be able to confirm how now apart from having the protection of 'Appliance’ we also have that of the 'Agent', We'll see what functionalities we have enabled (which will depend on the template applied: Anti-Malware, Web Reputation, Firewall, DPI, Integrity Monitoring or Log Inspection).
We will be able to do a test on the machine to confirm that it works by navigating to the Eicar website and we will see how we will not be able to download the 'test' file.
Likewise, the console itself will warn us of everything it detects!


