Bitdefender GravityZone: First contact

I begin with the great Xavier Genestós a series of posts about Bitdefender GravityZone, A great security solution that protects our environment against threats of any kind. In his first post we saw how to install the management appliance, and appliance installation for vShield or NSX environments. In this post we will see a next step, how to install an agent for non-vShield or NSX environments and a first look at the control panel structure!
![]()
So, First of all, If you want to take a look at the First post where Xavier Genestós gives us a fabulous intro, Here you have it!! We continue with this second part,
Agent Installation (Environments without vShield or NSX)
Alone if you don't have vShield or NSX, for protection to work, We will have to install an agent in each virtual machine to be protected. We will also be using the agent on mobile devices, there is a client for iOS, Android. The Windows operating systems that are currently supported are:
- From Windows Server 2003 to Windows Server 2016.
- From Windows XP to Windows 10.
Remember that it is necessary Uninstall any other antivirus on the computer previously. It is important to note that with Windows Server 2016, Windows Defender antivirus is installed by default!
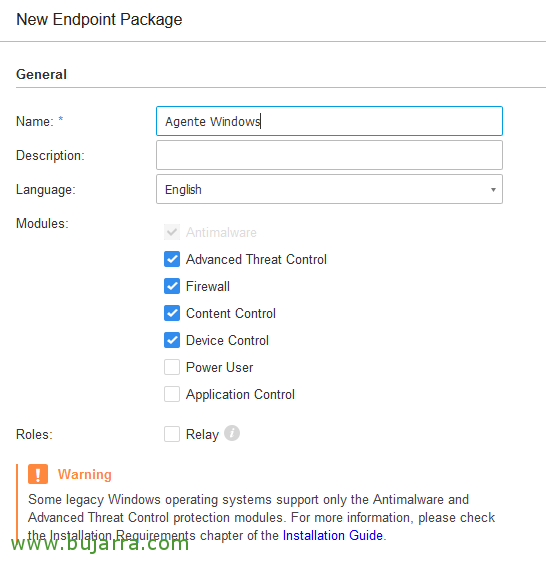
First, We must Create the package from the Control Panel, We're going to “Network” > “Packages” > “Add…”. We select the language and the modules that we want it to have protection, normally “Advanced Threat Control”, “Firewall”, “Content Control” and “Device Control”.
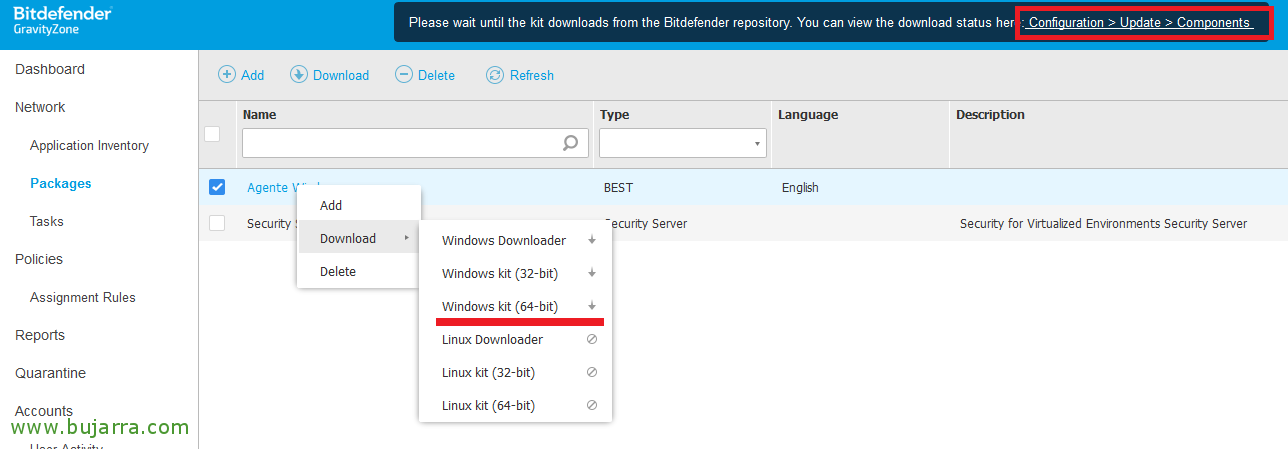
We are located in: “Configuration” > “Update” > “Components” and we Download the agent for our necessary OS, be it Windows or Linux.
Once unloaded we can proceed to Install it, Agent installation can be done remotely from the console or manually, The process has no complications!
General structure of the control panel
Examining the overall structure of the control panel, At a quick glance we can see the way of Manage the product. By way of summary, If we examine the control panel we will see:
Dashboard: View where we can see the different malware detection alerts.
Network: We'll look at the network elements we've been adding, for example in the case of VMware, we'll look at the vCenter Server, with the different ESXi hosts in the same. We also have a section where we can download virtual appliances or clients.
Policies: In this section we have a default policy that will apply certain settings by default to all customers. We can generate different policies and assign them to users.
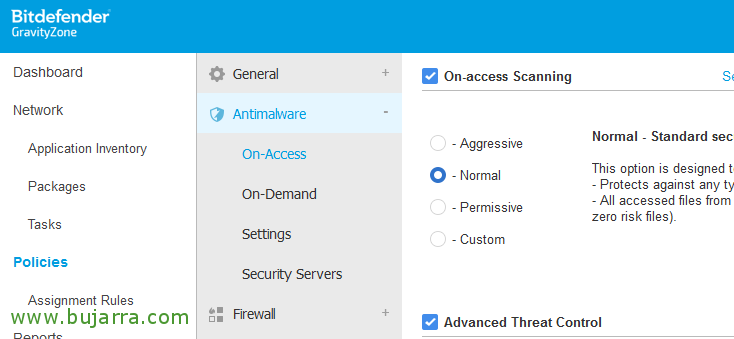
Partial view of the antimalware section of the policy.
In fact, there are a multitude of parameters that we can customize… To work with policies, We can create new policies or clone the default policy, In this way we see what the default items are.
Reports: In this section we can see the different reports that can be generated. In addition, it is possible to schedule the shipment of the same!
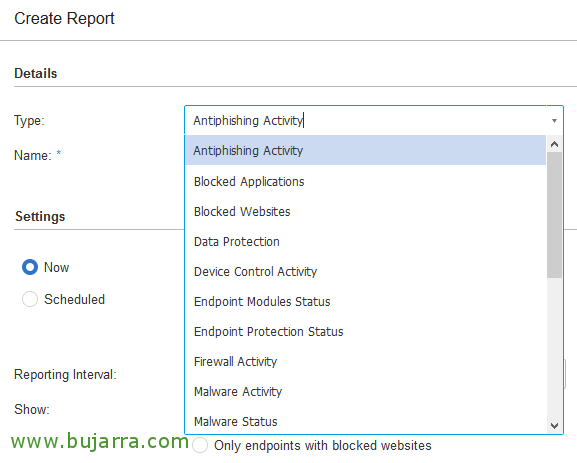
Partial view of creating a Report.
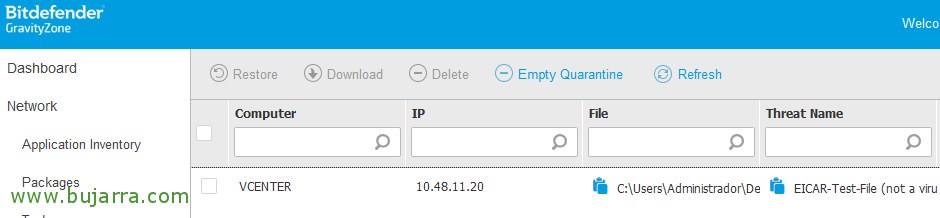
Quarantine: Here we can see the quarantine, Potentially dangerous files detected and moved.
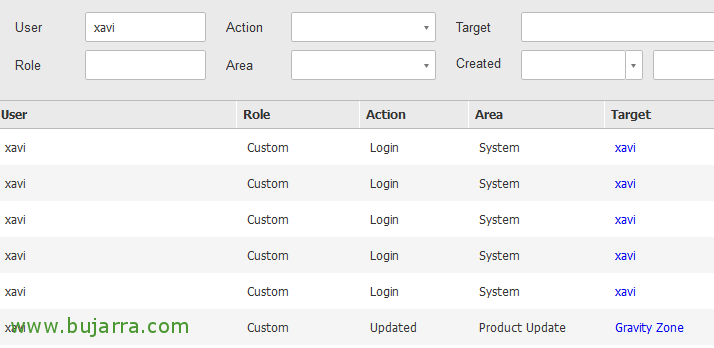
Accounts: In this section, We can see the log of actions performed in the admin panel, We can also create different administration accounts.
Configuration: Here we have several configuration options, for example the connection to our vCenter Server, connection to an Active Directory, Updates…
Well! We continue to investigate all the possibilities that this product gives us different from the rest of the market, We will harness the potential and demonstrate how to protect our physical environment, Virtual or Mobile!