Apache Guacamole vs. Active Directory Authentication

We have already talked about the wonders of Apache Guacamole on some other occasion, this platform for secure connection to our environment via RDP, SSH, VNC… Ideal for small businesses, labs or trainings. Today we will see how to integrate it into Active Directory and publish certain resources to different users!
What I said, in This previous post, we already saw how to install Apache Guacamole, and how to secure it behind a reverse proxy. We will use this product to securely publish any remote desktop to the internet using RDP, as well as VNC or SSH among others. We will be able to securely allow the remote connection of our users to the organization, We will allow them to connect well to their traditional positions, or for example against a pool of machines that offer a desktop, such as some VDI or Remote Desktop servers.
The idea of this post will be to allow certain Active Directory users to connect with their own user and thus not use local users, each with a different password… And once Apache Guacamole is connected to the AD, we will be able to create the connections that we want to publish later to our users.
First we install the extension for LDAP authentication :
WGET HTTP://apache.mirror.iphh.net/guacamole/1.3.0/binary/guacamole-auth-ldap-1.3.0.tar.gz tar xvzf guacamole-auth-ldap-1.3.0.tar.gz sudo cp ./guacamole-auth-ldap-1.3.0/guacamole-auth-ldap-1.3.0.jar /etc/guacamole/extensions/
We edit and add in the configuration file of Apache Guacamole /etc/guacamole/guacamole.properties the configuration of connection to Active Directory.
guacd-hostname: localhost guacd-port: 4822
#user-mapping: /etc/guacamole/user-mapping.xml #auth-provider: net.sourceforge.guacamole.net.basic.BasicFileAuthenticationProvider auth-provider: net.sourceforge.guacamole.net.auth.ldap.LDAPAuthenticationProvider ldap-hostname: DIRECCIÓN_IP_CONTROLADOR_DE_DOMINIO ldap-port: 389 # Or safe: 636
ldap-user-base-dn: OU=route,DC=domain,DC=local ldap-username-attribute: samAccountName ldap-config-base-dn: OU=route,DC=domain,DC=local ldap-encryption-method: none # Or safe: SSL, starttls ldap-search-bind-dn:cn=usuario_LDAP,OU=route,DC=domain,DC=local ldap-search-bind-password:PASSWORD
And we restart Tomcat:
sudo systemctl restart tomcat9
Now we have 2 options, or tap and extend our AD schema to add attributes to users, What do you mean… or setting up a MySQL on the Guacamole equipment itself, where users and their assignments will be stored in a database. It is true that the latter is less scary… So we installed MariaDB:
sudo apt-get install mariadb-server mariadb-client
Set the time zone to MariaDB by editing the /etc/mysql/mariadb.conf.d/50-server.cnf file
[Mysqld]
...
default-time-zone='+01:00'
...
It's time to create the database and user for Guacamole, first we connect to MySQL:
sudo mysql -uroot
And what I said, We create the database, the user and give the corresponding permissions:
CREATE DATABASE bd_guacamole;
CREATE USER 'USUARIO_GUACAMOLE'@'localhost' IDENTIFIED BY 'PASSWORD';
GRANT SELECT,INSERT,UPDATE,DELETE ON bd_guacamole.* to 'USUARIO_GUACAMOLE'@'localhost';
FLUSH PRIVILEGES;
To be able to use MySQL authentication, First we download the following extension https://apache.org/dyn/closer.lua/guacamole/1.3.0/binary/guacamole-auth-jdbc-1.3.0.tar.gz?action=download we download and install it:
Tar ZXFV guacamole-auth-jdbc-1.3.0.tar.gz sudo cp guacamole-auth-jdbc-1.3.0/mysql/guacamole-auth-jdbc-mysql-1.3.0.jar /etc/guacamole/extensions/
We download the connector https://dev.mysql.com/downloads/connector/j/ for our Ubuntu, in my case a 20.04 (https://dev.mysql.com/downloads/file/?id=504646) and we install it:
sudo dpkg -i mysql-connector-java_8.0.25-1ubuntu20.04_all.deb sudo ln -s /usr/share/java/mysql-connector-java-8.0.25.jar /etc/guacamole/lib/.
We create the DB schema:
cat guacamole-auth-jdbc-1.3.0/mysql/schema/*.sql | sudo mysql -uroot bd_guacamole
We edit our beloved Guacamole configuration file /etc/guacamole/guacamole.properties and add at the end:
mysql-hostname: localhost mysql-port:3306
mysql-database: bd_guacamole mysql-username: USUARIO_GUACAMOLE mysql-password: PASSWORD
And we restarted Tomcat and Guacd services to reload the previous changes:
sudo systemctl restart tomcat9 guacd
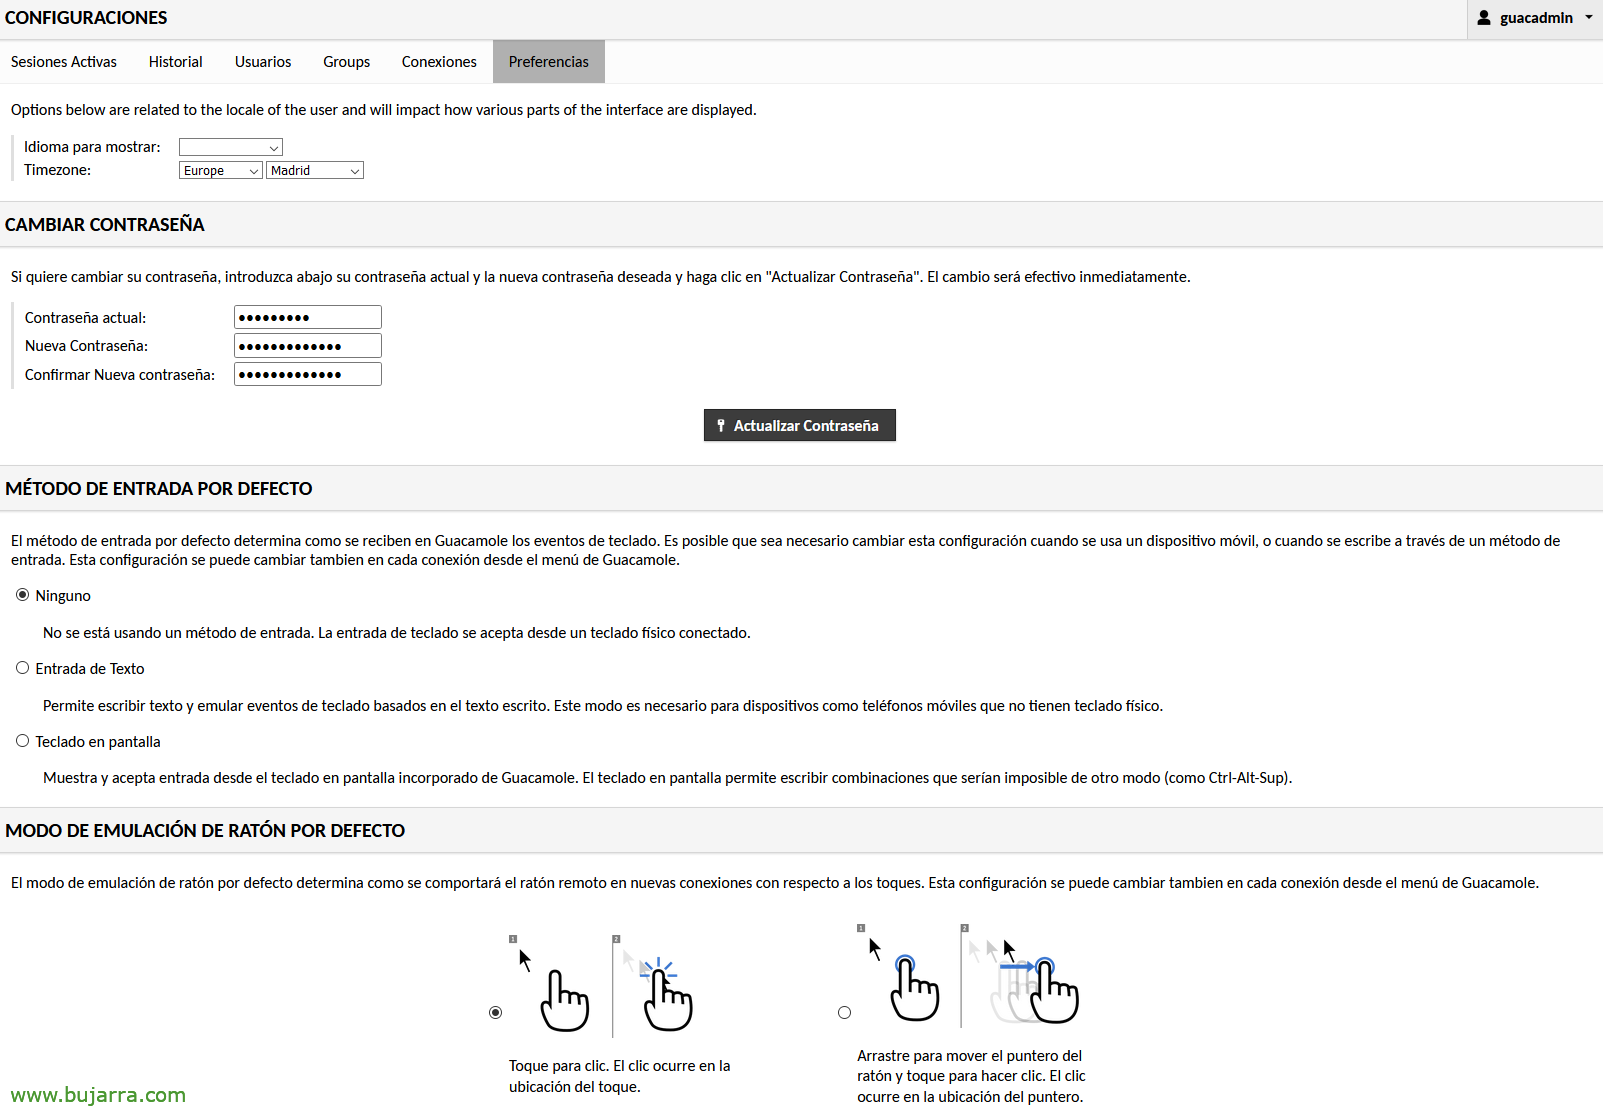
We enter Guacamole as guacadmin/guacadmin and change the password, but, ¡eye!
We have to create in our Active Directory (within our DN Base) A user named guacadmin, and must NOT have the same password as here. since the one we have logged in with is the MySQL guacadmin user and the other will be for LDAP. Since we will be able to log in with LDAP users and MySQL users

And if we log in again in Guacamole with guacadmin and the AD password we will be able to see all the users of the DN Base from “Configuration” > “Users”.

Well, the next thing will be to create the different connections that we want, then we will assign them, since “Configuration” > “Connections” > “New Connection”
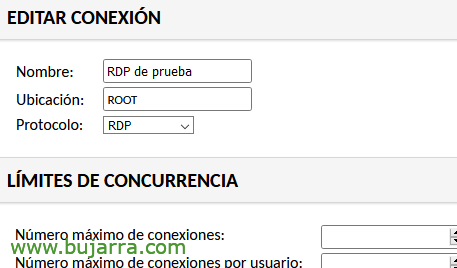
So we give the connection a name, We choose the protocol, remember that it can be RDP for Remote Desktop, SSH, Telnet, VNC or Kubernetes,

Further down, in the parameters, we will indicate the local IP address of the target machine, We could pre-fill the username and password fields, or leave them empty for the user to type, or we can also take the user of the session with which they logged in and indicate it using these two variables:
${GUAC_USERNAME}
${GUAC_PASSWORD}

And nothing, then in the configuration of each user we will be able to assign the connections individually.

As each user logs in with their account, for if we only assign it 1 connection, You will be automatically logged in against that team. And if we have assigned several, When you log in, he will be able to choose which session to connect 🙂 to
In a next post we will see how to configure a two-factor authentication to further secure access. As usual, hoping you find the posts interesting, ¡Hugs!