Citrix Cloud Gateway Express – Citrix Receiver Storefront
As had been suspected… and confirmed it at the Citrix Synergy in Barcelona! Citrix Web Interface will no longer be developed, from now on it will be replaced by Citrix Cloud Gateway, which will have two editions, a free or Express (which will be the one we will see in this doc) and Enterprise. In this document we will install the new interface, which this time has a more attractive design for our users where they will be able to open both applications and desktops, or from a browser, as with Citrix Receiver.
Hasta ahora veníamos utilizando soluciones Gateway (Access Gateway, NetScaler, Secure Gateway) junto al Web Interface de Citrix para un acceso seguro, now, a la misma solución de gateway junto al sustituto del Web Interface (llamado Citrix Receiver StoreFront) se le llama Cloud Gateway Enterprise. A la misma solución pero sin la parte gateway formada por un único StoreFront se le llama Cloud Gateway Express.
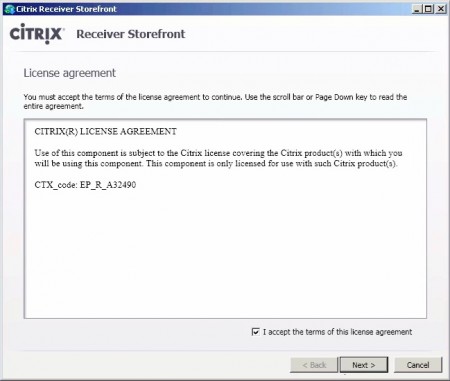
Deberemos tener Microsoft Framework .NET 3.5 SP1 instalado, y si pretendemos disponer de un único servidor (single server), In addition, instalaremos SQL 2008 R2 Express Edition. Podremos bajar el software de la web MyCitrix, comenzamos la instalación de Citrix Receiver Storefront, aceptamos el acuerto de licencia & “Next”,
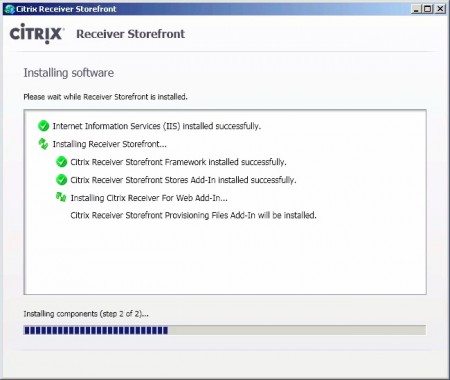
Nos instalará los prerequisitos, “Next”,
Confirmamos el resumen de la instalación, “Install”,
…
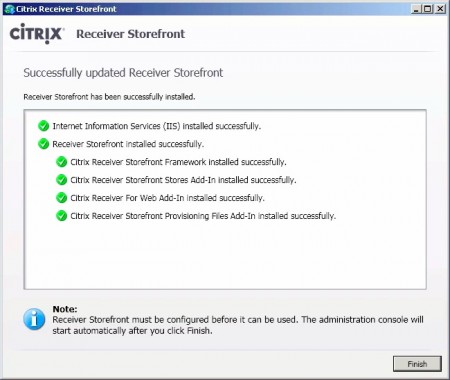
“Finish”,
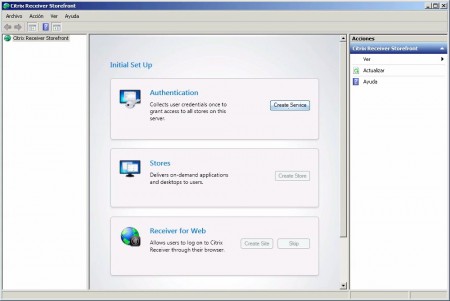
In this document, we will perform a simple installation with a single server, so we will basically configure Storefront, in future documents, we will perform a complete installation where we will explore the rest of the options. Click on “Deploy a single server”,
We specify the address of the web server & “Create”, if we have a locally installed certificate, we can create the site with 'https',
We configure the basic authentication options > “Authentication” > “Create Service”,
We configure the authentication options we want, in this example, we will force our users to authenticate with a username and password, “Create”,
…
In “Stores” >”Create Store” we will select the XenApp or XenDesktop servers., the brokers that will deploy applications or desktops,
We specify a name that identifies it, “Next”,
In this example, we add one of our XenApp servers and enter its XML port, “Create”,
…
And we create the site from “Receiver for Web” > “Create Site”,
…
List, we have our first site created!
As we have said, it is a basic configuration, from the left menus of the console, we can configure many more options,
Well, we open our first site from a browser: “HTTP://storefront/Citrix/Store”. If it is our first time entering and we do not have the client, it will indicate that we need to install it, we accept the contract and install Citrix Receiver.
…
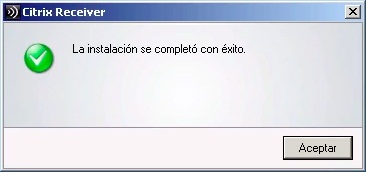
List, minimum installation,
We authenticate with the site,
And we can check its new interface! completely customizable by users, they will be able to easily add applications, Desks…


