

Citrix NetScaler Unified Gateway

Today I want to share with you a document by Oscar Mas, where he is going to show us a functionality of NetScaler systems that can be very useful for publishing access to shared resources, Websites, etc.... What we do is publish something that is on our network and deliver the encrypted information through our NetScaler. We could also publish our XenApp 6.X/7.X through this same access. In this case, what I am going to publish is access to a well-known monitoring system, which is called Zabbix through a NetScaler.

It is important to know that this functionality requires the Universal Licensing license, which will give us many more functionalities than just this option. If you need more information about the options that our system will offer us with a "Universal Licensing" license,, I leave you the URL: https://www.citrix.com/content/dam/citrix/en_us/documents/products-solutions/netscaler-data-sheet.pdf
It should be noted that by default our NetScaler incorporates 5 Default licenses. Me on a personal level, I recommend making a specific "Virtual Server" for this type of connections, in this way we will have greater control of the users who are using the "Universal Licensing" licenses.
It is highly advisable before performing any type of procedure, a backup of the settings or a SnapShot is made beforehand before starting.

One of the biggest advantages that Citrix is realizing in its NetScaler systems, is to add "Wizards" to make our lives easier. In this case we will use the Wizard. Be careful, since the SaHa version (Safe Harbor) does not have this Wizard and we will have to perform the procedure by hand.
Before you begin, please note that I have already uploaded the certificate and our NetScaler is configured with my LDAP system.

The first step of our Wizard, is to indicate a descriptive name and then the IP that we will assign to our "Virtual Server", which will be the access door for users.
We will go to the "Unified Gateway" option and then we will indicate "Get Started".

As I had previously uploaded the certificate, now we simply need to select it and follow the Wizard.
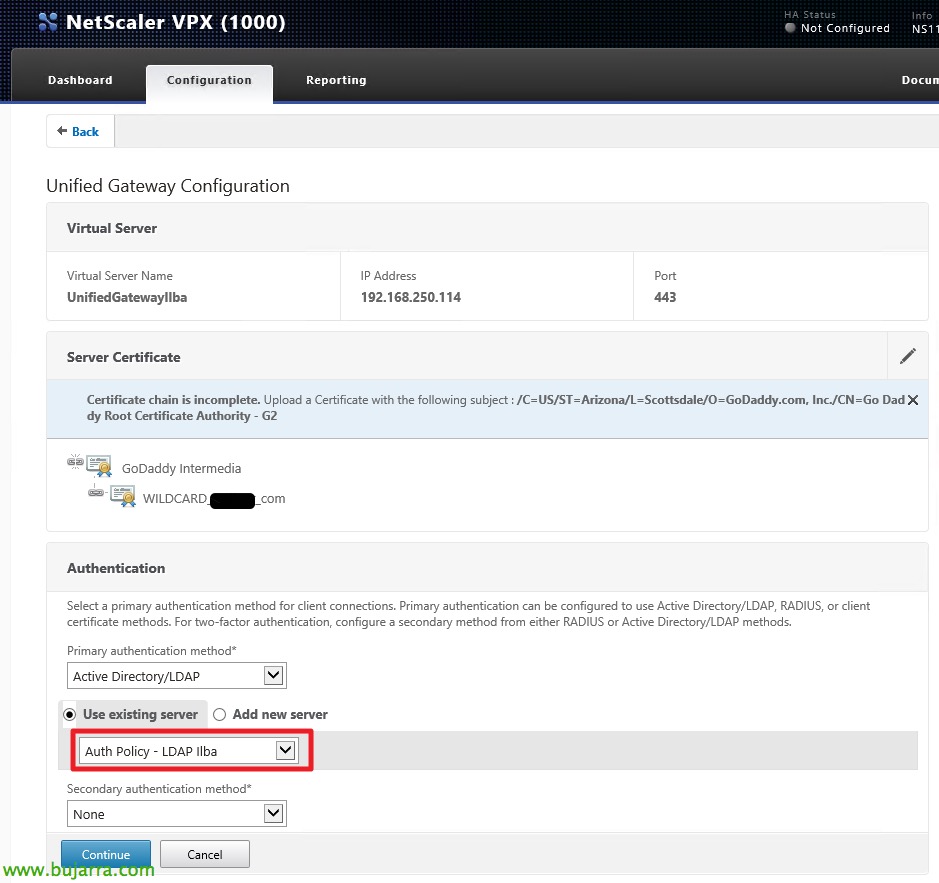
As previously I had already loaded the connectivity with my Active Directory, now we simply need to select it and follow the Wizard.

The next step of the Wizard, we must indicate the Applications that we will publish. You don't need to put them all in, since we can later manage them once the Wizard is finished. In this case we will indicate the add sign, to add our first app.

As I mentioned before, from here we could publish our XenApp/XenDesktop. Since our intention is simply to publish a web access to a limited number of users, Remember that this option spends license, if we pass all our users through this Virtual Server, We will need to buy as many licenses as users go through this access. As a result of this, it is better to have two Virtual Servers:
- Virtual Server 1: This is where all users access your XenDesktop/XenApp. In this case, it is not necessary to use a license
- Virtual Server 2: It's where we're setting up our Unified Gateway access. In this case, it is necessary to purchase licenses, but remember that there are 5 by default in our NetScaler.
Since we are only going to publish a web access of our LAN, we will indicate "Web Application".
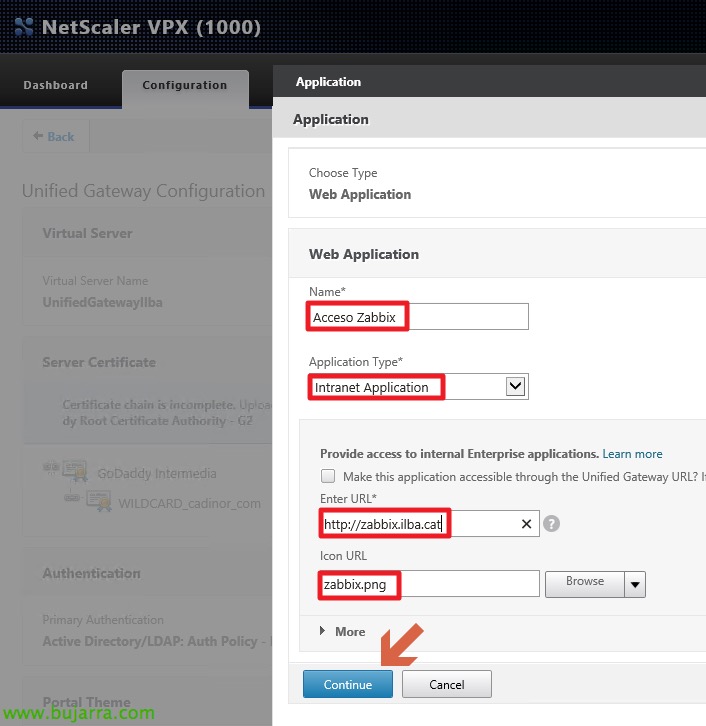
We will then provide you with our login details to our internal Zabbix server, to be published from our NetScaler. It should be noted that the accesses we put here, will appear to all users who access the "Virtual Server"
On authentication types, specifically the "Application Type" option, we can find the following types:
- Intranet Applications: will be any access that resides on our internal network.
- Clientless Access: support for Outlook Web Access and SharePoint web sites.
- SaaS (Software as a Service): they are external applications such as a ShareFile, SAP, etc...
- Unified Gateway: VPN access support to locally configured applications on the NetScaler, which will perform an internal balancing.

Once finished, It will appear to us as follows.
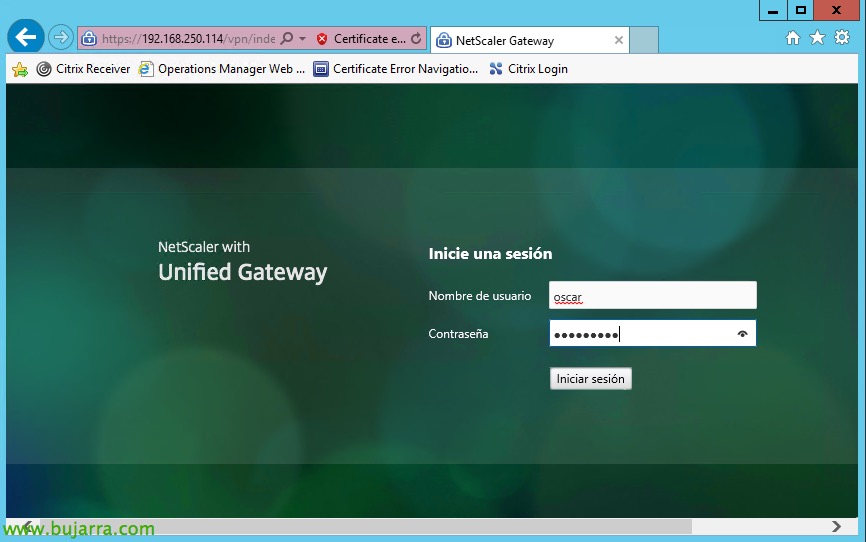
Once the wizard is finished, we only have to access the NetScaler server with the IP of our Virtual Server and we will enter our username and password.

It will then tell us if we want an entire VPN tunnel or a clientless access, We will direct you to Clientless Access.
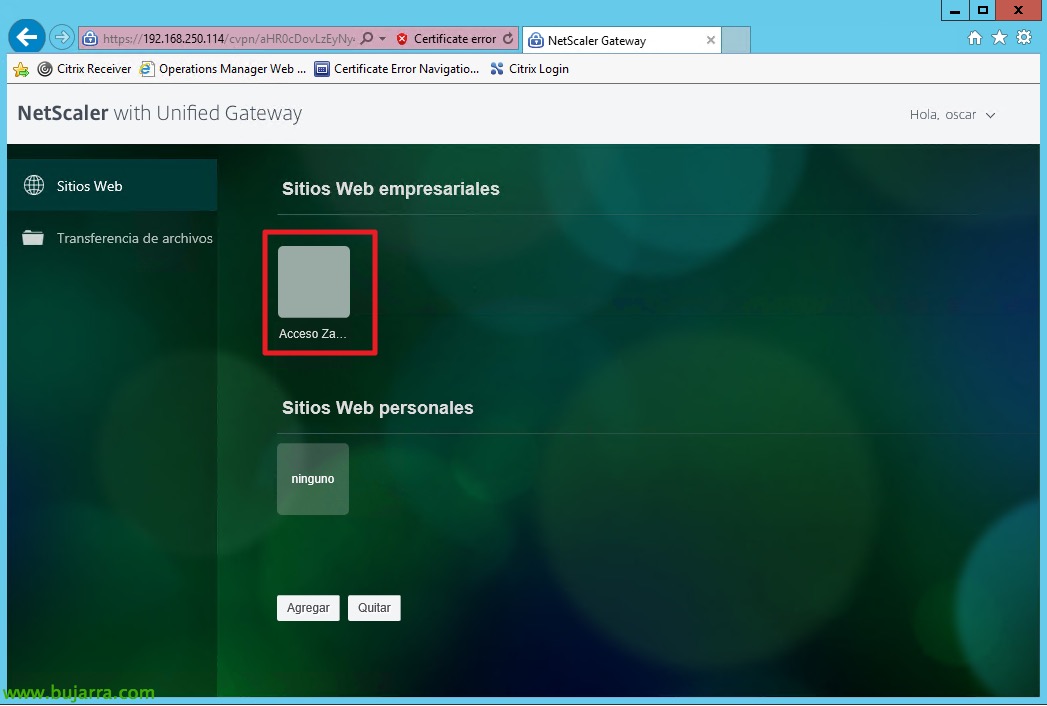
Below we can see two sections:
- Business websites: where we will see the access we have created.
- Personal Websites: where each user will locate their personal accesses.

As I have already mentioned before, after finishing the Wizard, if we want to add more "Business Websites", simply by accessing the "Bookmarks" drop-down menu and we will be able to add more accesses to the users of our network.


