

Citrix Self-Service Password Reset – Self-service password reset and account unlock

In the recently released version 7.11 Citrix XenApp and XenDesktop and Platinum users only, We have a great novelty! We will be able to download their account management to our dear users, not generating incidents of the type that they do not remember their passwords or their user account has been blocked.

Self Service Password Reset will allow us to:
- Each user, you will register with SSPR using a series of questions that you will need to answer. These questions will obviously be configured beforehand by the administrators.
- If necessary, a user will be able from the StoreFront or from the Receiver to force the reset of their password in case they have forgotten it or even the activation of their user account if it is blocked. All thanks to a series of security questions that only he would know.
- All this without the need to generate an incident in our support department, At last the user could be autonomous.
Self-Service Password Reset (SSPR) has been redesigned and adapted to work with the new FlexCast Management Architecture (FMA). Supported under Windows Server 2016, Windows 2012 R2 and 2008 R2, We will need to install it on a dedicated server. Required to have StoreFront 3.5 and the license server at least in the version 11.13.1. An SMB share will also be necessary, where we will store the SSPR warehouse; to consider that each user will occupy 30Kb of space, this DataStore, it will be where the answers to users' questions are stored, secured by NTFS or AD schema.
After installation, We will have an administration console, with which we will manage and configure the SSPR service, it communicates with StoreFront and Virtual Delivery Agents. VDAs enable communication to record and validate user questions/answers with the SSPR Service.
Supported receivers: Windows, Linux and web. Not supported: Mac, Chrome, Mobile Receivers (ios, Android or web).
For now, external use using Citrix NetScaler Gateway would not be supported, so it would be exclusive internal use!
Installation,

About the author of the Citrix XenDesktop CD 7.11, Click on “Self-service password reset”,

We accept the terms of the contract, we read them beforehand & “Following”,

We change the path if we were interested in the components, and click on “Following”,

We confirmed that we opened 443tcp in the Windows firewall, “Following”,

We check the summary and if it is correct, we simply click on “Install” And wait for it to end.

… wait a few minutes while the installation finishes…

It will ask us for a restart to continue with the rest of the components.

… We are still waiting 😉 …

GOOD, ready, Click on “End” and we started!
We will need a valid SSL certificate, it will be enough to create it from our own CA. We will install it after the installation of the service since it will have installed the IIS role.
We will optionally create a user in our Active Directory which will be the Data Proxy account, will be the account that SSPR uses to access the file store.

In addition, As I was commenting, We need a share that will be used as the Central Store. We must make sure to encrypt the content by checking the option in the. We must add with full permissions the accounts of Local Administrators and Domain Admins, in addition to the Data Proxy User Account & the Network Service must have read permissions.

The first thing will be to open the Self-Service Password Reset management console, Click on “Service Configuration”.

Click on “New Service Configuration”,

This wizard will guide us to set up the location of the central warehouse, in addition to indicating the domains valid for SSPR, “Following”,
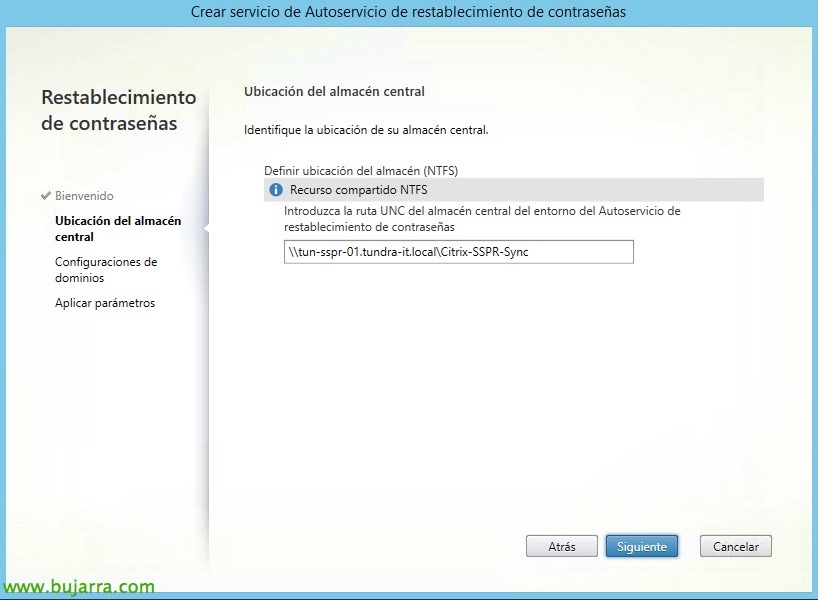
We indicate the UNC route of the central warehouse, “Following”,

Select the domains for which we can enable SSPR, Click on “Properties”,

We must enter the user accounts that we will use for both the data proxy account and for self-service. The first must have all the permissions on the share, and the second the possibility of unblocking accounts in the AD, as well as passwords.
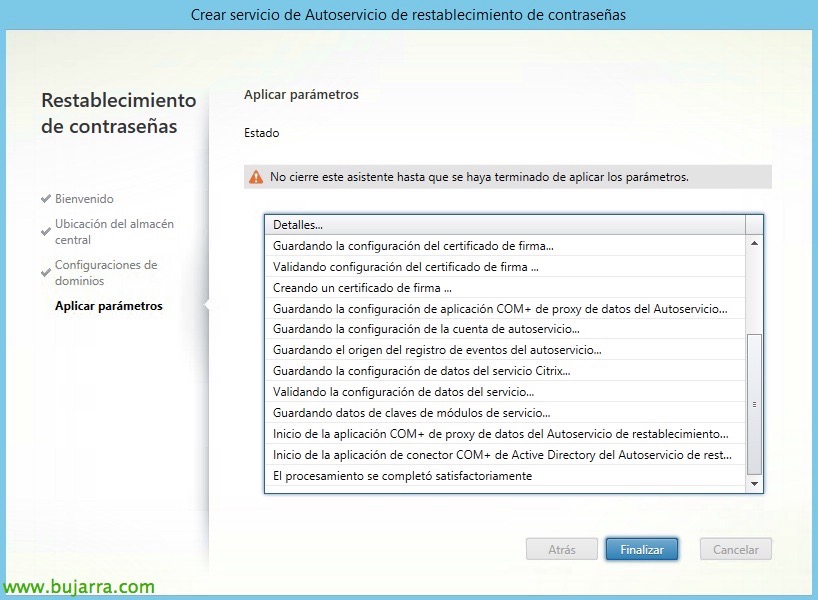
If everything is correct, We finish the assistant by pressing “End”.

In the left menu, Click on “User Settings”, We must create a “New User Settings”,

We will be able to filter the users we want to use this service, we can filter either by entering an LDAP path and/or by Active Directory groups. “Following”,
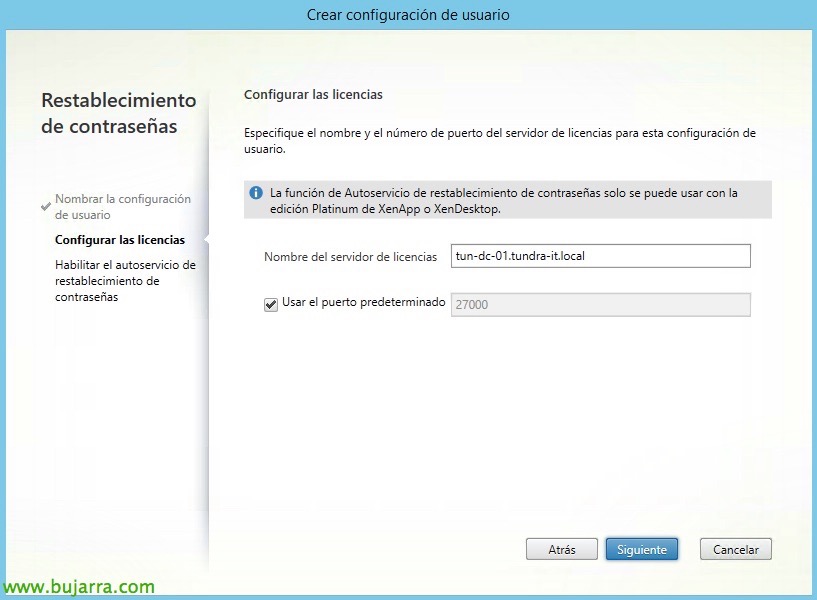
We indicate the name of the license server of our Citrix XenApp or XenDesktop infrastructure, “Following”,

And we select the options we want, If we want users to be able to reset their password and/or user account in the event that it is locked. We must enter the URL of the service in the form: https://SERVIDOR_SSPR/MPMService/ and click on “Create”.

GOOD, last, in the menu “Identity verification” will be where we can “Manage questions” for users.
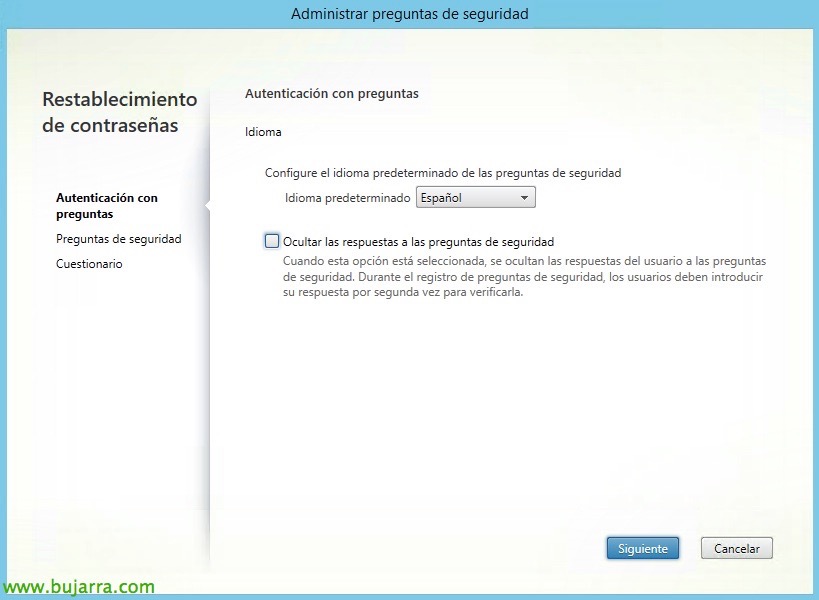
We will first select the language of the questions, and if we want their answer to be seen while they write the answers or not (and have to enter it twice to verify). “Following”,

This will be where we can add, Remove or modify the questions we want users to answer. “Following”,

And finally, where we will assign the questions to the language group! “End”,

Last, we will need to enable in our StoreFront SSPR, for this, in “Stores”, About our Store “Manage authentication methods”.
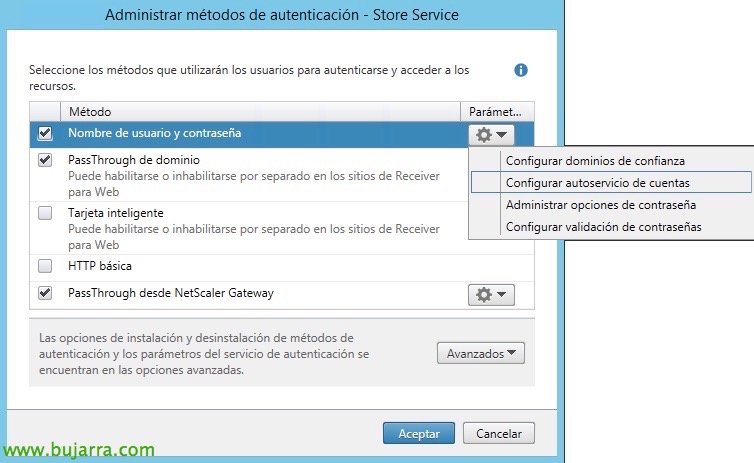
Envelope “Username and password” > “Set up account self-service”,

In Account Self-Service we must select “Citrix SSPR”, Click on “Configure…”

And we enable the options that interest us, we also indicate the URL of the service in https format://SERVIDOR_SSPR/MPMService

We will see already when we log in to the StoreFront that we have the possibility to use self-service, but, First, we will log in as a user to generate the answers to the questions and be able to use the service when we need it.
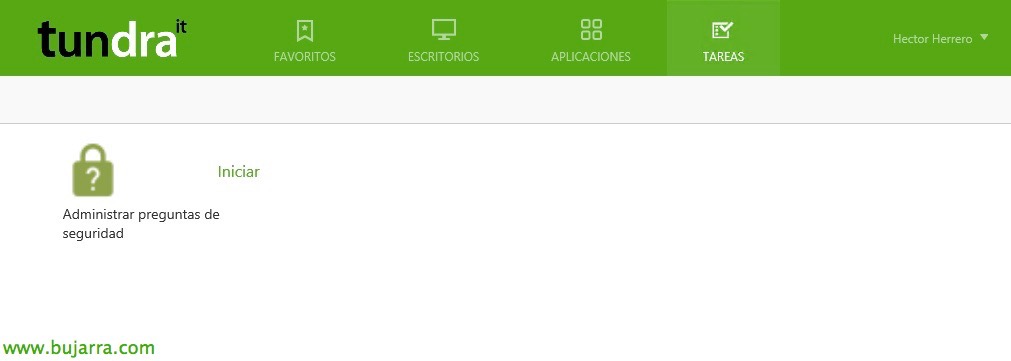
After logging in to StoreFront, We'll see a new icon called “Tasks”, from there we can get to “Manage security questions”, We execute it.

And for security reasons, it will ask us to validate ourselves for the first time,

We will need to answer the questions we have set…

And whenever we need, we will be able to if we need to Unlock the account or Reset the password

For example, To reset an account, It will ask us for our username, Click on “Following”,
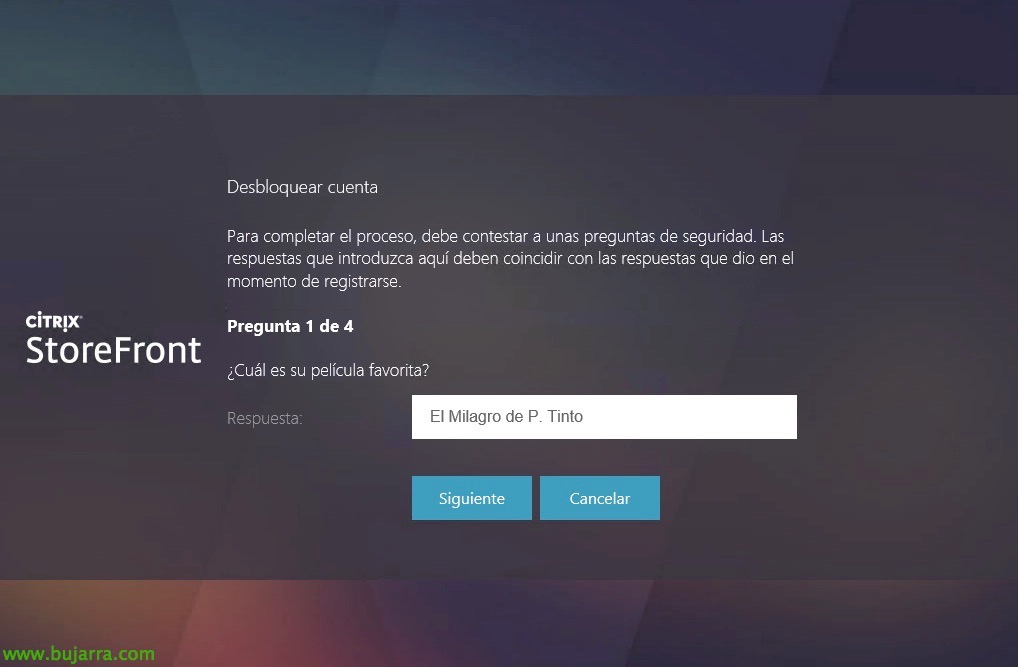
He will ask us the questions that we already answered at the time, We answer them…
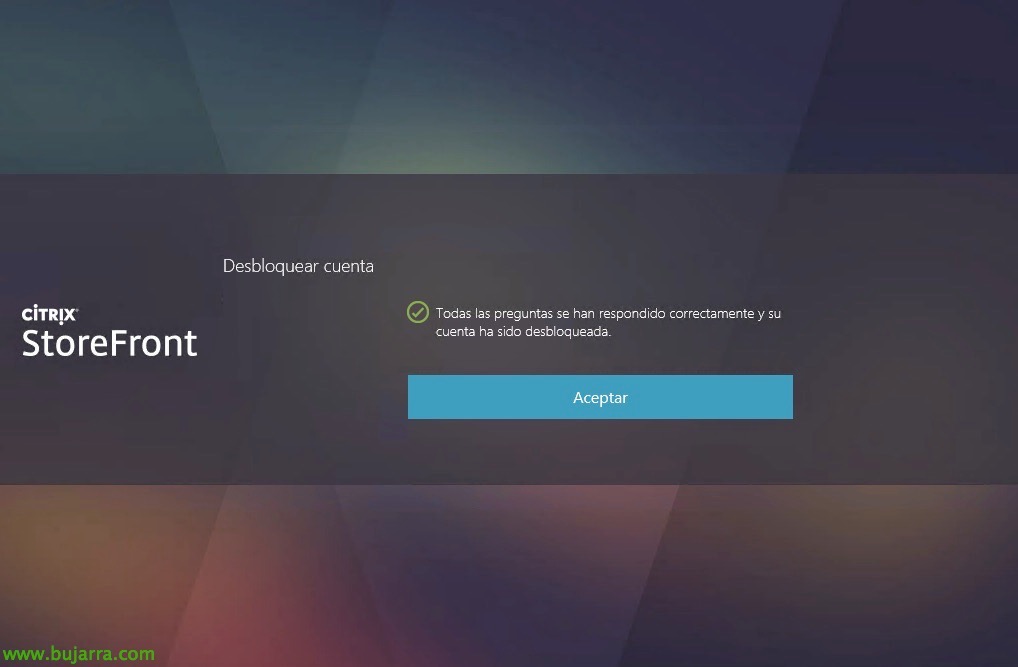
And that's it! Account recovered! With this we can easily lower approximately the 20% of our users' incidents, since a large part of these are due to forgetfulness or errors of this type!


