Configuring Packages Using Citrix Installation Manager
When we have more than one Presentation Server, We run into a problem, when it comes to installing the applications, we have to install them all and configure them the same, As many times as many servers we have. And they all have to be configured in the same way possible, It is best to create installation packages using “Installation Manager” from Citrix, This is, generate MSI packages, MSP or WFS. We can create them with the “Packager” that Citrix comes with or with any other software (e.g. with Veritas WinInstall – HERE). These packages would be created with the configurations already made and it would simply be placed on the servers that interest us.

Lo primero de todo es generar un paquete de instalación con cualquier programa que genere estos MSI, MSP or WFS. Yo voy a usar el que trae Citrix, que es el Packager, To do this, we are going to “Beginning” > “Programmes” > “Citrix” > “Metaframe Presentation Server” > “Packager para Installation Manager”.

Creamos un proyecto nuevo para generar este Paquete “Create a new project using project wizard” and we continue “Next”,

Select “Package an Installation Recording” and we continue, esto lo que hará será grabar todos los movimientos que se realicen en nuestro disco duro para generarnos el MSI, “Next”

Le indicamos el nombre del Proyecto y el Path donde nos guardará toda la información de él, “Following”

Nos pide que programa vamos a instalar cuando acabe este asistente y si requiere parametros adicionales se los podemos indicar, en este ejemplo vamos a realizar un paquete del Winzip (algo ligerito para tardar poco), but we will generate the package with the program configured, entered the serial number… “Following”

If it is a somewhat complicated program, it will need a script to work with Citrix, if necessary we will indicate it (and which one) “Following”,

Now it asks us for the path where it will save the build, this is really what we need, what we are generating, the project is only in case we want another day to modify this package and recompile it, we set the path where we will store it to later install it on the servers, “Following”

We check that everything is OK and finish,

Now what starts is to record everything we do and it will save it in a package, eye! we have to do as little as possible, por que hay que tener en cuenta que luego todo esto se guardará en el paquete y a la hora de instalarlo se intalará en todos los servidores. Nos saltará el ejecutable del instalador del Winzip (in my case), We install it, lo configuramos, metemos el serial number y todo lo que nos apetezca configurar. Cuando acabemos sólo tenemos que pulsar en el botón “Stop Recording” del Packager.

GOOD, una vez acabado de grabar nos pregunta si estamos seguros de parar la grabación, We indicate that “Yes”

Esperamos mientras se genera el paquete…

OK, comprobamos si hay algún error o evento, Accept,

Y esto es el “Packager” con un proyecto abierto, podemos comprobar el “History Log” or whatever we need, cada cambio que hagamos necesitaremos compilarlo de nuevo, ahora vemos en el “Post” que me ha generado el WFS en ese path, it will be the one we use when adding the packages in the Citrix console.

GOOD, una vez generados ya los paquetes de instalación, In the console. “Management Console para Metaframe Presentation Server” tenemos que agregar este paquete al repositorio, for this, vamos a nuestra organización > “Installation Manager” > “Packages” > “Agregar paquete”.

Nos sale esto por que es la primera vez que lo ejecutamos, es informatico, EYE! hay que buscar el paquete que nos interese por la red, no sirve ir al HD local, usaremos una ruta UNC, y lógicamente los servidores tendrán acceso a ese recurso de red por lo menos con permisos de lectura, “Accept”,

Metemos un usuario con permisos para acceder al path de red e indicamos cual es, en mi caso met1srvapps, “Accept”

Vale, volvemos a agregar el paquete, “Installation Manager” > “Packages” > “Agregar paquete”.

Click on “Examine” para buscar el paquete que antes hemos generado, el WFS, MSI…, and accept,

It tells us that it was added correctly, “Accept”,

And now all the packages we have prepared to distribute to the servers we are interested in would appear there.

And now we just need to install these packages on the servers we are interested in, For example, on a server that I just added to the farm called SRVMET3, to install it, We're going to “Servers” from the console > And on the server we are interested in, Right Button > “Install package”,

All available packages appear, I only have this one, the WinZip one 11, We select it and continue “Following”,

We indicate which servers we want to install it on, We select them and click on “Add” To move them to the right-hand side (Assigned servers), Click on “Following” When we have selected all the ones we are interested in,

We check that everything is correct and “Finalized”

Vale, Click on “Accept” And the installation of this package on the selected servers had already been planned. Now we only need to modify the properties of the published application to indicate that “Winzip 11” is also available from another server, so that it can perform load balancing.
Reminder:
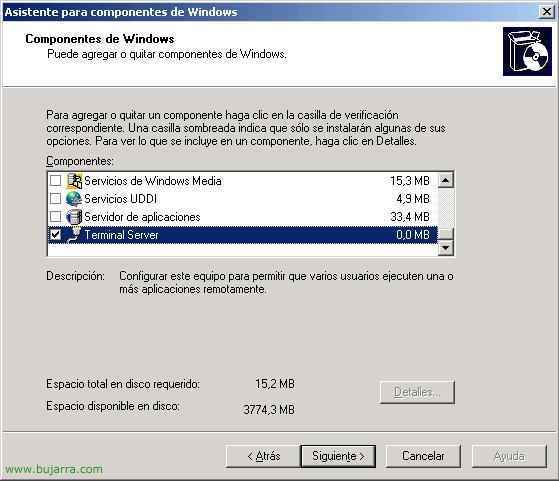
When we use Windows 2003 as a Presentation Server, Terminal Server is already prepared to work in application mode and applications can be installed normally. But when that is not the case, as in our situation, let's assume we have a Windows 2000 Server/Adv, we must execute the command: “change user /install” from an MSDOS console to be able to install any program, Once installed, we must return to normal mode by executing this other command: “change user /execute“.


