Installation, configuración y administración de Citrix XenServer

Citrix XenServer enables enterprises to make Windows and Linux virtual machines available quickly and easily, Manage machines and their related storage and networking resources from a single, easy-to-use management console. It is the product that will virtualize our company's operating systems from Citrix, whether for workstations or for server environments.
XenServer is a product that Citrix acquired by buying part of XenSource (the leading company in virtualization through a technology called Xen hypervisor, Open Source Technology). So XenServer is the new Citrix product that uses virtualization with Xen hypervisor, is based on a thin layer of software called “Hypervisor”, is installed directly on the hardware or “BareMetal” and that separates hardware from virtual machines, The novelty of this technology is the use of paravirtualization that allows high performance and security of the environment to be obtained. Taking advantage of today's hardware technologies such as Intel VT and AMD-V.
Installing XenServer – HERE
XenServer Configuration – HERE
Paravirtualization: Avoid low performance penalties, typically provides around the 2%, with the worst cases of performance hovering around the 8%; This is in contrast to emulation solutions that typically suffer one-way penalties. 20%.
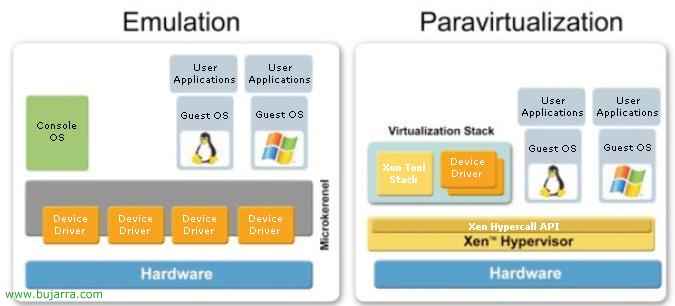
Differences in virtualization methods: Emulation vs Paravirtualization:
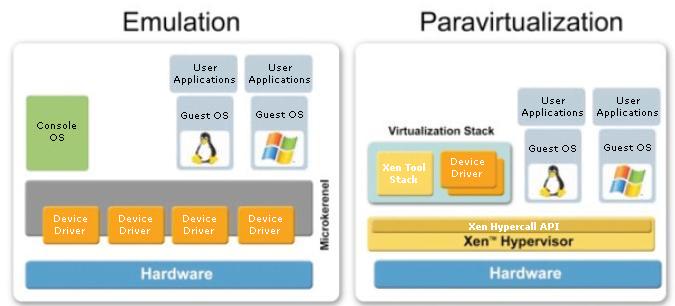
Understanding how paravirtualization works:
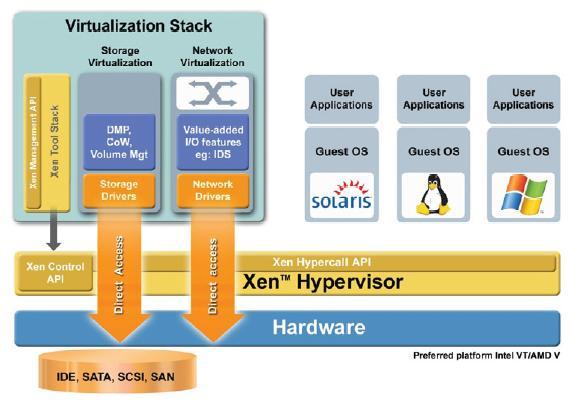
Traditional virtualization systems provide software-based environments to emulate hardware and require “Binary Rewrite” Modifying the virtual operating system in real time, on the other hand, XenSource with the Xen Hypervisor makes use of paravirtualization that only requires that operating systems can cooperate through a Xen Hypervisor API called (Hypercall) and know the operating systems themselves that are virtualized for more optimal performance.
In this part of the document we will perform an installation of XenServer to be able to virtualize operating systems on our server or on shared storage in the future. The product website where we can make a free edition (XenExpress) or a demo edition (Standard or Enterprise) is: http://www.citrixlac.com/products/xenserver.php.
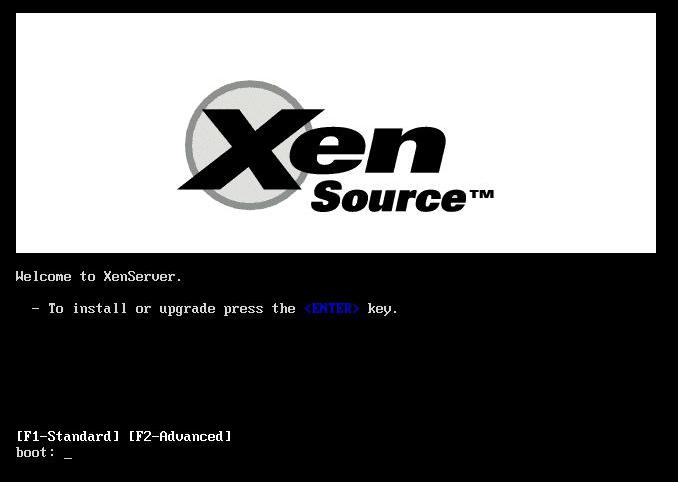
First of all, is to get the XenServer CD and boot the server we want to be a Xen server with it, Of course, Before buying a server we must check that it will be compatible 100% with XenServer, for this there is a website with the Xen Hardware Compatibility List or HCL (hcl.xensource.com). Well, We put the CD in, we boot the server from the CD drive, for this we will have the boot from the BIOS well configured and press Enter to install XenServer,
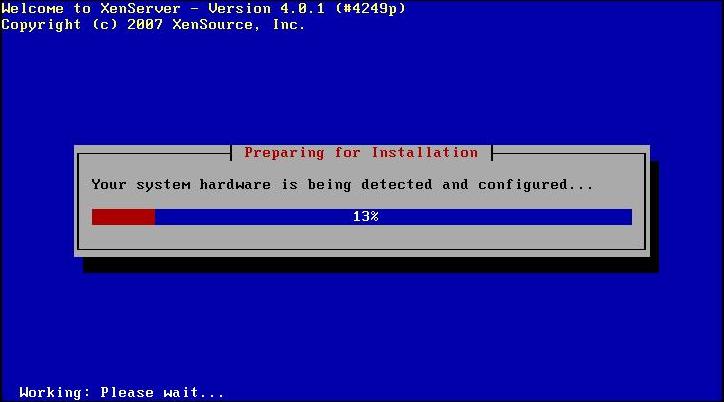
… we wait while the server hardware detects us… among other things we will have to have a hard drive larger than 16Gb, if not, we will not be able to start the installation,
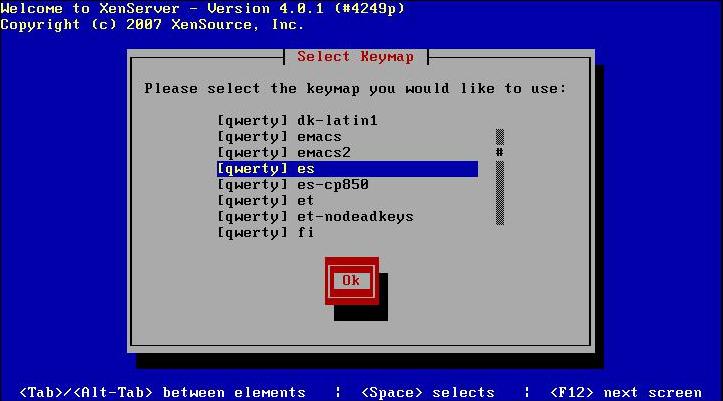
We must select the language of our keyboard, In the case of Spanish: [Qwerty] is and we give to “OK”,
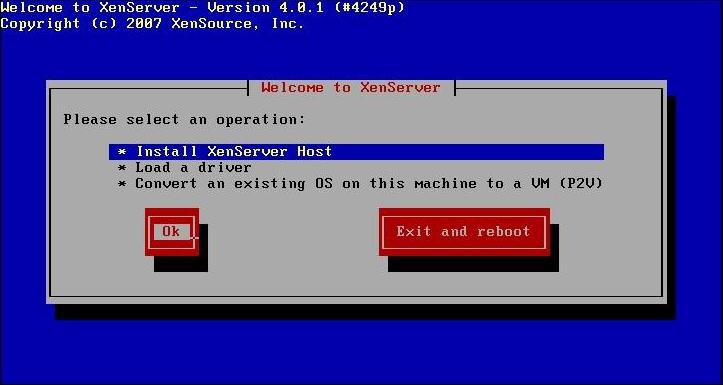
We select the first option to install our Xen server: “Install XenServer Host” & “OK”
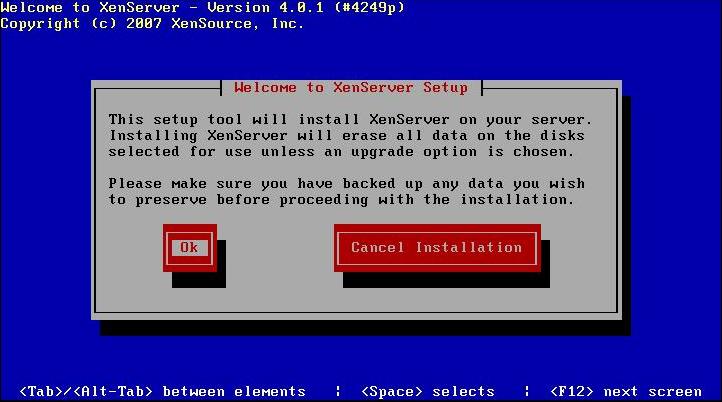
Pressed “OK” to confirm that it will erase all the contents of our disk,
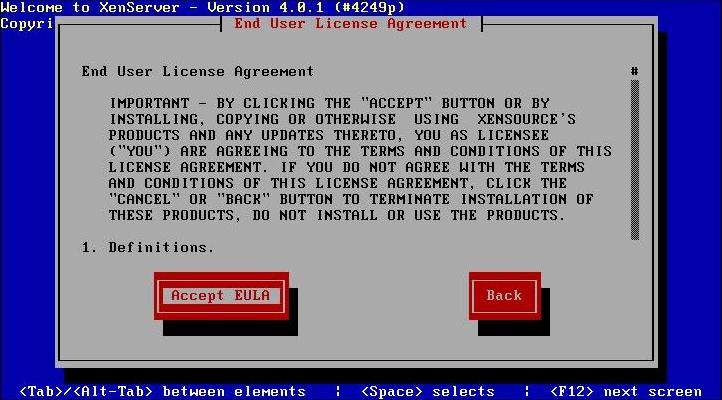
We accept the license agreement “Accept EULA”,
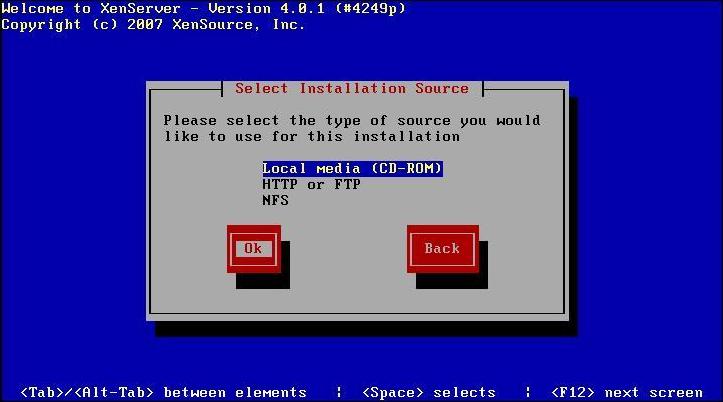
Select the source of the installation, from where we are doing the installation, in my case “Local medium (CD-ROM)” & “OK”,

When using a CD, It gives us the possibility to test the medium, lest it be grated and the installation fails for that reason, whatever interests us, Ignore or test it, “OK”,
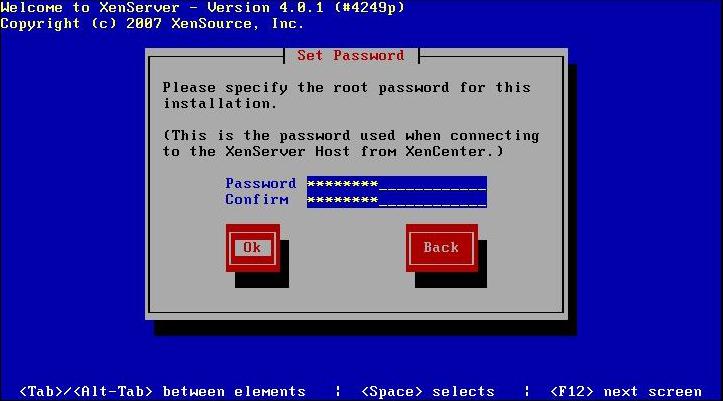
It asks us for the password for the user “root”, it will be the password we use when we connect from the XenCenter management tool, “OK”,
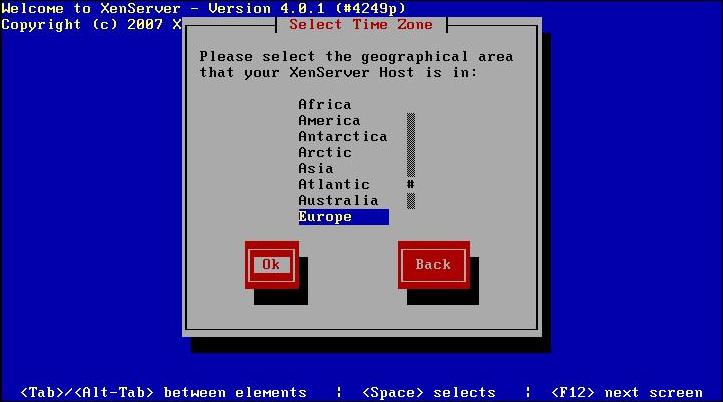
We select our geographical area, “OK”,
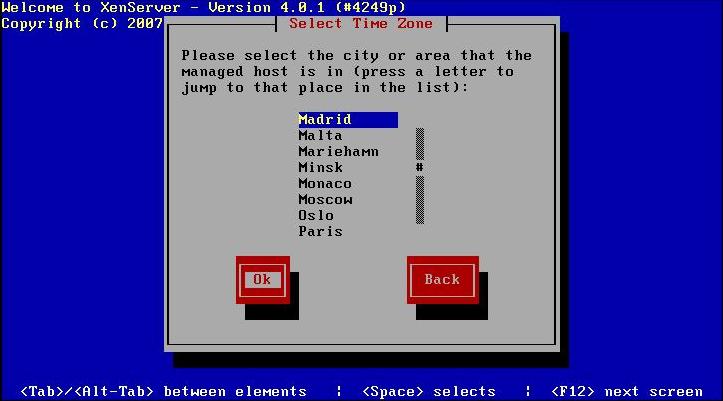
We select the geographical area closest to our area. “OK”,
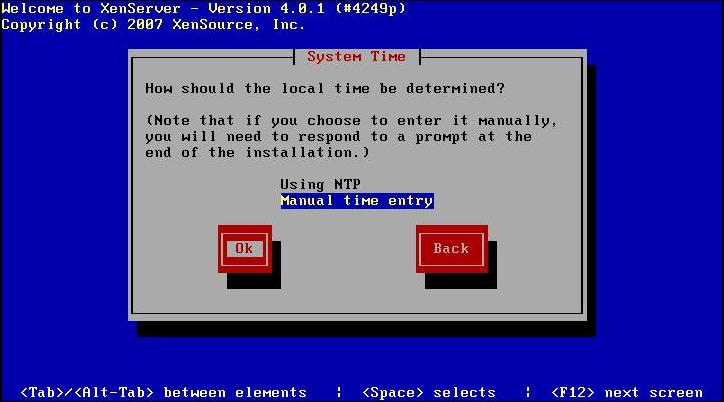
We must configure the time parameters, whether we enter the time manually or from a time server or NTP, the ideal is the latter since if we will have more Xen servers, the right thing is that they all have the same time. “OK”,
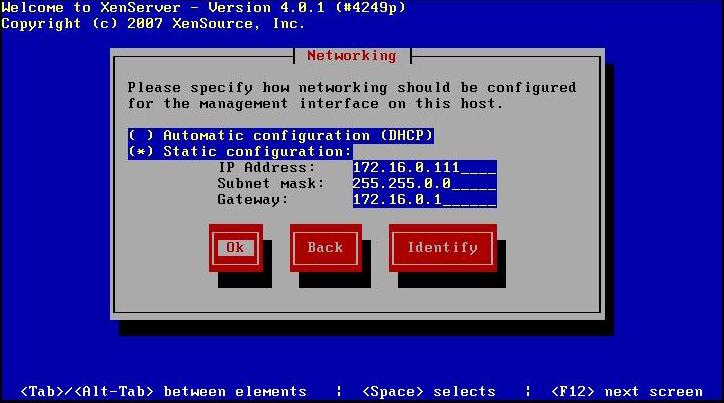
We must specify the network configuration, the IP address, The Netmask and Gateway. It is not recommended to use a dynamic IP from a DHCP server, “OK”,
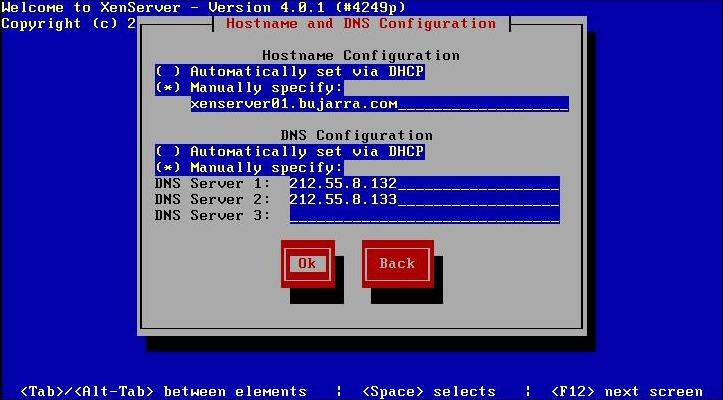
We configure the hostname for the XenServer server and configure its DNS servers, “OK”,
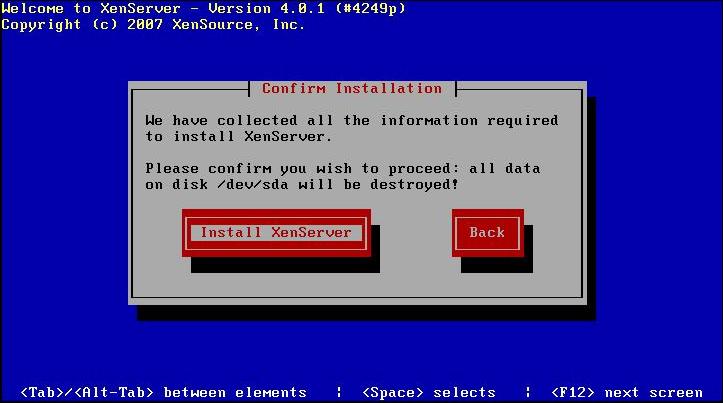
Click on “Install XenServer”, tells us which disk it will install it on, In my case /dev/sda

… wait a few minutes while XenServer is installed…
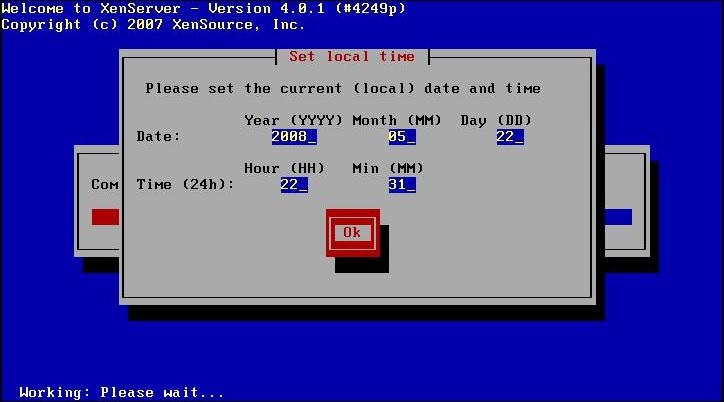
As I said, to set the time manually I must indicate it, and we give the “OK”,

XenServer has already been installed, remove the CD and press on “OK” to restart.
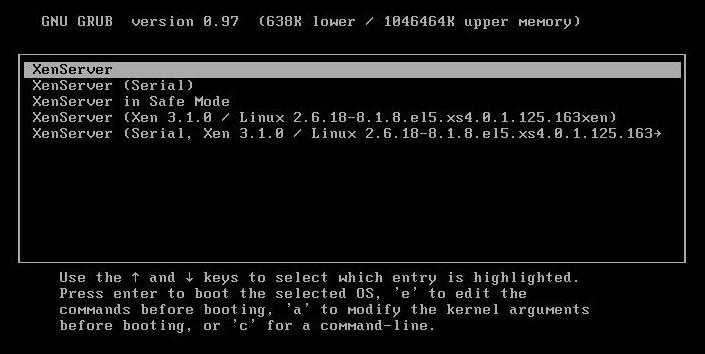
We let the server restart normally…
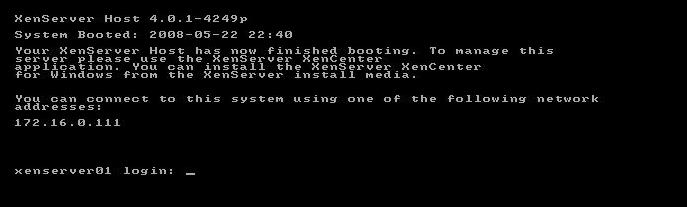
And the server will indicate this screen once it has been restarted, to manage it we will do it by entering your IP address with a web browser.
In this section we will look at basic functions of XenServer, how to install the tool for managing XenServer servers called XenCenter or how to create virtual machines within it.
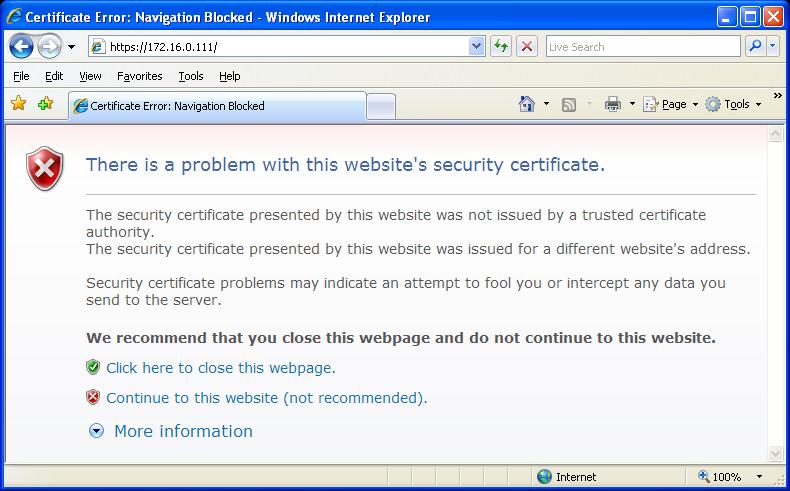
So what I said, to be able to manage XenServer servers, we need the XenCenter console, If we don't have it, we can get it from a XenServer server, connecting with a web browser to the XenServer, to the IP address over HTTPS, We accept the certificate message and continue, once inside we will download the XenCenter installer

GOOD, we begin the installation of the XenCenter, the utility that will help us manage our XenServer servers or our community of them, “Next” To start this installation wizard,
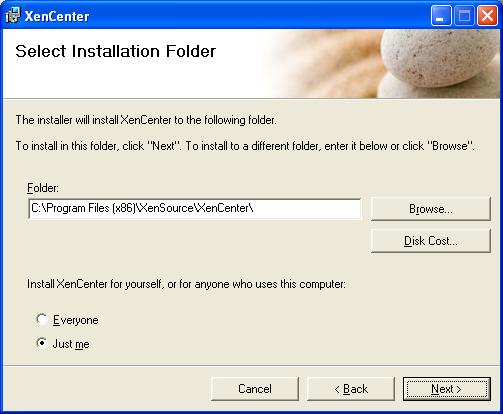
Select the installation path for the XenServer, “Next”,

“Next” to begin installation…
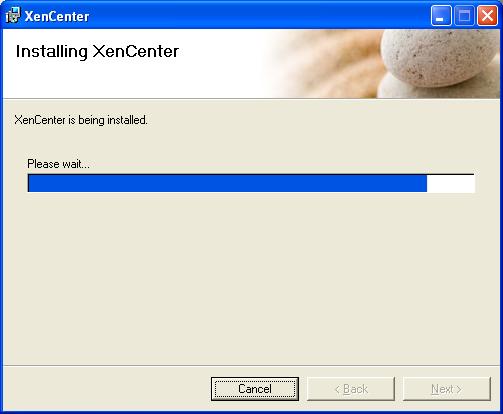
…we wait while it installs for a few seconds…
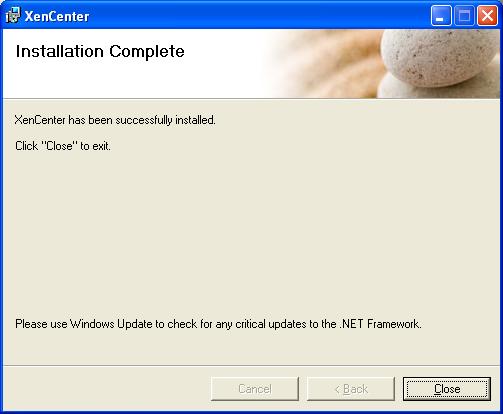
GOOD, we already have the XenCenter installed, Click on “Close” to open it,
It leaves us with an icon “XenCenter” We executed it to open the plant,
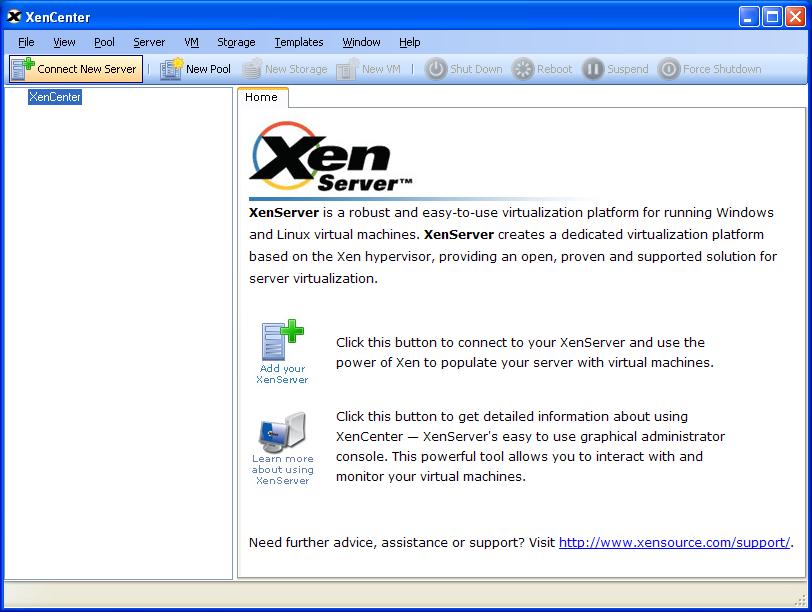
And this is the central connection, the first thing we will do is connect to our XenServer server, since “Connect New Server”,

We provide the hostname or IP address of the XenServer, as well as the user “root” and the password we set during installation, Click on “Connect”,
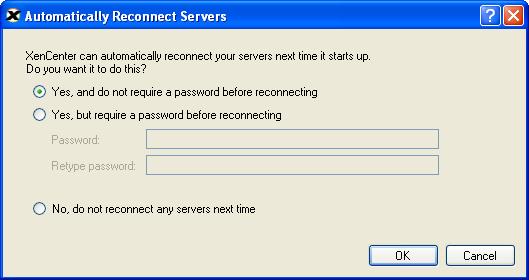
We have the possibility that XenCenter will connect automatically the next time we open it to the XenServer server that we have just indicated, If we are interested, we check the first option, otherwise, The last one. “OK”,
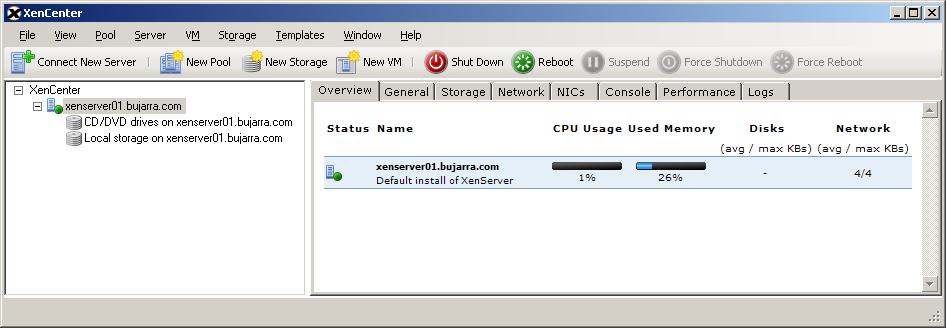
From here we see our XenServer server, We see your storage, one local and CD/DVD drives, on the “Overview” We'll look at a summary of its performance, both CPU usage and RAM used, Disk or network access.
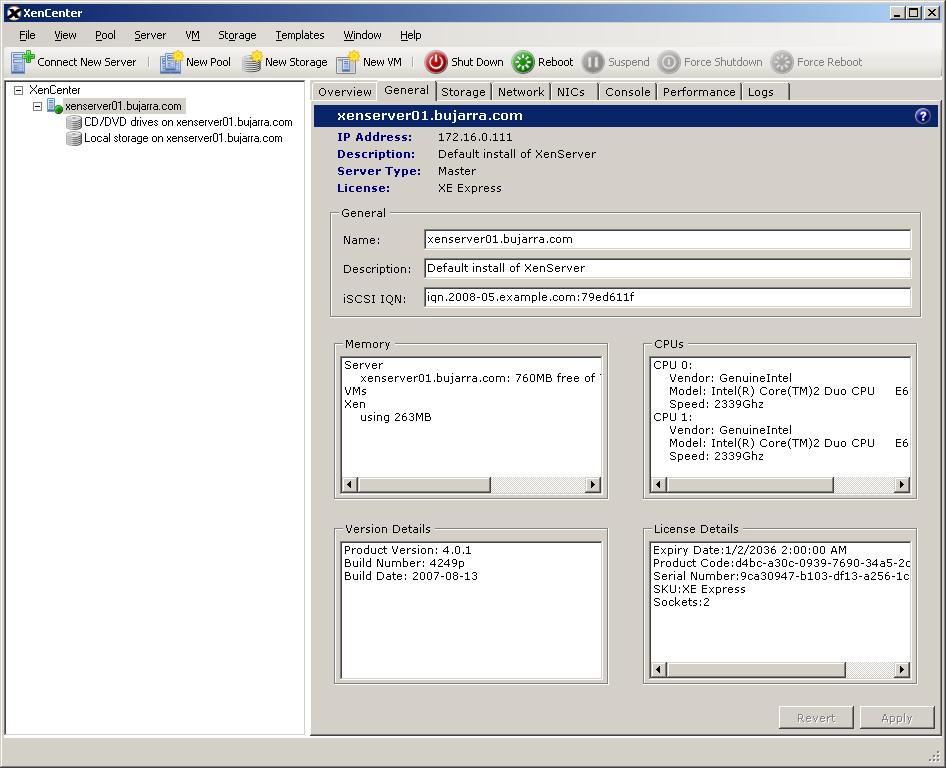
On the “General” We have the server description, the type of license, Your name, the public name of iSCSI, the memory used by Xen, CPU's…

On the “Storage” We see the storage it has, We see that it comes with a local hard drive, that will help us save virtual machines locally but we will not be able to take advantage of XenMotion for example. If we have a shared storage this is where we could add it from “Add…”
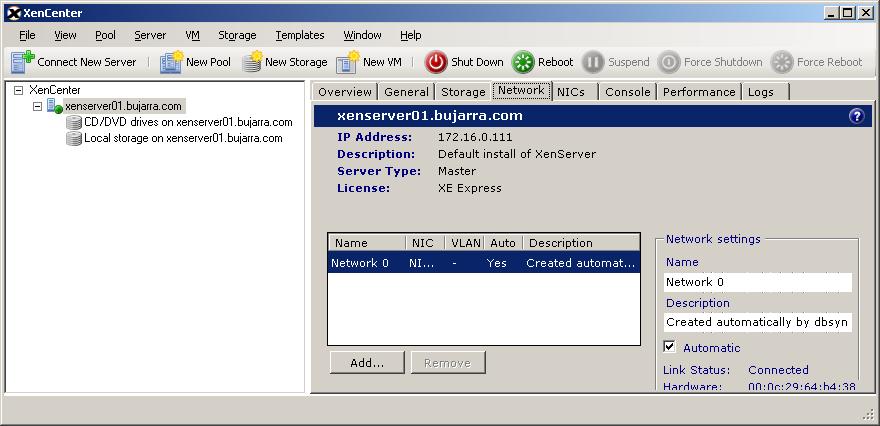
On the “Network” We see the virtual network interfaces that we have, We'll use them for virtual machines, we could add more, logically in case a VC will need more.
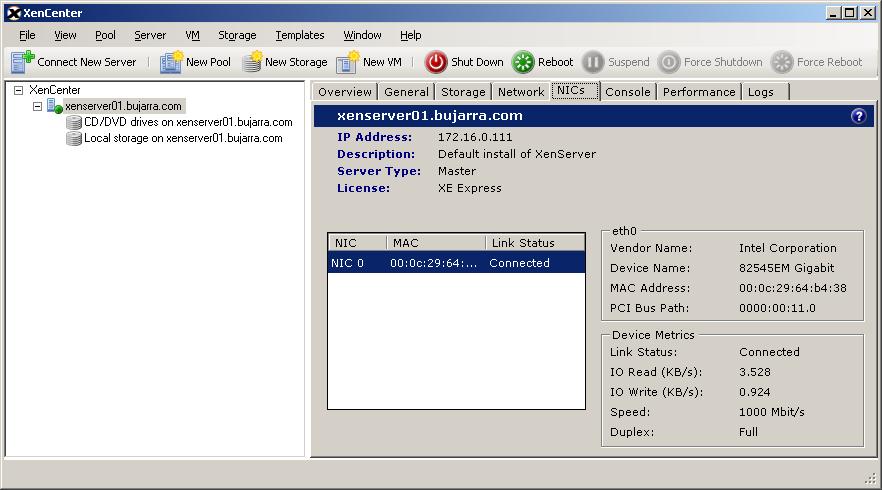
On the “NICs” shows us the physical adapters of the XenServer server and their status.
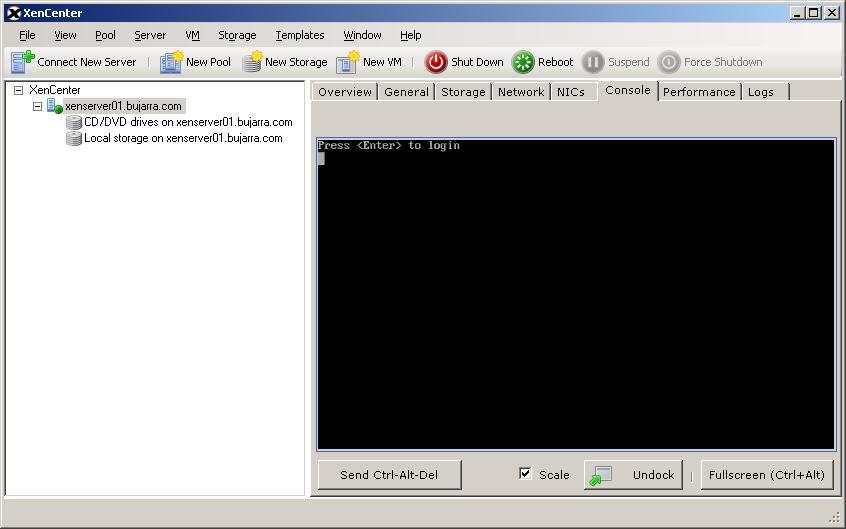
On the “Console” we could connect via console to the XenServer server to execute commands.
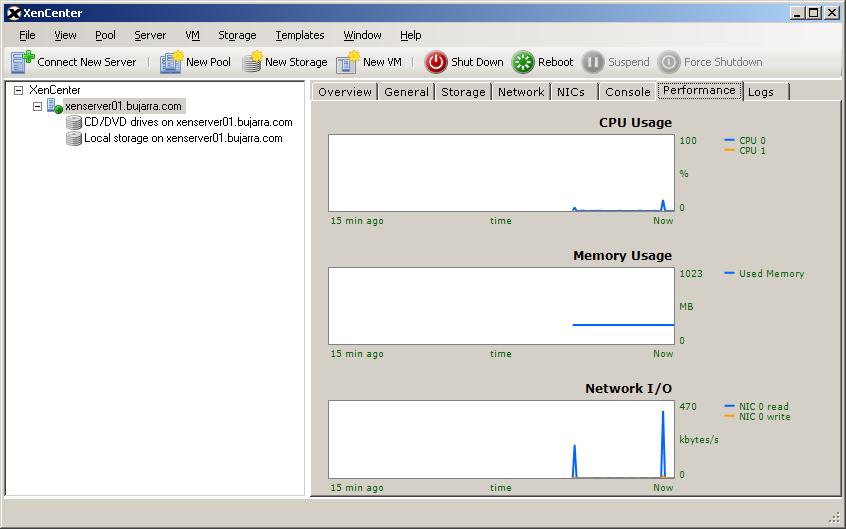
On the “Performance art” we will see the performance of the XenServer server, graphs that show us in real time the status of the CPU's, Memory usage and network usage.
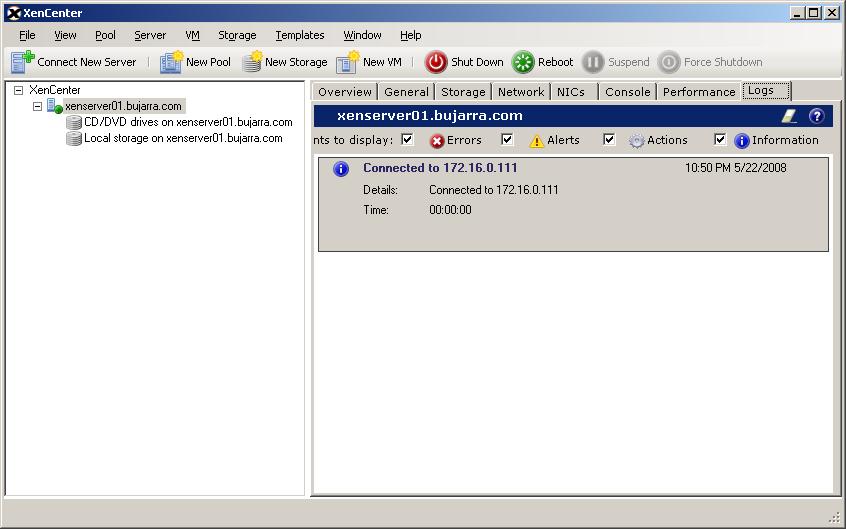
And finally, in the “Logs” shows us any events that happen on the XenServer server.
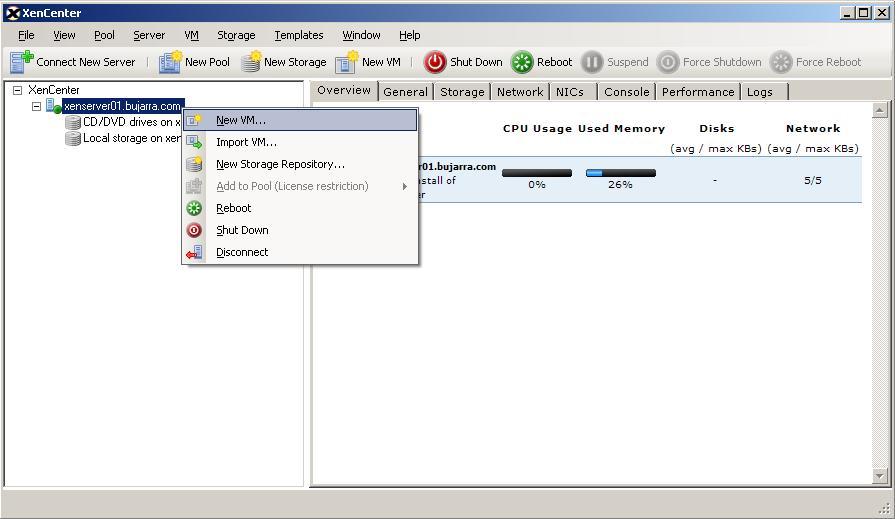
Let's see how we can create a virtual machine on our XenServer, About Him, Right-click “New VM…”,
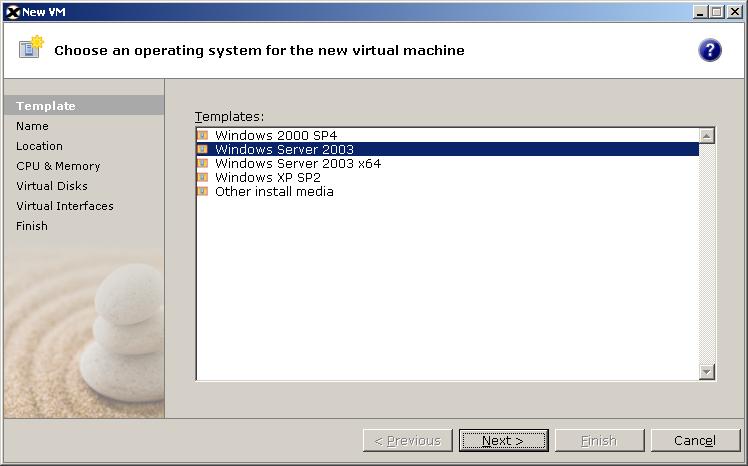
We must follow the wizard to create the VM, first we select the template to create the VM, in my case how will I create one with Windows Server 2003 Well, I select that, but they will be blank templates, then we can later convert a VM into a template to use it in this wizard with future VMs, “Next”,
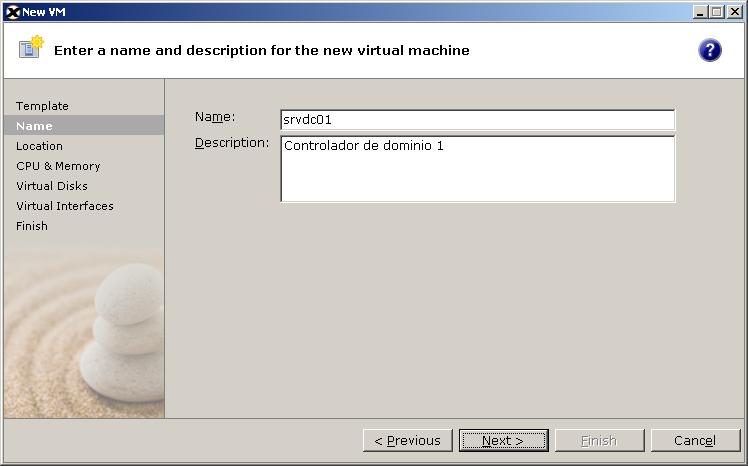
We give the VM a name and a description, the name we put here will not be automatically given to the final MV, but logically, it is recommended that it be the same, so as not to give rise to misunderstandings. “Next”,
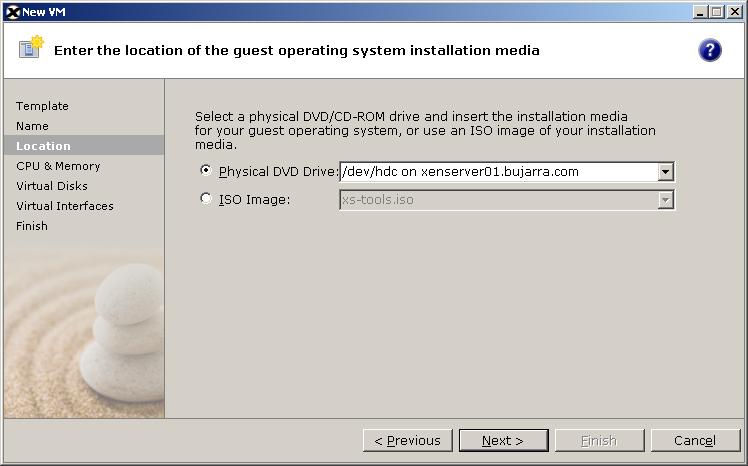
We select which will be the CD drive for the VM, whether a physical CD/DVD drive or an ISO image. “Next”,
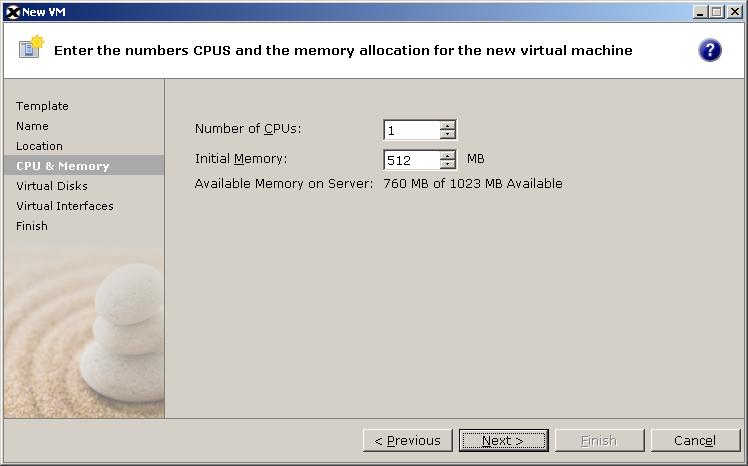
Select the number of CPU's that we want to assign to the VM and the amount of RAM memory. “Next”,

We must add a virtual hard drive with the GB we need and locate it where we are interested, either on the local disk of the XenServer or on a SAN, which will be where we install the S.O. final, “Next”
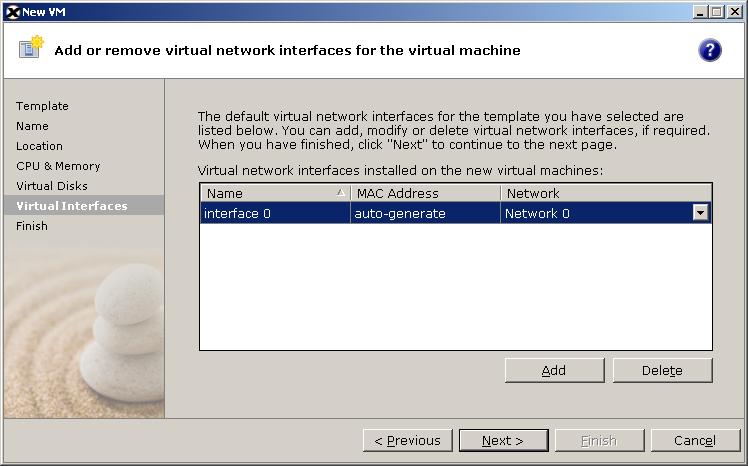
Select how many virtual network interfaces we want the VM to have, as well as your MAC or connected to which physical interface/NIC, “Next”,
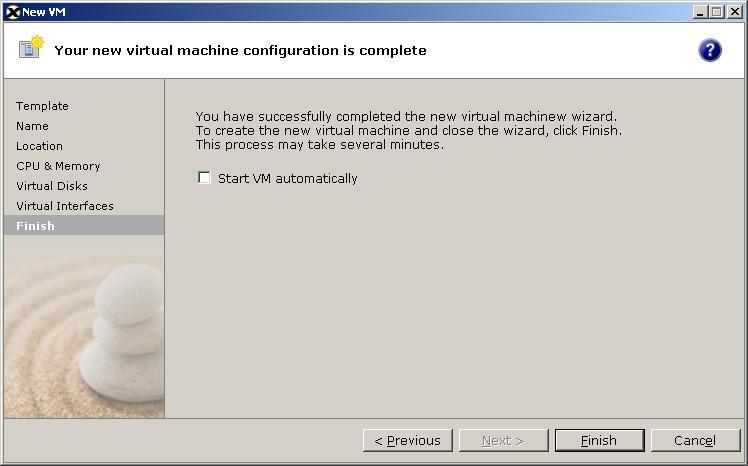
If we want the VM to start right now when we click on “Finish” Or not. The virtual machine would already be created and we could already install an operating system.

We can also create pools of resources, to spread the load across multiple servers, or reserve a number of resources for them, since “New Pool…”
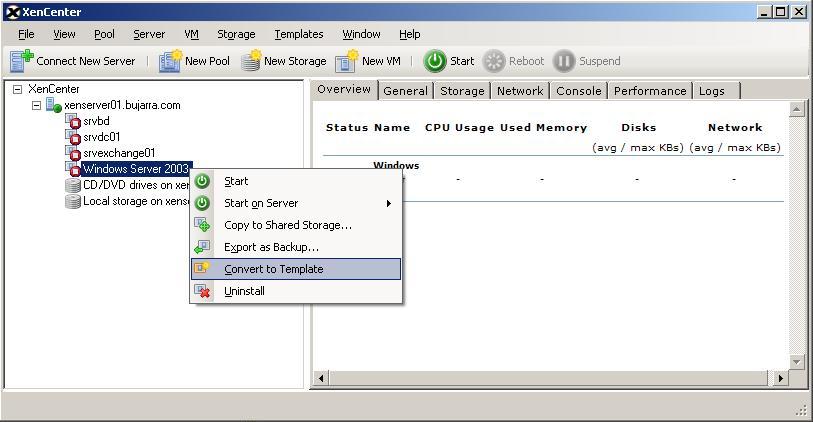
From here we will see the VMs that we have on each server and the same tabs described above but at the VM level. When we have a VM installed and ready, we can use it as a template to avoid always installing an OS, We can leave a Windows 2003 with the latest ServicePack, With updates already prepared so you don't waste time on everyday tasks. All of this, right-click on a VM > “Convert to Template”. We could turn on the VM from “Start” or delete it from “Uninstall”.
www.bujarra.com – Héctor Herrero – Nh*****@*****ra.com – v 1.0