Citrix NetScaler VPX Basic Installation and Configuration

This first document will serve as a basis for future documents in which we will perform various configurations on NetScaler, therefore, In this document we will see a basic configuration on the Citrix NetScaler VPX virtual appliance 10 (build 73.5).

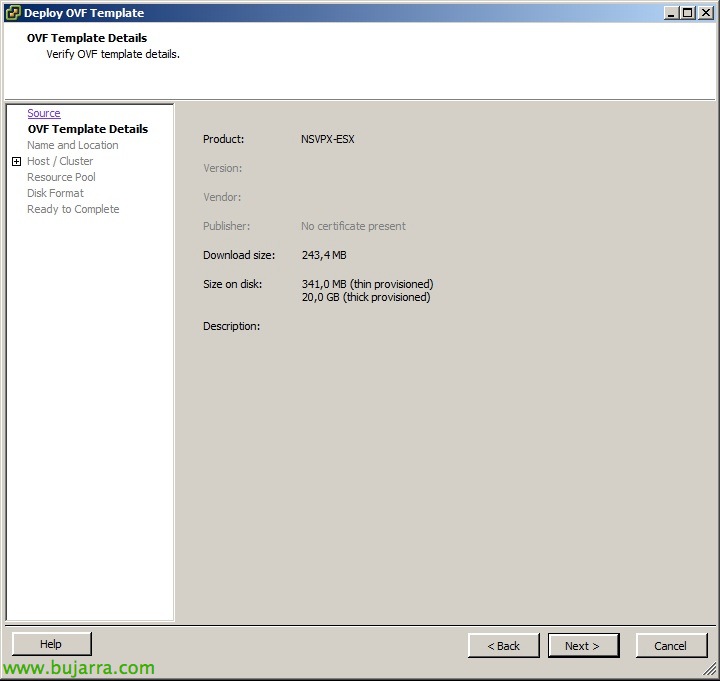
We deploy the virtual appliance in our virtual infrastructure, It will normally be placed in the DMZ, We can place both NICs on that network (‘VM Network’ and ‘NS_NIC_1_1’), If needed, we could later add more virtual network adapters of the E1000 type.

Once powered on, We configure the NIP or Netscaler IP, for its management, We specify the IP address, network mask, and gateway.

We log in with a browser to http://NIP as ‘nsroot'’ y contraseña por defecto ‘nsroot’.

An assistant will jump us, tendremos que tener JAVA habilitado en el navegador, “Next”,

We confirm the network parameters, indicamos un hostname al appliance y configuramos la Mapped IP (para hacer peticiones) o MIP, “Next”,

Importaremos la licencia si es que la tenemos ya disponible,

We confirm the data & “Finish”,

The following, será habilitar las funciones que queremos que realice el NetScaler, from the “Configuration”, “System” > “Settings” “Mode and features” > “Configure Basic Features”,

En mi caso habilitaré ‘SSL Offloading’ para la gestión de certificados con “Access Gateway” para el uso posterior.

Since “DNS” > “Name Servers” > “Add…” para añadir los servidores DNS.

Indicamos la dirección IP del servidor DNS, seleccionaremos el protocolo UDP y lo probamos, deberemos llegar con PING a él también.

Since “DNS” > “DNS Suffix” > “Add…” añadimos el sufijo DNS de nuestra red,

Since “System” > “Licenses” > “Manage Licenses…”

We will add the NetScaler licenses, we will create them in MyCitrix based on the MAC address of the management interface.

It will ask us to restart the appliance, Mark “Save configuration”!! and “OK”,

The following (in addition to changing the password for the 'nsroot' user), we will need to have a certificate that we will use later in our NS services. The easiest way is to generate the certificate request directly from the NetScaler, for this, since “SSL” > “Create RSA Key” to generate the server key.

We specify a name and key length (1024 or 2048) and in PEM format & “Create”,

The next step will be to create the certificate request from “SSL” > “Create CSR (Certificate Signing Request)”,

Indicamos el fichero .csr que enviaremos luego a la entidad emisora de certificados, indicamos la clave anteriormente creada, formato “PEM” y cumplimentamos el ‘Common Name’ con el nombre público del sitio además de los datos necesarios. “Create”,

Tras tramitar con la entidad emisora de certificados nuestro certificado, lo subimos al appliance con SCP o hacemos browse local al certificado obtenido. Indicaremos de nuevo la clave del servidor, formato “PEM” and “INSTALL”. Con esto será suficiente, puede que necesitemos subir también los certificados intermedios de las CA y posteriormente ‘linkarlos’.

And we save the settings!! with “Save” en la parte posterior. En siguientes documentos nos apoyaremos en estos primeros pasos básicos para distintas configuraciones.