Citrix Access Gateway VPX Installation and Configuration

In this document, we will look at deploying a VPX Express Access Gateway, We will see it in a virtual appliance that we can deploy in our virtual network, thus having all its advantages, will be the version 5.0.4, being virtual acquires the same functions as the model 2010 What is the physical. With Access Gateway VPX we will be able to allow our users secure access to their Citrix applications or desktops remotely.

Previously, we will need a Web Interface configured with a Web site, where we will indicate that the authentication is performed in the CAG, the authentication URL will be the public access URL of our customers: 'https://FQDN_PUBLICO/CitrixAuthService/AuthService.asmx', we will also set up the 'Secure Access'’ indicating 'Direct with Gateway’ either for all networks or excluding the LAN IP range.

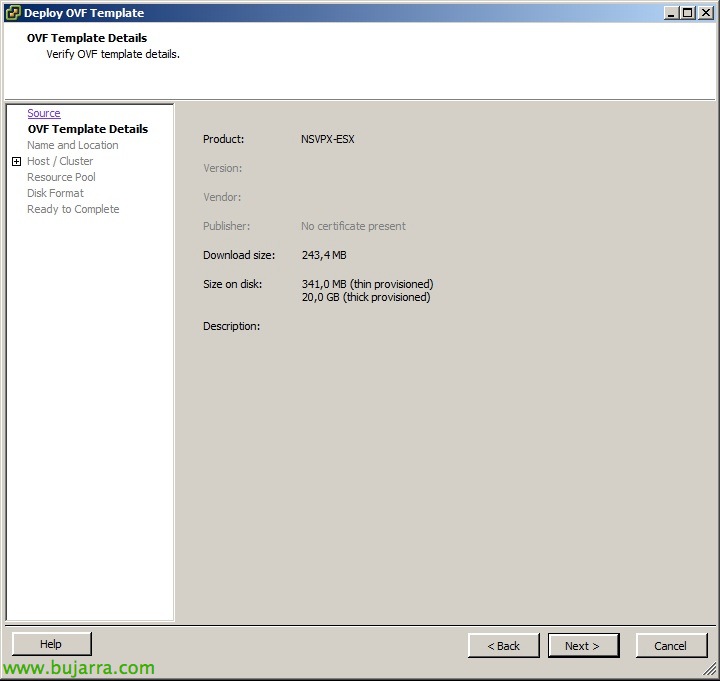
We download the virtual appliance from My Citrix for VMware or XenServer and import it into our virtual infrastructure, we will usually deploy it in the DMZ.

We turn it on, We log in to the console with the user 'Admin’ and the password 'admin'’ that comes by default. In the settings menu, We will perform a basic setup, Pressed ‘0’.

We'll set up with '1’ the “Internal Management Interface”: eth1
We'll set up with '2’ The networks:
IP/Mask eth0 Interface: 192.168.172.21/24 (Default 10.20.30.40) – By default is the 'external leg'’
Interface IP/Mask eth1 : 192.168.170.21/24 (Default 10.20.30.50) – By default is the 'internal leg'’
Interface IP/Mask eth2: 0.0.0.0/0 (Default 0.0.0.0/0)
Interface IP/Mask eth3: 0.0.0.0/0 (Default 0.0.0.0/0)
We'll set up with '3’ The gateway.
We'll set up with '4’ DNS servers.
We'll set up with '5’ NTP Time Servers.
Apply changes with '7’ and the appliance will restart.

Open the Access Gateway Management Console with a browser: pointing to the URL: 'https://IP_de_la_eth1/lp/adminlogonpoint/', We log in with the user 'admin',

We'll look at the “Monitor” where we will see a brief information of the system as well as the status of the services; We will see the active sessions, Configuration Summary, warnings…

On the “Management”, in the 'Networking' menu, We confirm the network data and function of the network legs.
Description of the rest of the menus:
– 'Appliance Failover’ to configure HA between two Access Gateways.
– 'Name Server Provider’ to configure DNS parameters, hosts file and DNS suffixes.
– 'Static Routes’ To configure static appliance paths.
– 'Address Pools’ to configure IP address pools for when users connect.
– 'Deployment Mode’ to configure CAG mode if' appliance’ (Default) or 'Access Controller'. The Access Controller software would be installed on a VM and will allow us to centrally manage multiple CAG appliances, plus native access to the AD (without LDAP), Advanced endpoint scans, load balancing of appliance connections, Adaptive Access Control (for (DES)enable published applications/desktops and ICA channels depending on the result of the analysis).
– 'Password’ To change the admin user's password.
– 'Date and Time’ where we will configure the date and time parameters.
– 'Licensing’ where we will configure the licenses, we can upload them to the appliance or access them from a remote license server.
– 'Logging’ LOG configuration, both for local and remote storage.

In the left menu of “Access Control”, in 'Authentication Profiles'’ we will create an LDAP profile,

We give it a name & description.
In “LDAP Servers”, in 'Server Type’ we indicate 'Active Directory’ and add the LDAP or LDAPS servers.
In “Bind Properties” we indicate the user's path to validate the authentication in 'Administrator DN’ with 'cn=Administrator,cn=users,dc=tundra-it,dc=com’ and your password. In 'Base DN (location of users)’ we will indicate the path where the users we want to validate 'ou=Users will be,ou=Tundra IT,dc=tundra-it,dc=com’

In “Applications and Desktops” > “XenApp or XenDesktop” you have to enter the IPs of the XenApp servers and with session reliability (if that's what we've set up when setting up secure access on the WI site).

In “Applications and Desktops” > “Secure Ticket Authority” we will need to add our STA servers (either by IP range or individually) with XML port (Safe or unsafe).

In “Logon Points” We will create a portal for user access, “New”,

We will give you a name, of type “Basic”, we assign you the authentication profile previously created for LDAP, Click on “Website Configuration”,

We add the web interface address + Single sign-on + Log and define the “Home page” to the web interface address.
The rest of the menus “Access Control”:
– 'Global Options’ > 'Access Gateway Settings’ we will have general CAG options:
+'Allow earlier versions of Access Gateway Plugin’ allowing old versions of clients.
+ 'Audit ICA connections’ For logging.
+ 'Multi-stream ICA’
+ 'Encryption' (RC4)’
+ 'Query token’
– 'Global Options’ > 'Client Options’ We will have certain directives to apply to customers:
+ 'Enable split tunneling: to force all traffic to be safe, since it goes through the CAG.
+ 'Close existing connections’
+ 'Authenticate after network interruption': Enabled by default.
+ 'Authenticate after system resume': Enabled by default.
+ 'Enable split DNS', the same but for DNS traffic.
+ 'Single sign-on with Windows’
– 'Global Options’ > 'TIme-Out Options’ We will configure the parameters of expiration times:
+ 'User inactivity’ default 30min.
+ 'Network inactivity’ default 30min.
+ 'Session time-out’ Default 30min.
– 'Global Options’ > 'Citrix Receiver Options':
+ 'Ticket time duration’ 100 Seconds.
– 'Network Resources’ To set permissions depending on the network, enabling log, enabling TCP/UDP or ICMP protocols or port ranges.
– 'Devices Profiles’ to identify equipment that has an OS. specifically, a file, a process or an entry in the registry... to let you connect or not.

In the “Certificates tab”, We must import our .pfx certificate and mark it as active or make a new one. Subsequently, we will have to import the .cer (at base64) of our certificate authority. We select the certificate for CAG and join it to the certificate chain from “Add to Chain” to that of our CA.