Installing Windows 10 on a Raspberry Pi

Well, Before I start I give you my opinion, This is unnatural, My eyes are going to bleed as I'm writing the post, But it's what we have to do. Let's see how we can run a Windows 10 Home or Pro on a Raspberry Pi 4, To nougat!
The truth is that surprisingly Windows 10 runs pretty well on the Raspberry Pi 4, In this post we will not use any external disk or USB flash drive, but Windows 10 will run on microSD card very interesting and low cost. The Bad, Why fool us, for now the few apps we have for Windows on ARM, but time to time.
¡Started!
This method is super simple, First we downloaded WoR_Release_2.0.1.zip of https://www.worproject.ml/downloads, we save it and unzip it. Now we will go to the website of https://uup.rg-adguard.net and
download the Windows ISO that we are going to need.
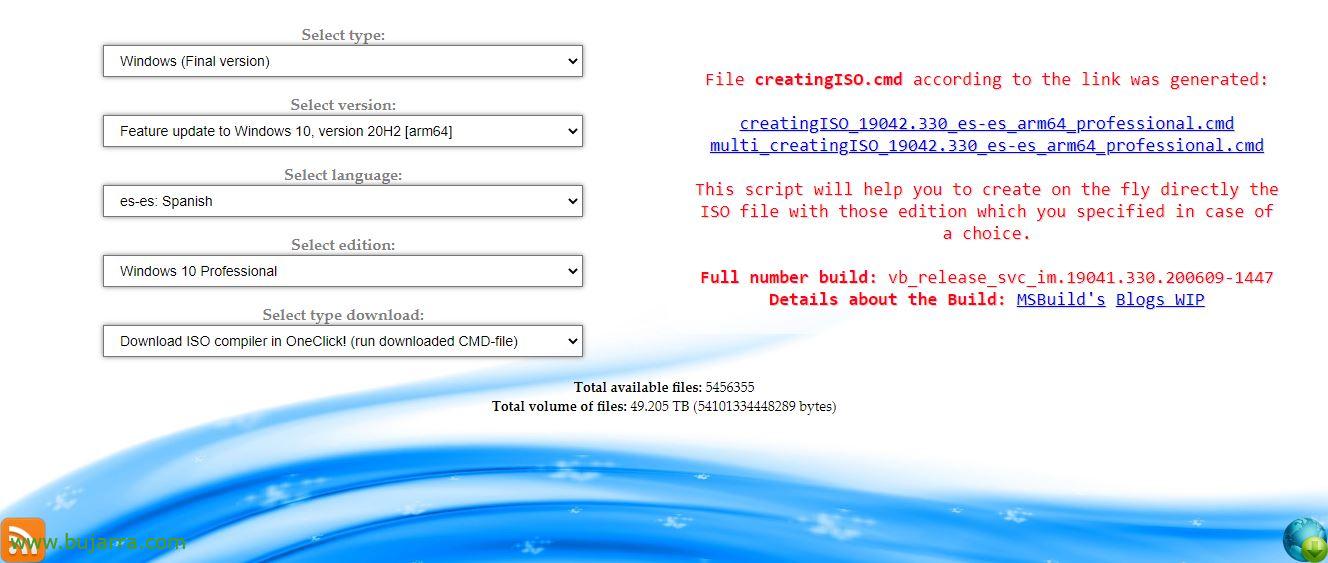
Select:
- Windows (Final version)
- Feature update to Windows 10, version 20H2 [Arm64]
- es-es English
- Windows 10 Home or Windows 10 Professional
- Download ISO compiler in OneClick! (run downloaded CMD-file)
And click on the link that will have been generated for us to download, In my example it would be in creatingISO_19042.330_es-es_arm64_professional.cmd
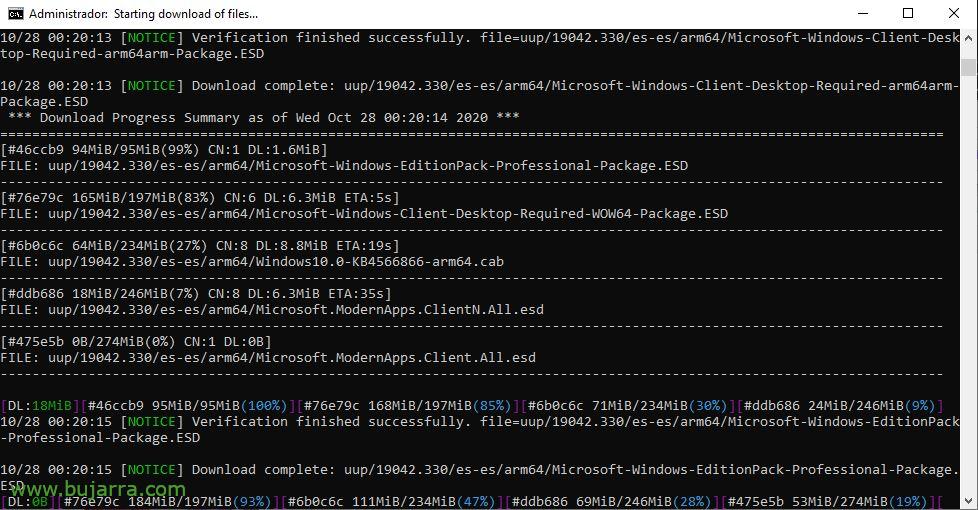
We run this script as an administrator and wait while the ISO is fully downloaded, We waited a few minutes…
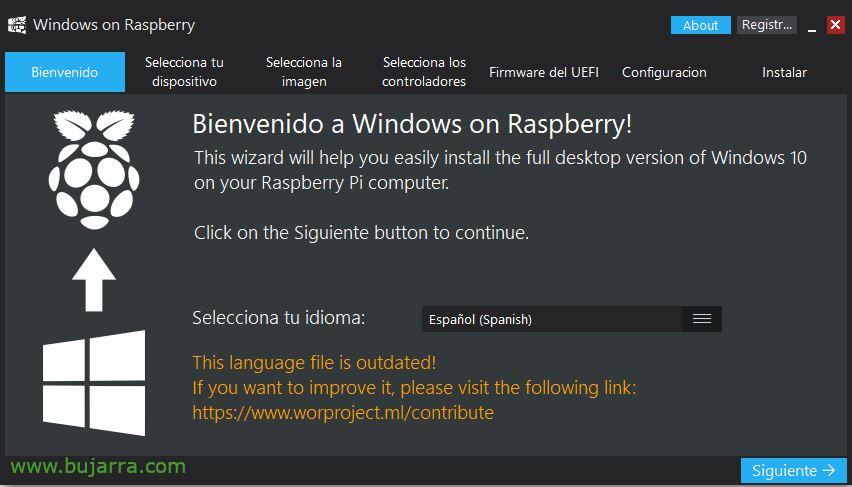
Once we have the ISO downloaded, we can finally insert an SD Card or microSD card to which we are going to dump the Windows image 10 for ARM. We run WoR.exe and start the wizard. We select the idiot & “Following”,
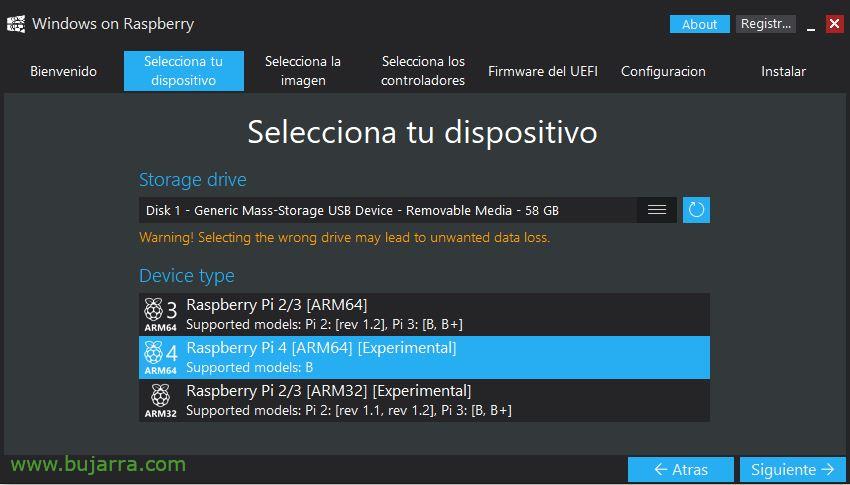
Select our SD card in the drop-down menu and choose Raspberry Pi in the type of device 4 (from what we see it could also run with a Raspberry Pi 2 or a Raspberry Pi 3). “Following”,
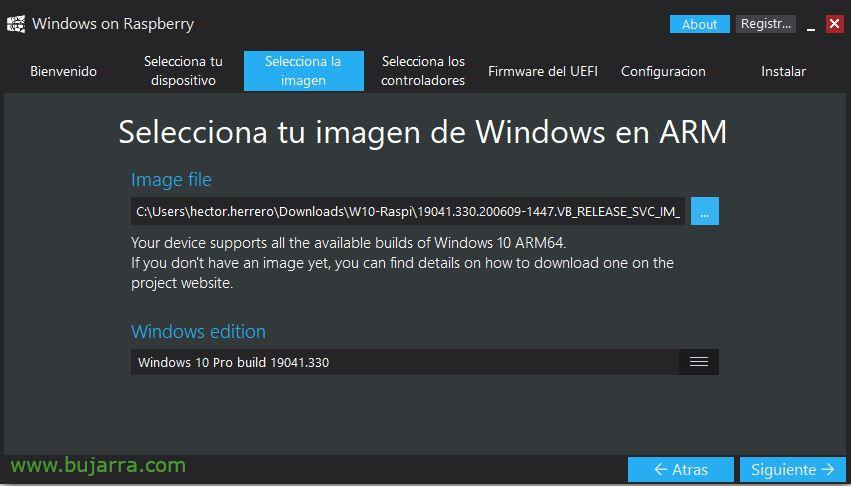
We look for the ISO image that we have just downloaded, it will detect the version and build of Windows 10 to be installed, “Following”,
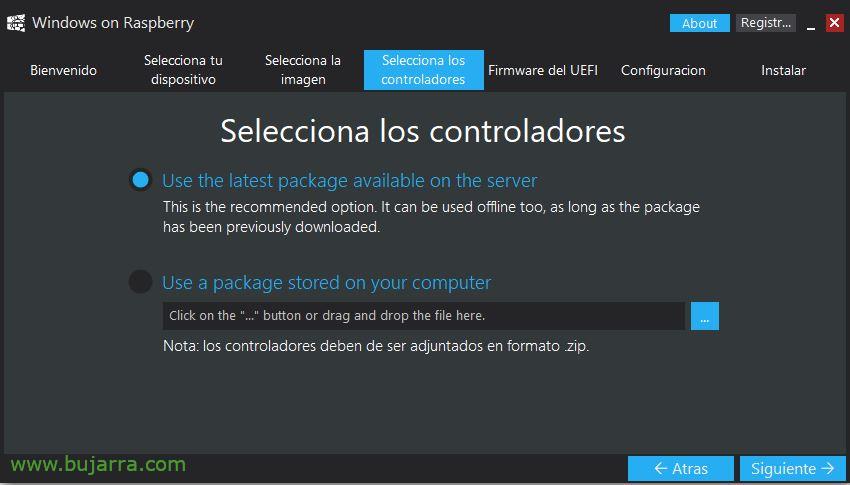
Click on “Use the latest package available on the server” to download the drivers directly from the internet, “Following”,
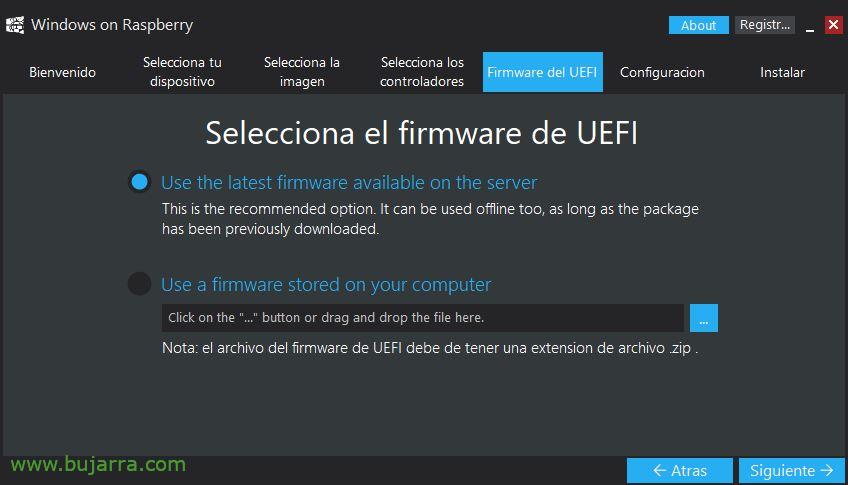
Also with UEFI firmware, Indicate “Use the latest package available on the server” to download from the internet. “Following”,
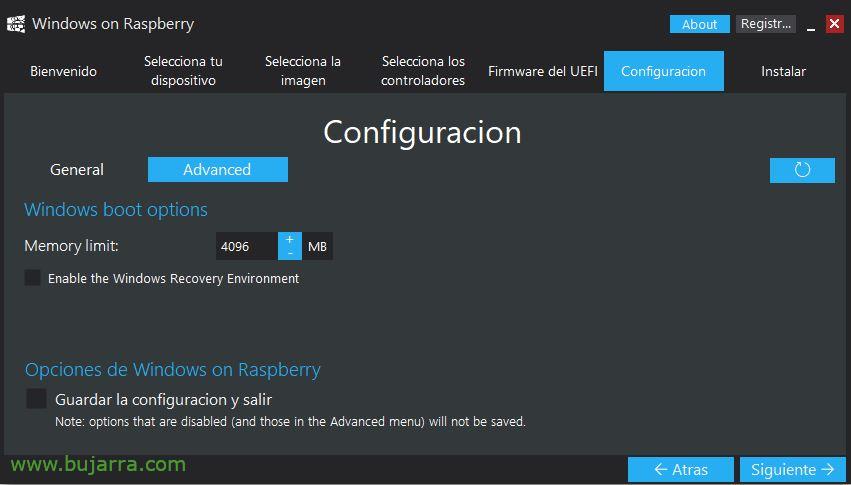
In this configuration section we must go to the “Advanced” to indicate in MB the amount of RAM available on our Raspberry Pi. “Following”,
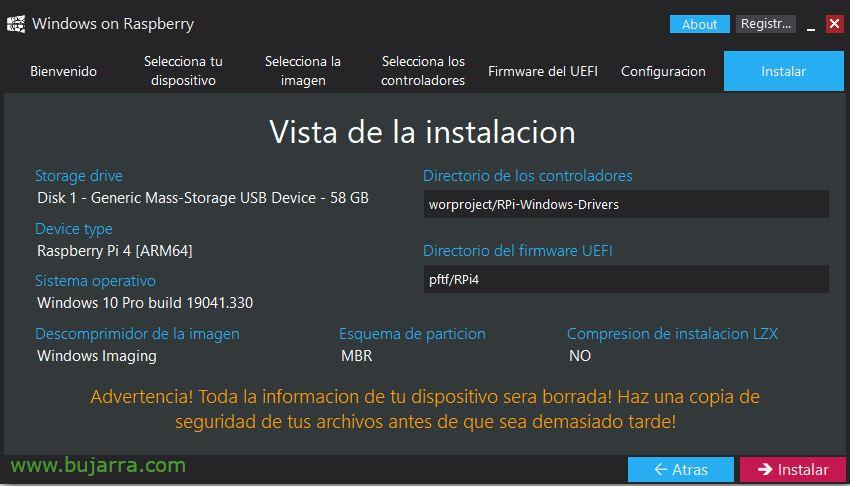
We confirm that the data is correct and click on “Install” to dump the image to the SD,

Now we will have to wait a few minutes while copying the content to the SD… Once it finishes, it will be time to disconnect our SD card and prick it into the Raspberry Pi.

Turn on the Raspberry Pi and we will be able to see the UEFI boot, we will have to stop it with ESC (It's okay if we don't do it in the first boot, You'll do it later, we will simply do it because the default UEFI will limit the Raspberry Pi to 3GB of RAM).

Click on “Device Manager”,

Click on “Raspberry Pi Configuration”,

We're going to “Advanced Configuration”,
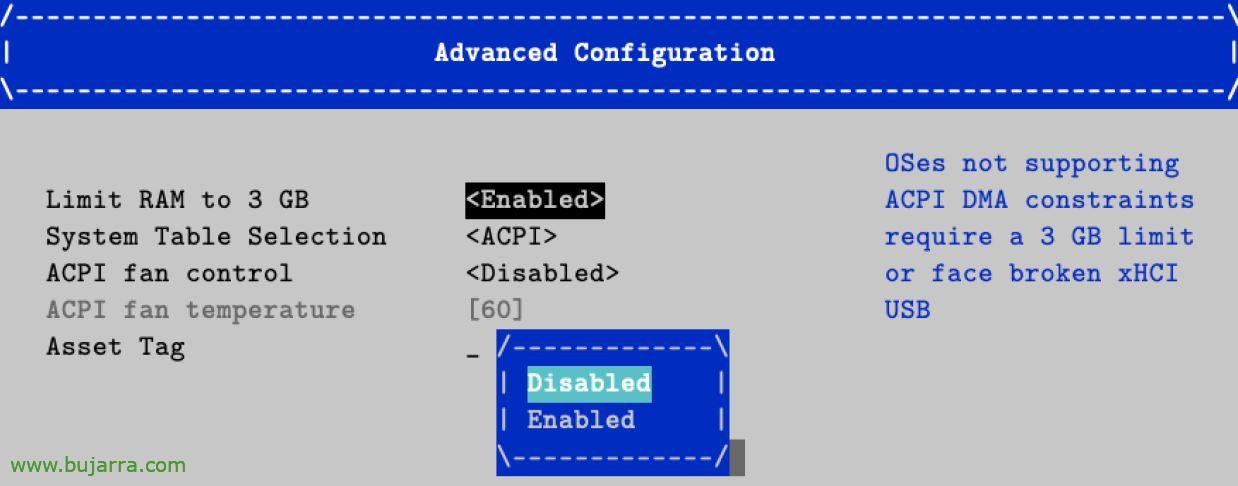
And in “Limit RAM to 3 GB” we must indicate “Disabled” so that it takes all the available memory.
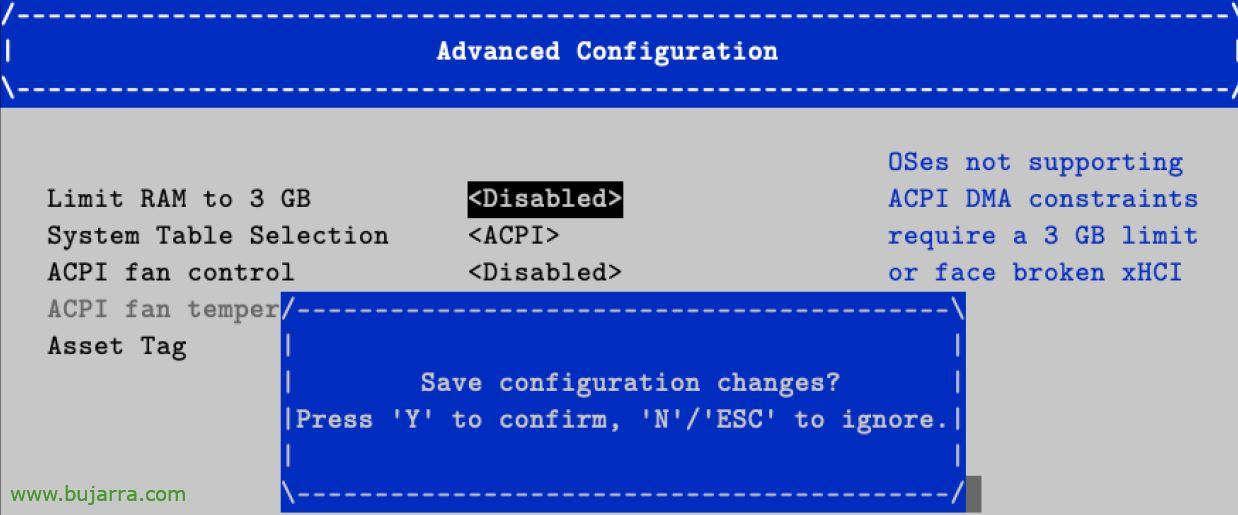
And with F10 we will record the changes of the UEFI, we will now be able to continue with the Raspberry Pi boot as normal.

And after a few minutes of booting, we will finally have Windows booted and with the welcome wizard that of course with a good smile we must finish. The truth is that the first start is much slower than the others, then you will have a Windows 10 Running on a Raspberry Pi, ¿Now what? Well, cane to the monkey that is made of rubber!
As usual, A pleasure, Thank you for sharing on social networks and giving the little hearts, It's always cool. Thank you,