Mounting our Google HOME smart speaker on a Raspberry Pi

The Google Assistant SDK was finally released to be able to use Google Home in Spanish (o Spanish) among other new languages! So now it's possible to mount our own Google Assistant on a Raspberry Pi, in a few minutes, with a microphone and a speaker, you will have a Raspberry Pi ready to meet your requests!
Ideal to put in the living room or any hidden place, with a good omnidirectional microphone, we can ask him questions in our own language and he will dodge them correctly 😉 To remember part of the Spanish, also supports English, German, French, Italian and Japanese. The good thing is that Google has it super well documented, You can follow their steps or these more summarized to have everything ready!
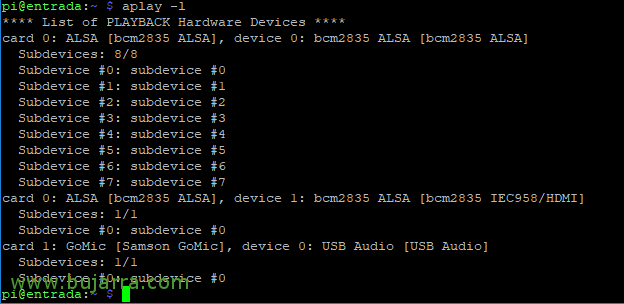
We will use a Raspberry Pi with Raspbian installed and updated, The first thing will be to verify that the audio works well, both the microphone and the speakers through which we want to get the sound. With the following command, We'll look at audio recording devices first, and then recording devices:
[SourceCode]Record -l
Aplay -l[/SourceCode]
We edit our audio configuration file '~/.asoundrc’ and specify the microphone we are using, in this case a specific USB, but we could also use the microphone of a webcam, as well as the audio that I took by default:
[SourceCode]pcm.!default {
type asym
Playback.PCM {
Type plug
slave.pcm "hw:0,0"
}
capture.pcm {
Type plug
slave.pcm "hw:1,0"
}
}[/SourceCode]
If we want to do a sound check to see if we hear something…:
[SourceCode]speaker-test -t wav[/SourceCode]
Better yet, Record an example of how we are heard through the microphone:
[SourceCode]Record –format=S16_LE –duration=5 –rate=16000 –file-type=raw out.raw[/SourceCode]
To listen to it to see how we are heard, Execute:
[SourceCode]Aplay –format=S16_LE –rate=16000 out.raw[/SourceCode]
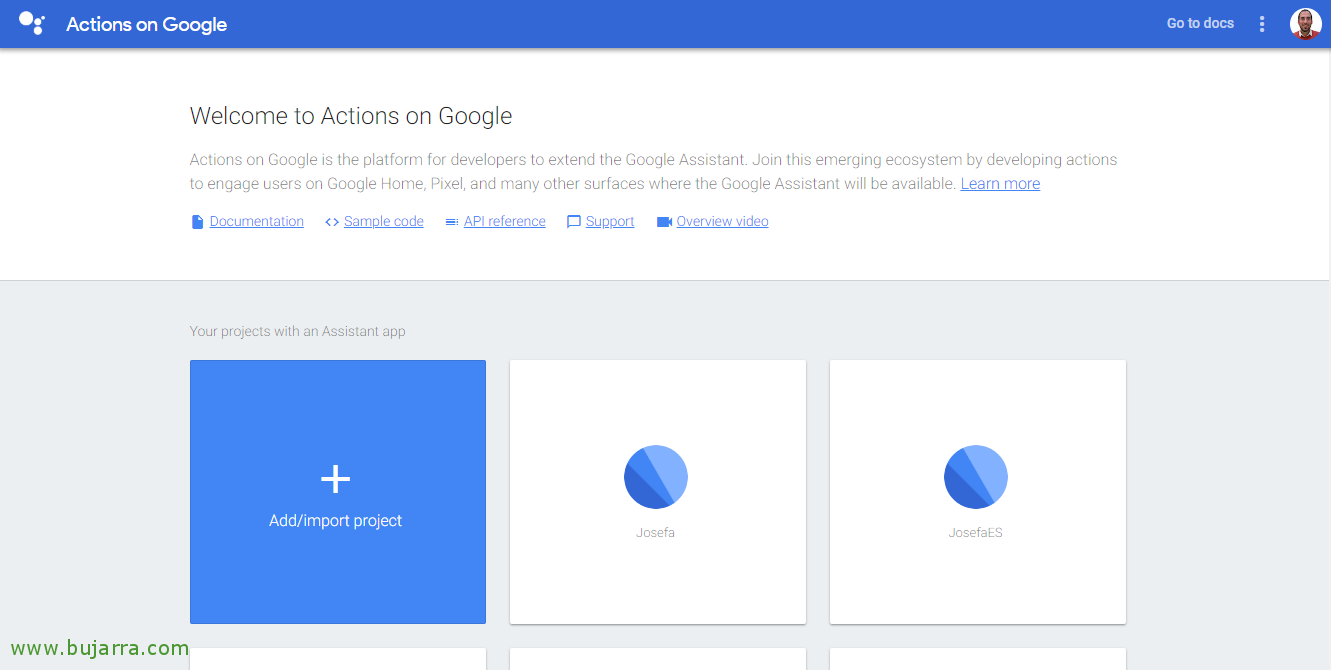
Now we can go to the Google Actions console, in https://console.actions.google.com, we will have to log in with a valid Google account and create a new Google Cloud Platform project, To do this, click on “Add/Import project”. With the Google Assistant API installed on our Raspberry, we will access it to make queries and the project will show us the data on consumption.
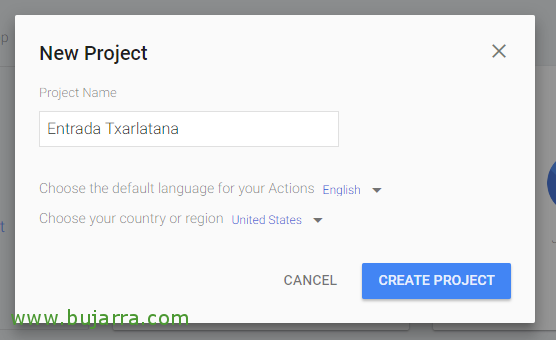
We must indicate the name of the Project and if we want to change the language for the Actions or select our Country, It's time,
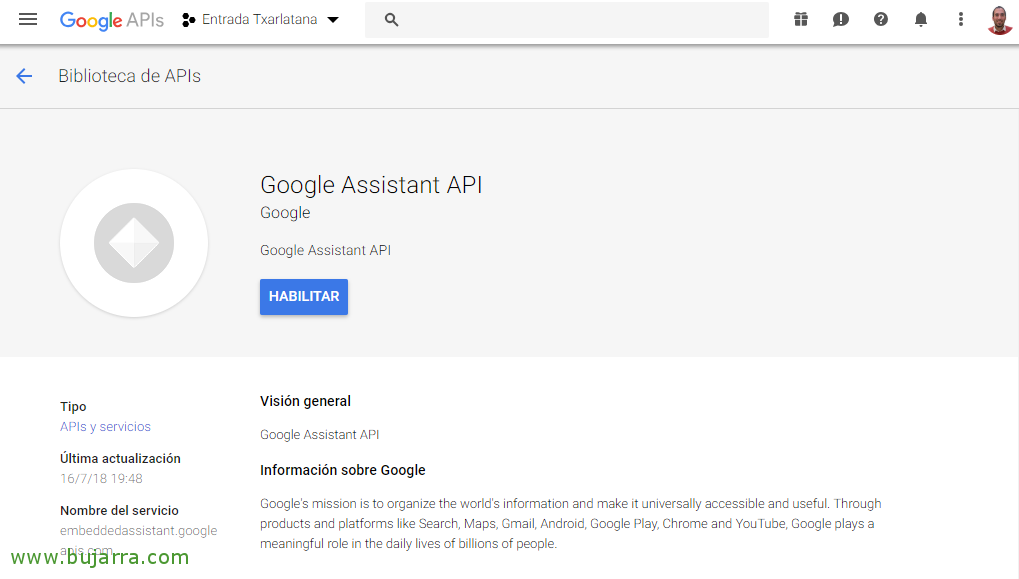
We need to enable the Google Assistant API, since https://console.developers.google.com/apis/api/embeddedassistant.googleapis.com/overview Select our project from the combo and click on “Enable”,
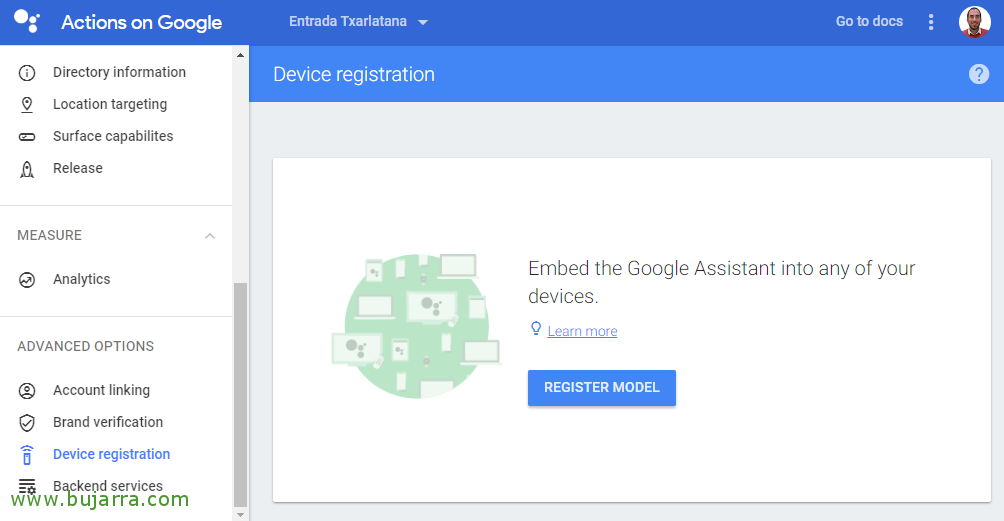
Now we could go and register our device! Let's go back to the Console, in https://console.actions.google.com/
Go to “Device registration” > “Register Model” and we created it!
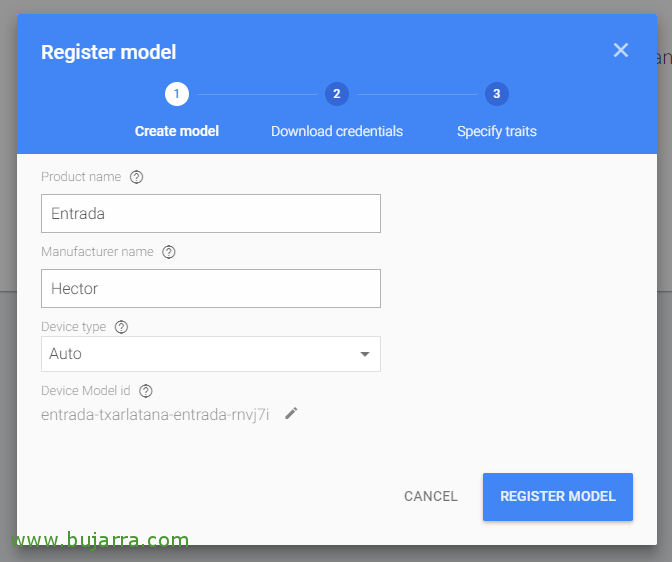
We will have to give it a name or 'Product Name'’ (that we will note), a manufacturer's name or 'Manufacter Name'’ and select if we want some kind of device, if we are not clear about it, we leave it in 'Auto', Click on “Register Model”,
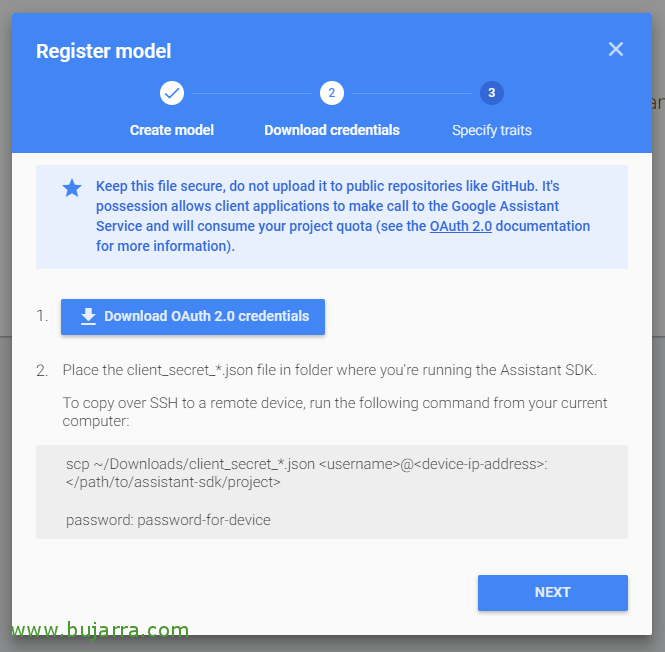
Now, we will have to download the file with the access credentials to the Google Assistant service, Click on “Download OAuth 2.0 credentials” and we keep them lying around,
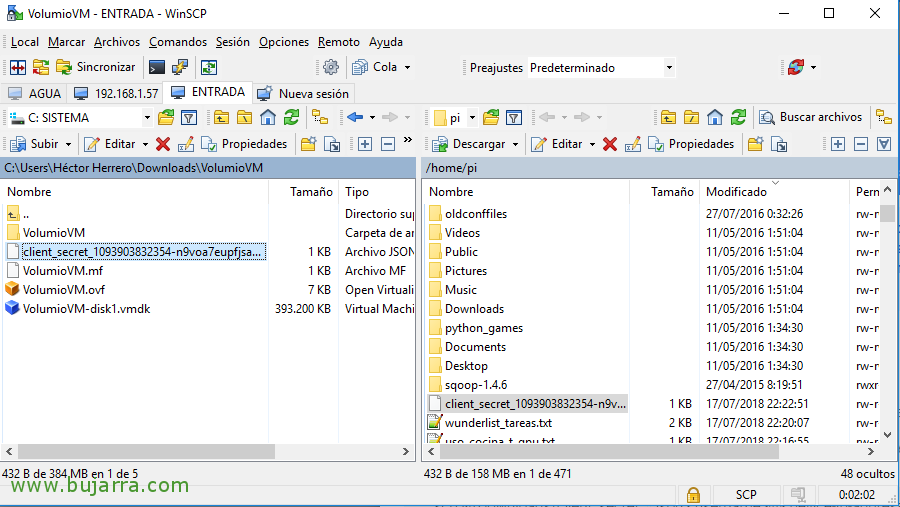
We copy them to the Raspberry Pi for example with WinSCP or similar to the path /home/pi,

Go back to the wizard and click on “Skip”,

We record the device we just registered, by clicking on “SAVE”,
GOOD, now on the Raspberry Pi we will configure the Python virtual environment to isolate the SDK and its dependencies from the system's Python packages, we choose the Python option 3:
[SourceCode]Sudo apt-get install python-dev python-virtualenv
Virtualenv env –no-site-packages
env/bin/python -m pip install –Upgrade PIP SetupTools Wheel
source env/bin/activate[/SourceCode]
We install the necessary dependencies in addition to the Google Assistant SDK that will allow us to have Google Assistant running on the Raspberry Pi:
[SourceCode]sudo apt-get install portaudio19-dev libffi-dev libssl-dev libmpg123-dev[/SourceCode]
Using pip we install the latest version of Python in the virtual environment:
[SourceCode]python -m pip install –upgrade google-assistant-sdk[samples][/SourceCode]
We install or update the authorization tool:
[SourceCode]python -m pip install –Upgrade google-auth-oauthlib[tool][/SourceCode]
Now we generate the credentials to run the examples, we will use the JSON file that we have previously downloaded:
[SourceCode]google-oauthlib-tool –Scope https://www.googleapis.com/auth/assistant-sdk-prototype –Scope https://www.googleapis.com/auth/gcm –Save –headless –client-secrets /home/pi/client_secret_xxxx.apps.googleusercontent.com.json[/SourceCode]
If everything is correct, will put us something like:
[SourceCode]"Please visit this URL to authorize this application: https://…"[/SourceCode]
We copy the URL and go to it with a browser (that is logged in with our Google account), After allowing it, it will give us an authentication code that we must paste into the shell.
And now, We're ready to try an example! In the same virtual environment, we run the following command indicating our Project ID and our model ID, that if you haven't been writing them down, you will find them in the Google Actions console Searching in the General Project and Device Options. If everything is OK we execute the following command and it will be ready for us to talk to the Assistant, It's time to try:
[SourceCode]googlesamples-assistant-hotword –project_id appetizer-txarlatana –device_model_id entrada-txarlatana-entrada-xxxx[/SourceCode]
 |
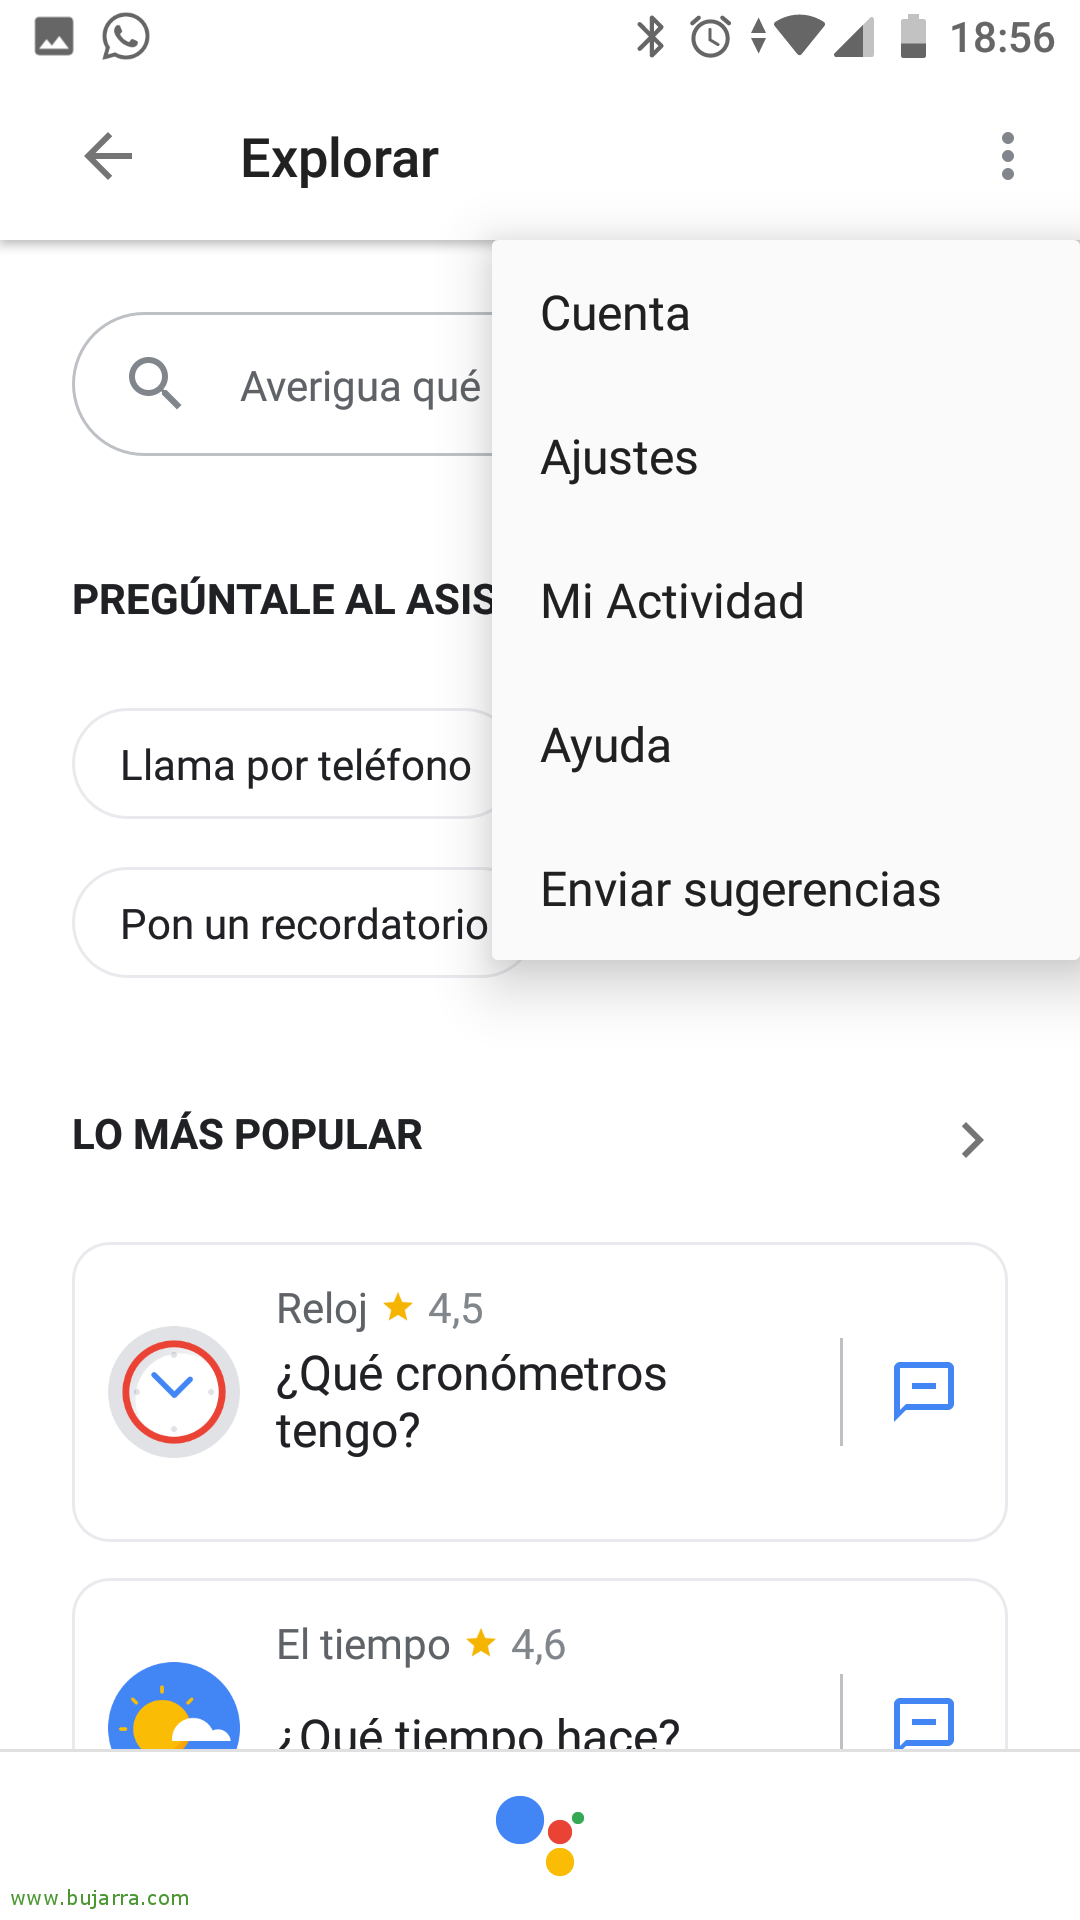 |
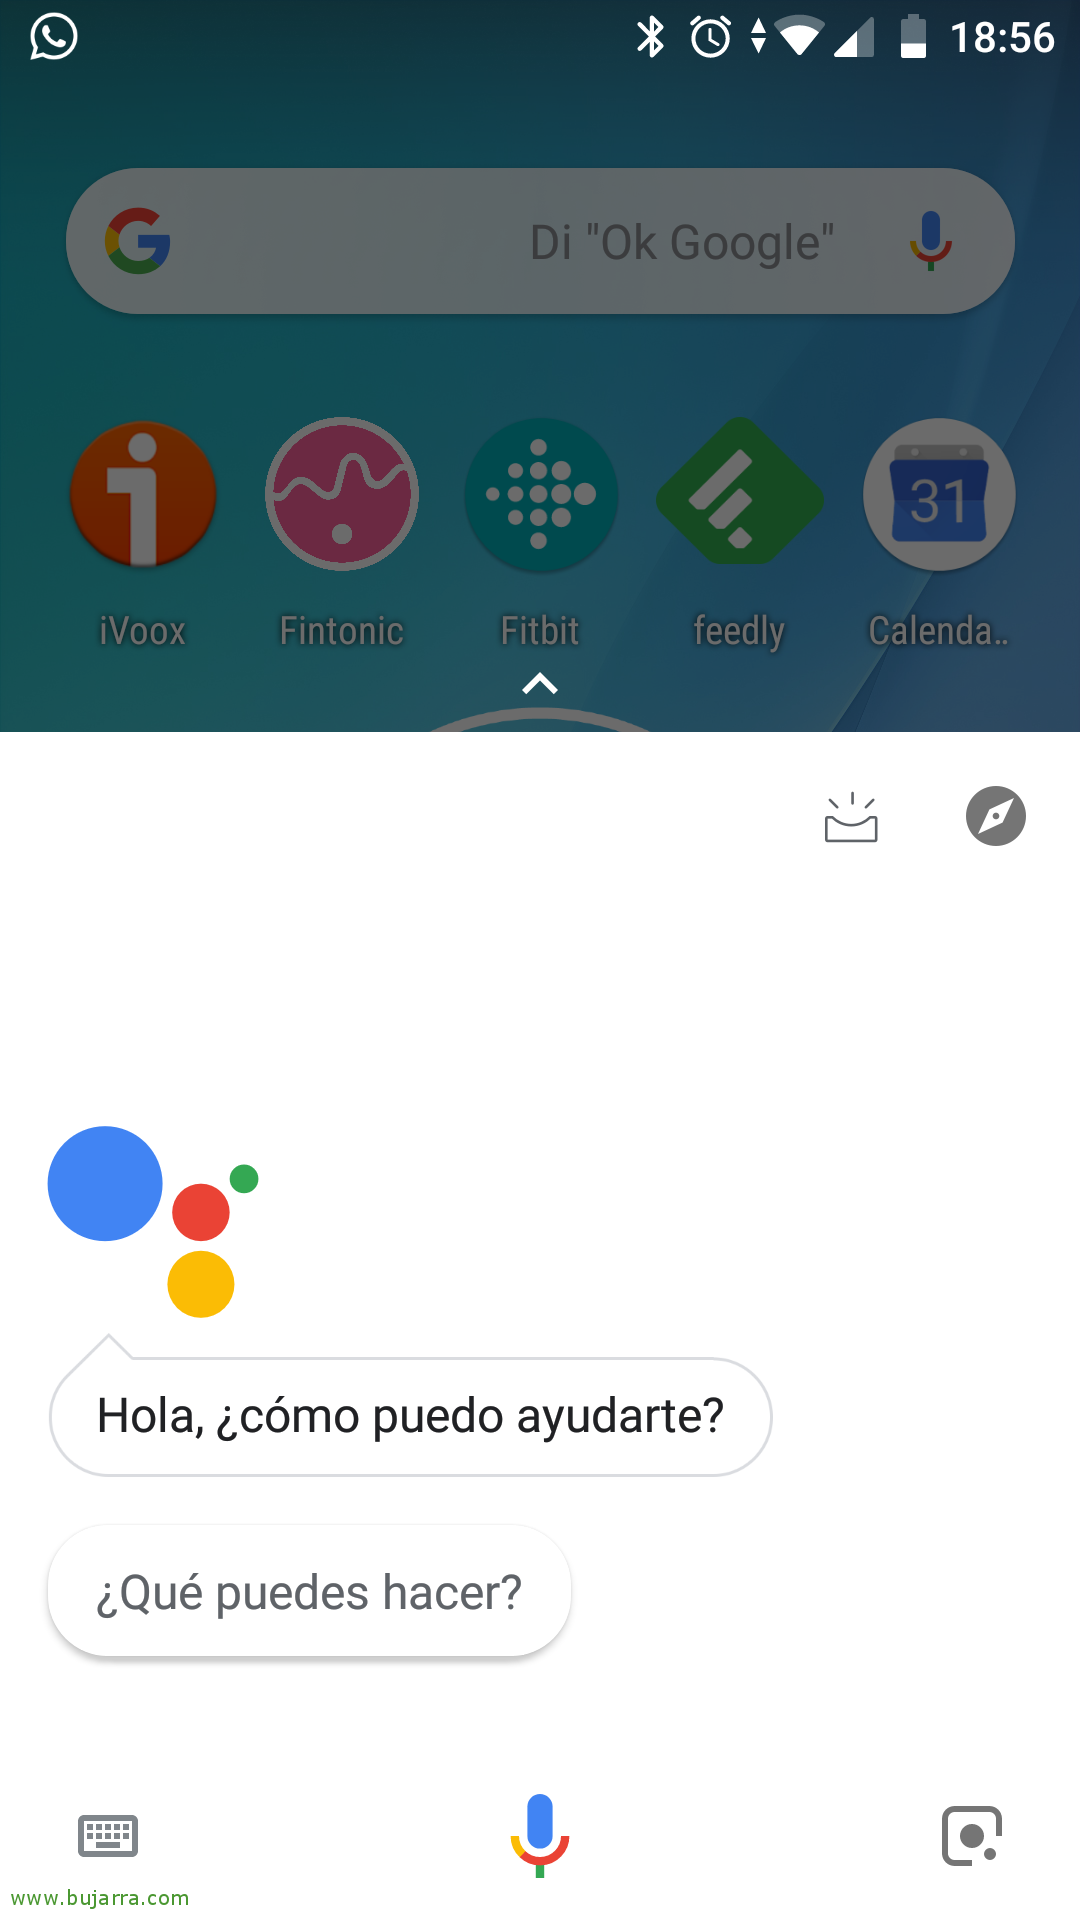
By the way, to change the language of our Assistant, We will do it directly with our mobile phone, with the Assistant app that I suppose you will have installed (and if you don't install it :P, You open it, We click up on the compass, and on the next screen in Explore we must go to “Settings”,
 |
 |
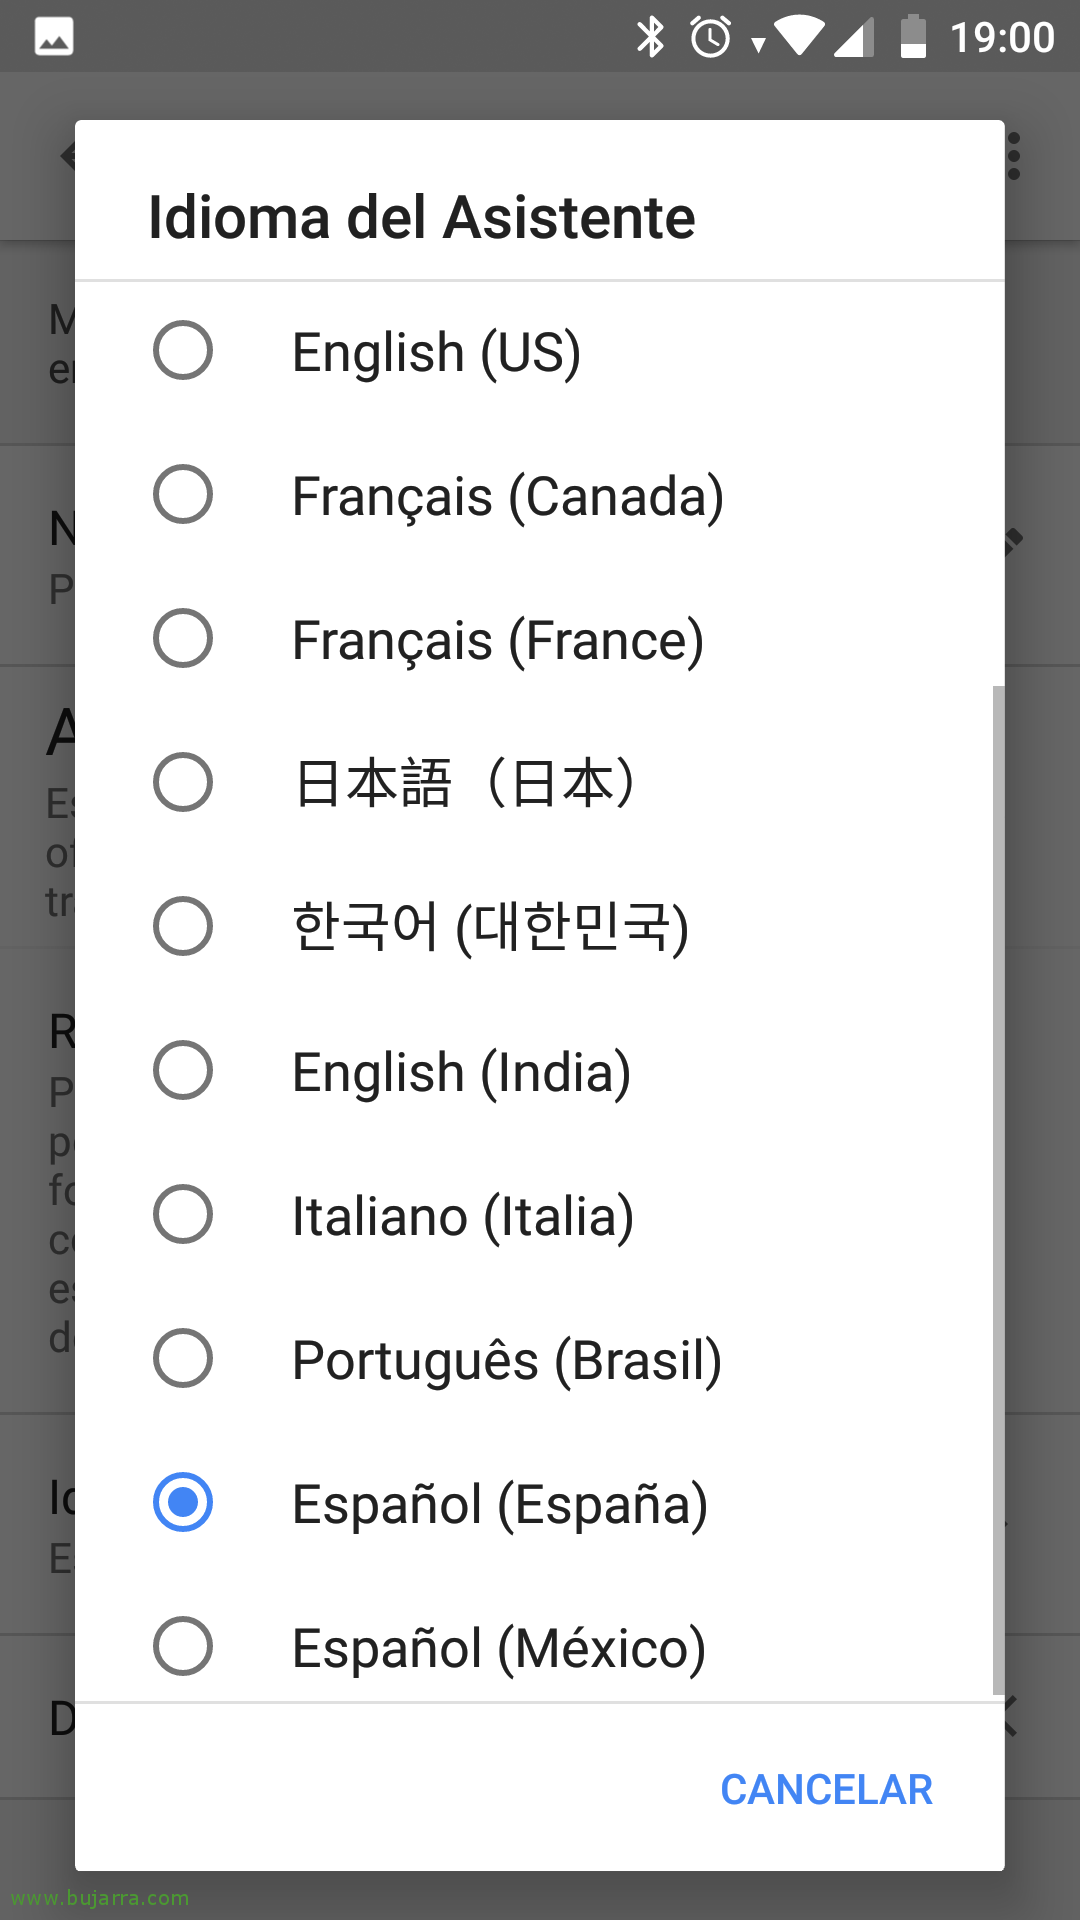
In Settings we must look in Devices for the device that we have registered before, we select it, and then we can give access to more of our data to the gentlemen of Google or select the language we want to interact with the Assistant!
So you're done! We have the service mounted under a Raspberry Pi, if we run the previous example again, the Wizard will be in our language, we'll have to constantly press Enter or say 'OK, Google’ regardless of the examples we have to interact with. As in my case I am not interested in the microphone always listening and thus also avoid the need to say 'OK Google’ all the time, because by means of a shabby solution I have managed to avoid it. I've created a script to start the Assistant and another to stop it, I'll leave it to you in case by chance it is useful 🙂 to anyone
google_assistant_para.sh
[SourceCode]cd /home/pi/
source env/bin/activate
nc -l 12345 | /home/pi/env/bin/python3 /home/pi/env/bin/googlesamples-assistant-pushtotalk –project-id txarlatana –device-model-id txarlatana-pitxarlatana-xxxx &[/SourceCode]
google_assistant_para.sh
[SourceCode]pkill python3
Pkill Google
Pkill nc[/SourceCode]