A little organization of Active Directory

This procedure explains the basics of how to organize your active directory with OUs, how to create users for people so they can log in to all posts, Create Groups, and at the end of the whole the most interesting properties of the users. To open the Active Directory main console, we have to be on an MS Windows 2000 or 2003 Server version, Then you have to go to: “Beginning” > “Programmes” > “Administrative Tools” > “Active Directory Users and Computers”
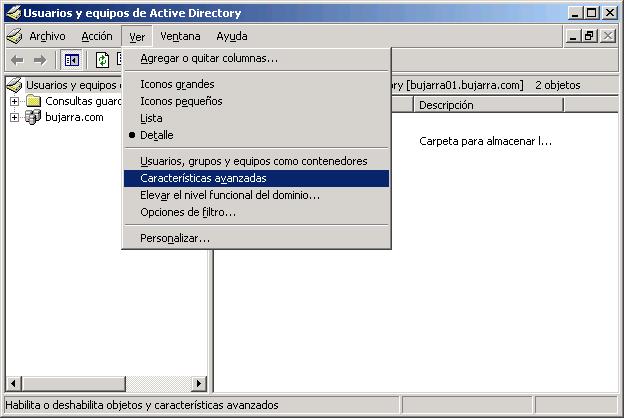
The first thing to do is to see all the options and tabs, because some are hidden and later some will be necessary for us, Stop that: we click on the tab “See” and then on “Advanced Features”.
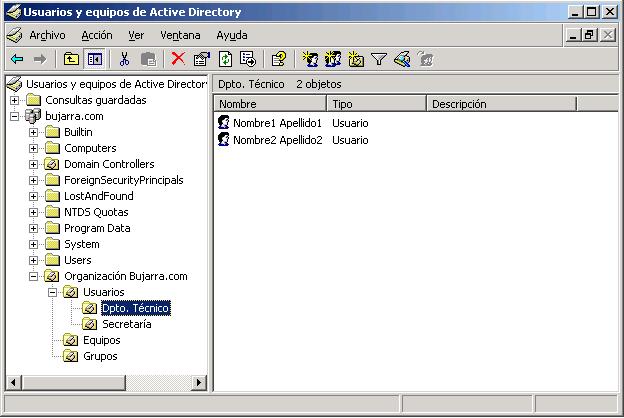
In the previous image, this is how I usually keep the active directory organized, I usually organize it with a main folder named after the company and then create organizational units (OU) within, like Users, Computers, and Groups, within each container, we create the containers, and within these, for example, the users; in the Computers folder, I move the computers that are in the domain, these are by default in the container “Computers”, and just like with users, this is done with User Groups. All of this is important if we are interested in putting policies in our AD (Active Directory) For optimal management of security and control of users/devices/groups…
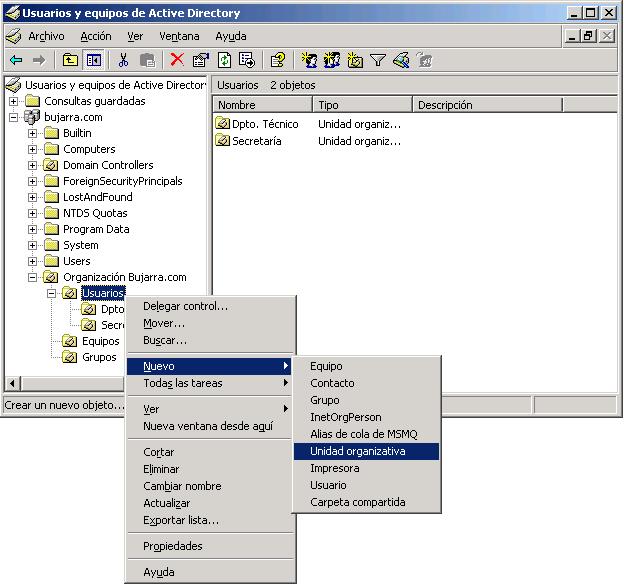
The first step is to create a structure using organizational units (OU), To do this, we create one from the root with the name of the company or domain name, Then we will create others as they come to mind. To do this, we will create them where we find it necessary, Right Button > “New” > “Ou”.
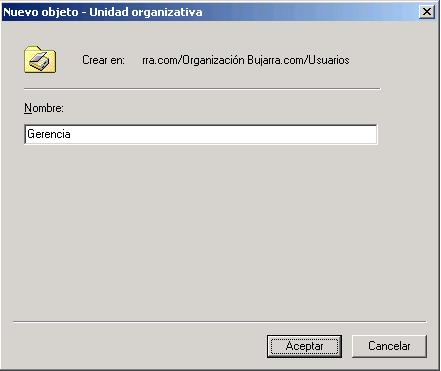
We indicate the name of the OU, for example, that of a department in a company.
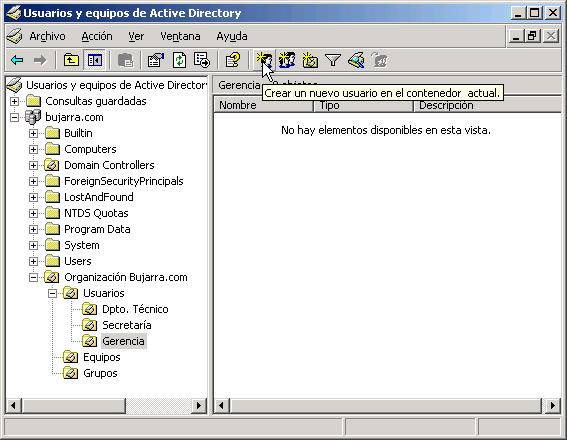
Once the OU structure is created, the next step is to create users, for this, we either click on that icon or right-click > “New” > “User”.
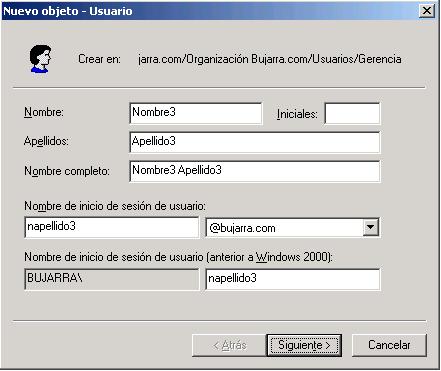
We indicate the data that interests us, for example, the first name and last name, it is important to set the “User logon name” with an interesting policy, since if we use the person's name and another person with the same name joins our organization or company… well… that's not ideal :), the best thing is to put the first initial followed by the last name, it's the most formal option I can think of. If in the future we use an MS Exchange server for our company's internal email, we can take advantage of it, since the login name would be the same as the username, Staying: nah********@*****ra.com, We give “Following”.
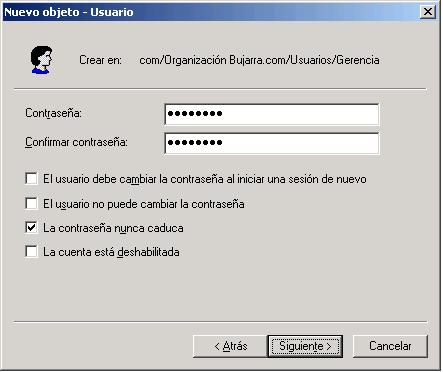
We give them a password, if we set a short one and we're on an MS Windows server 2003 it will give us an error because it doesn't meet robust password requirements, this is for security, since the more complex our password is, the safer our network is, so that passwords can't be stolen. The issue of password complexity will be addressed in the policy procedures, since they are edited elsewhere. We check the boxes that interest us and “Following”.
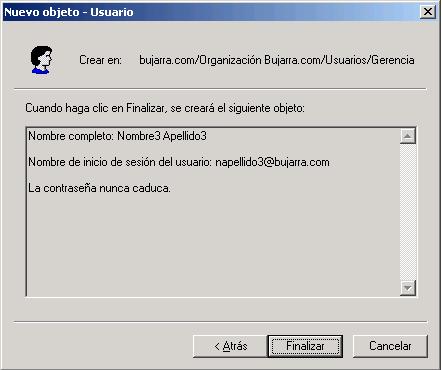
End. At the end of this procedure are the most common User Properties.
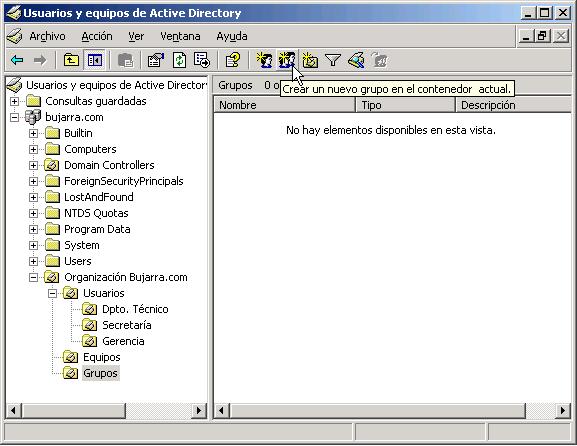
Once we have created several users, we will create Groups. In principle, if we do not have an installed Exchange email server, we will only use them when assigning permissions to folders, instead of granting permissions user by user, we will use groups.
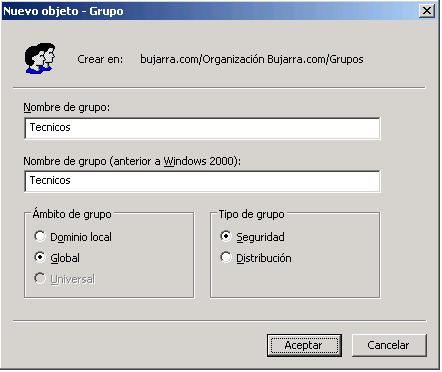
We specify the name of the Group, which could be the same as a department in a company, the type of group is what is important, if we want to apply folder permissions to a group of users, we choose “Safety”; instead, si es para crear el tipico grupo que cuando alguien manda un mail quieres que llegue a varias personas a la vez, sería de tipo “Distribución”, por ejemplo que alguien manda un mail a te******@*****ra.com le lleguen a Nombre1 Apellido1 (napellido1) y a Nombre2 Apellido2 (napellido2), pero eso está en el Procedimiento de MS Exchange 2003 Explained.
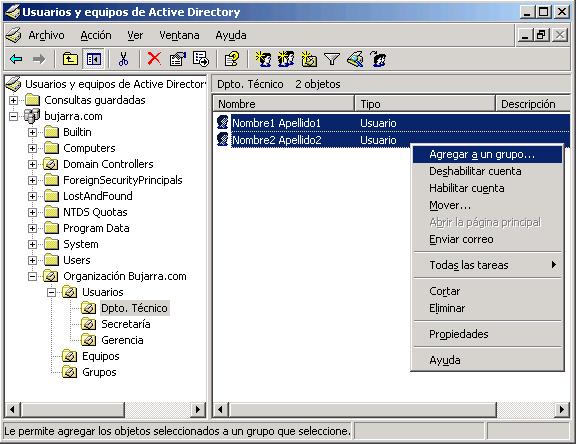
Seleccionamos los usuarios que nos interesan añadir al grupo, botón derecho encima de ellos > “Agregar a un grupo…”

Escribimos el nombre del grupo, We give “Comprobar nombres” and then “Accept”.
Propiedades de usuarios,
Una vez creados los usuarios es interesante mirar las opciones más interesantes de ellos:
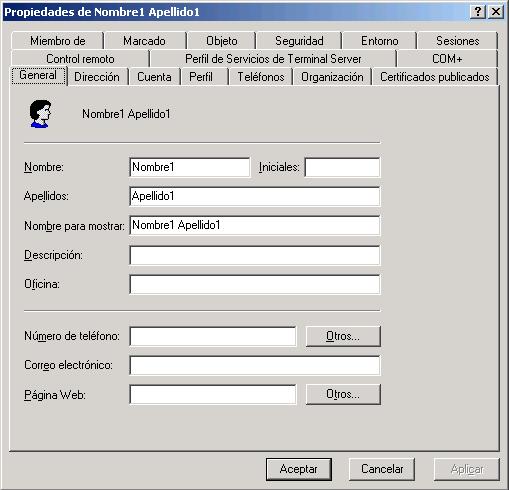
Esta es la pestaña General, donde lo interesante es tener bien puesto sus datos y el “Display Name”.
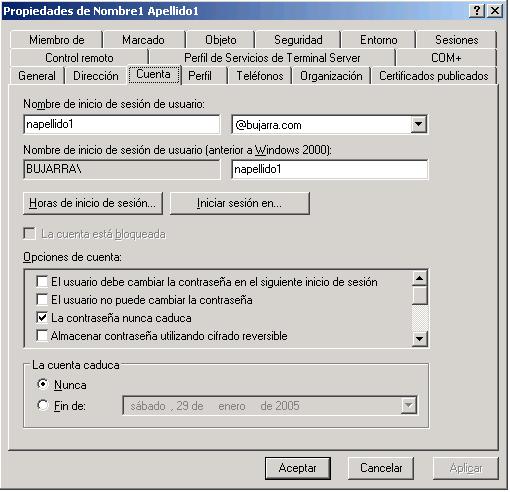
On the “Account”, podemos indicar en que horas del día puede iniciar sesión, en que equipos puede iniciar sesión, When does the user account expire?…
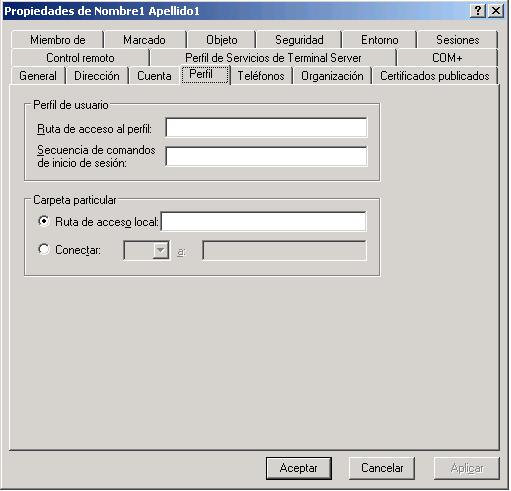
Profile path: If we have mobile profiles, here we would indicate when the user logs in from where they will get the profile data, the procedure for mobile profiles is explained.
Login script: If we want this user to execute a command file when they log into their PC, for example, the typical MS-DOS file that maps network drives… These files should be stored on one of the servers, in the SYSVOL folder, if there is more than one server, these files replicate among themselves, if you don’t know where SYSVOL is, leave the scripts in the netlogon server, in the text box of the image, only the name of the executable should be entered..
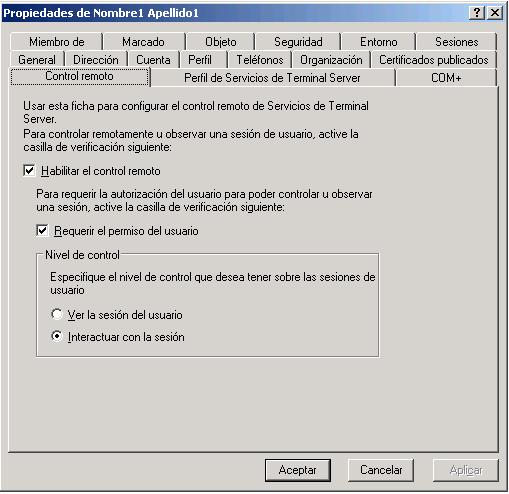
This screen is for the exclusive use of TS services (Terminal Server), if we want this user to remotely control sessions of other users, and if they need permission from the user to control, if we want them to only see or also control the session.

This screen is the same as the one for “Profile” but it will only apply when a user logs into a terminal server (TS). The last check is important, which is where we will give a user permission to log in or not on a TS server.
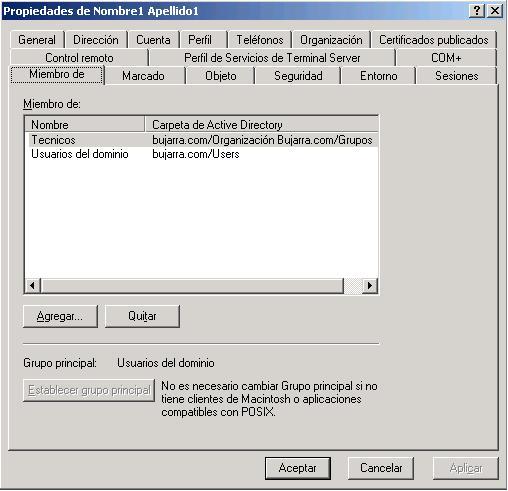
In “Member of” indicates which groups the user belongs to.
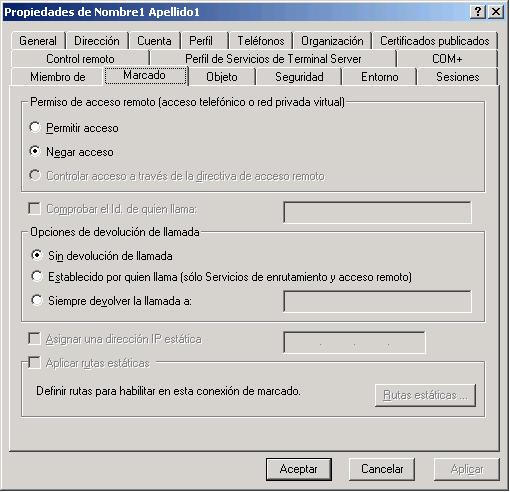
This screen is in case we want this user to have access from outside to our network, either through VPN (or Secure VPN) or through RAS, all this from the console of “Enrutamiento y Acceso Remoto”. It is important to check the box, because if not, they would not have access permission..
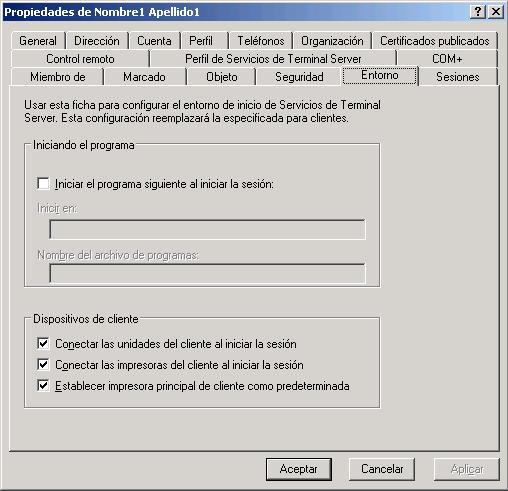
If we want a user to access only a specific program instead of seeing the desktop when they log into a TS server, we indicate the path and executable and that's it.. Additionally, we have the option to install the user's printers on the server so that when they print, it goes to their printers..
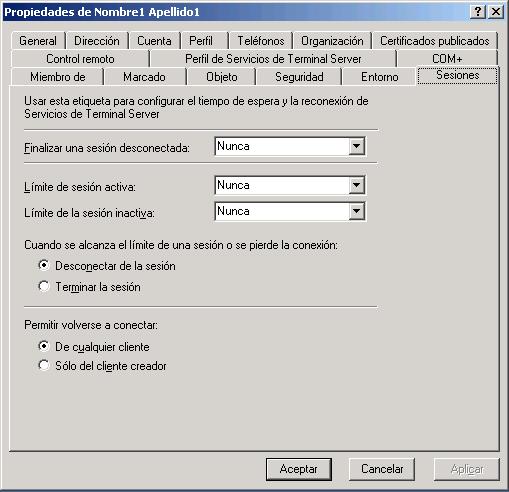
End a disconnected session: A disconnected session is when the TS client window is closed without having clicked to log off, is the time you wait until the session is finished.
Active session limit: The maximum time a user can be logged in without logging out.
Inactive session limit: The maximum time that a disconnected session on the TS server can be closed.
When the limit of a session is reached or the connection is lost.: What the server does when a user disconnects the session or when they have no connection to the server. If you leave it unplugged or end it.
Allow reconnection: When a session is disconnected and the user has to reconnect, from where you are allowed to reconnect, whether only from your workstation or from any other PC.
Please note that if the session is terminated, there may be data loss.