Using StarWind to emulate iSCSI/NAS/SAN arrays

With this procedure we are going to explain how a NAS/SAN or iSCSI device works, Everything is simple, with software, we will use it to perform CLUSTER procedures. The StarWind is a software capable of emulating a disk array, be a NAS, or a SAN or the cheapest an iSCSI. In this procedure we will create a virtual array of iSCSI disks with StarWind (will be the iSCSI target) and with the iSCSI Initiator we will connect to it from the servers that we want the disks to have connected, for later create a cluster. This diagram comments on the situation:
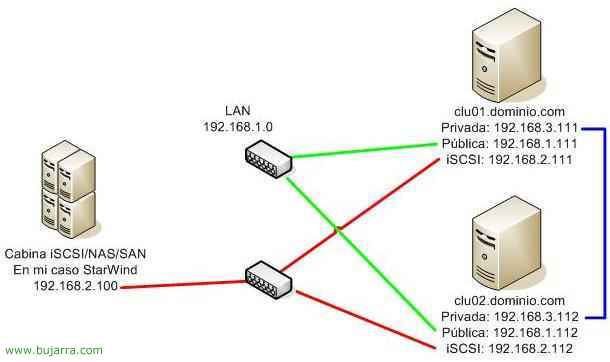
We have a server to which we will install the StarWind to emulate an iSCSI target and we will connect two servers (clu01 and clu02) to create a cluster. The server with StarWind will have the IP 192.168.2.100. clu01 and clu02 servers have three network adapters, The first “Private” is a connection that they will use to connect with each other for the cluster theme, is a range IP 192.168.3.0. They will also have a dedicated iSCSI adapter (in my case normal network cards) connected to the iSCSI array with the range 192.168.2.0. And logically a network adapter for requests from client PCs, My LAN has the network 192.168.1.0 and their IP addresses belong to that network.
StarWind Installation and Configuration – HERE
iSCSI Initiator Installation and Configuration – HERE
Installation and configuration,
This part shows how the iSCSI target is installed using StarWind to emulate the iSCSI array
The first thing is to get the StarWind off www.rocketdivision.com, we can download a DEMO of 15 days, We start installing “Next”,
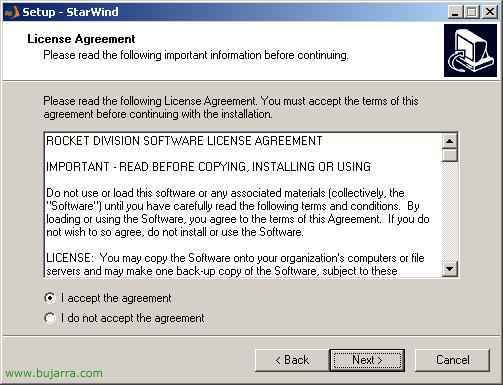
We accept the installation agreement “I accept the agreement” & “Next”,
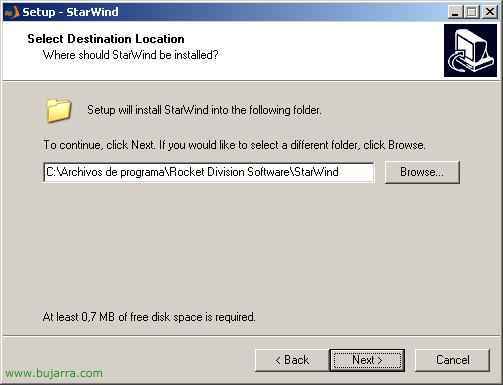
The default installation path, by default in the directory “Images” inside it will leave us the images of the discs…
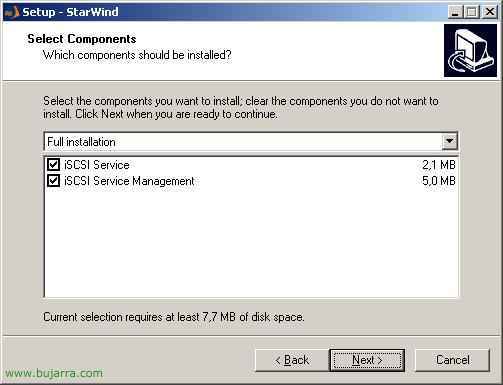
We tick both, the service to make it work and the management console, “Next”
“Next”
We create an icon on the desktop “Next”,
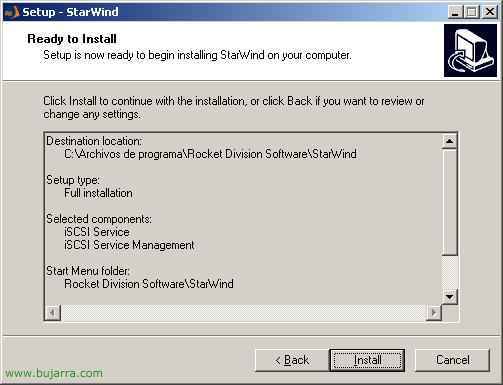
We check that everything is fine and install…
…
“Finish” to open the console,
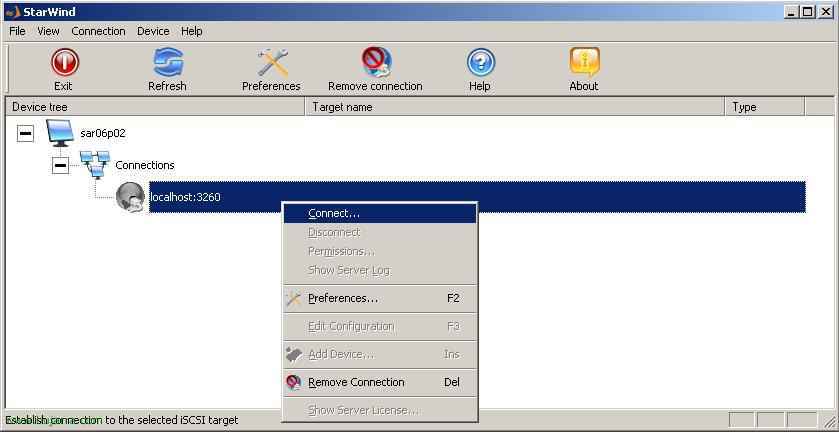
It opens the administration console, We have to connect to it, If we are at home, will be to the localhost and the port 3260, Right Button > “Connect…”
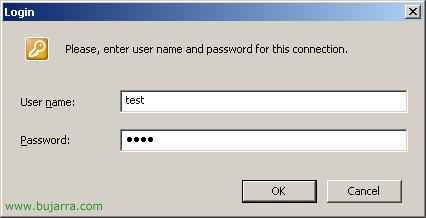
If it is the StarWind DEMO, The user is “test” and the password “test”, We give “OK”,

As my idea is to set up a cluster, We must add devices to this target, About Him, Right Button > “Add Device…”
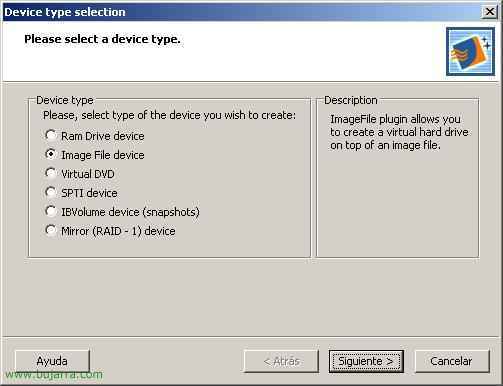
To create the cluster, I need some hard drives, for this I believe it from “Image File device” and it generates some .img image files for me, “Following”,

We create an image if we have not created it from “Create new image” > “Following”,
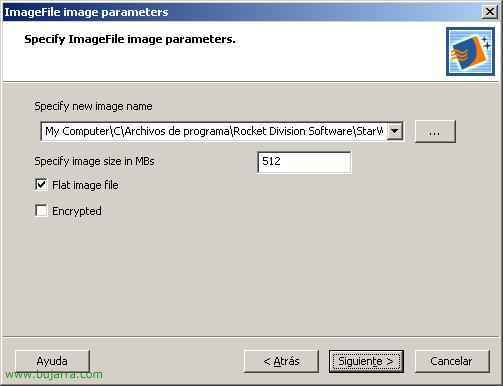
Select where we want to save the .img and how much we want it to take up. In my case, for the cluster, I need at least two units, one for the quorum and another for example for data, I must repeat this process twice, first I create a disk for the 512Mb quorum and then I will create a disk for the 1Gb data, “Following”
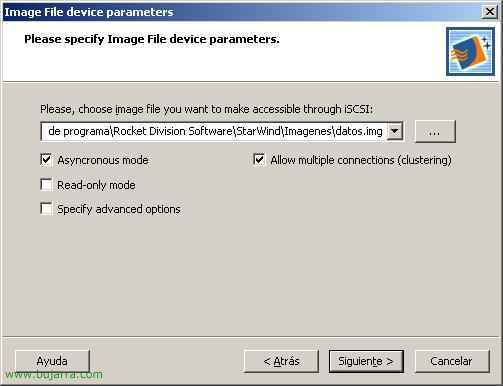
We mark the check of “Allow multiple connections (Clustering)” to then be able to create a cluster with this disk,
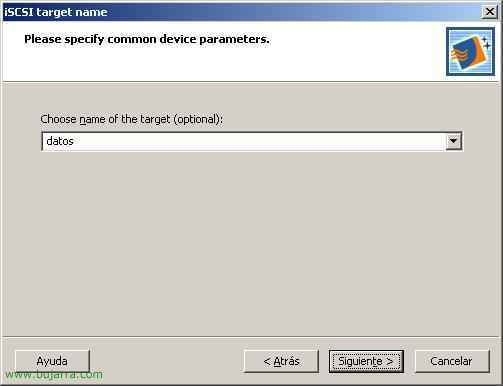
We give a name to the target, (In my case, one will be “data” and another “quorum”)

“Following” to confirm that everything is correct,
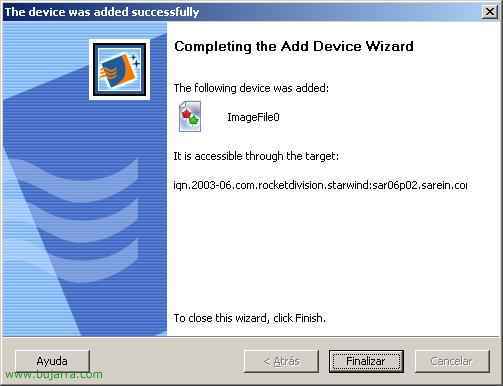
He has created the image perfectly for me “Finish”,
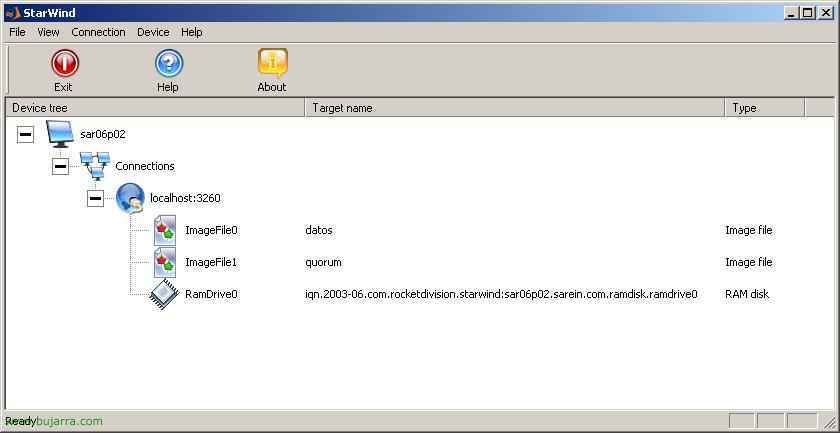
As we can see I already have an image for “data” and another for the “quorum”. This is the part of the iSCSI target that is already finished, Now it remains to make the connection from the other servers to it, so that you see the disks as if they were physically connected to the CLU01 and CLU02 servers.
Installing and Configuring the Microsoft iSCSI Initiator,
It is the free software that we will use to connect to the iSCSI array, we can download it from the Microsoft website (www.microsoft.com), This will make the discs in the cab look like they're local discs.
We download the Initiator and install it on the servers, clu01 and clu02,

We can check the MPIO if we have, for example, two adapters on each server to connect to the iSCSI disk array, is for added security in case one of the cards is damaged.
“I Agree” & “Next”,
…
“End”
GOOD, Installation is simple, now you have to configure the Initiator on each server to access the disks, This would also be done on both servers. We open the “Microsoft iSCSI Initiator”,
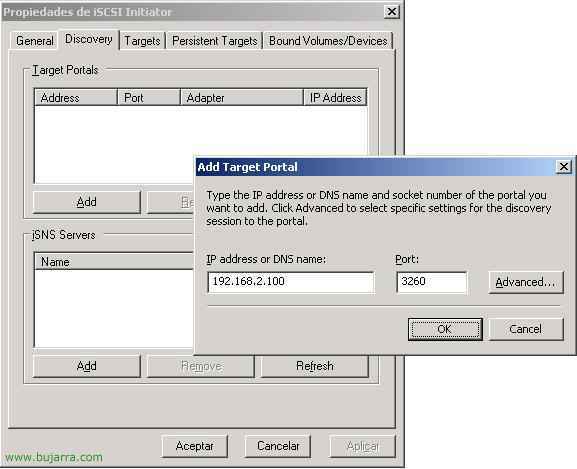
On the “Discovery”, we must add to the target iSCSI, at the top in “Target Portals” Click on “Add” and enter the IP address of the booth, in my case 192.168.2.100, We give “OK”
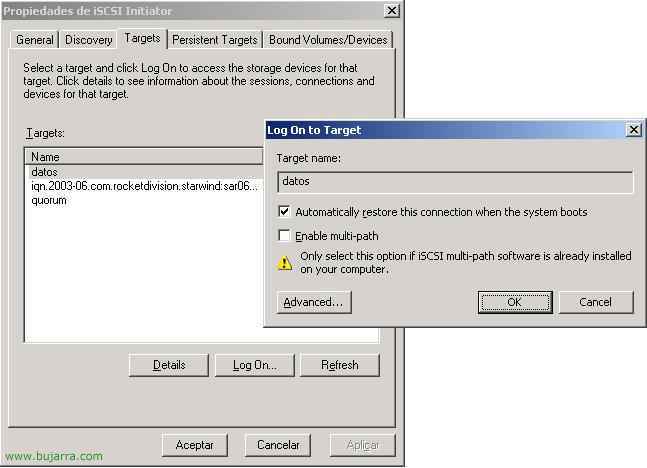
If we go to the “Targets” The albums we have created before will be out, We click on one of them and click on “Log On…”, we mark the check of “Automatically restore this connection when the system boots” to initialize it with the OS., We do the same with the other, and accept.

This would only have to be done once, from the first server for example, is initializing disks and formatting them. Envelope “My PC” Right Button > “Administer”

In “Storage” > “Disk Management” > We marked both disks to initialize them, “Following”,
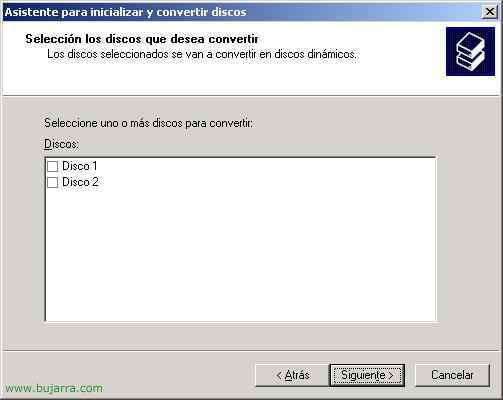
“Following” Why don't I want them to be dynamic,
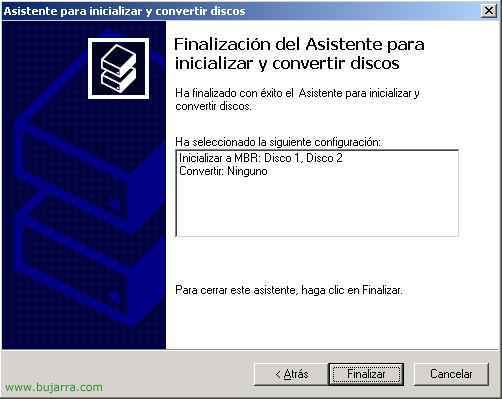
“End”
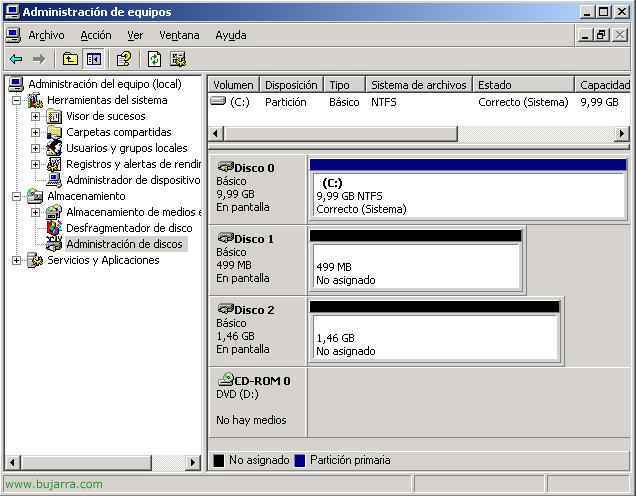
And now we have them on screen, Now all that remains is to format them and assign them a letter.
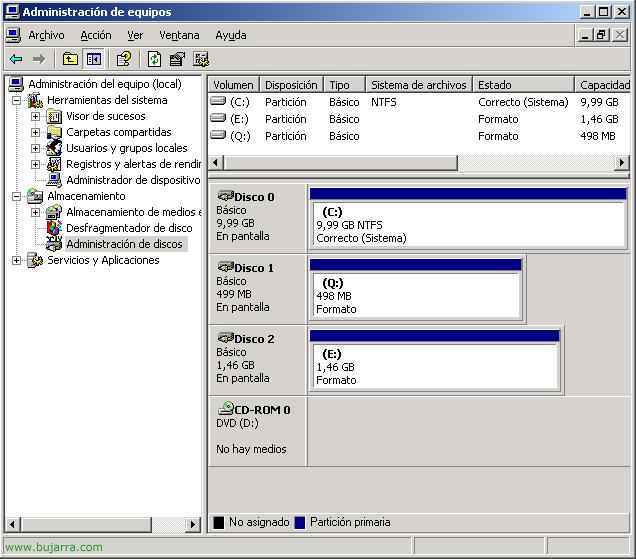
In my case they are NTFS, the quorum assigned him the Q: and data E:, to create the cluster or whatever is needed.