

VMware Fusion 3.0 – Installation, Configuration and functionalities.

Now that I've moved into the wonderful world of MAC, I'm in a position to explain a little about the VMware Fusion 3.0. This version of a few weeks of life, You can download it with a trial of 90 days of the VMware Official Website.
I will try to teach how to:
· Download and install the app on your Mac.
· Creating a WINDOWS Virtual Machine 7 (New acquisition of the Fusion).
· Machine functionalities and visualization.
Download and Install the app on your Mac.
We'll go to the VMware website and download the app. To do this,, We will have to register.

Once downloaded, We will mount the .dmg on our system (Double click)

Click on “Install VMware Fusion”, Accepting the security warnings given to us by our system. We will also accept the “Terms of Use”.

We will have to enter the license number that has been provided to us by e-mail when registering with vmware. Select the location and wait for the installation to conclude. (We will need the password of the computer administrator)
Creating a WINDOWS Virtual Machine 7.
Once the application is launched, if we are coming from an earlier version of VMware Fusion, the virtual machines that we had already created would be inventoried, You only have to update the VMware Tools the next time you start the machine. (This process, It does it automatically by accepting a request).

On the home screen, We have several options that we will discuss later. We will focus on the point of “Install Windows or another operating system on a new virtual machine”

As soon as the process begins, it will ask us to enter the CD of the system we are going to install, if installed from an ISO, As is my case, We'll continue without the album.

We will select the image from which we are going to install the system. Continue…

The system recognizes us, otherwise, We could modify it by hand on this screen. Continue…

Credentials that will be used for the creation of the virtual and serial machine of the product that we are going to install. If we indicate it now, The installation will be somewhat unattended. Continue…

We will be able to select the form of integration. It mostly refers to the folders that are to be shared between the virtual machine and the mac host, the user's documents in short.

After accepting a summary, we will have the possibility to modify the properties of the VM, being able to share new folders, Setting the visibility of Windows apps on your Mac, adding processors and RAM, Activating 3D, Printers, USB devices, sound, Network Cards…

When we press the “Play”, The installation of, In our case, Windows 7 will start automatically. The installation will be carried out with if it were a physical environment.
…
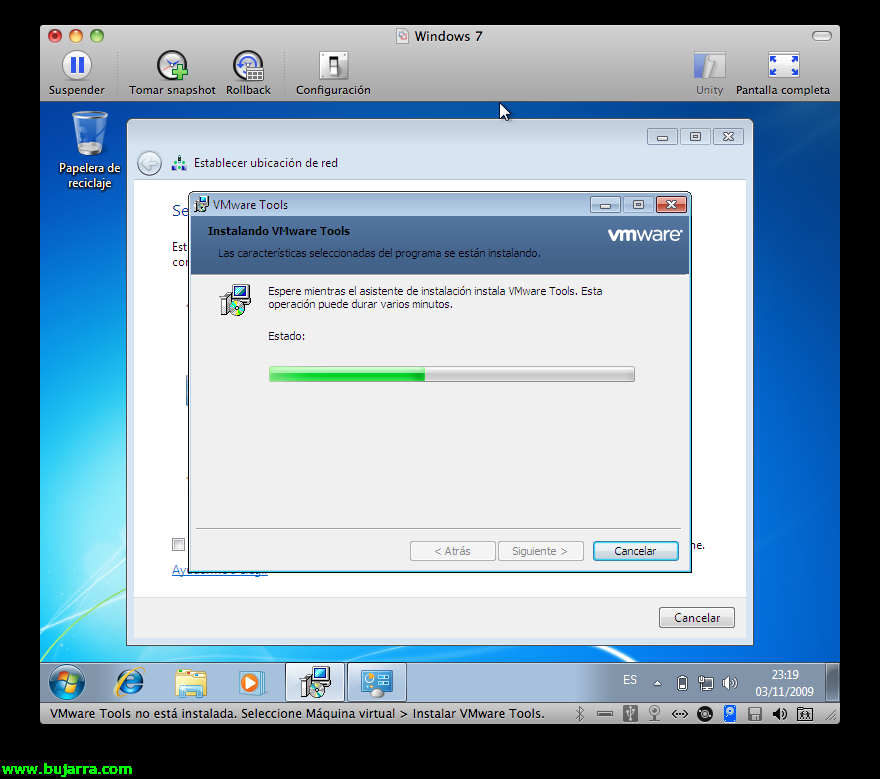
Once the installation is complete and the session is logged in, The installation of the VMware Tools for the VM will start automatically and restart the machine. With this, We will have all the device and display options activated.
Machine functionalities and visualization
The first thing we must highlight, is the display mode to “Full screen” and in “Unity mode”. The full screen doesn't have much to explain, Unity mode, allows us to integrate the Windows toolbar 7 About the MAC itself.

Activating the option “Display taskbar in Unity mode” and Unity, We'll get this:

As we have said, We integrate the toolbars of both systems, being able to open Windows and Mac programs and accessing our data from both Windows and Mac. The bar is visible from any of the “Spaces”.


In addition, the icon shown in the image on the left is integrated into the Leopard bar (the analogue of the “beginning” on Windows). From here, we will be able to search for applications and launch them, Recently opened files, Virtual Machine Options, view and boot options, Restart or close (Launch a Shutdown Guest).
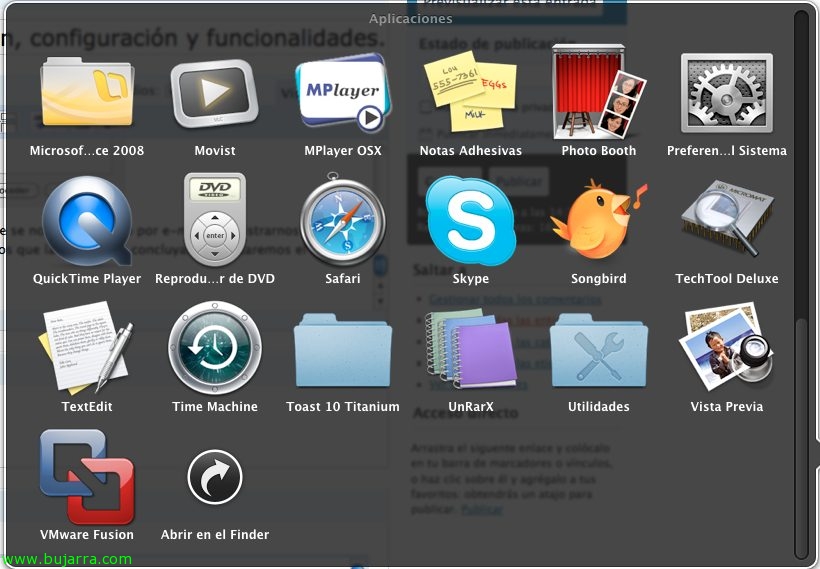
On the other hand, on the Dock we are shown the open applications that we have from our virtual machine, I can treat them as if they were Mac applications. (Image on the right).

We can further customize the icon of the mac taskbar by adding the most used programs as a shortcut. This can be configured from the VM properties in the “Applications”. In Default Apps, We could configure Mac files and web links to be opened directly with Windows software and vice versa.

About the properties of the machines as well, in the “Advanced” –> “Other”, we can configure if we want the laptop battery indicator to be seen in the Windows taskbar, HD Buffer (Default to Automatic) and if we wanted to activate the VNC to connect remotely.
Returning to the Fusion home screen, I will briefly comment on the other options we have:
Convert BootCamp Partitions: If you had the BootCamp configured and with an operating system installed, we could convert such a system to a virtual machine directly.
Convert my windows to run it on this mac: By installing the VMware Fusion PC Migration Agent we can convert our old machine into a virtual one to make a more mac-friendly step.
Download a virtual test machine: This option, directs you to the VMware website and allows you to download a View and a 2003 Server Enterprise, trial of 30 Days.


