Installing VMware ESX 4.0

Simple document on how to perform a basic installation of a VMware ESX host or server 4.0, It will be a simple installation with no setup during installation more than the basic one. We should keep in mind that before installing VMware ESX on any physical server, we must always enable the virtualization technology of our processor, either Intel VT or AMD-V at the server BIOS level.

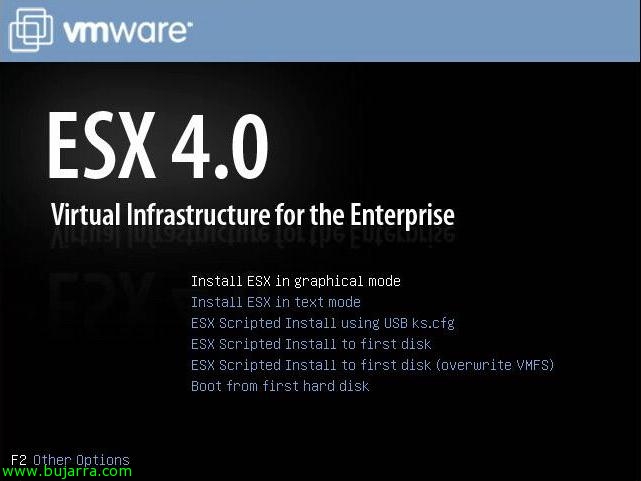
First of all, Download the VMware ESX DVD 4 from the VMWare, We enter it on the server to be installed and it will boot from it, We select either of the two installation methods, in the single, “Install ESX in graphical mode”,

Installation is a fairly quick process, is a MyWife-type assistant, I mean, everything yes, So “Next”,

We accept the license “I accept the terms of the license agreement” & “Next”,

Select the keyboard language, in my case “Spanish” & “Next”,

From here we can load drivers that we need to install the server, for this, we should download the CD with the ESX drivers what we need from your website, In my case I don't need any strange driver, So I point out that I don't want custom drivers with the “No” and we continue. We confirm that we may not be able to put certain drivers on the server later, “Yes” & “Next”,

… We wait while loading drivers to proceed with the installation…

“Next”, to continue,

If our ESX licensing goes with serial numbers on each ESX host it may be time to enter them, if we will use a license server or want it in demo mode, Pressed “Enter a serial number later” & “Next”,

Select the adapter we want to use to manage the ESX host, Your management network, if we were interested, we can put this network through a VLAN, But, well, This is already depending on the final installation, “Next”

Select “Use the following network settings” and enter the IP address, Netmask, Gateway, DNS servers and the full name of the ESX server, “Next”

“Standard setup”, & “Next”,

Select the hard drive of the server where we are going to install it, Be careful because the data inside will be lost, “Next”,

“OK” to confirm the complete erasure of the disk,

We select our schedule for the server, the time zone, “Next”,

We set the server time, in this case I will set it as a manual time, The correct thing to do is to have a device that tells us the time on the network (A firewall… and of course not a virtual machine within our hosts, Even if I take the time on the Internet). “Next”,

We give a password to the ESX root user and if we want we create more management users, “Next”,

Perfect, We give “Next” to begin installation,

… Now we wait a few minutes while it installs…

And that's it! Click on “Finish” to restart it and we will be able to virtualize!

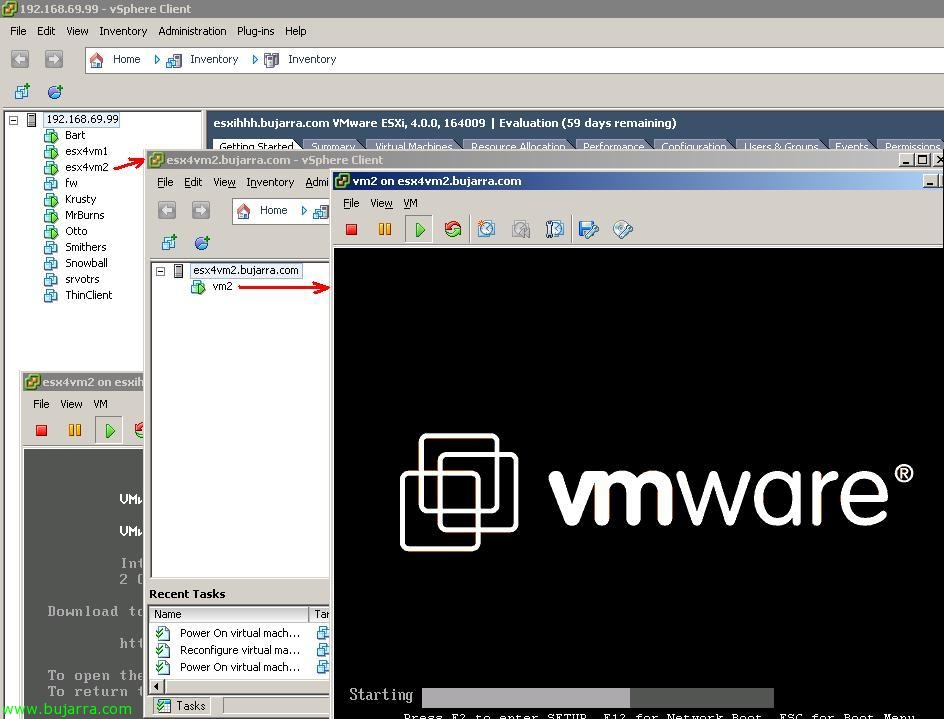
As indicated by, we connect with a browser to your IP to download the client to us so that we can manage it, or use WebAccess, but it's more uncomfortable.