Aligning Our Partitions

In this document we will see something old but that we have never talked about and we still find it misconfigured in clients when it comes to auditing the systems; when you have a virtual server that requires high performance at the disk level, we must check that the partitions are correctly aligned!
This applies only to machines with S.O.. Windows pre-Windows 2008 or Linux prior to Red Hat Enterprise Linux 6 or Fedora type 14. From Windows 2008, an initial offset is created on the 1024KB partitions (Offset) so that they are correctly aligned. To avoid a loss of I/O performance in our storage system (in addition to reducing latency, Increase throughput...), Proper alignment of physical machine partitions must be in place, VMFS VMs and Datastores. When this is so, VMware indicates that approximately the throughput can be extended to a 62% (on average 12%) with improved latency up to 33% (stocking 10%), not bad, No?
We have here an old VMware guide on how to have a properly aligned site.

In this image we can see how when reading a disk cluster on the NTFS partition (under a VFMS) will process up to three chunks on our SAN LUN. Therefore the partition would not be aligned and we are overloading the SAN in terms of I/O operations.

After aligning the partition correctly, we will verify that when reading a disk cluster, only a single chunk from the SAN LUN will be processed, thus increasing performance up to three times!
By default, when we create a VMFS partition with the VMware client, it will be aligned, and now with vSphere 5, an aligned VMFS5 partition starts in disk sector 2048 or 1024KB (Offset). In the event that the datastore is prior to vCenter 2.0 Or we created it wrong with VMKFStools, to align it there will be no choice but to move the VM's to another datastore temporarily and delete the old partition to recreate it.
To align a virtual machine, the first thing will be to have a backup and then we will re-align it with offline tools like the one we will use in this document that is UBERAlign by Nick Weaver, A very simple tool. With UBERAlign we will deploy an appliance called UBERAlign vAligner in OVA format and on the other hand we will use the management console. With the utility we will be able to analyze the MV's turned off in our system, we can align them to the offset we are interested in, Windows 2000/XP/2003/2008 NTFS partitions, Linux distributions with EXT2/EXT3/EXT4, if we are interested, we could also make a space claim to the thin MV. If we work with templates, Ideally, they should be already aligned. It is also advisable to align the data disk in case the system disk does not require higher performance.
How can we know if our S.O. has any misaligned partitions?

– On Linux we can check it with "fdisk –lu", It will take us an informative table and we will verify that the sectors where each partition begins is divisible by 8, If not,, partition would be misaligned. In the example we have 2048 (Default from fdisk 2.17.2) indicating that we have the disc correctly aligned.

– On Windows, Running: wmic partition get BlockSize, StartingOffset, Name, Index
We'll divide the value of StartingOffset by that of BlockSize, Examples:
32256/512=63 (misaligned)
1048576/512=2048 (Well aligned)

Anyway, We can always create an aligned partition (on Windows 2003) With diskpart, prior to the installation of the S.O.. or once we have the S.O. installed and on new partitions for data… Running: Diskpart

DISKPART> List Disk
Disk ### Free Size Din Gpt Status
——— ———- ——- ——- — —
Disk 0 On screen 10 GB 8033 KB
Disk 1 On screen 1020 MB 1000 MB
DISKPART> Select Disk 1
DISKPART> create partition primary align=64
DISKPART> exit
And we format the partition with a disk allocation size of 32 KB.
Well, let's start using the UBERAlign tool to automatically align all the virtual machines that we already have deployed in our environment!!!

The first thing will be to deploy the vAligner appliance in our virtual infrastructure, we downloaded it from the Nick Weaver's website, and we import it as usual,
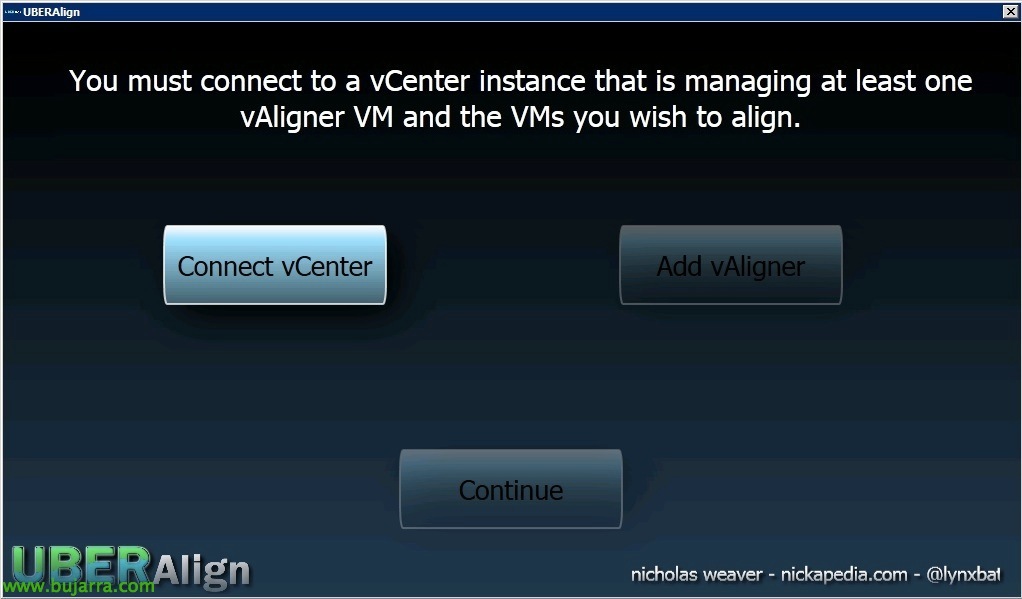
Once the appliance is deployed and configured with an IP address, download and open the UBERAlign console as well (we'll need .net framework 4 Pre-installed), and from the console we will first connect to our vCenter server in “Connect vCenter”,

We enter our vCenter login details and credentials & “Connect”
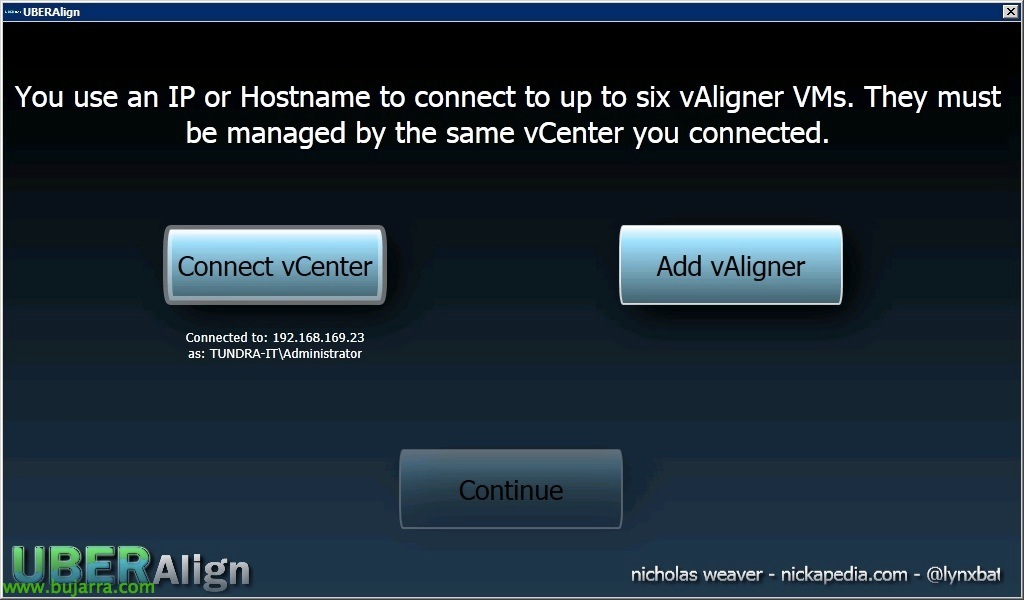
Subsequently, we will add the appliances we need from “Add vAligner”,
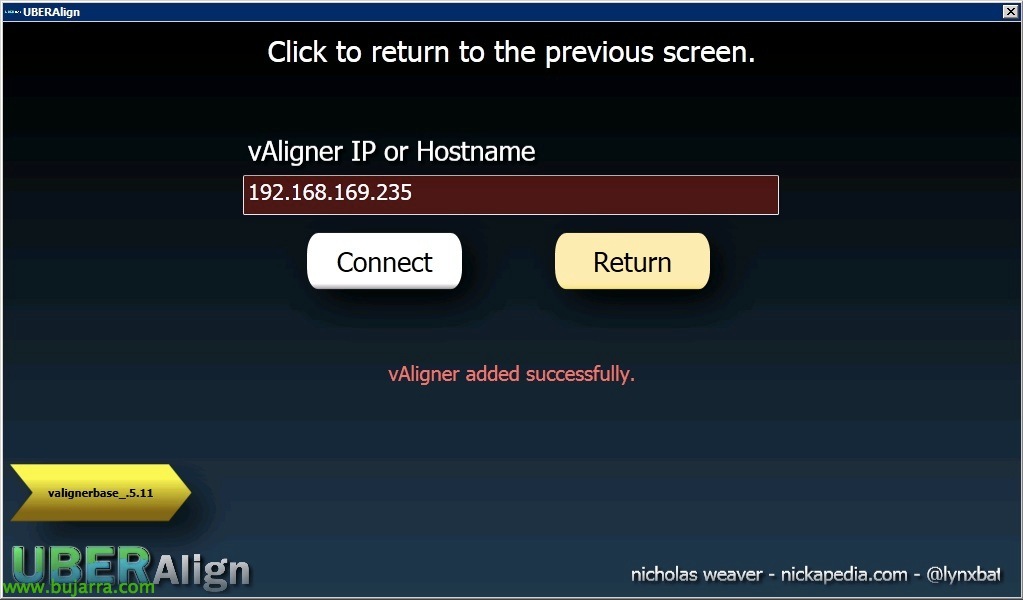
We indicate the IP of the vAligner & “Connect”,

After at least one virtual appliance and vCenter have been added, Click on “Continue”,

From the console we can check the MV's to check if they have a correct alignment, as well as correct it later, or if necessary we can also claim space from the thin disks; We first click on “Alignment Check”,

We must add all the machines to be analyzed to a job (Job), only the MV's that are turned off will be displayed, obviously it is recommended to have a previous backup of the VM, although UBERAlign will take a snapshot that we will later have to delete manually if everything was correct! List, we add the interested VM's and specify the interested displacement, by default will be 2048 (1024 KB) and send the work to the queue “Submit To Job Queue”,
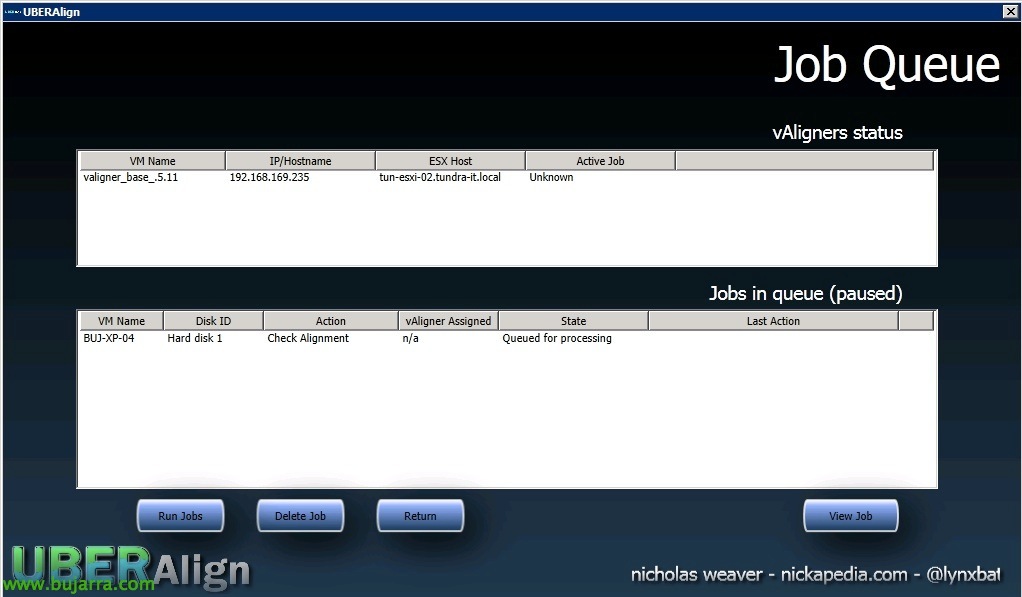
Click on “Run Jobs” to start the analysis work!
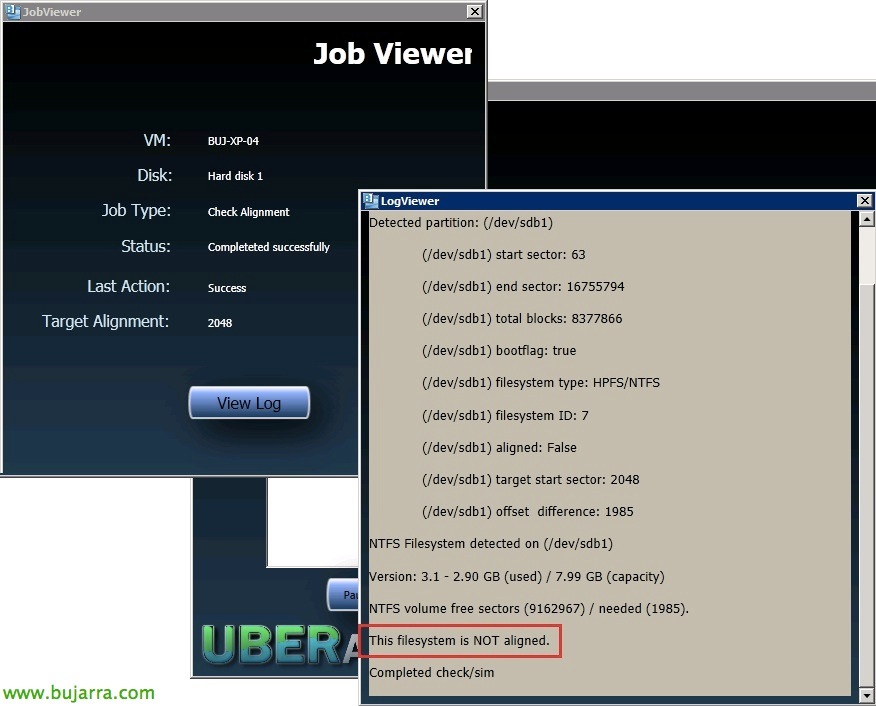
And if any MV, in the LOGs it tells us that its file system is not aligned correctly we will correct it!

To do this,, We return to “Align VMs”,
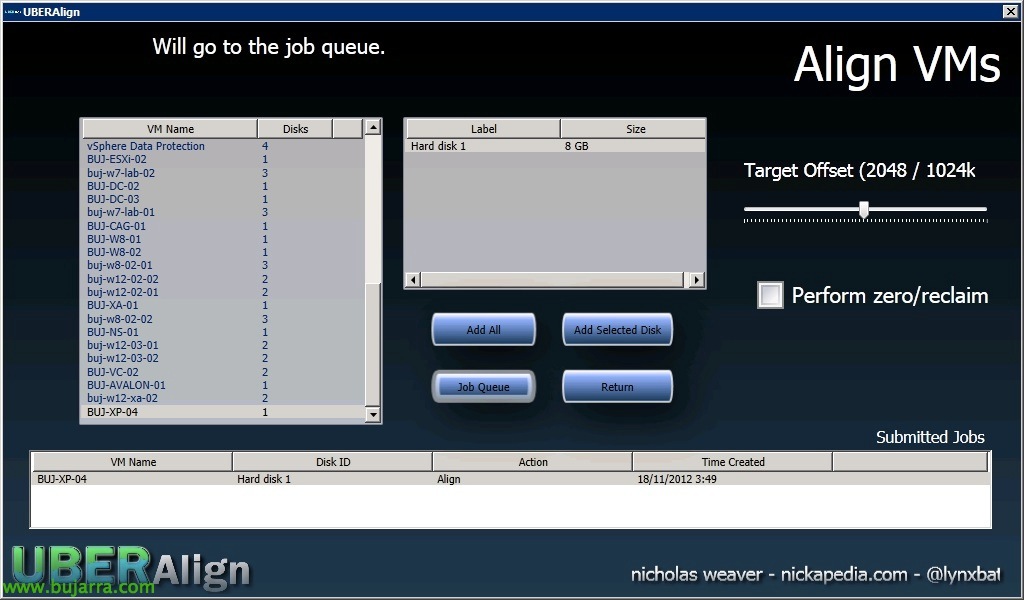
We add the machines to be corrected, We modify the offset if it is interesting and finally send the work back to the queue “Job Queue”,

“Run Jobs” to start the interested work and we will have to wait for this process to end with each VM, it will take depending on the volume of the VM!

We can see how the same VM that was previously corrected would already be corrected!