
Citrix Provisioning Services 7.1 with Citrix XenDesktop 7.1 – Part 2

We continue with the implementation of PVS, in this document we will already have a workstation installed with the OS and the corporate applications that we want the virtual desktop to have that we will send to users! We will install the VDA agent for you, TD and we will generate the vDisk with the image that we will distribute!

Installing the Virtual Delivery Agent,
We will install the VDA as usual to be able to manage and allow users to connect to this desktop! Then we will continue with the rest of the components and other steps!

We must take into account during the installation of the VDA or XenDesktop Agent to select the option “Create a master image” that we'll use to provision this desktop using Provisioning Services (or if we use MCS or Machine Creation Services).

In the case of having a machine that has a graphics card with 3D acceleration, we must install the VDA for HDX 3D Pro, In most cases we will mark “No, install the standard VDA”.

GOOD, apart from installing the Virtual Delivery Agent, we must install Citrix Receiver if we are interested in order to be able to give users a desktop to give centralized applications and be able to manage them from the DPC!
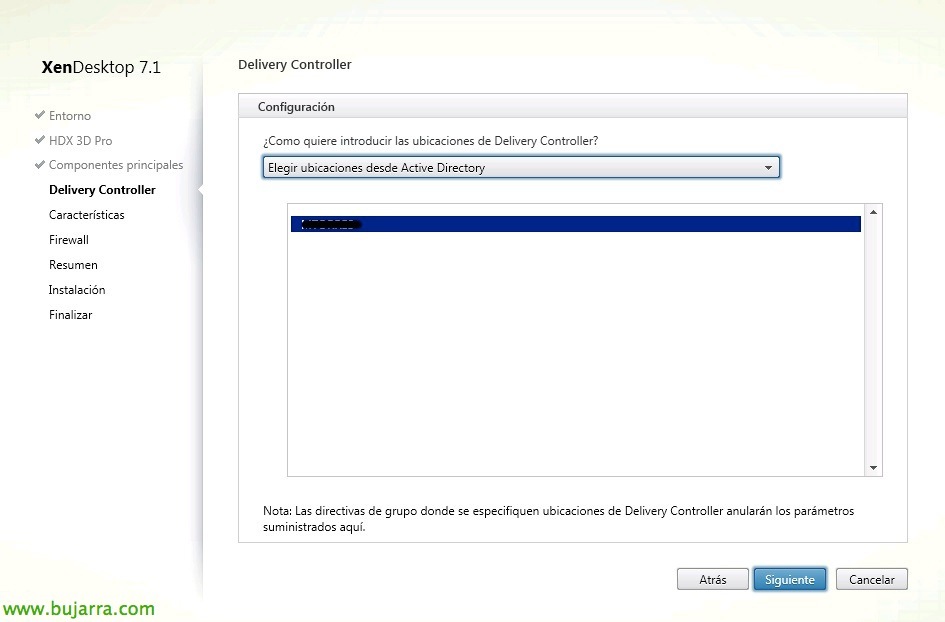
Now we must register the VDA against the Controllers of our XenDesktop, we can do it manually by entering the hostname or IP address of each controller (Not recommended) or previously enabled Active Directory-based discovery and attacked directly against the XD Controllers' OU.
To have Active Directory Discovery enabled, we must run a PowerShell script to register the Organizational Unit that has the XD Controllers; it will be enough to go to “%ProgramFiles%CitrixBrokerServiceSetup Scripts” on any controller and run in PowerShell: “Set-ADControllerDiscovery.ps1 -on –existingOuDn "OU=XD Controllers, OU=Citrix, DC=domain, DC=local"
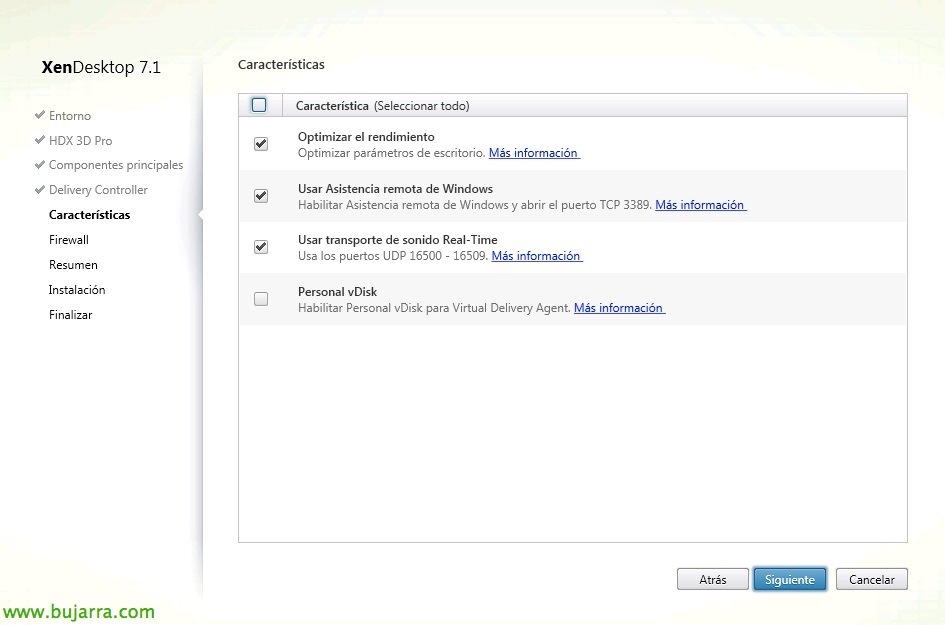
We must select at least 'Optimize performance'’ for TargetOSOptimizer (Provisioning Services Device Optimization Tool) improve our performance. If we want each user to be able to store their customizations of each desktop on a disk, we will also check 'Personal vDisk'.

“Following”, we leave the necessary ports on the FW open.

“Install” If everything is ok,
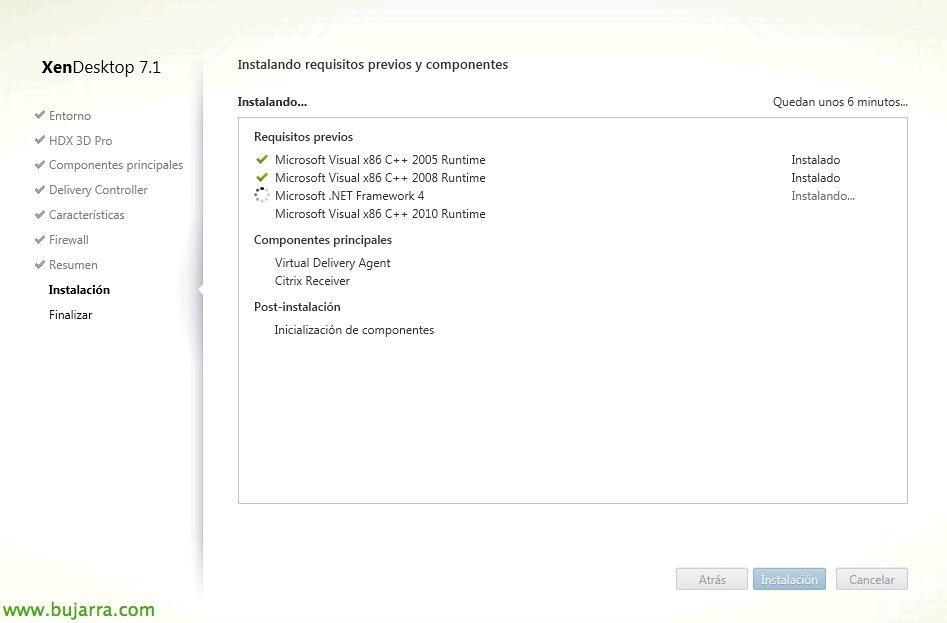
… wait a few minutes while installing…
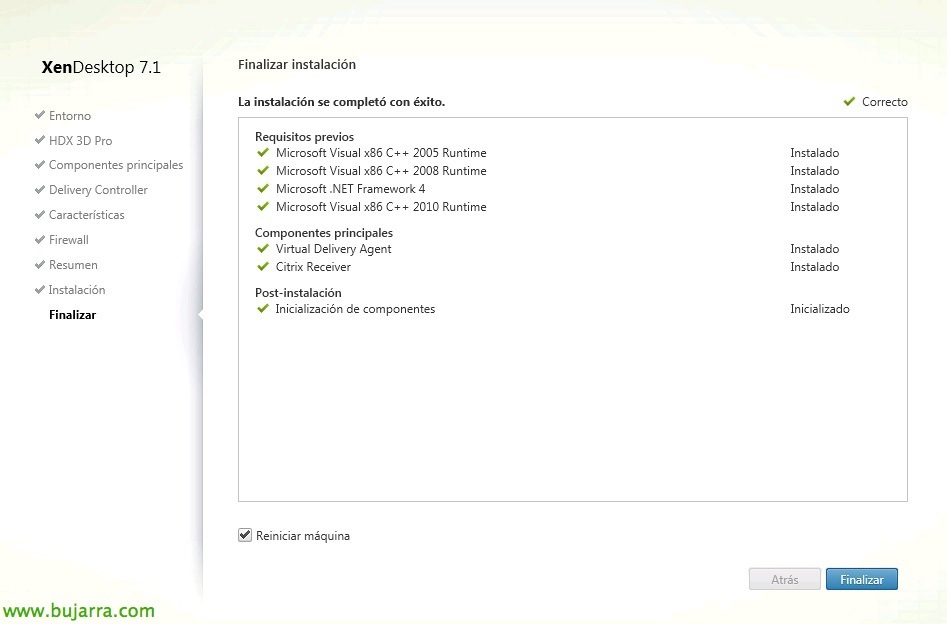
& ready! Click on “End” to continue the deployment.
Installing Target Device,
We continue with the installation of the TD or Target Device, which will be the computer that boots its Operating System from a vDisk, so we'll install it behind the VDA and then run the Target Device wizard to create a vDisk from it.

From the PVS DVD we select “Target Device Installation”
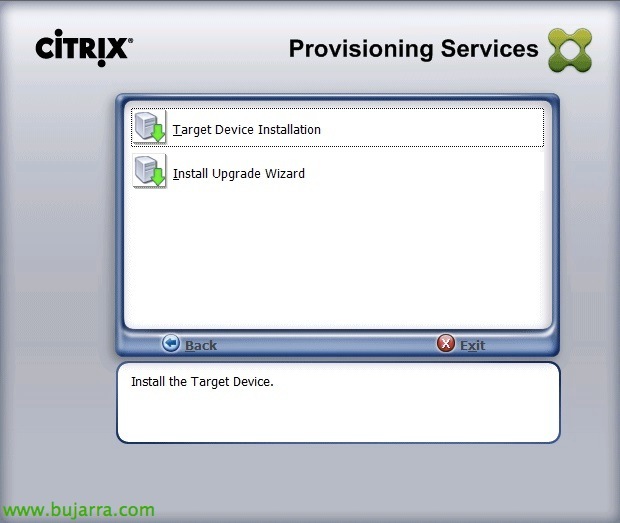
“Target Device Installation”,

And we start with the Citrix Provisioning Services Target Device installation wizard!
We accept the license agreement,
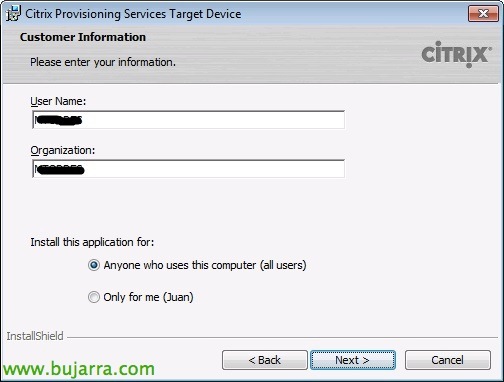
We indicate a name & company, “Next”,
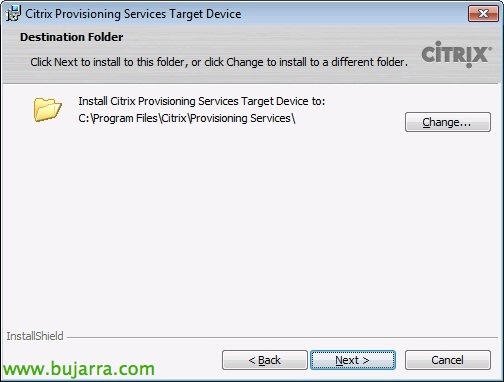
Select the installation path, default '%ProgramFiles%CitrixProvisioning Services',

“Install” Getting Started,
… Wait a few minutes…
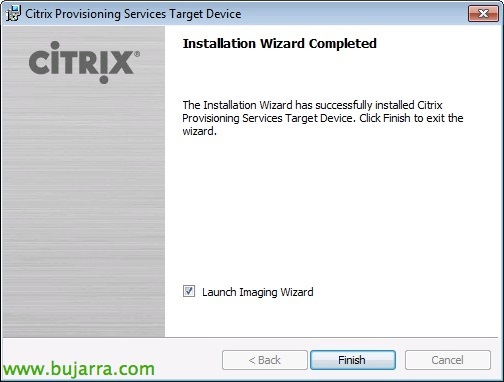
And we scored “Launch Imaging Wizard” to continue with the implementation,
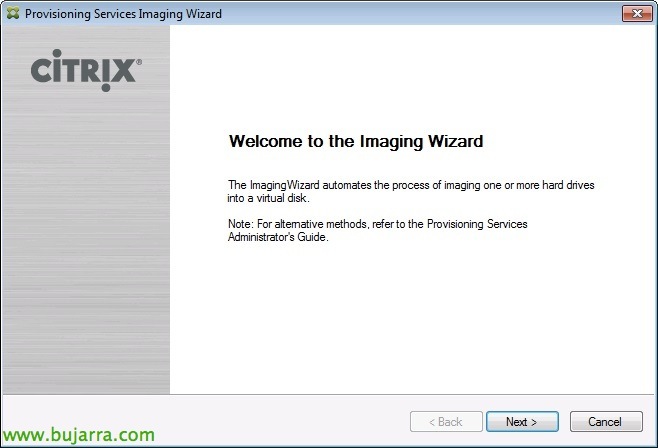
We start the wizard for the creation of Images, “Next”,

We will have to connect against the Provisioning Services server farm, we introduce a PVS server,
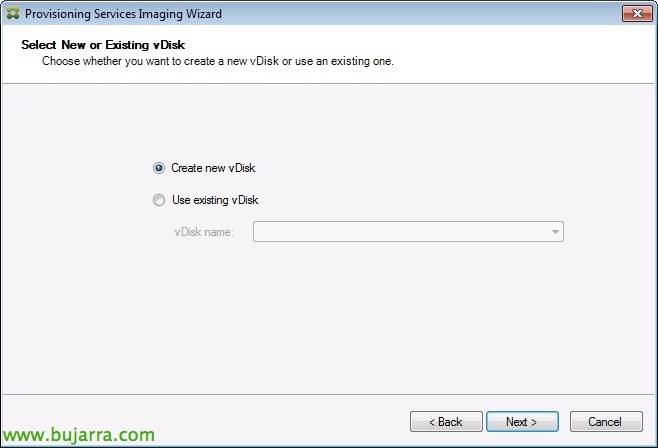
In this scenario we will not update a vDisk, but we will create a new one from this Windows machine 7 and a few corporate apps in addition to Receiver to integrate with XenApp apps… So “Créate new vDisk”,
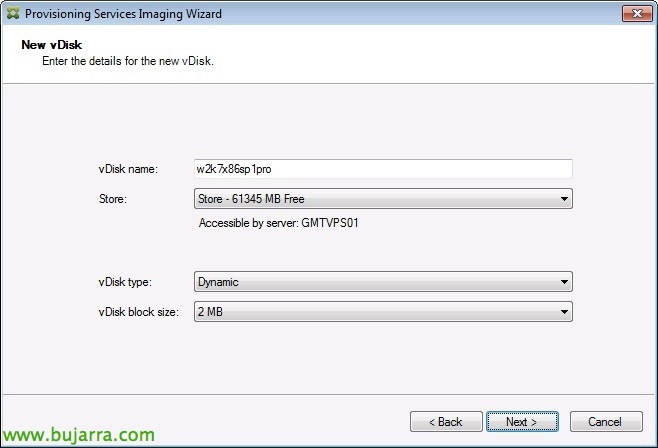
We give the vDisk a name, a Store where we are going to store it, In type we indicate dynamic (that can expand dynamically as needed); and select the corresponding block size,

We will need to set up Microsoft licensing, if we have a KMS server or MAK licenses,

We leave the definition of partitions or volumes by default,

We must indicate the name of the Target Device that will create us and where it will catalog it,
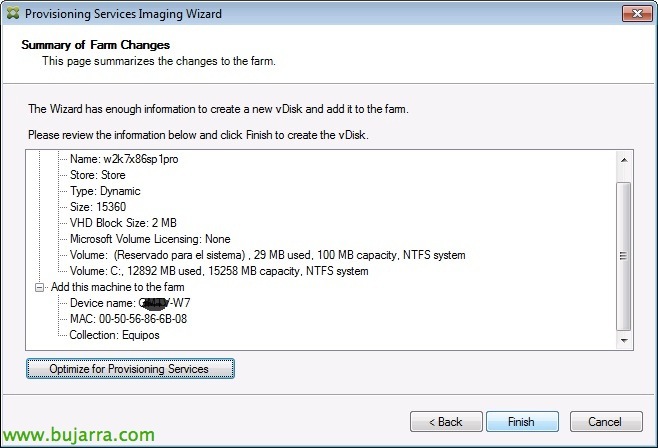
We confirm that everything is correct & Click on “Optimize for Provisioning Services”,
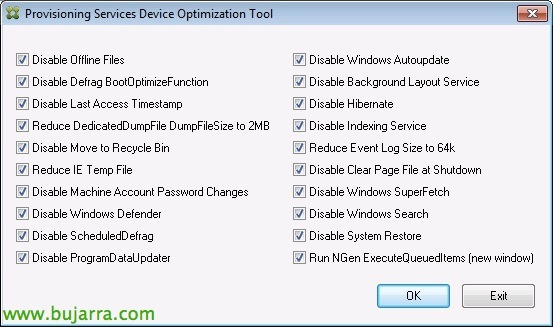
On this screen we will select the options that interest us to optimize the image a little more, “OK”,

And once we finish, the wizard will tell us that we must restart to continue with the process of creating the image and start creating the vDisk with this computer. “Yes”.
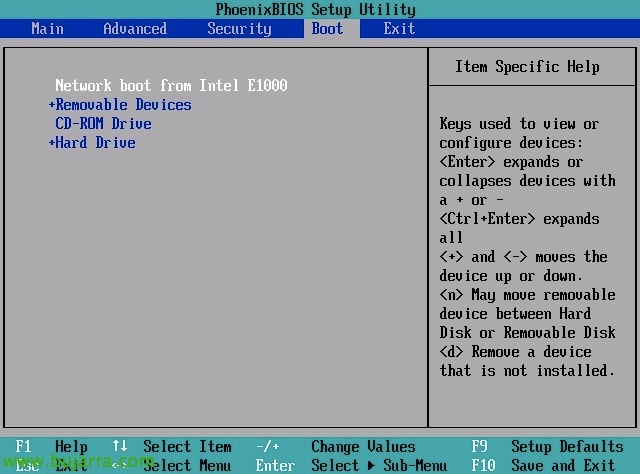
Before the machine starts (or we turn it off beforehand) we will indicate in the BIOS (with F2) that the start is over the network, “Boot” and with + or – We will upload the network adapter. F10 to record and exit and we continue with the boot.
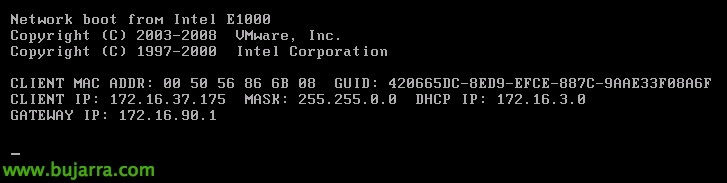
We'll see how the MV starts with PXE…
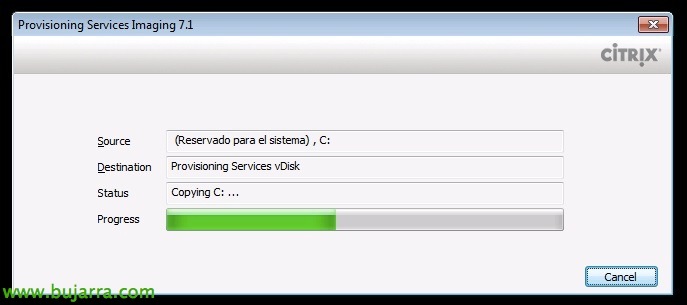
And we'll see that the Provisioning Services Imaging wizard automatically jumps in… it will copy all the VM to the vDisk over the network.
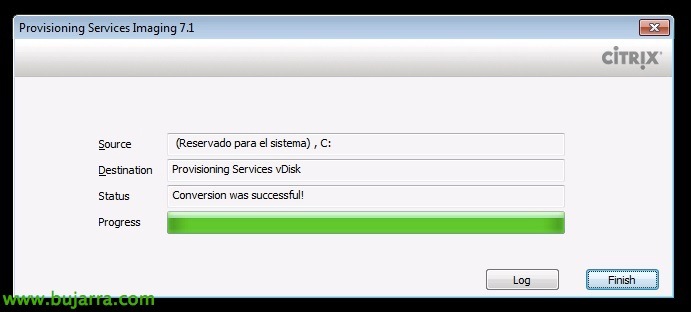
Once the virtual disk is generated, We will click on “Finish” and we will be able to turn off this corporate image.

We confirm that in the Store we have the vDisk generated in vHD format! this will be the one we will send to the XenDesktop virtual desktops that we will see in a last third part!!!


