Citrix Provisioning Services 7.1 with Citrix XenDesktop 7.1 –Part 3

And to finish with this series of three articles where we will see how to deploy virtual desktops for our Citrix XenDesktop environment with Provisioning Services! we will finish with the presentation of the vDisk generated in previous steps to XenDesktop and we will create a catalog of VMs with it to present to our users!

Thanks to Provisioning Server we will not only be able to stream OS for virtual desktops or our VDI platform, but we can also provision physical desktops or physical servers to expand a XenApp farm or other service that requires an additional load.
Latest configurations,

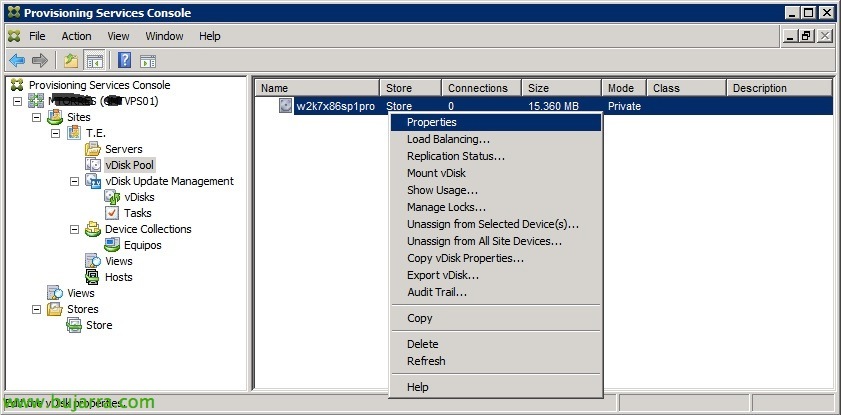
Continuing with the previous document, where we created the vDisk, now we will modify the created image computer to use that vDisk and no longer its local disk and also to use it in case we want to update it to generate new versions of it. In the Provisioning Services console, we will select the client from the equipment collection & Properties,

In 'Boot From', Select “vDisk”,
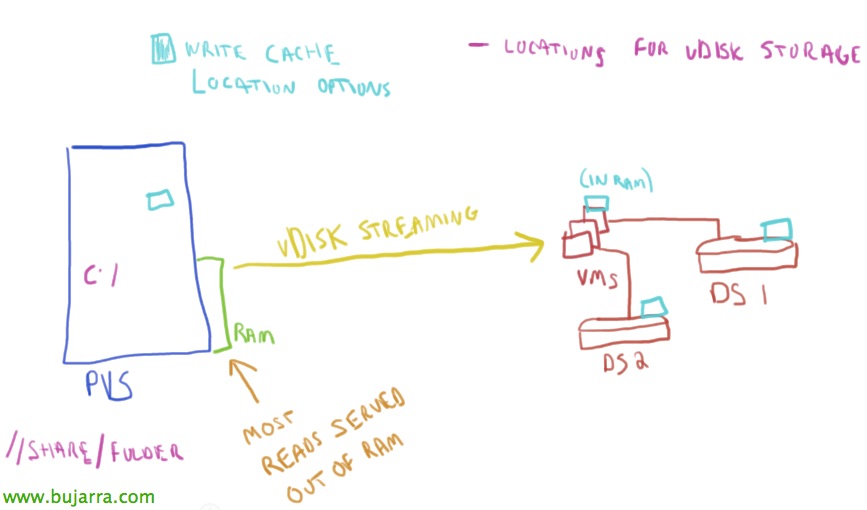
We have to put the vDisk in Standard mode, so we can share it with more clients/desktops, With this, changes made by each client to the vDisk will be lost upon reboot, obtaining an always clean image. If you want to update the image, we will copy it and we will do it in Private mode in the previous client and we will make the appropriate changes (OS/Apps Update, New facilities…) and finally we'll leave it back in Standard mode!
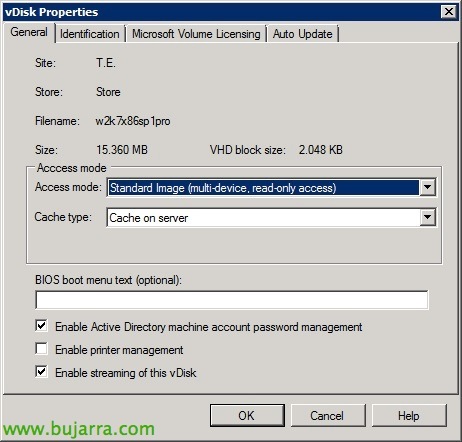
In 'Access mode'’ we indicate that this hard drive we are creating is 'Standard Image', if we want better performance we will select 'Cache on device’ (As a requirement in this case we must have a hard drive in the client, so that the cache is stored on the local disk and does not travel over the network). “OK” to everything!

GOOD, we must create a VM template on our virtual platform, It must be just as we want each virtual desktop to be deployed to be, we select the 'Custom' wizard’ to create the VM that we will later convert to Template, we configure it with the CPU, RAM and other features, we give it a reference name to later select it as a 'Gold' image,

It will be important to create it without a hard drive!
Desktop Creation Wizard for XenDesktop,
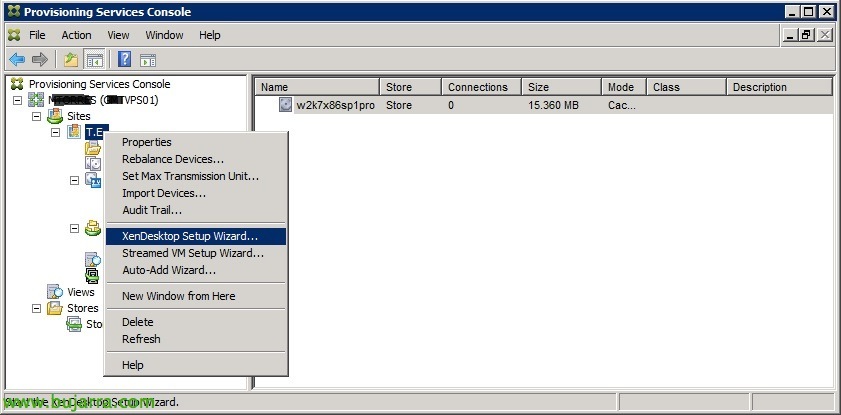
GOOD, to finish we will generate the desktops that we will create thanks to a wizard that integrates Provisioning with XenDesktop, that will integrate these customers into a catalog of XenDesktop machines! About the right-click site “XenDesktop Setup Wizard…”
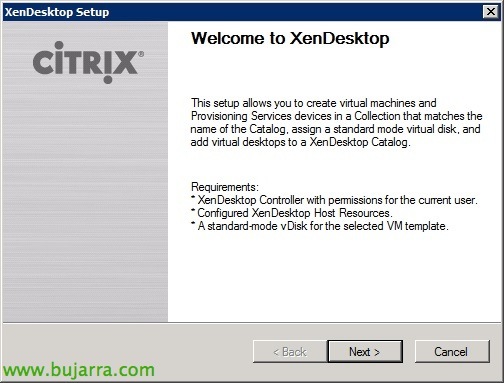
We start the wizard to create desktops, “Next”,

We indicate the name or IP of a Citrix XenDesktop controller,
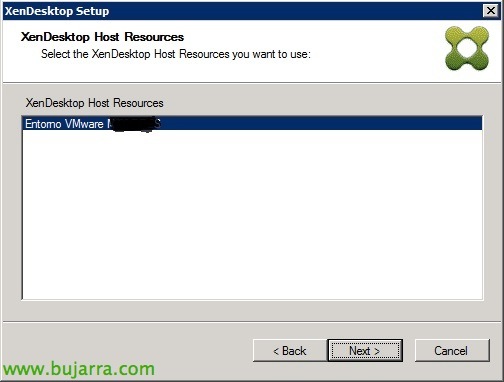
Select the virtual environment or XenDesktop Host Resources where we will create the VMs,
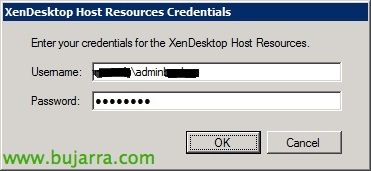
Enter connection credentials,

We must select the template that we will have generated before, and we will check the bottom check in case you have an SP with Windows XP or Vista, in the current scenario it is a Windows 7, “Next”,

We must select the album to present, will be the generated vDisk that we have put into Standard mode,

In the case that it is the creation of desktops we will select “Create a new catalog” indicating the name of the catalog to be created, In case we want to add more desktops to a catalog we check “Use an existing catalos”,

Mark “Windows Desktop Operating System”,
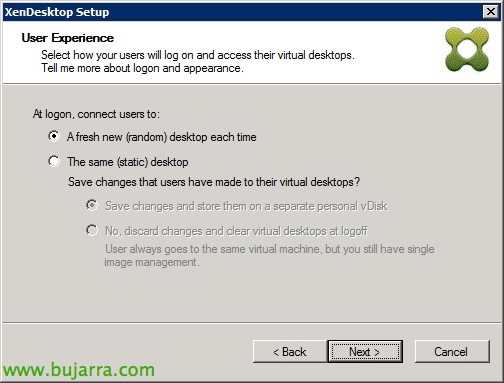
We indicate the method of assigning users whether random or static (and in this case we would select if we were interested in the Personal vDisk to save the changes),

Select the scope, “Next”,

We indicate how many virtual machines we are going to create, and with how many vCPU's and vRAMs, we will also indicate that the boot method is with services “PXE boot”,

In the Active Directory part we indicate that we create the accounts in the domain with “Create new accounts”,

Select the domain and the Organizational Unit where we will create the desktops, in addition to the machine name format to be created in 'Account naming scheme'’ We must enter the full name along with variables # and a numbering. In case we are adding the machines to an existing catalog, it will create the successive ones! “Next”,
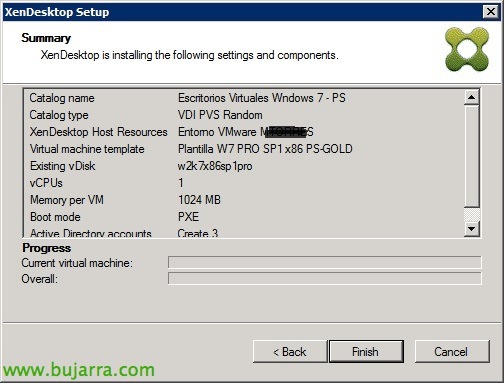
Ok, When we are ready to create them, click on “Finish”,

… We wait while you create the desktops…

Once finished, we will check that in Citrix Studio we already have in the catalog of machines, will be the desks that we assign now,

In the 'Delivery Groups'’ We can create the group of these desktops that we will publish to the users we are interested in having a desktop, for this “Create Delivery Group”,
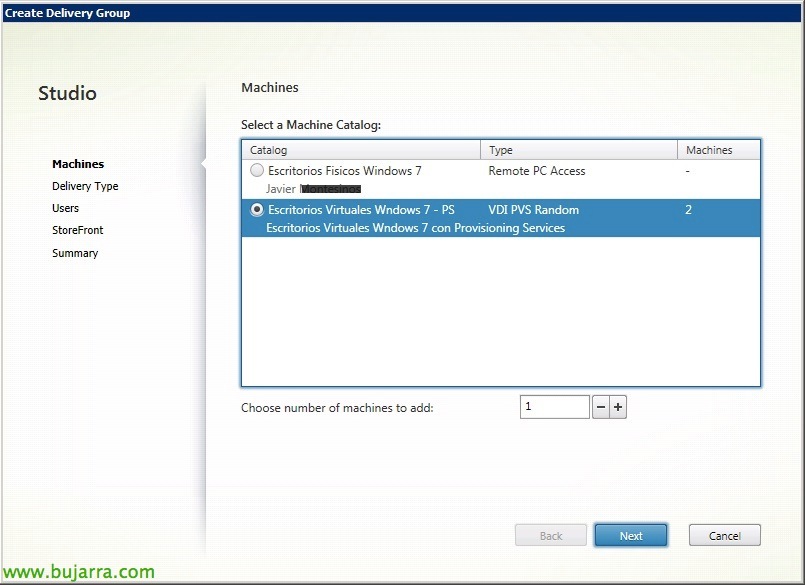
Select the catalog created by Provisioning and the number of machines we will add,
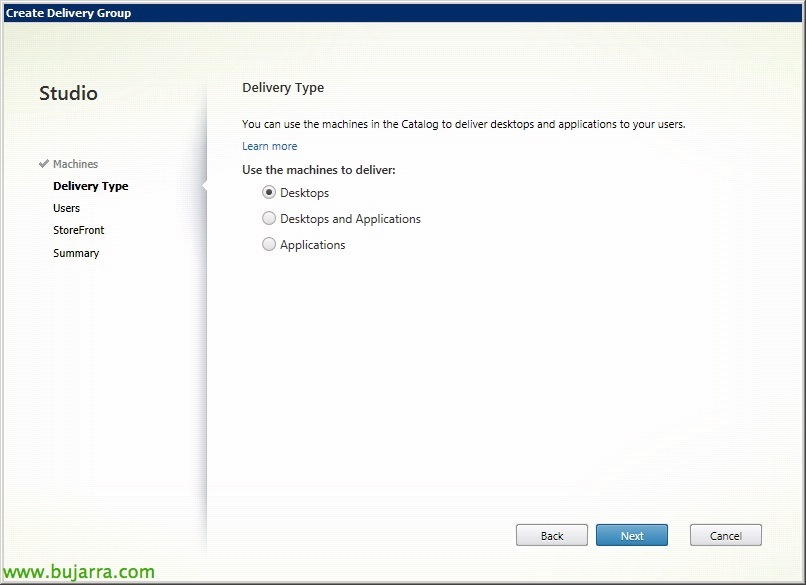
In 'Delivery Type’ we indicate 'Desktops’ as machines to be delivered,

We'll add the users or groups of users we want to have access to these PVS-provisioned desktops,

If we have installed Citrix Receiver on the desktop image, we can now configure it to attack a certain Citrix StoreFront server, so we can open virtualized applications within the same desktop, A combined way to provision apps & Desktops, “Next”,

We give a name to the delivery group, We indicate the name to be displayed and a brief description & Finish! we will already have everything done so that our users can connect to our Citrix XenDesktop infrastructure using desktops that have the VDA, and stream OS using Provisioning Services, without a hard drive and all the space we can save!!!

We will be able to see in the Provisioning Services administration console the status of the client computers generated to perform any necessary administrative tasks!