Creating a Replica Task in Nakivo Backup & Replication

Continuing with Nakivo! After having the solution perfectly deployed and having performed a Backup Job, In this other post we will see how to perform a replication task! This will allow us to have our virtual machine environment fully replicated, thus in case of failure of the data center or main server, We will be able to lift the entire infrastructure in a matter of seconds!
In this first entry we saw the installation of Nakivo Backup & Replication, in this second post we saw its initial configuration, in This other one we saw how to make backups and now we will see the replicas!
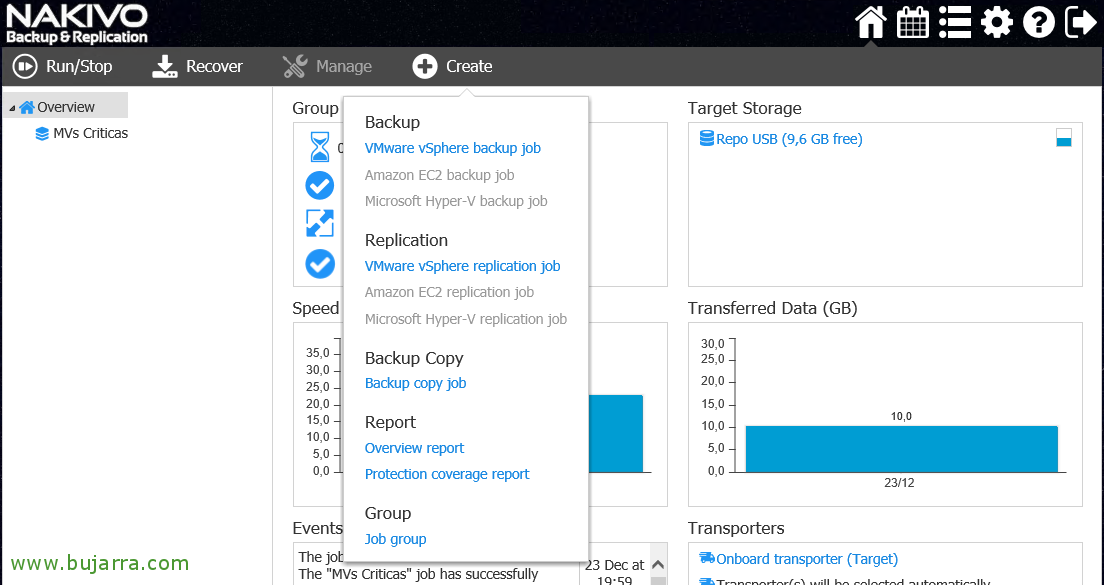
To create a replica task, we go to our Nakivo Panel and select “Create” > “Replication” and choose our infrastructure defined in Nakivo, in my case I only have “VMware vSphere replication job”.

In El Paso 1, this will be where we select the VMs to protect with this replica task, we can change the default view type, which is “Hosts & Clusters”. Pressed “Next” to continue,

In El Paso 2, Destiny, this is where we will replicate these VMs, so in Container we must choose the host or vCenter server that will be the destination for these replicas, we will also select the datastore where we will store them, as well as the virtual network to which they will connect, podremos personalizar estas opciones por MV. “Next”,

In the step 3 Programación, será donde crearemos tantas programaciones como nos interese, para que se replique todo cada lo que nos interese, daily, weekly, monthly… “Next”,

In the step 4 Retention, tendremos la posibilidad de elegir el número de puntos de recuperación que queremos guardar de las máquinas virtuales, as well as if we want to leave more recovery points in a historical way. “Next”,

Y por último para acabar de crear la tarea de replica, in 5 Options, will be where we will configure certain parameters, como es el nombre de la tarea de réplica, if we enable App notification mode, The Method of Change, using VMware CBT by default, if we want to enable network acceleration, cambiar el tipo de disco virtual de la MV de réplica a thin si nos interesa, añadir un sufijo al nombre de la MV por ejemplo ‘-replica’… o truncar logs de Exchange o SQL así como un pre o post script! Select the transports and end up pressing “Finish”,
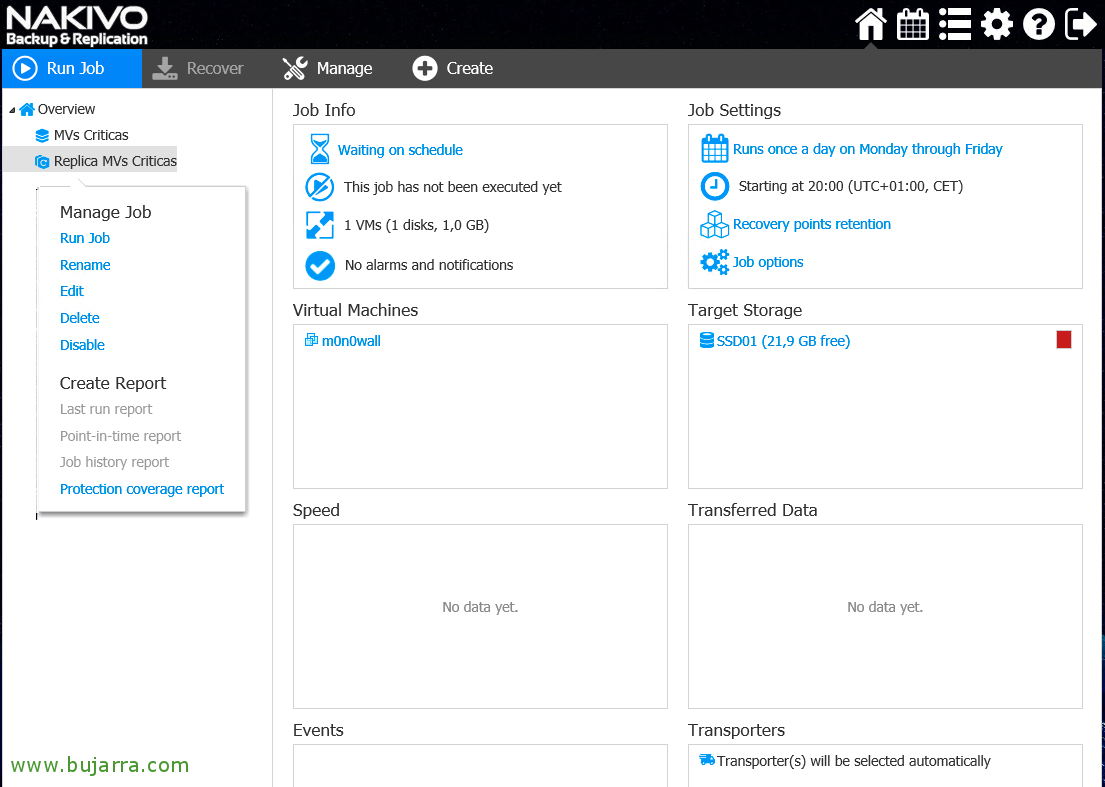
Y si queremos ejecutar la tarea de replica ahora para validar, pues con botón derecho “Run Job”,

And that's it! No queda más que esperar un ratejo y tendremos todo lo que hayamos seleccionado, totalmente replicado en otro destino! En caso de necesidad con solo darle al Play esas máquinas virtuales se levantarán en pocos segundos y tendremos la infraestructura lista en poco tiempo!

Well, pues esto es un pantallazo del Job finalizado, donde vemos el tiempo dedicado, el espacio consumido, la velocidad de transferencia… desde aquí podremos modificar cualquier otra opción que nos interese de este trabajo de Replica, I hope it was interesting to you!