FOG – Base configuration, Image generation and deployment

We continue with a second post about FOG Project! Today we will see something very simple, a base configuration in FOG to be able to create an image of a Windows 10 with your core corporate applications, Then we'll deploy it to another team we have somewhere and put it into dominance automatically! Nothing, Super simple and all from a spectacular web dashboard!
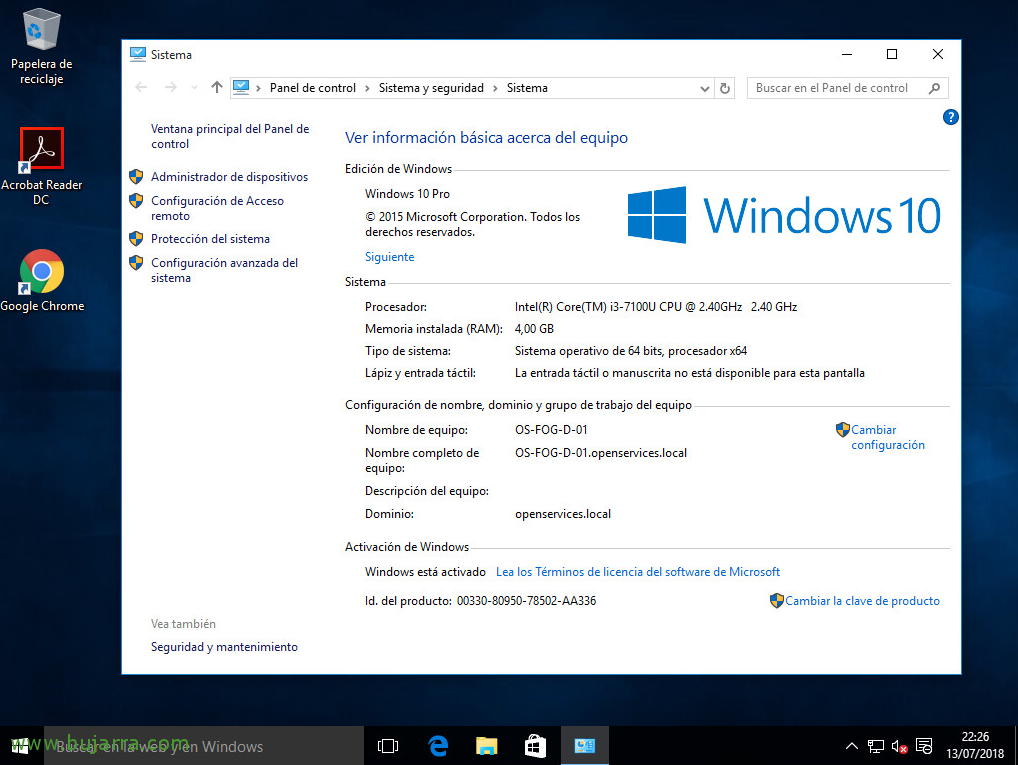
Before we go on, what do we need? Well, a computer already installed that we will use as the master image, whether physical or virtual. In this scenario we are going to work with virtual machines, so I'll have a Windows 10 virtual, installed, updated and with some application. What we will do next is reboot it over the network and through PXE it will absorb its disk and transmit it over the network saving it on the FOG server to deploy it when we need it. But before that, Let's go over some basic settings:
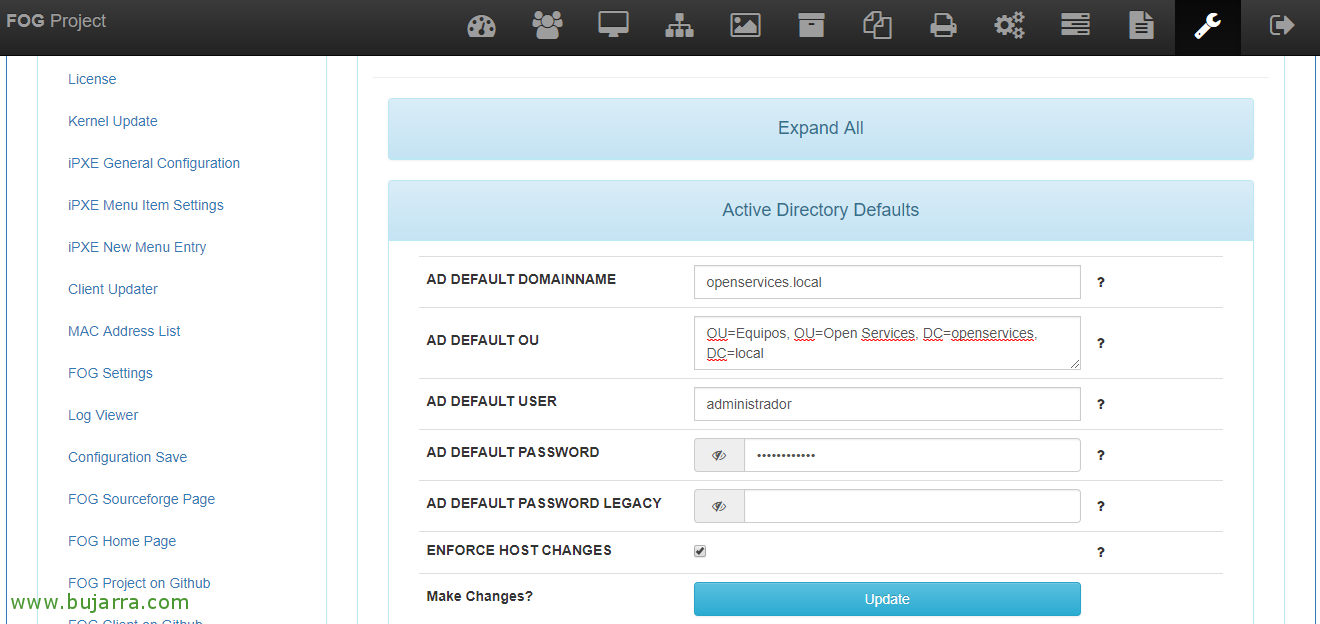
We access the FOG management website, From a browser we open HTTP://DIRECCION_IP_FOG/fog/management. The first but optional thing is to configure the Active Directory options, in case we want to use it at some point, This is, when we display an image if we want the computers to join the domain…. We're going to “FOG Configuration” > “FOG Settings” > “Active Directory Defaults”, We fill in the data you request. Be the domain name, the OU where he will put the equipment, an account with privileges to join teams and we record with “Update”,
Creating an image,

Next, we'll create the definition of the Image, We're going to “Images” > “Create New Image” and fill in the fields. We begin by indicating the name of the image, a description field that will also help us to identify what is inside the image, in 'Operating System’ select 'Windows 10 – (9)’, and in 'Image Type’ we must indicate 'Multiple Partition Image – Single Disk (Not Resizable) – (2)’. We check the rest of the options, that is enabled… and we recorded it with “Add”.
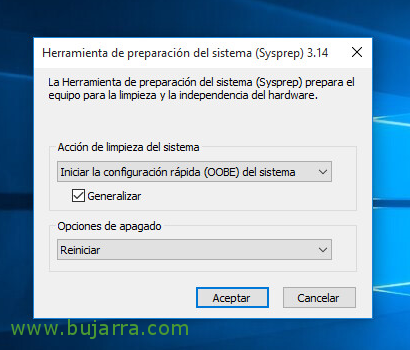
GOOD, it's time to go to the master machine with Windows 10, remember that if we use domain, We must do a sysprep before generating the image!

The thing is, you have to shut down that machine and get into its BIOS options, indicate that from now on it starts by network and not by hard disk!
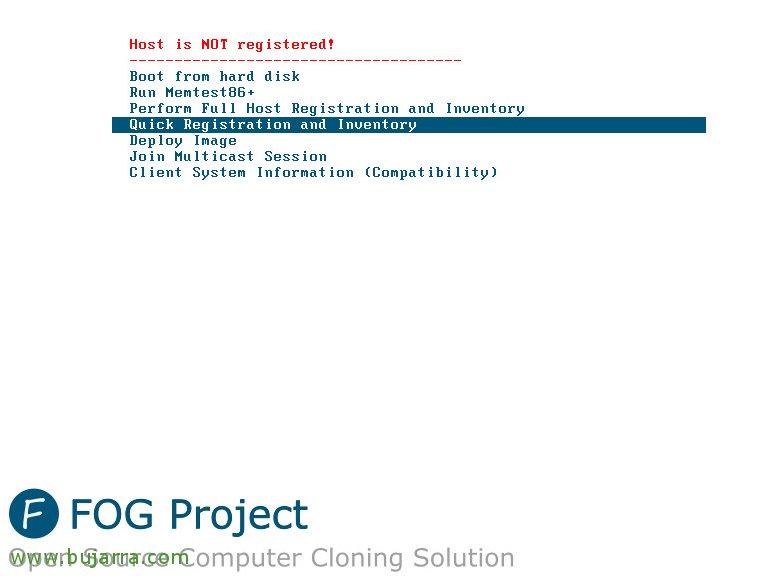
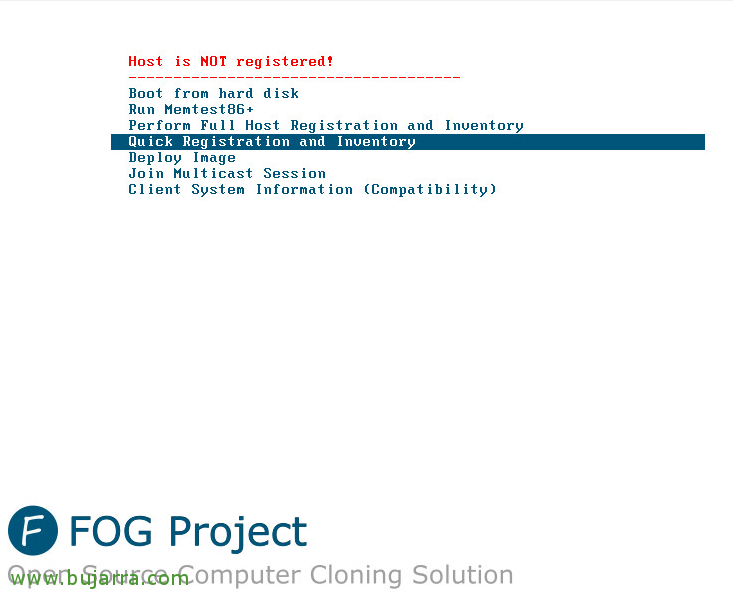
When starting the machine, you will get an IP address from DHCP in addition to the boot packet that allows you to connect to the FOG server. The first time, we will have to register this machine to know who it is, so we have two options or we do a 'Full Host Registration and Invention'’ and we answer all the questions here, or we do a 'Quick Registration and Inventory', that the latter option will be what he does, avoiding most issues 🙂
We let the machine continue with the start and this will be registered in our FOG panel,

If we are going to “Host Management” > “List All Hosts”, we will see there the registered machine! To identify it, We press it…

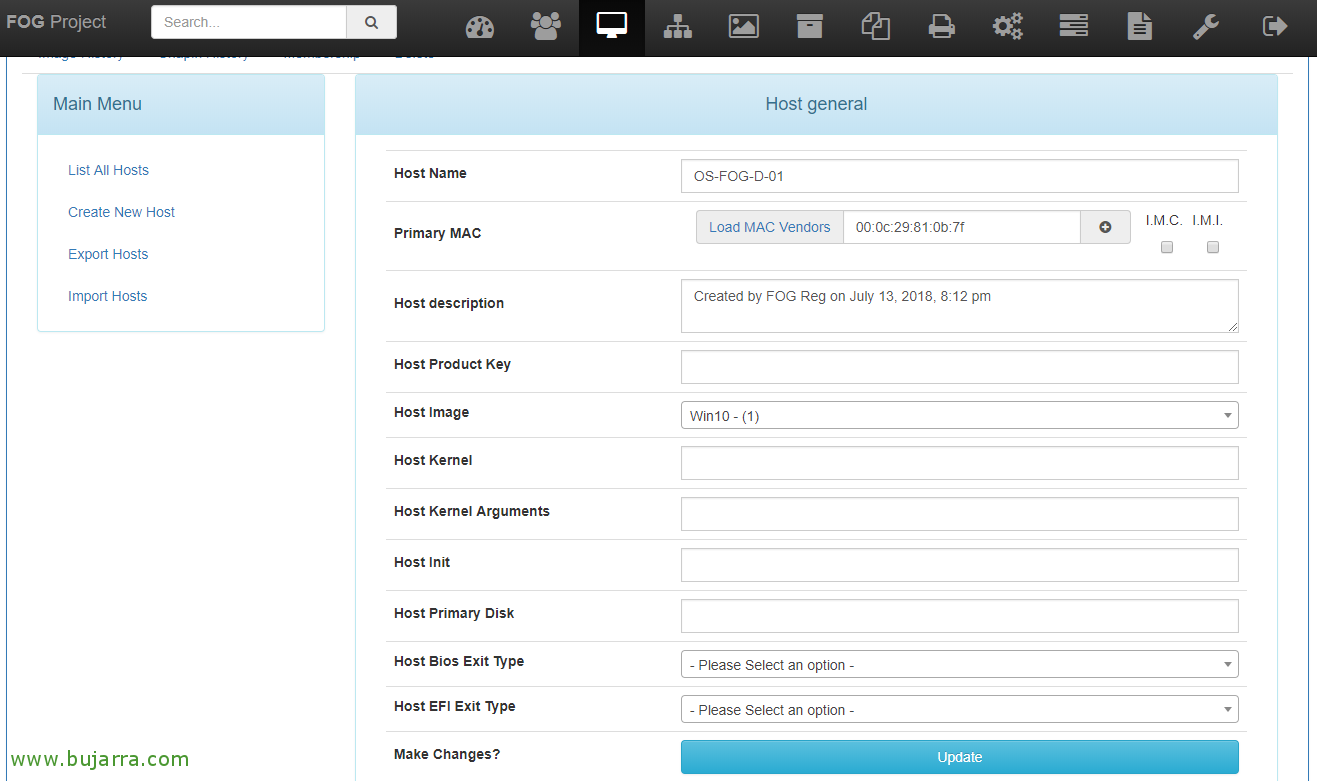
And we changed the 'Host Name'’ to identify it, go, We give it its machine name; we will take into account in 'Host Image’ Select the image we created in the previous steps. We record with “Update”,

And finally, if we are going to “Task Management” > “List All Hosts”, we will be able to see our machine and the assigned image, Now to get the data from your hard drive, Select on the “Capture”,
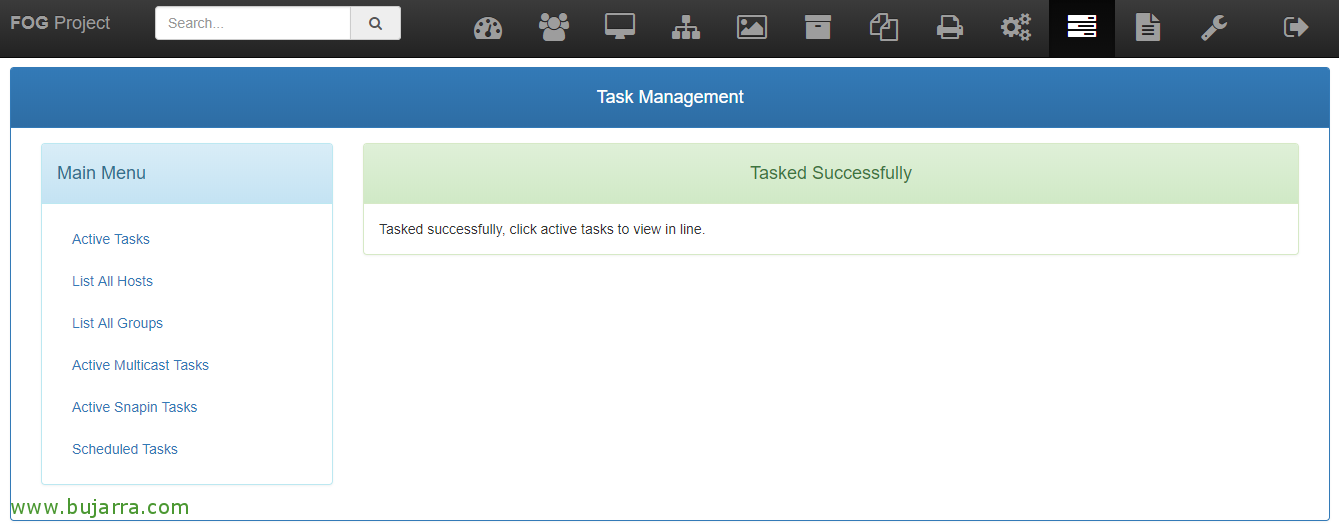
This will have created a task that will immediately begin to 'suck’ Windows hard drive 10!

If we restart Windows 10, We'll see how it starts on the network, will automatically network clone your hard drive to the Image created on the Fog server, Hope….
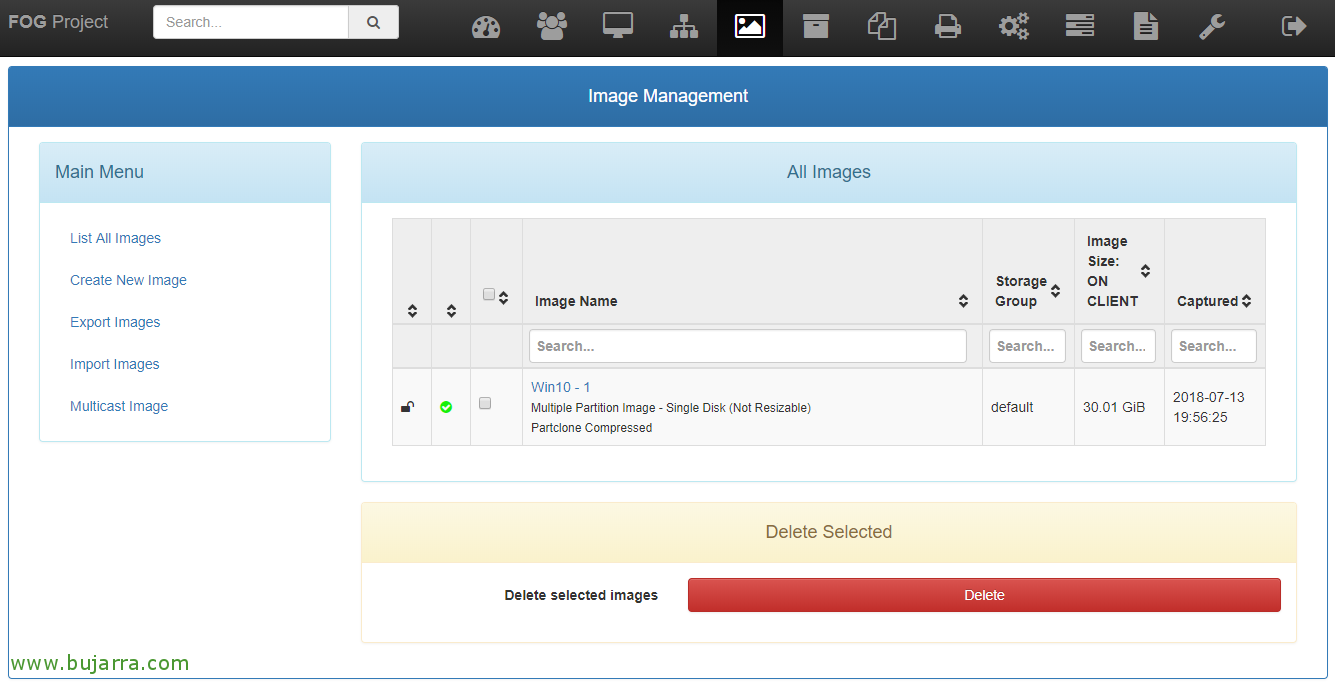
And if we access the menu of “Image Management” we will see that we already have the image perfectly created! Ready to use! Ole Rigodón!
Displaying an image,
We continue this second part where we will see how to display the newly generated image to another machine with similar characteristics; remember that first the machine must also be registered so that you can then select an image and send it to you!

In the BIOS of the new machine, the one without an operating system or anything, We are going to tell you to start over the network,
Just like before, we record it,
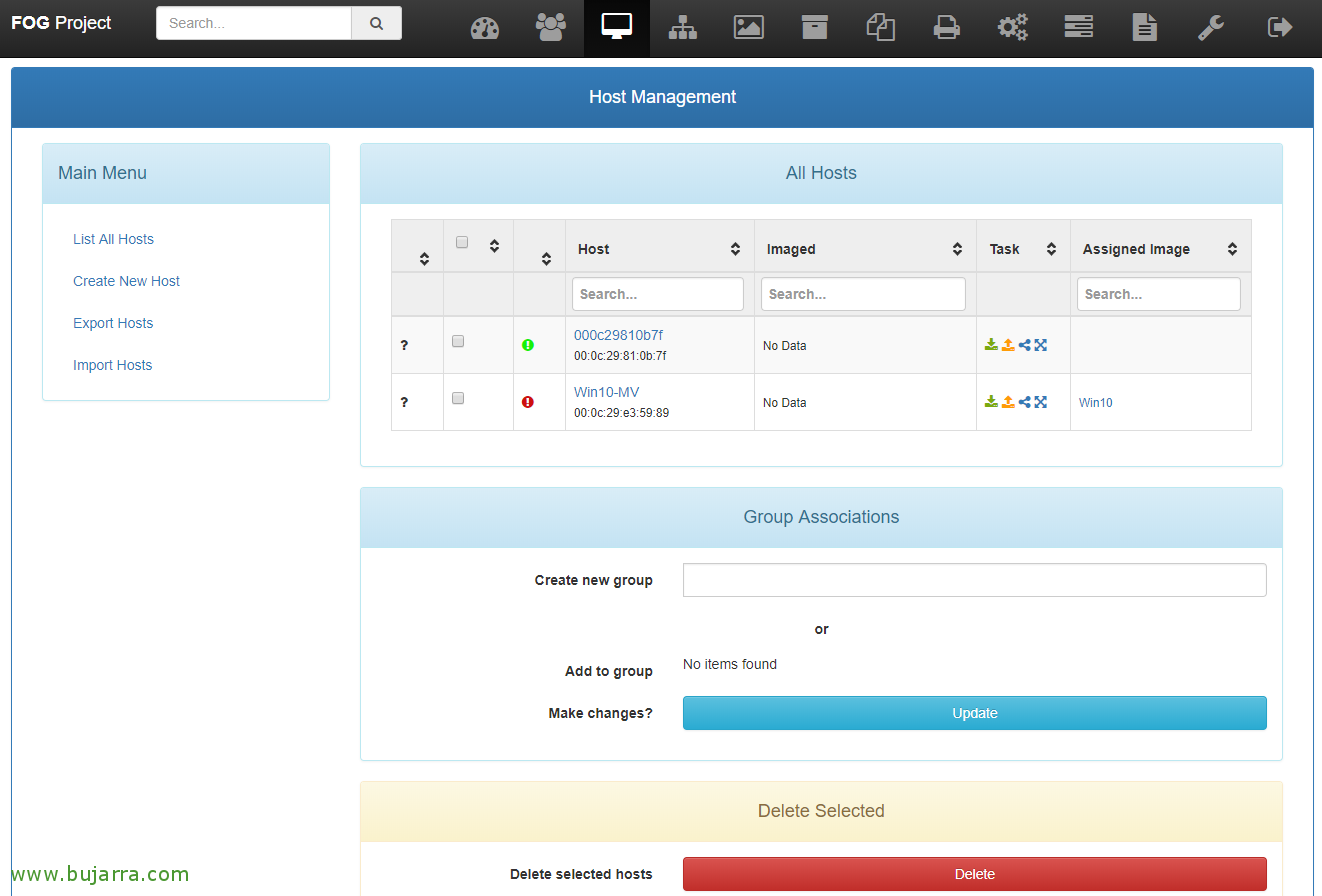
We're going to “Host Management” And voila.! There we have it, we select it to edit it…
We give the machine a name, and select the image we want to associate with it in 'Host Image', We recorded with “Update”,

Since “Task Management” in “List All Hosts”, we will now be able to see the new machine with the same Windows image 10 Assigned, Not bad, to display the image in it, Select “Deploy”!

It will create a task that will delete everything on the target machine and apply the already corporate image to it!
And well, I leave you the screenshot of what would happen after restarting the machine, you will see that it starts over the network and automatically when connecting to FOG it sends the image that we have imported before, and after a few minutes, all automated we will have a Windows 10 Ready to be used by our dear users!!!