Installing Citrix ShareFile with the data in your data center

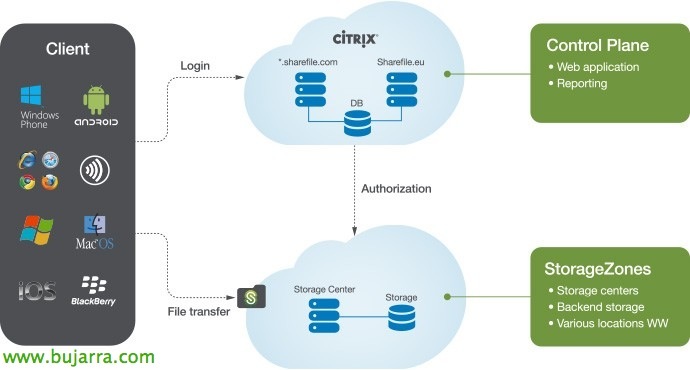
Citrix ShareFile allows us to have our own 'Dropbox'’ corporate, It will allow us to have our own management and absolute control over all the files that we want to share with local or external users. We have clients for Windows, Mac, ios, Android and a great web client!
We will have two methods of deployment:
– Citrix-managed StorageZones: A monthly licensing fee based on different editions (Basic, Professional or Corporate) depending on storage capacity (in Citrix data centers).
– Customer-managed StorageZone: Unlike the previous one, we can connect to local repositories that we have in our own DPC, are shares for CIFS files or connection to our SharePoint or also to a Windows Azure account. This will only be with the Enterprise edition. It will also allow us to integrate authentication with our own Active Directory!
In this document we will install a StorageZones Controller in our DPC so that the user's authentication is validated by Citrix and later, instead of using their storage, we use a repository that we have in our network. In subsequent documents we will see how to integrate authentication with our Active Directory and not use external Citrix users.
All editions except Basic have 'Plugin for Microsoft Outlook'’ that will avoid sending email attachments, when attaching files, it will upload them to ShareFile and create a link automatically in the emails sent by our users! Users will connect using the ShareFile Sync client!
Installing Citrix ShareFile StorageZones Controller,

We will need to install the Web Server role (IIS) and enable 'ASP.NET', we will also install in the 'Security’ 'Basic Authentication'. We will confirm once the role is installed within the IIS Management Console that in 'ISAPI and CGI Restrictions’ We have in 'Allowed’ ASP.NET v4.03319. Last, we will also give the ShareFile service account full access permissions in 'C:inetpubwwwrootCitrix'.
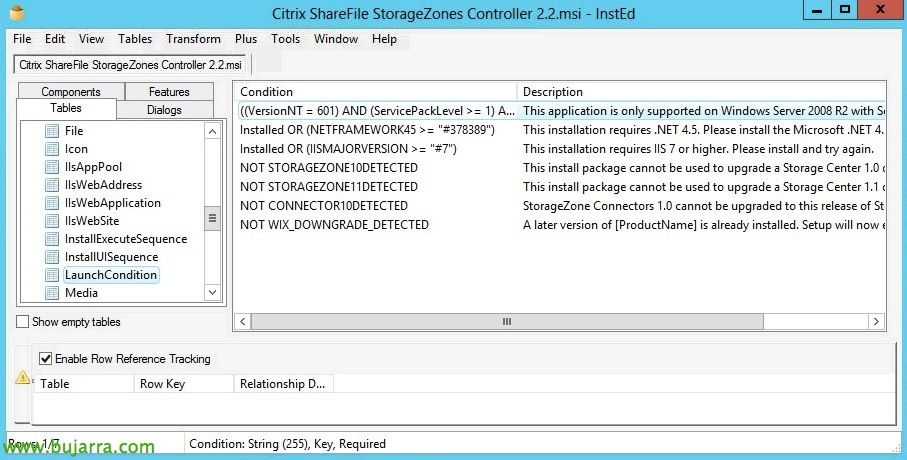
Note that the StorageZones Controller is only supported on Windows Server 2008 R2, if we want to install it (not supported but functional) on a Windows Server 2012 or 2012 R2. We can modify the installation file .msi with InstEd or Orca and modify the requirements in 'LaunchCondition'.
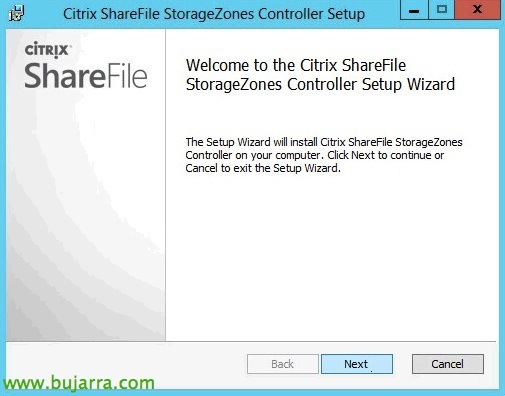
Well, by running the installer we will start the Citrix ShareFile StorageZones Controller installation wizard (in this case version 2.2),
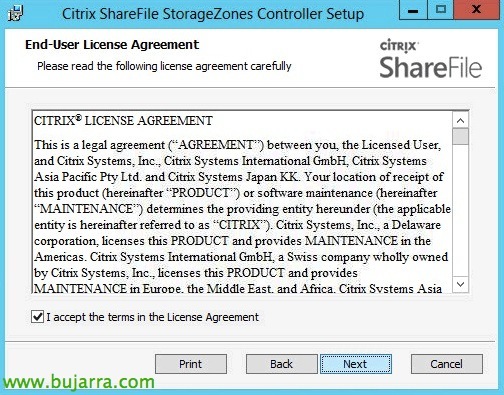
We accept the license terms & “Next”,
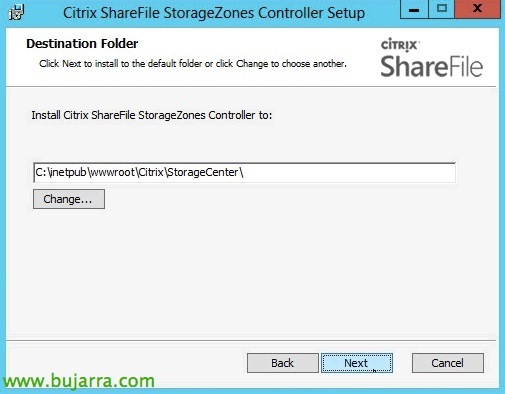
Select the StorageZones Controller installation path (default in C:inetpubwwwrootCitrixStorageCenter),
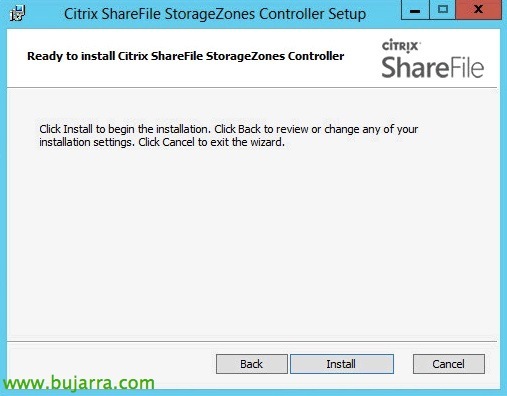
& Click on “Install” to begin installation!
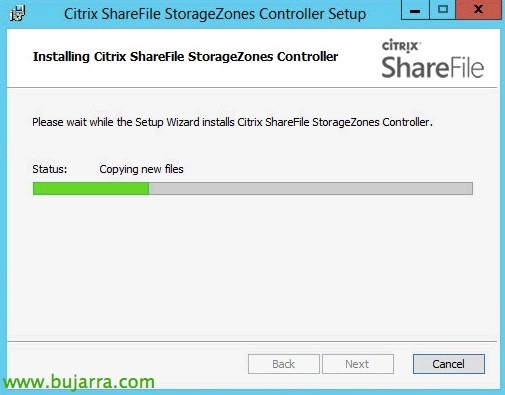
… We wait while you install…
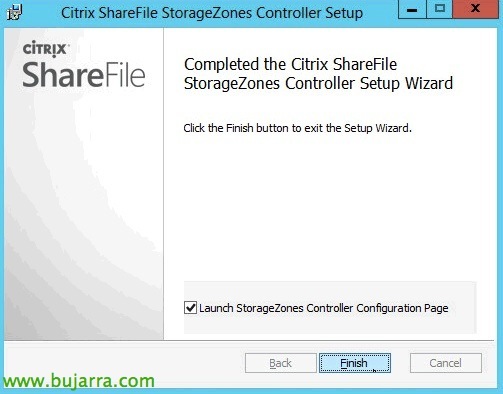
And well, ready, We uncheck the check of “Launch StorageZones Controller Configuration Page” & “Finish”.
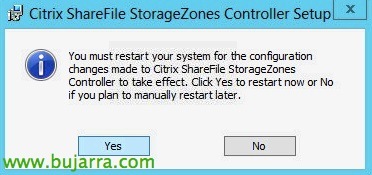
Click on “Yes” to restart the server…
![]()

GOOD, once restarted, we must create and register a Citrix ShareFile account if we do not already have it! We will do it from the Citrix ShareFile website.
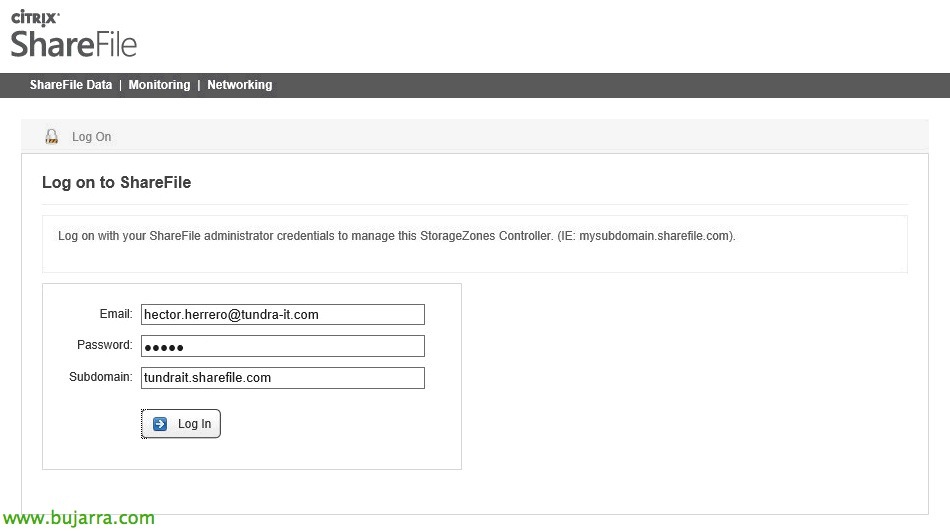
Well, open a browser and access the StorageZones Controller Logon page from 'https://nuestro_nombre.sharefile.com’ and we validate ourselves with our account and our subdomain, “Log In”,
By the way, if you get an 'HTTP error' 500.19 – Internal Server Error’ when entering the portal, we will have to modify the file 'C:WindowsSystem32inetsrvconfigapplicationHost.config’ modify the parameter 'overrideModeDefault’ a 'Allow'.
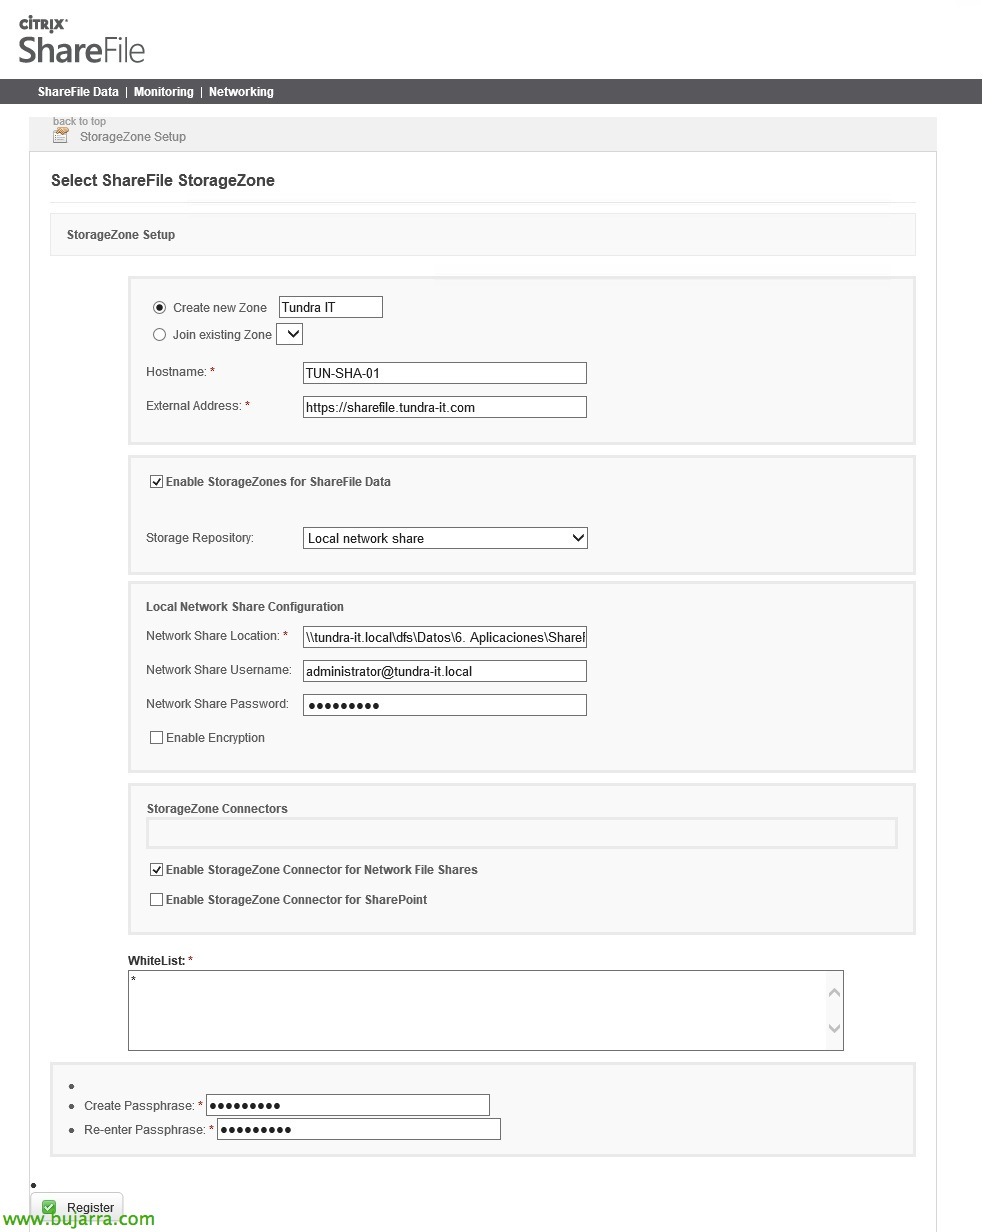
GOOD, We will have to create a new zone for our site, We give her a name. We will also need to specify a 'Hostname’ which will be the current Controller ID, normally your FQDN. We will indicate the 'External Address', must be the URL of our site in the format 'https://domainname.eso’ that points to our Controller, Be careful that we will not be able to use any other port than 443TCP, nor may we use invalid certificates or wilcards, must be issued by an external CA and installed in this IIS, where we'll bind it within the IIS Management Console on the website's https port to 443tcp.
More, you'll need to check 'Enable StorageZones for ShareFile Data'’ where we will select the type of 'Storage Repository’ What we will use, in this case it will be a 'Local network share'. In 'Network Share Location’ we will enter the UNC path to the shared folder where we will store the information. The shared folder must be fully accessible to the user of the ShareFile service account, both in NTFS permissions and when sharing it. Under 'Network Share Username’ and 'Network Share Password'’ We will indicate the credentials for accessing the repository (we should use the ShareFile service account) and if we want encryption in the repo.
Check 'Enable StorageZones Connector for Network File Shares’
In 'WhiteList’ we can optionally introduce UNC routes of servers that they can only have as resources and thus not create connections to other computers in the network.
And we recreated the 'Passphrase’ & Click on “Register”!

GOOD, we enter the ShareFile account and we must create the connector against this repository for this we click on “Connectors”,

Select 'File Share', in the existing zone and enter the UNC path to the share and give it a name, Click on “Add Connector”,

We will add the accesses that we are interested in & “Save Changes”.
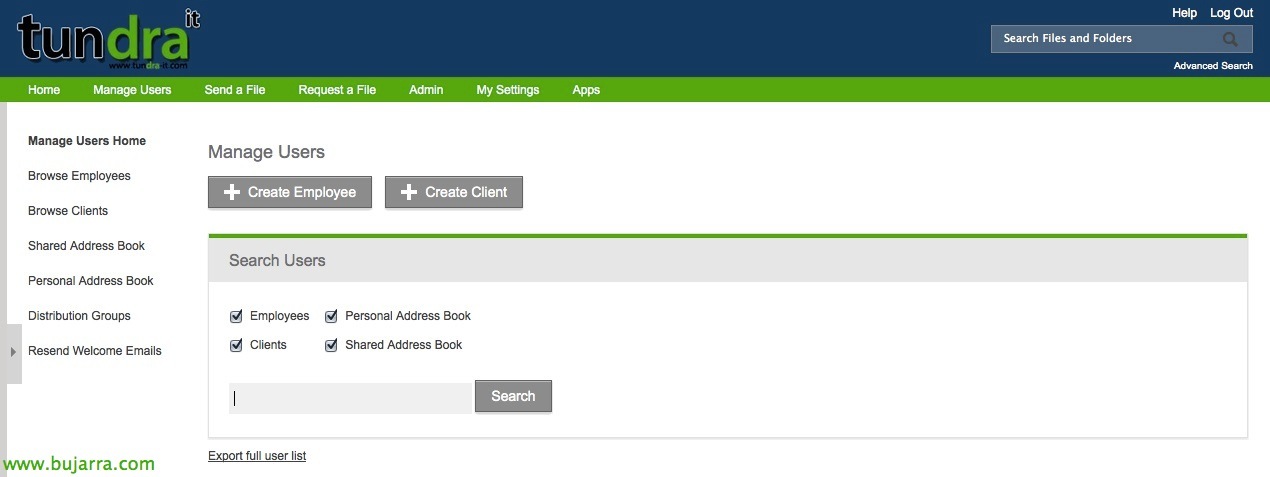
GOOD, now we will be able to create users in Citrix ShareFile to give them access so that they can upload and share files in a secure and controlled way with anyone! To do this,, since “Manage Users” We will click on “Create Employee”
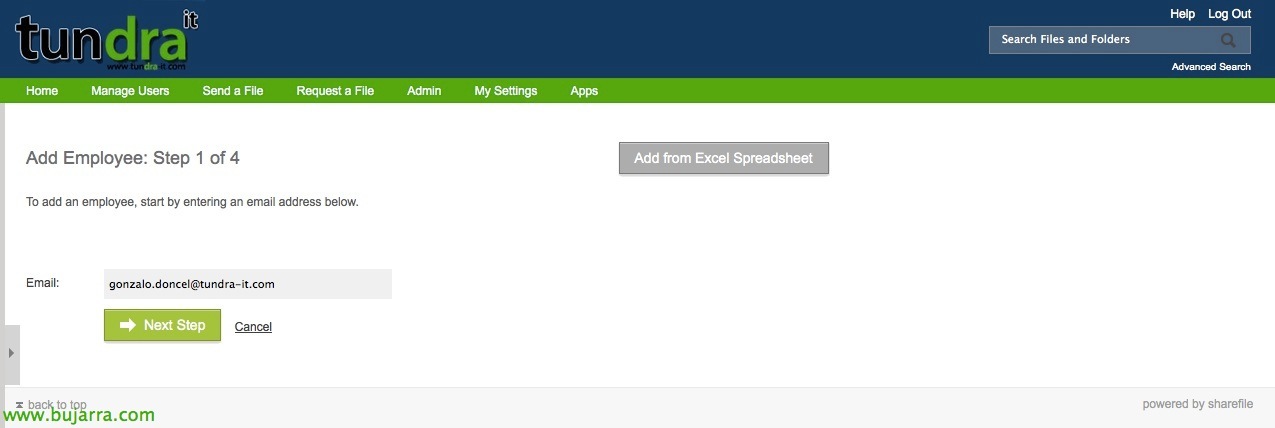
In the step 1, We start by entering the email address of the user account we are going to create, “Next Step”,
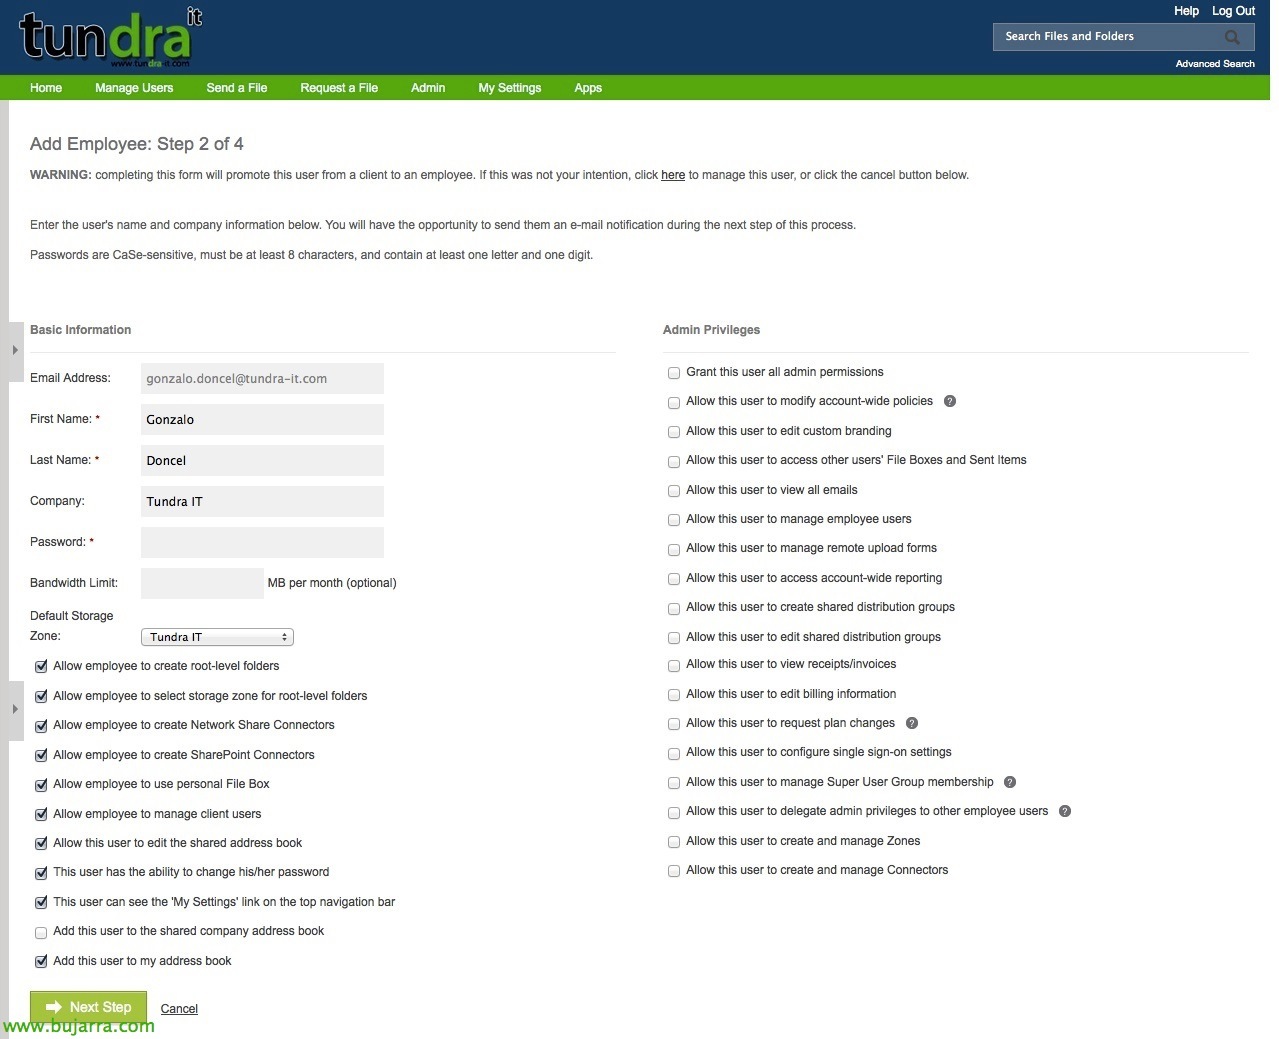
In the step 2, We enter the user's data and select the options that interest us, we must take into account that the 'Default Storage Zone’ is our organization.

In the step 3 We can add folders to this user, we will create a shared folder in this case for the user from 'New Folder',
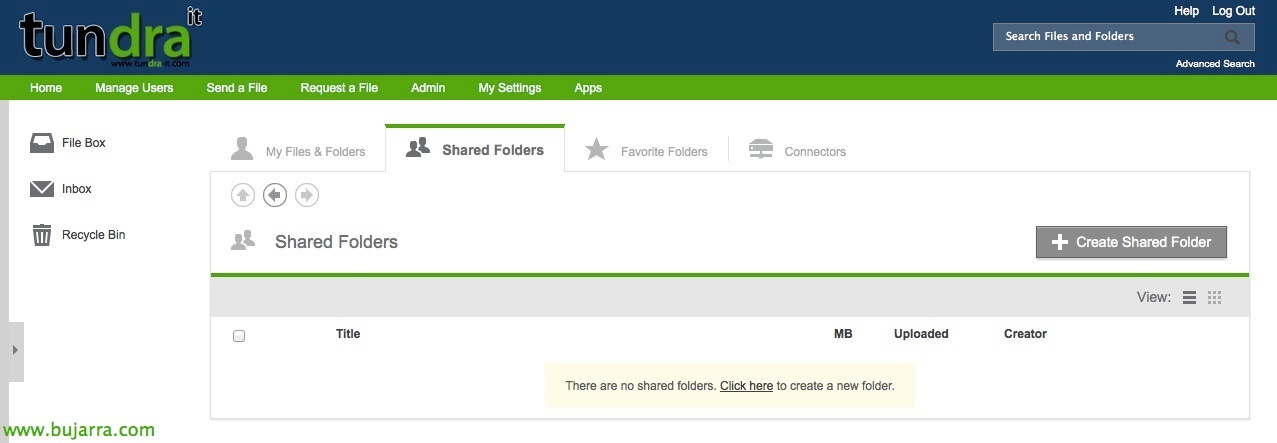
“Create Shared Folder”…

We give the folder a name and if we want to add other users to this folder, we will also make sure to locate the folder in the area of our DPC.

And we finish with the step 4, generating the welcome email to the user so that they can connect and activate their account! “Finish”,
This concludes the basic part of Citrix ShareFile on-premise, where with external accounts we will access local repositories!

This would be the example format that a user would receive to be able to activate their account, click on “Click here to activate your user account”.

It would be enough for the user to be able to validate that everything is correct & “Save”

The user will be logged in by accessing the ShareFile portal (https://dominio.sharefile.com) with your credentials,

And you will access the ShareFile web client where you can perform all kinds of operations when sharing files. In a next document we will see how we can simply get ShareFile clients to integrate a little more and make it easier for users to use! And in a final document we will integrate the validation of users against our Active Directory thanks to Microsoft's Federation Services.
Learn how to install Citrix StorageZones Controller on your Citrix official website.