Installing the VMware Update Manager Extension to Keep Your Virtual Environment Up to Date

En este documento se muestra cómo habilitar el plugin de VMware Update Manager. Esta extensión que se instala en el cliente de VMware nos permitirá mantener actualizado nuestro entorno virtual, no sólo los servidores ESX, si no que también las VMware Tools, los servidores virtuales Microsoft Windows o Linux con sus parches de seguridad.

To access this component, we open the VMware Infrastructure Client and go to the “Plugins” > “Manage Plugins…”

We can see that we have availability to download and install the VMware Update Manager Extension component, By pressing “Download and install…”,

… we wait while it is lowered and installed…

The VMware Update Manager Client installation wizard pops up, Click on “Next” to install it,

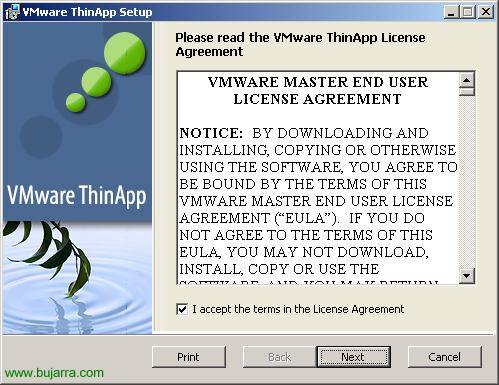
We accept the license agreement: “I accept the terms in the license agreement” & “Next”,

It installs the Update Manager plugin in the same directory as the VMware client, Click on “Install” to begin installation,

… Wait a few seconds…

GOOD, installed, “Finish”,

Now we see that it is already installed, but we have to enable it, To do this, click on the “Installed”,

We must check the box to enable VMware Update Manager Client “Enable” & “OK”

And we should see new plugin options in the console, If we don't see them… Close and Reopen the client console. From here we will already be able to search for updates for the servers or open the “Update Manager”. If we right-click on an ESX server we can search for updates for it from “Scan for Updates” and the same for virtual machines (MV).

This would be the view from “Update Manager”.
www.bujarra.com – Héctor Herrero – Nh*****@*****ra.com – v 1.0