Installing and Configuring Microsoft Lync Server 2010
It is the new product name Microsoft Office Communications Server, Lync Server will allow our users to be connected to each other at all times, being able to collaborate or participate with each other in a faster/easier way wherever they are; provides our users with the use of: voice, Instant messaging and audio conferencing, Video and web made easy. It also integrates seamlessly with Office applications & SharePoint,
We install first of all the requirements for servers with Front-End roles, Director and/or Chat for Lync Server 2010 on this Windows 2008 R2 by running the following commands in a PowerShell:
'Import-Module ServerManager’
'Add-WindowsFeature RSAT-ADDS,Web-Static-Content,Web-Default-Doc,Web-Http-Errors,Web-Asp-Net,Web-Net-Ext,Web-ISAPI-Ext,Web-ISAPI-Filter,Web-Http-Logging,Web-Log-Libraries,Web-Http-Tracing,Web-Windows-Auth,Web-Filtering,Web-Stat-Compression,Web-Mgmt-Console,Web-Scripting-Tools,Web-Client-Auth,Desktop-Experience,NET-Framework-Core,Telnet-Client’
On Front End and Standard Conference servers that are 2008 R2 SP1 we will have to install Windows Media Format Runtime; as for the S.O.. it is advisable to have it updated since Lync Server depends on some HotFix. If we want to use this service with our customers on the Internet, we will have to install the Edge server in the DMZ later, This server will have two legs (one on the DMZ and the other on the LAN) by which it will allow such connections.
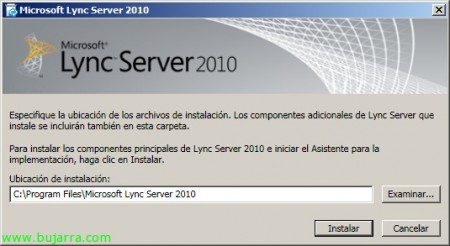
Select the root folder to install Microsoft Lync Server 2010, default to '%ProgramFiles%Microsoft LyncServer 2010',
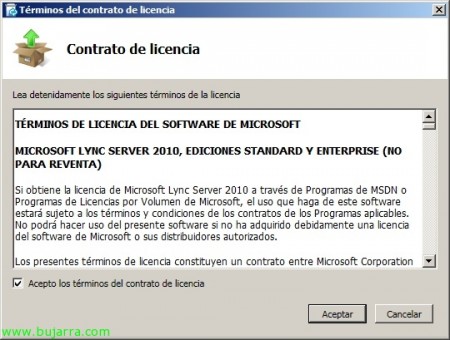
We accept the Lync Server license agreement,
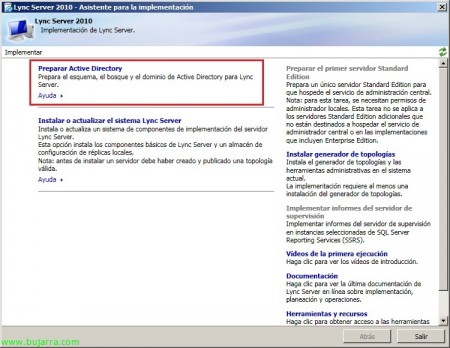
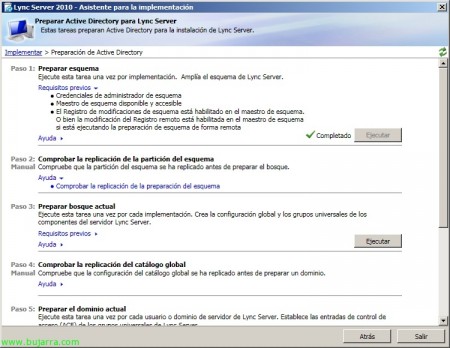
GOOD, the first thing to do is to update our Active Directory, for this “Prepare Active Directory”,
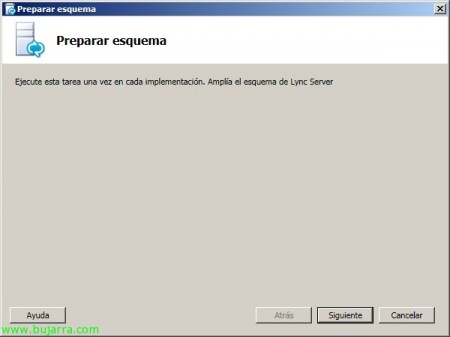
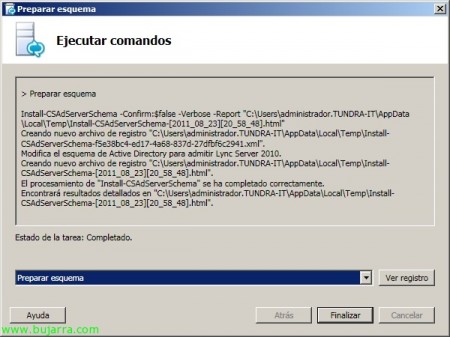
Step 1 'Prepare scheme’ > “Execute” (We check the requirements beforehand),
The wizard to extend the AD schema will come out, “Following”,
“Prepare Outline” & “End”
We will check that the replicas of our schema have been replicated in our DC's & Step 3 'Prepare current forest’ > “Execute”,
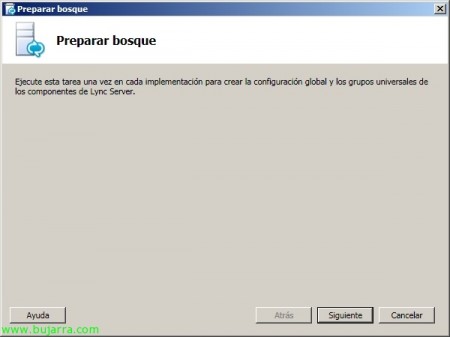
Forest Preparation Assistant, “Following”,
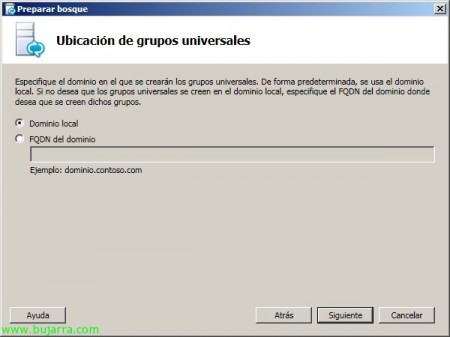
We indicate the domain of our forest where we are going to create the universal groups, “Following”,
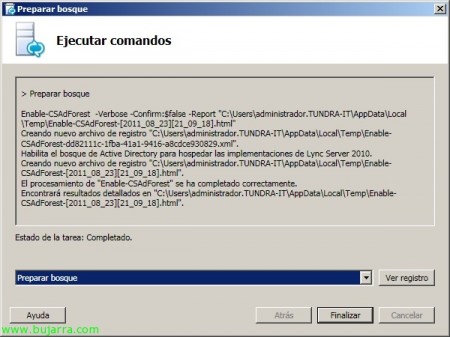
“Prepare the forest” & “End”,
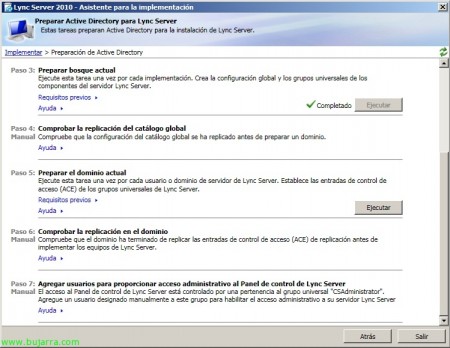
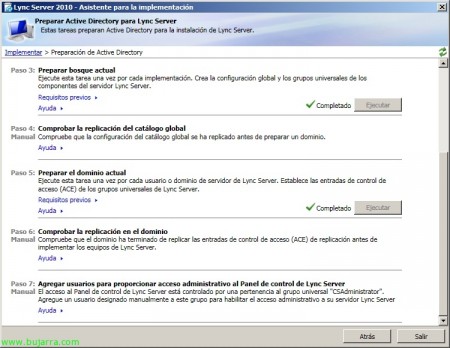
And finally we prepare the domain where our Lync Server will reside (or users), Step 5 'Prepare the current domain’ > “Execute”,
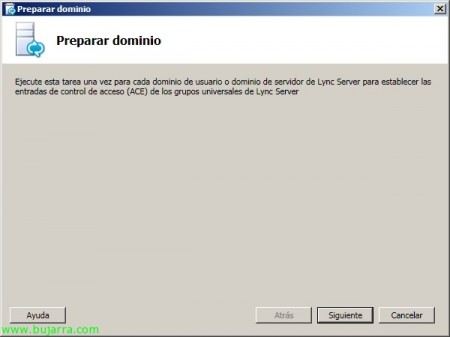
The wizard will jump to prepare our domain, “Following”,
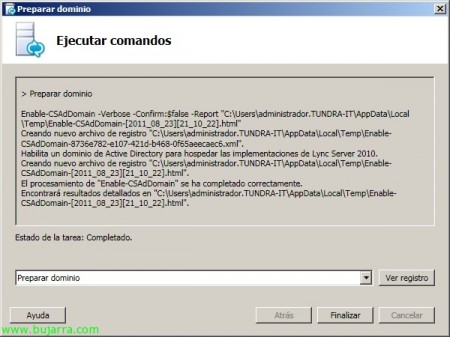
“Prepare domain” & “End”,
List, we check that we have all the steps completed and wait for the replication to be carried out between our DC's to continue. We finish with the Paso 7: 'Add users to provide administrative access to the Lync Server Control Panel'.
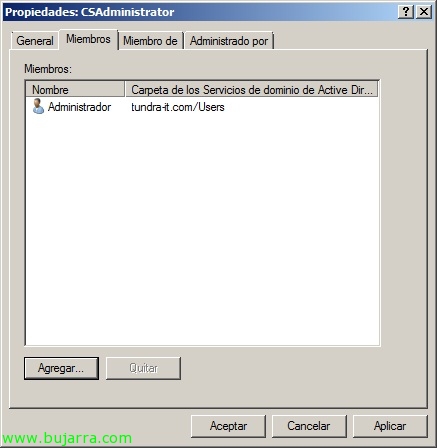
To this end, on the universal group 'CSAdministrator’ we'll add all the users we want to have access to Lync Server Control Panel,
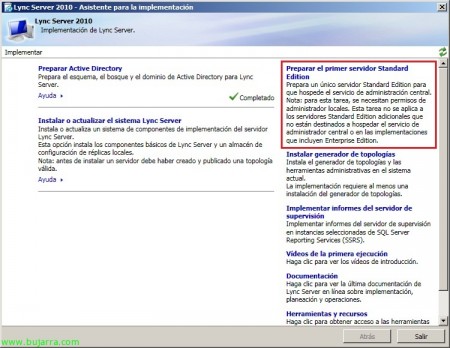
Once we have completed the preparation of the Active Directory, we must install the first Lync Server, Click on “Prepare the first Standard Edition server”,
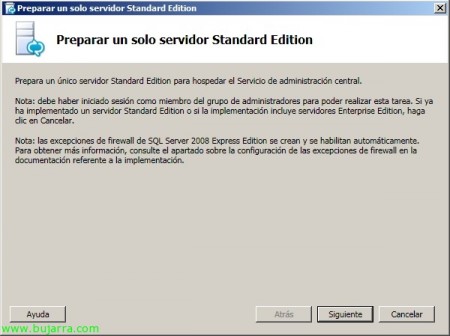
We start the wizard, “Following”,
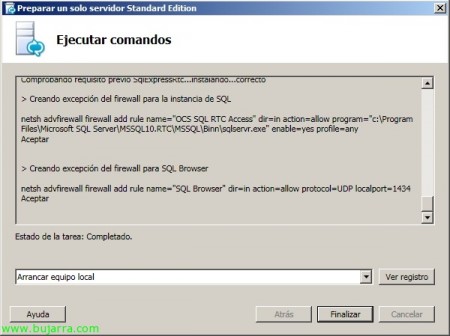
We wait while the necessary components are installed & “Boot home team” & “End”,
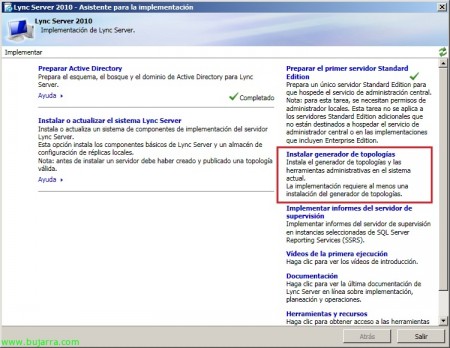
Once this server is ready, click on “Install Topology Builder”,
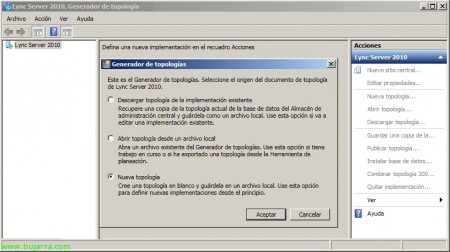
We will have to create a new topology that will define our installation, “New topology”,
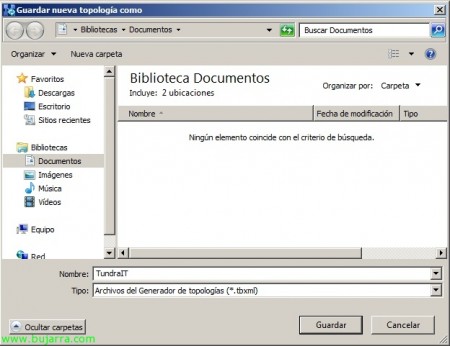
We save the .tbxml file,
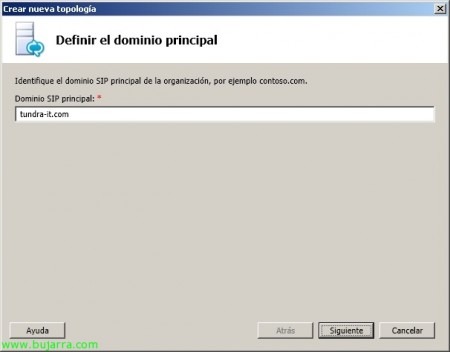
We enter what we want our SIP domain to be, it will normally be the same as our Active Directory domain, “Following”,
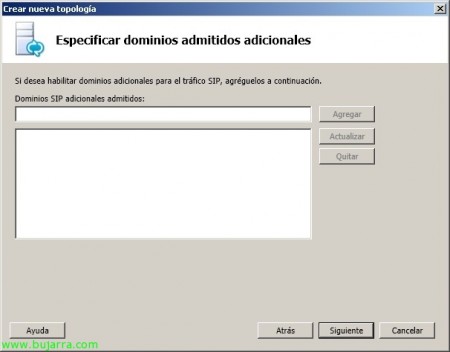
If we want to add additional domains, “Following”,
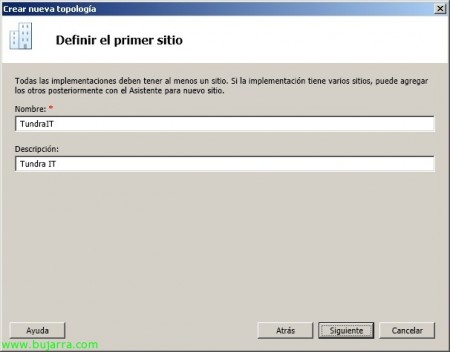
We indicate the name and description of our first site,
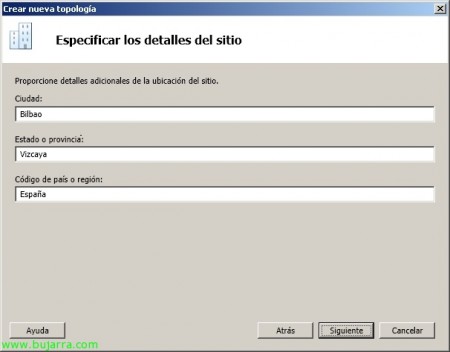
We finish with the details, “Following”,
Mark “Open the New Front End Wizard when you close this wizard” & “End”,
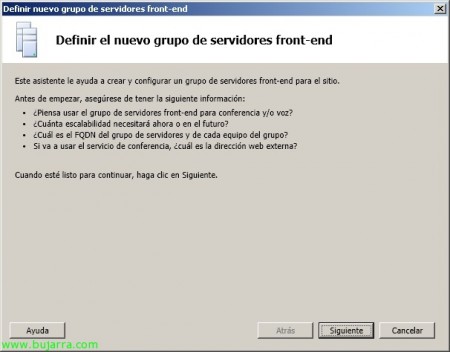
“Following”,
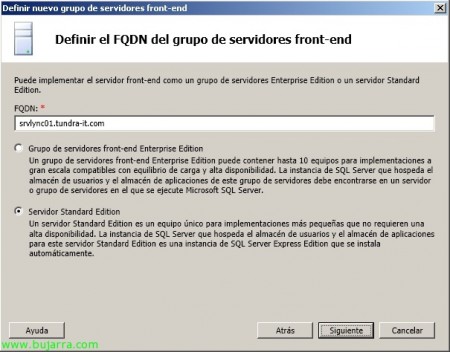
We must indicate if we will have a single server in our implementation (“Standard Edition Server”) in which SQL Express or a set of servers will be installed that will provide us with high availability with a database server (“Enterprise Edition Front End Server Group”),
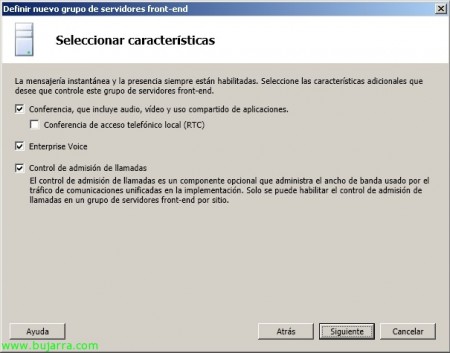
We mark the characteristics that we want the server to have, in my case “Conference”, “Enterprise Voice” and “Call Admission Control”,
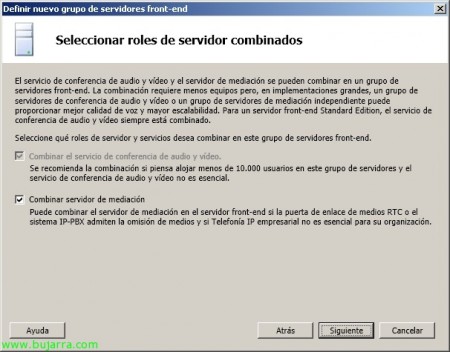
We indicate that the mediation server will coexist on the same server since it is a small deployment,
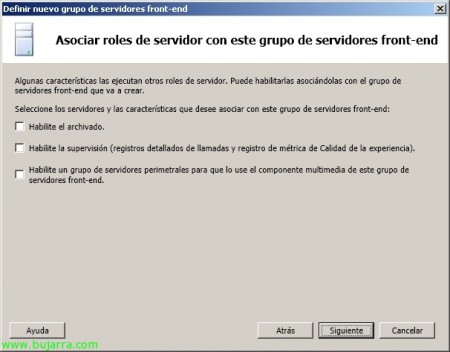
And we indicate the rest of the characteristics if we are interested in them such as archiving, Monitoring or Edge Servers, “Following”,
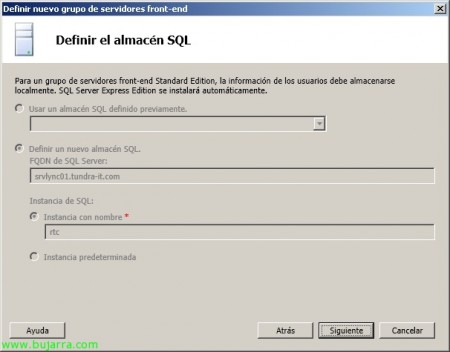
When you select a Standard server, you will install a SQL Express instance locally as a SQL store,
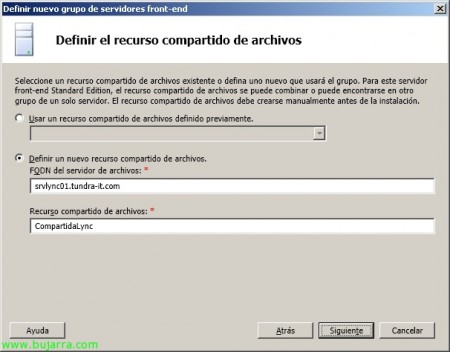
On the Lync Server we must create a folder and share it with the permissions we want to give to share files, Once created and shared, We'll set it up in the wizard,
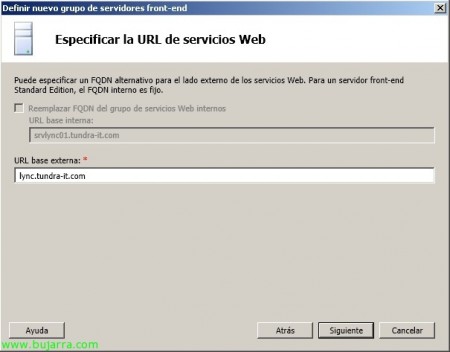
We indicate the FQDN that we want our URL to have for the web services (then we will register it in the DNS as CNAME),
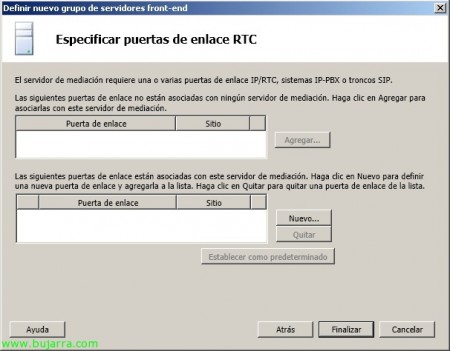
If we have gateways, we configure them & “End”,
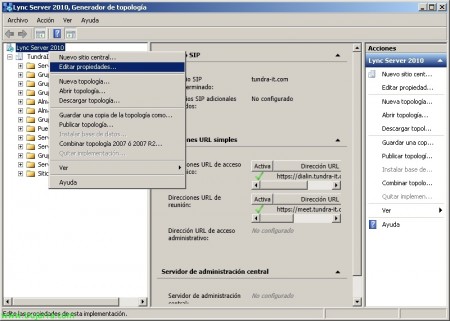
Once the topology is created, we can edit the access URLs from the properties of the same.
We must create the above entries on our DNS server,
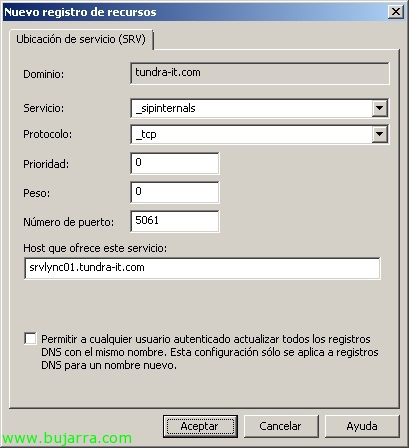
We will also create a new resource in our DNS zone of type SRV:
– Service: _sipinternals
– Protocol: _TCP
– Priority: 0
– Weight: 0
– Port Number: 5061
– Host offering this service: FQDN_SERVIDOR/GRUPO_LYNC
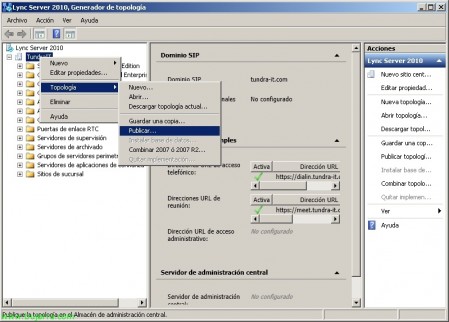
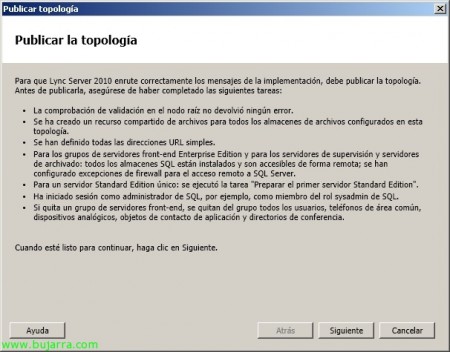
And we publish the topology from its properties “Topology” > “Publish…”
“Following”,
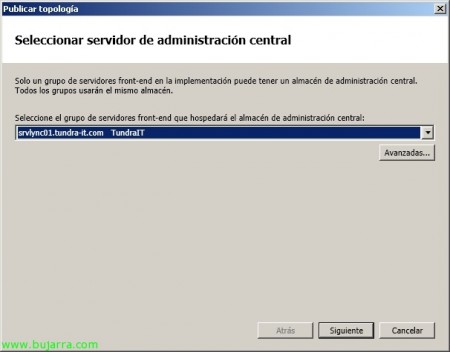
Select the server that will store the central administration store, in my case it will be the Lync Server itself since SQL Express was installed on it, “Following”,
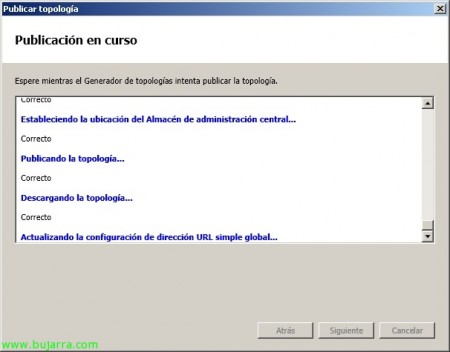
… we wait while you run the publish tasks…
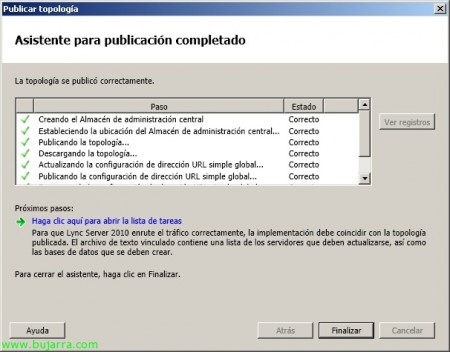
List, “End”,
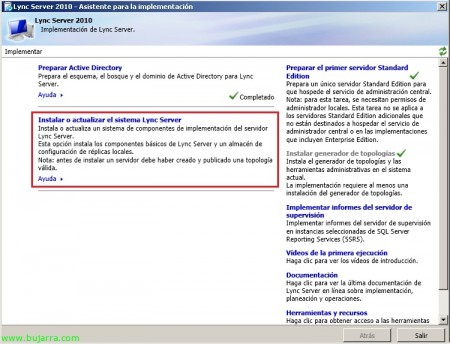
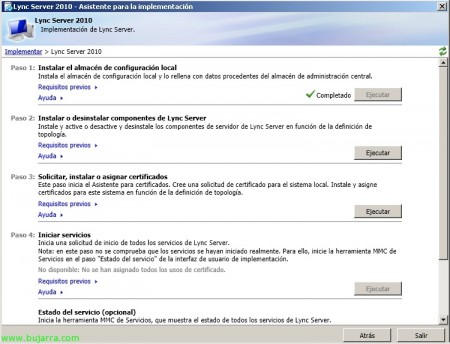
Now the Lync Server installation finally begins, so far we have prepared the AD, We have prepared the server requirements and created the topology, Click on “Install or upgrade the Lync Server system” in the Deployment Wizard,
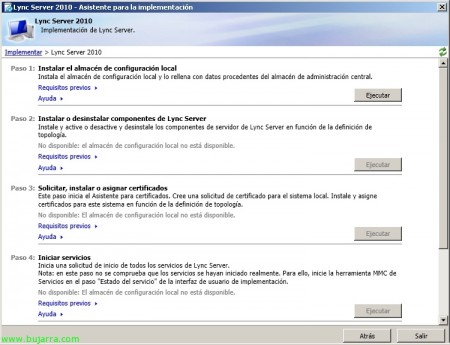
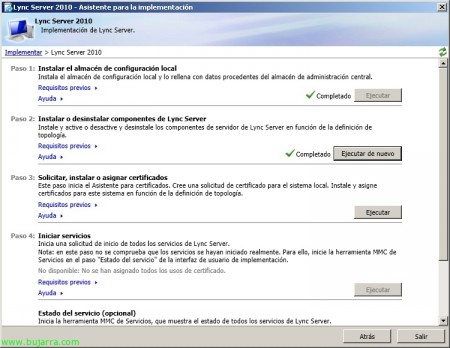
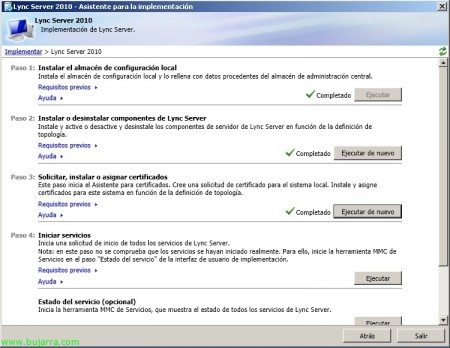
Same as before, We must set up a series of tasks/steps in order, Step 1 'Install the local configuration store’ > “Execute”
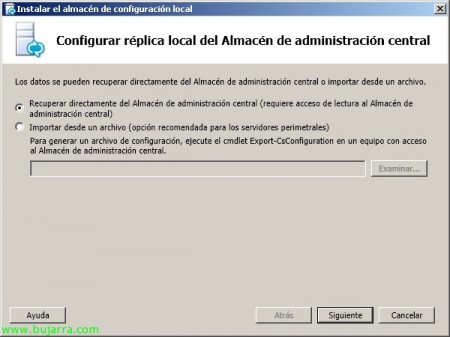
We check the first option to connect directly to the central administration store & “Following”,
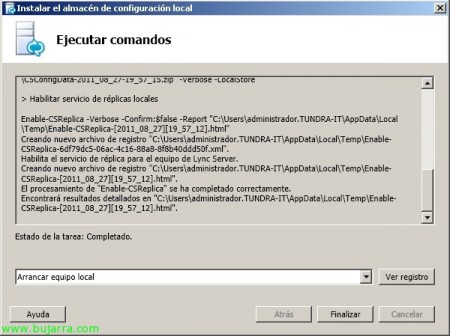
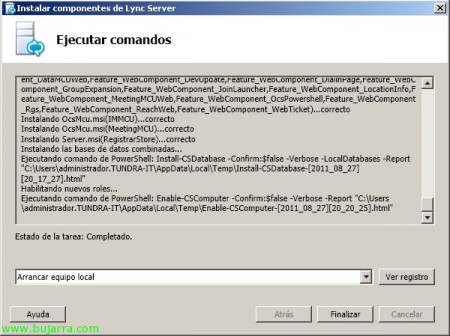
… We wait while it runs “Boot home team” & “End”,
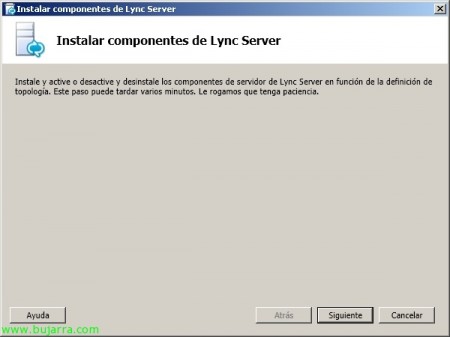
Step 2 'Install or uninstall Lync Server components’ & “Execute”,
“Following” to install Lync Server components…
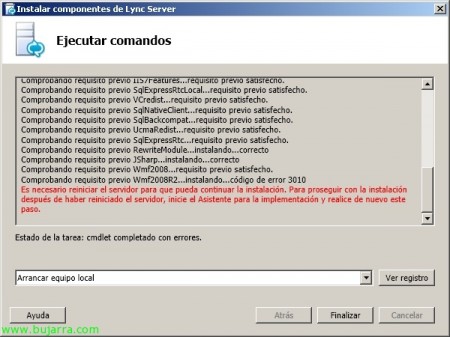
During the installation process it will give us a warning indicating that we must restart the server, Click on “End” And we restarted it.
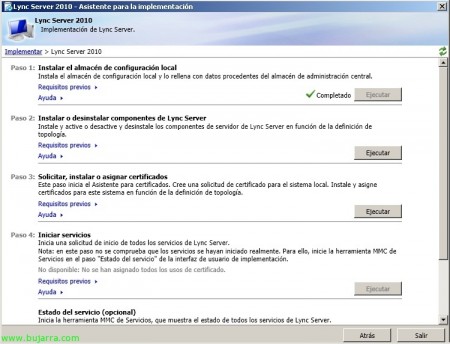
After the server restart, we must re-execute the previous step: Step 2 'Install or uninstall Lync Server components’ & “Execute”
And we wait for the installation to finish “Boot home team” & “End”,
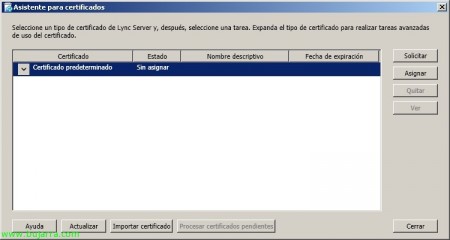
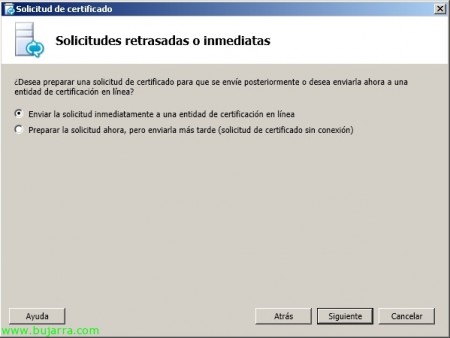
Now in El Paso 3 'Request, Install or assign certificates’ > “Execute” in order to generate the necessary certificate for our websites, We will have two options, generate the certificate online with a CA that we have on our network or generate the CSR file that we will send to our public certificate authority. If we choose the option to use a private certificate, we will have to be careful and have the CA certificate installed locally on the affected computers.
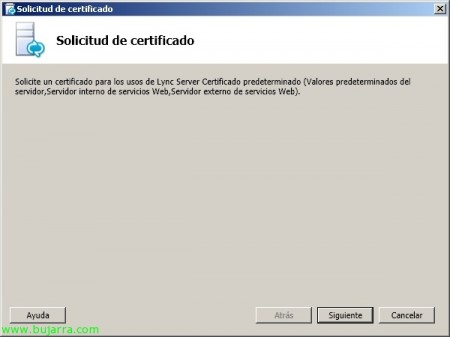
Click on “Request”,
“Following”,
What I said, We select the option that interests us the most; in our case by having a CA in our domain, I will choose the first option. “Following”,
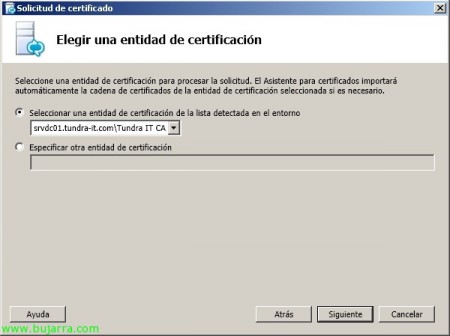
I will select the CA & “Following”,
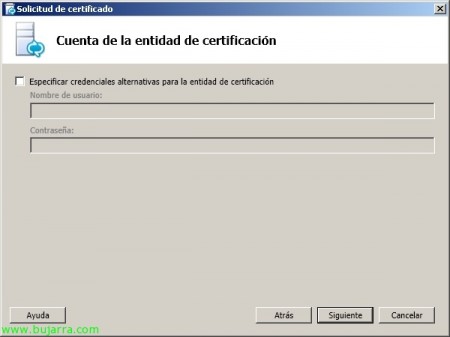
If we have to log in to the CA with another user to request/generate the certificate… “Following”,
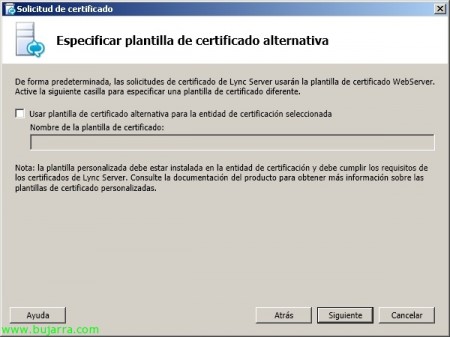
“Following”,
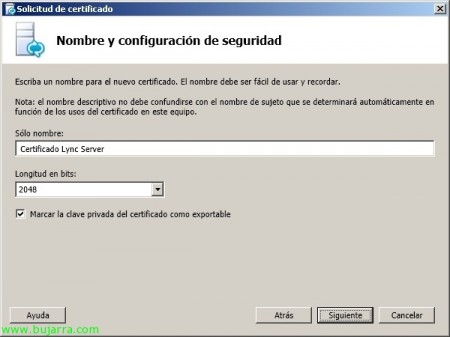
We enter a descriptive name to the certificate and the length in bits, It would be advisable to indicate that we can export the private key in case we need it (Migrations…), “Following”,
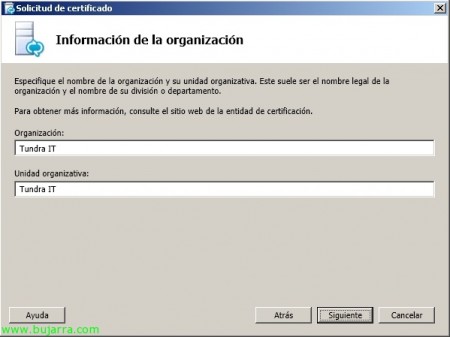
We enter the organisation's details for the certificate, “Following”,
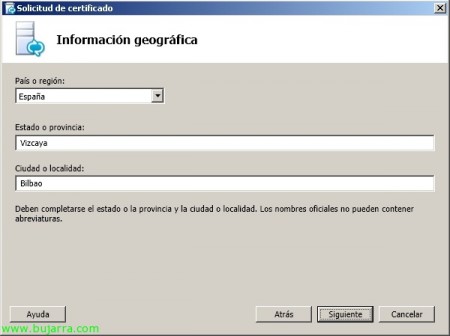
We enter more information about the organization, “Following”,
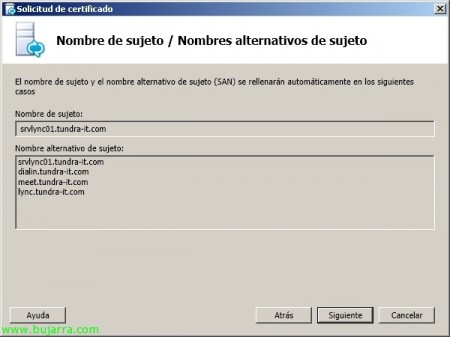
We confirm that all FQDNs are correct, both the main and alternative names, “Following”,
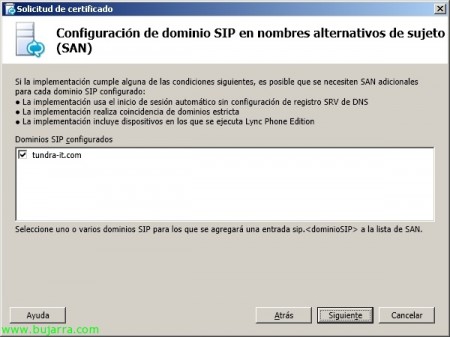
We indicate our SIP domain & “Following”,
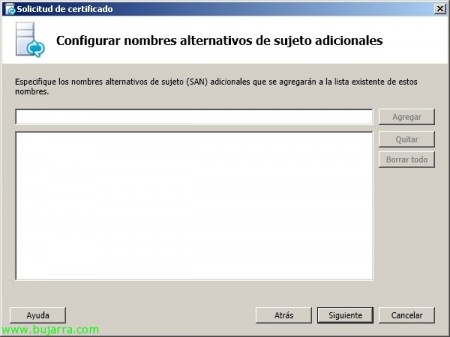
Just like before, If we need to introduce more alternative names to the certificate, it is time to do so, “Following”,
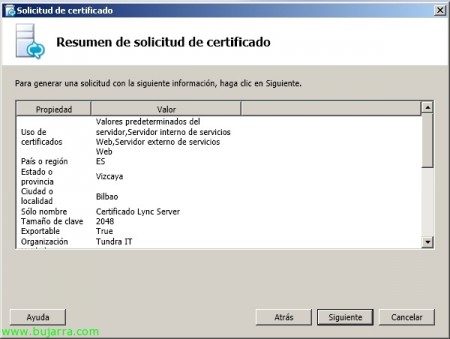
We check the summary of the certificate application, That everything is correct, “Following”,
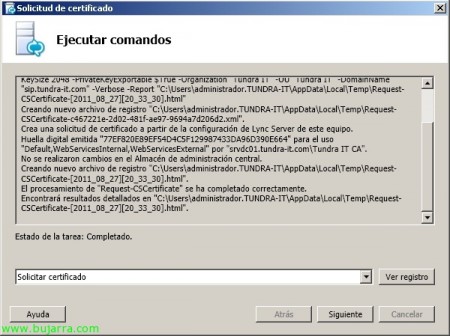
And we request it, “Request certificate” & “Following”,
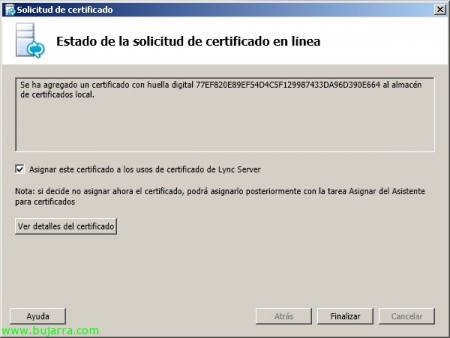
We check that we have the certificate created, We mark the check “Assign this certificate to Lync Server certificate uses” & “End”,
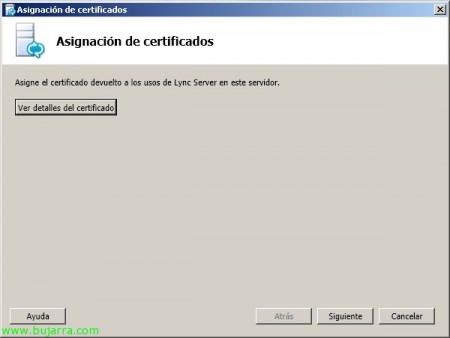
“Following”,
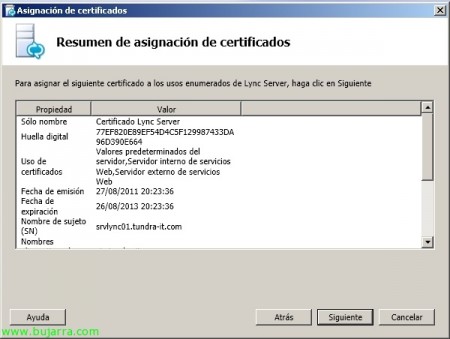
We confirm that the data is correct & “Following”,
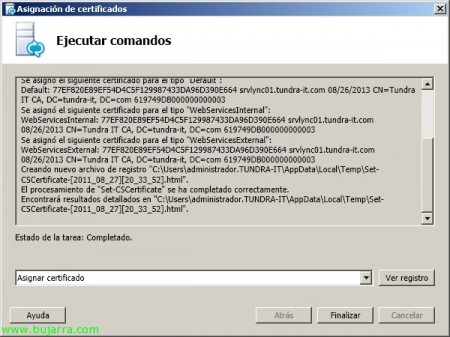
“Assign Certificate” & “End”,
List, We already have the components installed, finally we will start the Lync Server services that we can do from this Step 4 or directly from the 'services.msc' console,
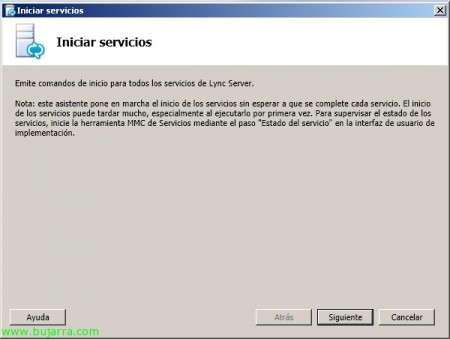
“Following”,
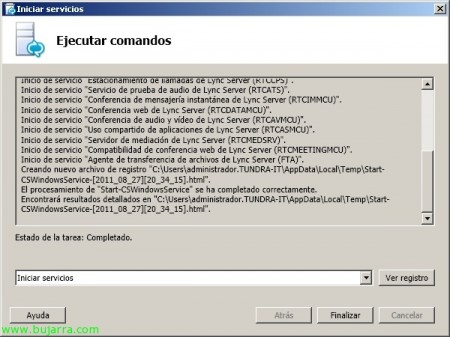
“Start Services” & “End”,
Well, as we already have Lync Server installed, to manage it under its control panel we must have previously installed Microsoft Silverlight,
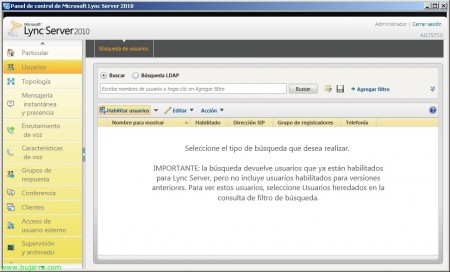
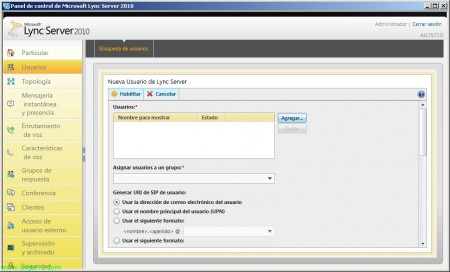
List, We open the “Microsoft Lync Server 2010 Control Panel”, to be able to use our Lync Server now, We will enable the users we are interested in working with it, in “Users” > “Enable Users”,
“Add…”
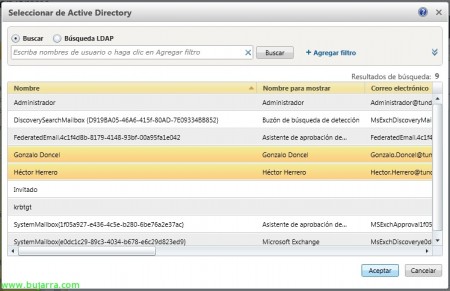
We mark all the users we want to connect to this unified communications server & “Accept”,
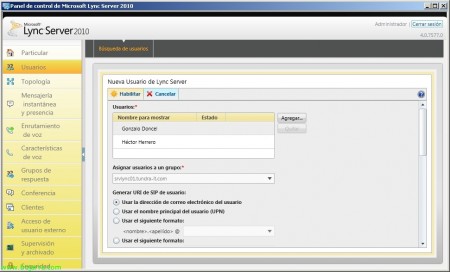
We assign such users to a group and “Enable”. With this we will have the server ready to be used within our network.
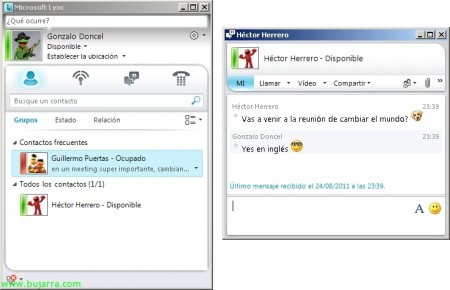
So if our users install the Microsoft Lync client, they will already be able to connect with their usernames & contraseña! 😀


