Installing and Configuring VMware View 4.6 Connection Server Standard

In this post we will look at the installation of the first server in a VMware View environment 4.6, will be our first connection broker or VMware View Connection Server (Standard), this will be the one that authenticates users through Active Directory and redirects client requests to the appropriate desktop. In case we need a balance of connections we can add a VMware View Connection Server (Replica) or as many as we need, the configuration of these is stored embedded in the LDAP directory and replicated between the servers.

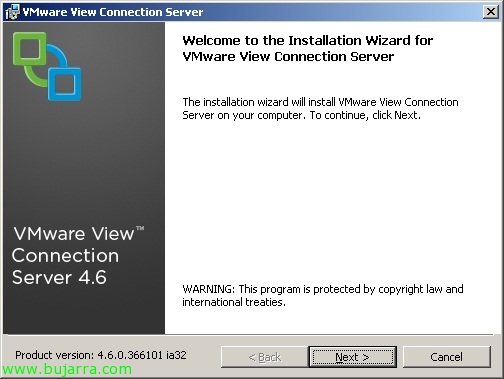
What I said, this will be the first server in our VMWare View organization 4.6 and if we want to have the possibility of Secure Gateway we must install it under a Windows 2008 R2, Always recommended in a virtual machine. The installation and commissioning of a simple environment such as the one assembled in this document will be the basis for later using the rest of the components of the View family. The bad thing about the version 4.6 of VMware View is that they still do not propose a solution for roaming profile management, so we will have to wait (according to them) until the next version (and use alternatives such as those of Microsoft). “Next” to begin the installation of VMware View Connection Server,

We accept the US patent agreement, “Next”,

“I accept the terms in the license agreement” & “Next”,

The default path of the Connection Server installation will be: “%ProgramFiles%VMwareVMware ViewServer”, “Next”,

What I said, as it is the first server we must install View Standard Server & “Next”,

We accept the agreement for ADAM & “Next”,

Click on “Install” to begin installation,

… Wait a few minutes…

List!

Open the View Administrator Console (Be aware that we will need Adobe Flash installed),

The first thing is to license the product, for this, We're going to “View Configuration” > “Product Licensing and Usage” > “Edit License…”

We indicate the serial number & “OK”,

List, We check that we have what we have acquired (in my case Composer and Local Mode).

The second thing will be to add our VMware vCenter server to be able to create/manage desktop pools, since “View Configuration” > “Servers” > on vCenter Servers > “Add…”

We indicate the FQDN path of the vCenter server to be added, a vCenter administrator and their key, we indicate a description and use of SSL. We can indicate the maximum number of simultaneous provisioning operations as well as power-on operations. The Composer theme will be covered in another document later. “OK”,

List, We check that the server is added correctly.

To finish this simple document we will create a manual pool to which I will assign one or two virtual machines to a group of users to test that the basic part works. Since “Inventory” > “Pools” > “Add…”,

What I said, in this case it will be a manual pool (We can see in this document the type of resources that we can create: http://www.bujarra.com/?p=5198). “Next”,

And as I said before, I want them to be dedicated desks, This is, that the first user who logs into a virtual desktop assigns that desktop as their own, “Next”,

Indicate “vCenter virtual machines” & “Next”,

Select the vCenter server we want to use & “Next”,

Ok, we need to assign it a Pool ID, that will be unique; as well as the name to be displayed to users, a folder to organize it and a description. “Next”,

When generating this type of pool, we will indicate whether we will leave it enabled or not, we will be able to indicate which Connection Server will allow connections through tag's that we will have previously configured in its properties. If we want to indicate that the VM's are turned off after the user uses them and when requested, they can be started or directly leave them always on; as well as force a logout in the event that the user leaves by disconnecting the session (and if we are interested we can allow them to restart their machines if necessary). We will also indicate the default PCoIP protocol of use, which protocol will be used by the 4172udp, even though the first connection will be made through 4172TCP, we can indicate RDP if we need it or allow the user to control it. At the PCoIP level, we can indicate the maximum number of monitors we want as well as their maximum resolution (1920×1200 o 1920×1200 o 2560×1600). We can even check the image quality at the Flash level to use more or less bandwidth by achieving more or less image quality or controlling the ratio of the frames of a flash with Adobe Flash throttling (With the most aggressive mode we will get better bandwidth. “Next”,

As it is a manual pool, we must indicate the virtual desktops that will belong to it. In my case a single MV XP test. “Next”,

We check that everything is correct & “Finish”,

Later we must assign a series of users that we want to be able to connect to this pool of desktops, To do this, select the indicated pool and click on “Entitlements…”

“Add…”

Normally, we have groups of users in our Active Directory to be able to manage them in a more comfortable way, we are looking for our View user group to assign to this pool & “OK”,

“OK”,

And if we want, we can manually assign a user to a specific desktop, To this end, from “Inventory” > “Desktops” we will find the desktop we want to assign to a user and “More Commands” > “Assign User…”

We look for the user in question & “OK”,

And that's it, and to test it from the VMware View client we will connect to the Connection Server & “Connect”,

We authenticate ourselves (securely) with a user to test if everything is correct & “Login”,

It will show us the name of the pools to which we have access and when we click on “Connect” it will take us to the desktop that we have assigned within the pool or if we do not have it to any one. We can indicate here the resolution with which we will connect.

Perfect!

Now we can take USB devices to the desktop without problems from “Connect USB Device…” and indicate the devices we want to bring to the virtual desktop.

If we connect through a browser to a VMware View Connecion Server we will be able to know the VMware View Portal that will allow us at all times to download any client that we need to install it in case of need.