Recovering a VM in Nakivo Backup & Replication

We continue with the series of documents on Nakivo, after already having copies and replicas of our infrastructure with Nakivo Backup & Replication what we have left? Test recovery! Which will be the first thing we are going to try, See what types of recoveries we have and how to recover a virtual machine!
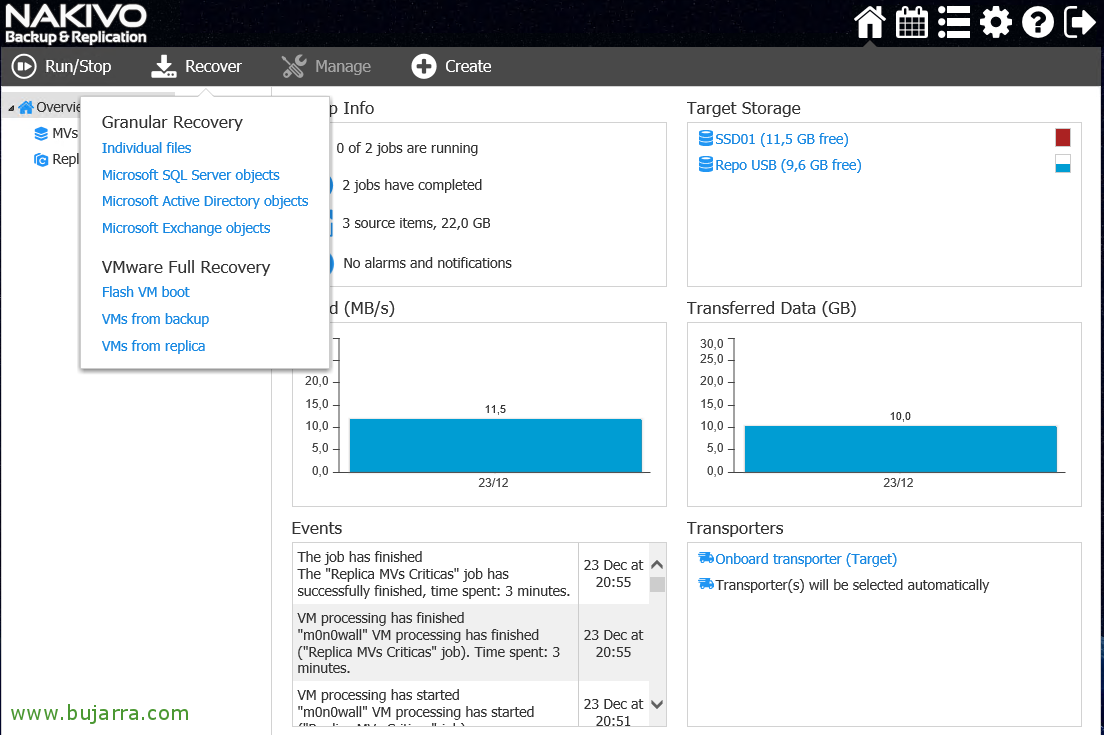
To do this,, we must select the column “Recover” And then we'll select if we want granular recovery at the individual file level, SQL objects or Active Directory or Exchange among others, as well as complete recovery of the VM, from an immediate recovery, or recover from a copy or replica. In this case we will see the options for recovering a VM from a Backup task.

In El Paso 1, we select from the Job, the virtual machine to recover and in the right panel we can choose the recovery point, If we don't change anything, will bring back its most recent version. “Next”,

In El Paso 2, Destiny, we will select the Host or vCenter server where we will recover the VM, we also select the Datastore where we will put it and the virtual network to which it will be connected, “Next”,

And finally, In El Paso 3 Options, It will be where we indicate a name to the recovery job, whether we will lift the recovered VM or leave it off, whether we will generate or maintain your MAC address, we select the recovery mod and if we want to enable network acceleration for this job, the format of the vDisks and if we want to rename the VM with a suffix or preijo such as '-recovered’ to differentiate it from the original. “Finish & Run” to run it now!
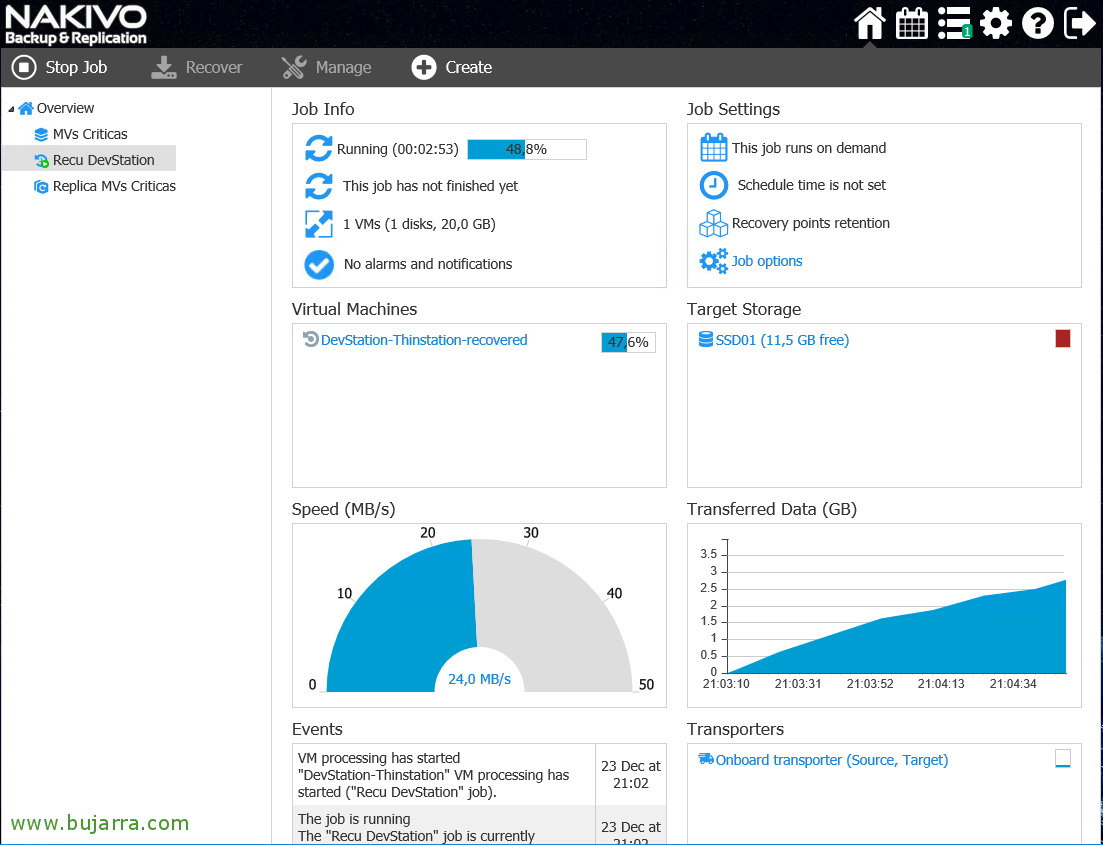
And nothing, now we only have to wait a few minutes while Nakivo recovers a virtual machine…
We continue another day with more posts about Nakivo, I hope you like them!