Using Raspberry Pi as a Supported Thin Client on Citrix with ThinLinX

Of course, we already have in mind that Citrix supports the use of a Raspberry Pi (30€) to use as a thin client; with HDX Ready and being able to optimize the multimedia layer and download its heavy graphics acceleration to the device. In this document we will see how ThinLinX works, an OS that simply transforms a Raspberry Pi into a manageable thinclient, whether for Citrix XenApp or XenDesktop, VMware View, Microsoft RDS…
ThinLinX is a software that on the one hand allows the management of thin client devices, where we can perform the most common tasks such as remote configurations of thin clients, Reboots, Firm Updates, remote control… Let's go, The usual. The Good, is that ThinLinX Operating System (TLXOS) is an OS that can be installed on most computers, whether PCs or laptops to reuse, on Intel NUC, Raspberry Pi 2 and 3, on these Intel sticks… The bad… What comes out 10 US$ per device to manage 😉 now, Let everyone do their math, They come out for me, Come on, if they come out…. Even so, we have 60 Trial days!
I remind you that at Citrix, with a Raspberry Pi, The default and optimal resolution will be 1920 x 1080 (1080p), and graphics acceleration through the hardware deco of the H.264 Pi, Taking advantage of this hard, Citrix session offloads media acceleration on the Pi, therefore not loading the Citrix server or desktop VDA, Achieving up to 60fps, Two words: Impressive.
We will separate into two products, one is the OS that will go in this case on an SD card and another is the ThinLinX Management Software (TMS) that will be able to go both on a Windows, how to use one of the Raspberry as a management server!!! (And so I think I remember that the Lic is free…) It is a very simple software to install, Use and manage.
I leave you a small demo video of how this would work:
[iframe src=”HTTP://www.youtube.com/embed/ScdsdPJNssI” width=”100%” height=”500″]
ThinLinX works with almost all remote connection protocols, we will not only tie ourselves to the Citrix world, that works with all of this: Citrix HDX or ICA, Microsoft RemoteFX 8.1, Microsoft RDP, VMWare View, LOL, VNC, X11, Redhat Spice, NoMachine NX, Chromium local Web Browser, Telnet, X3270 (Mainframe), Digital Signage Mode, ThinLinX Management Software Mode, ThinLinX Connection Manager Mode… Of course with single or multiple monitors and resolutions.
Don't tell me it's not an ideal solution for schools, Universities or companies that want to optimize their resources by centralizing all the information and saving costs to invest in the datacenter.
Installing TLXOS on a Raspberry Pi,
The first thing will be to go to the Download website and download the OS image we need, and then if we want to buy the license:
- Raspberry Pi 2 and Raspberry Pi 3: 10$ perpetual license and entitles us to 3 Years of support and firmware updates. HERE.
- Intel NUC: 15$ perpetual license and entitles us to 3 Years of support and firmware updates. HERE.
- Stick de Intel: 10$ perpetual license and entitles us to 3 Years of support and firmware updates. HERE.
- Reuse of old PCs: 15$ perpetual license and entitles us to 3 Years of support and firmware updates. HERE.
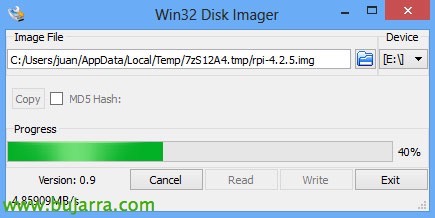
The first thing we will do is download the TLXOS image we need, in this case for a Raspberry, after downloading it, when you run it, it will indicate that you need an SD card in the computer to format it and dump the OS image. As we can see in the same .exe we go down, will bring us the Win32 Disk Imager fully optimized to make this process super simple. “Yes”.
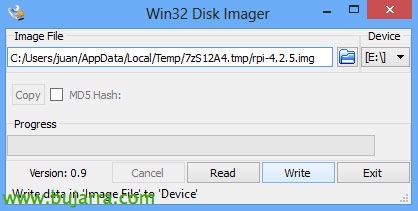
Click on “Write” and start writing the image to the SD, Be careful with choosing the right disc! It will take just a few seconds as the OS image weighs only 256Mb!!!
Confirm “Yes” to overwrite the SD,
We wait a few seconds while the image is dumped…
Ok! List! In this case we can put the SD to the Raspberry & Lighting, After that, we will see that when it boots it asks us to configure it. And here we have 2 options, do it by hand and configure any detail in front of the stall, or directly use the TMS (ThinLinX Management Software) which will be a joy and will allow us to configure it remotely & Centralized.
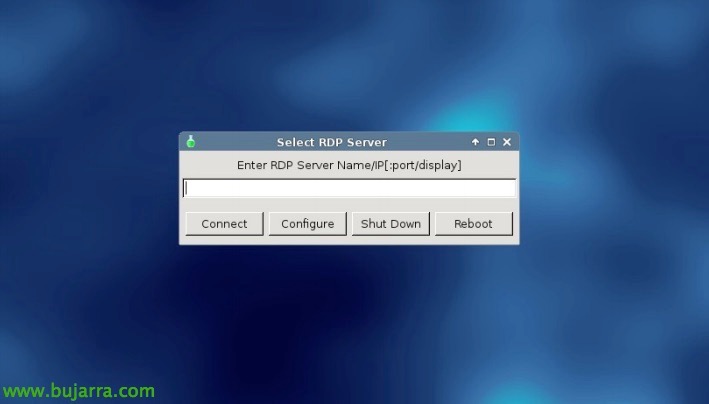
In case we turn on the Raspberry Pi, we will see that it starts without configuration, by default the connection it allows is with RDP, so we either configure it by hand or with the TMS.
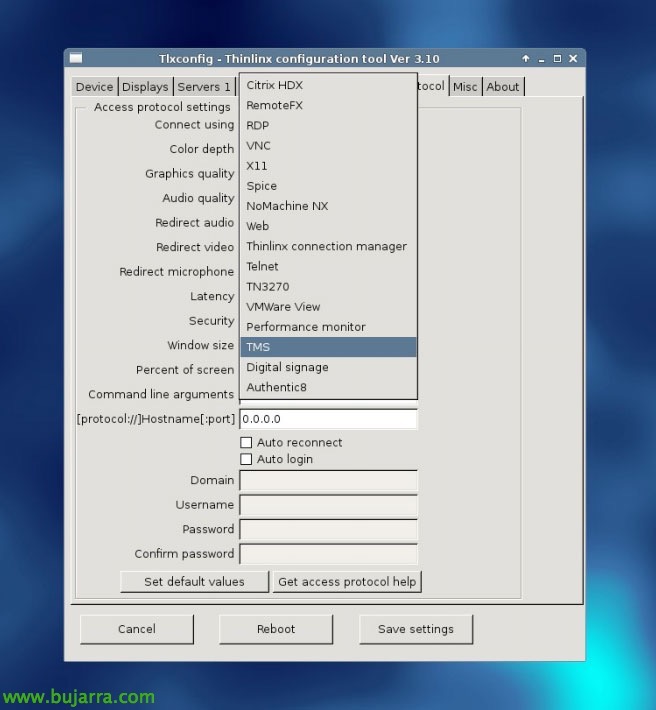
If we were to click on “Set”, We see that it opens a complete menu to be able to configure this thin client as we like, We could individually customize each setting and point, We'd have the equipment ready. In this screenshot you can see the possibility of converting one of the Raspberry Pi into a TMS server.
Installing ThinLinX Management Software,
GOOD, As I was commenting, this software is ThinLinX OS device management, With it we can perform any remote configuration of the thin clients, We can make an image profile and distribute it throughout the company, by departments… We can install it on a Windows or use one of the thin clients in that 'mode'’ and therefore what we save.
Therefore, we download TMS from the Download website and we begin its installation, “Next”,
We accept the license agreement “I accept the agreement”,
If we want to create an icon on the desktop, “Next”,

We confirm and click “Install” to get your installation started,
… wait a few seconds while installing…
Well, once you have installed it, you can finally open the TMS or ThinLinX Management Software.
Using ThinLinX Management Software,
Centralized device management software with ThinLinX Operating System.
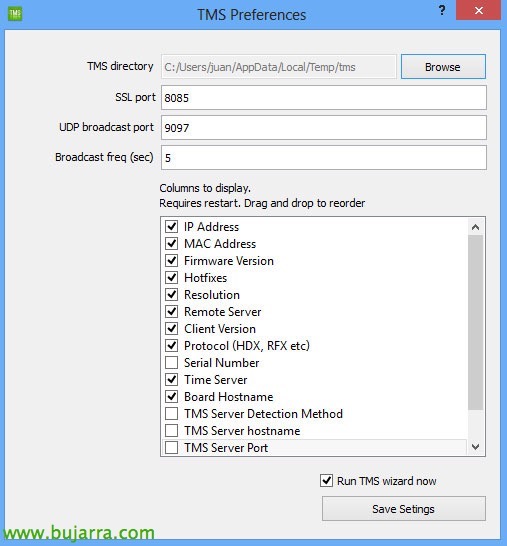
The first time we open it, it will ask us to set the SSL port, the port for UDP broadcast, the frequency and columns we want to see in the console. We save the changes and we do NOT have to run the configuration wizard right now. “Save Settings”.
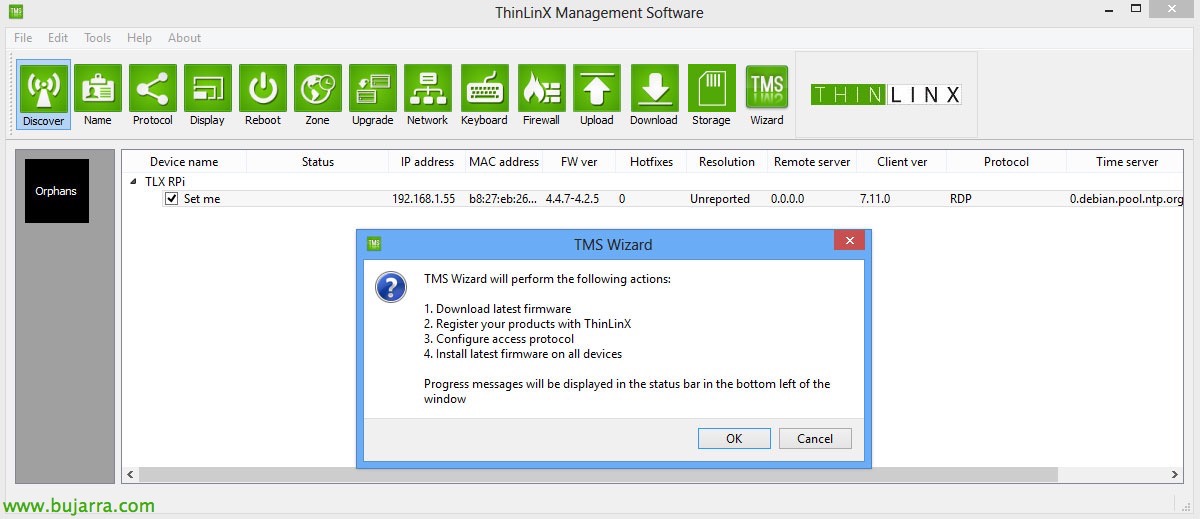
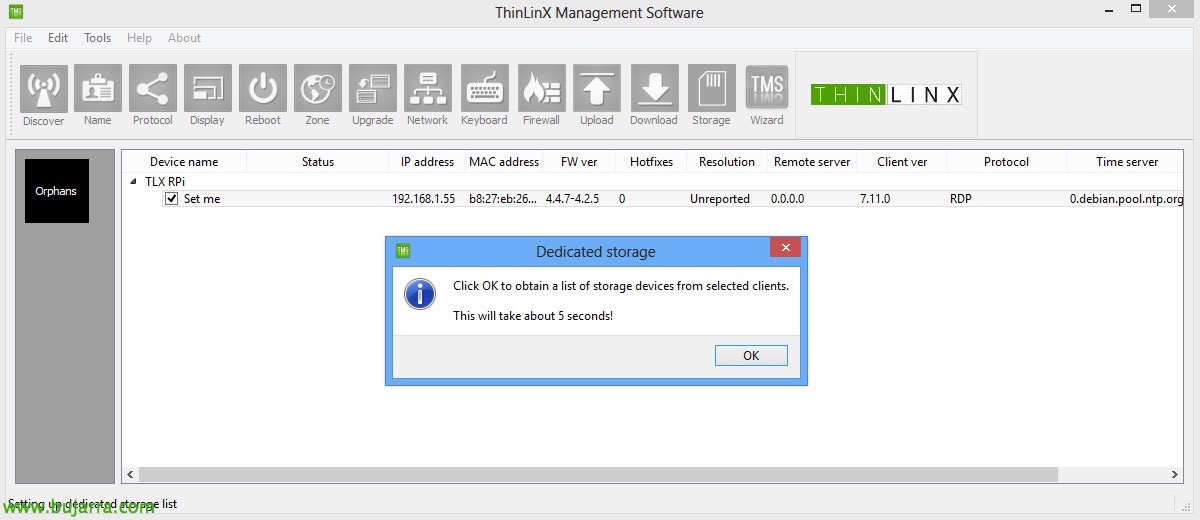
GOOD, this is the TMS console, Super intuitive & Simple. It will show us the devices with ThinLinX OS that it has detected and on them individually we can make some configurations or select several, or selecting them by groups (which by default comes with one called Orphans). When selecting a thin client, We can click on the green icons and set this config (Rename the Thin Client, The protocol, screen, Restart him, time zone, Update, Network Configuration, config. of the keyboard, Dis/Disable Firewall, upload or download files…), although in this case I will use the wizard to configure it and so it will update it to the latest firmware & it will set the config we want. Ok.
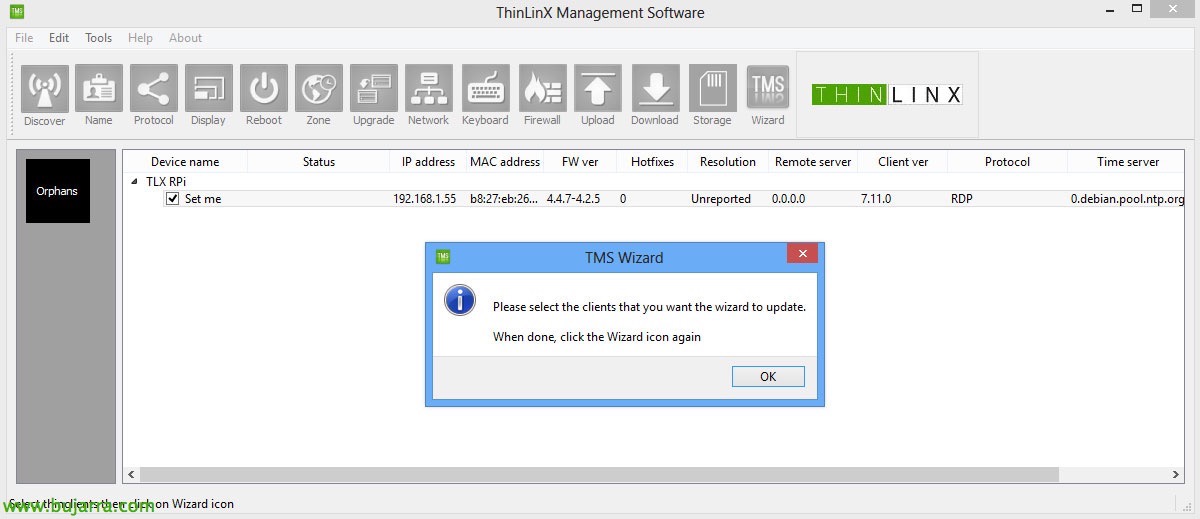
After clicking on the Wizard icon, It asks us to select all the thinclients that we are interested in updating & configure, We give “OK”, we select them and click on them again “Wizard”. We will take into account that below to the left, we will see the current status of any operation that the TMS is carrying out, as well as in the “Status” it will put if you are doing any tasks in each thin client.
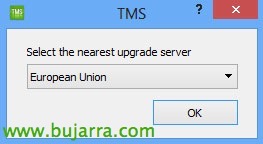
Select “European Union” so that the download of the firm can be done from the nearest mirror, “OK”,
GOOD, in the event that we want to use dedicated storage of the devices, for example if we deploy the OS by PXE instead of installing it as we say, It's the traditional thing to do, we will be able to make it possible, In this case I'll skip this setting, since each thin client has the OS installed on its own hard drive (SD, SATA, IDE, SSD… or whatever).
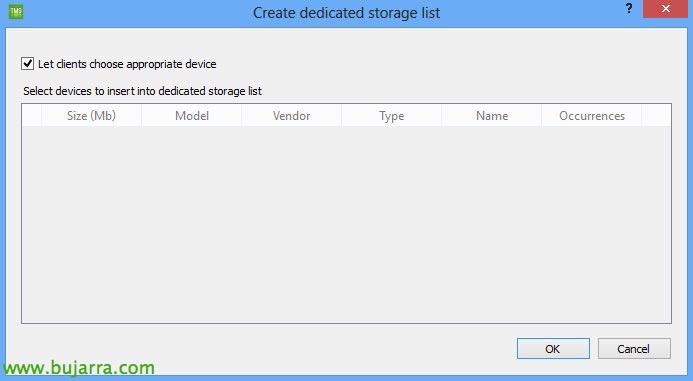
Therefore, to this question of the assistant, We will instruct each customer to use their device as they see fit, “OK”,
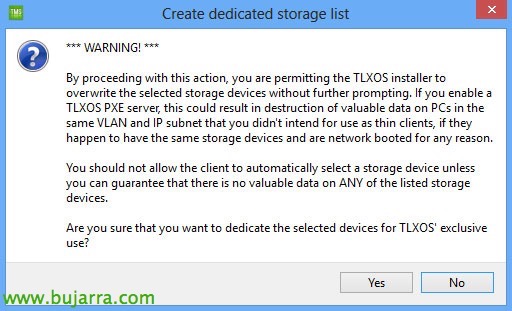
And we indicate that “NO”, that we are not going to dedicate dedicated disks…
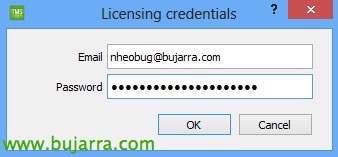
GOOD, Next question of the wizard, We must enter the licensing credentials that we have to license if necessary the thin clients, HERE We can make an account if we don't have one!
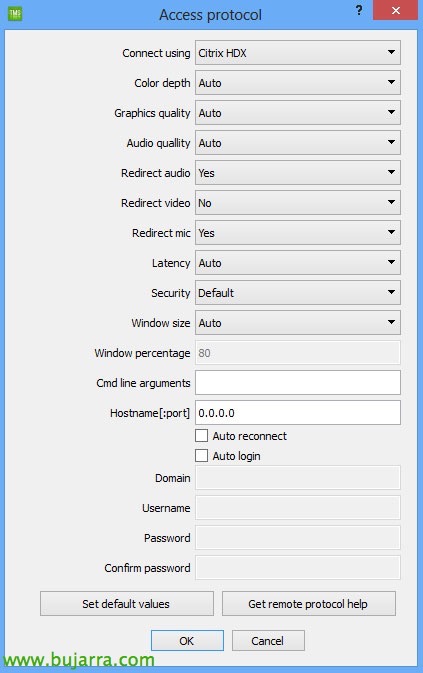
GOOD, To the point, on this screen we will configure the thin client(s) selected during the Wizard, The first thing will be to indicate the connection protocol (in my case Citrix HDX), we will also indicate if we are interested in the depth of color, the quality of the graphics, Audio quality, If you redirect the client's audio, The video, Microphone, if we are interested in modifying the latency as well as the security of the protocol, Window Size… or even introduce line arguments or in addition, interesting such as the URL of the corporate application portal… and if we want it to autolog directly, otherwise, it will prompt the user for credentials whenever the thin client boots. As we can see, the vast majority of configurations, even from centralized Citrix policies, can be configured (Citrix or any alternative you have, If he lets you, Of course…).
“OK”, Wizard Completed!
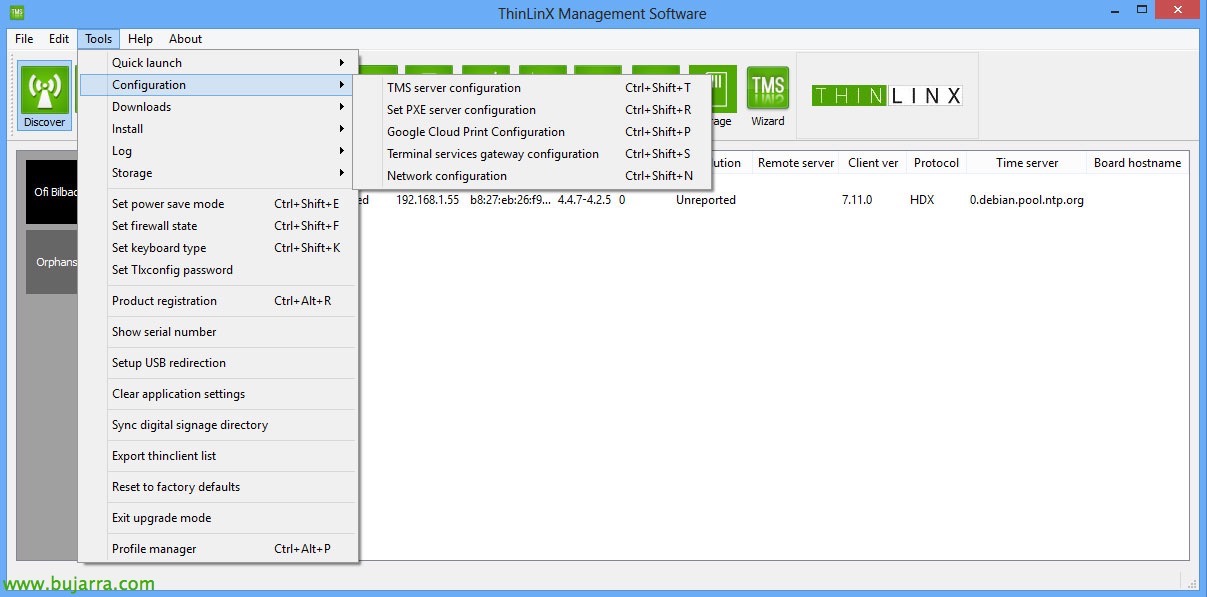
And well, if we go through the menu options “Tools”, We will see that there are many more things that we can do about these thin clients, Assume that everything you need can be, any management on these thin clients.

One last thing, if we want to use Citrix's HDX mode and download the rendering on the hardware of our Raspberry Pi, we will have to enable SSL and therefore, We will have to upload the root certificate of our organization to the thin client so that it trusts the certificates presented. To do this,, We'll use the “Upload”, Select that we are going to upload a “SSL certificate” and I remind you that the format of the certificate must be PEM, so our .cer must be converted to .pem with OpenSSL-style tools. In addition to that when we configure what our Citrix site is, we will do this by entering the URL of the site, not through our email address.
Once we have configured a Raspberry Pi with ThinLinX against a Citrix site, we will see that the appearance is this, it's nothing more than the StoreFront in kiosk mode, can be moved from one app to the other using ALT + TAB, since it does not have a taskbar as such where they are minimized; And if not, give a full desktop to the user and I would have a Windows to him on a full screen, you know that it is better to give them a server desktop than a desktop one (A thousand reasons, If you have any doubts, ask me!).
Key Combination:
- CTR + ALT + C: Launch tlxconfig.
- CTR + ALT + T: Open a terminal.
- CTR + ALT + D: Switch to desktop work mode.
- CTR + ALT + S: Enable remote control mode with VNC to a thin client.
- CTR + ALT + V: Pull out the volume control from ALSA mixer.
- CTR + ALT + R: Pressing him 2 times in 2 Seconds, The image is reset to factory mode.
If we want to control licenses, it will be enough to enter the License Server (online) with our account and the devices that are using them will leave!
Interesting PDF manuals:
- How to install the ThinLinX OS: http://www.thinlinx.com/tlxos-user-manual.pdf
- How to Install ThinLinX Management Software: http://www.thinlinx.com/tms-user-manual.pdf
- How to Install ThinLinX OS on Intel NUC, Intel stick or reusing a PC or laptop: HTTP://www.thinlinx.us/downloads/ThinLinX-TLXOS-NUC-CS-RePC-Installation-Nov10-PM-2015.pdf
- How to install the ThinLinX OS on a Raspberry Pi: http://www.thinlinx.us/downloads/ThinLinX-TLXOS-RPi-Installation-Nov24-PM-2015.pdf
Thinking about what a job costs now, We reduce costs in: Windows OS license, AV license, Backup License, Maintenance costs, Regular hardware refreshes, Potential hardware failures… instantly replacing the device with a new one, that this uses 5V compared to 500W for a traditional PC!!! (I know that V and W are not the same, But it's okay to compare, 😉 ), Decentralization of information, PC chaos… That we want to control that only access from our corporate device to the office… Well, it couldn't be easier… we put a corporate case with our Logo… or VESA mount behind monitors… A world of possibilities!! Well, I hope you found it interesting, to enjoy!!!