Virtualize Physical Computers with VMware P2V – VMware Physical to Virtual Assistant

With this VMware product we will be able to virtualize servers/hosts to VMware virtual machines. We have two ways to do it, one by installing it on a server to virtualize itself; or boot the server we are interested in with a bootable CD called VMware P2V BootCD and connect to it from another computer with this software installed to do a remote virtualization.
This software will allow us to perform conversions to VMware Workstation virtual machines of the version 4.0 Up to 5.x, convert to GSX 3.x, or to ESX 2.x servers. Of course these are old versions, if we want to do it with current versions we would have to go to the VMware Converter (HERE).

We have to download the installer of the VMware P2V Assistant, in my case I will install a version 2.1.1 that we downloaded from the VMware website: http://www.vmware.com/download/p2v/ for free, we download it and start the installer, As always with an assistant, “Following”
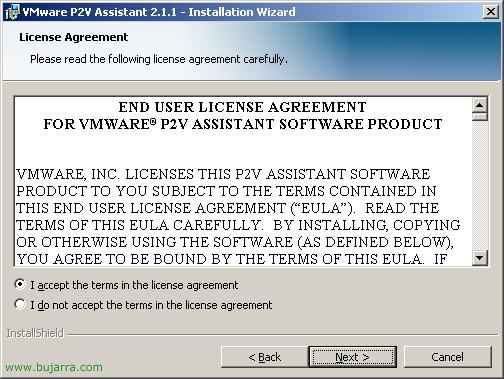
We accept the license agreement, “I accept the terms in the license agreement” & “Next”,
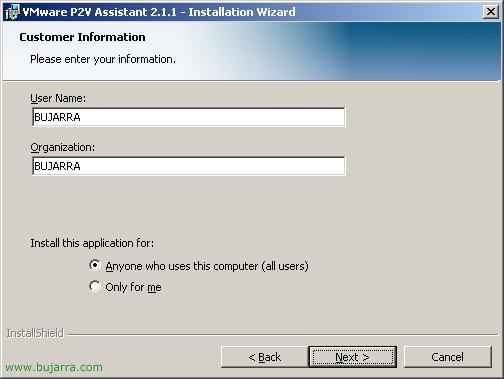
We indicate the name and organization, “Next”,
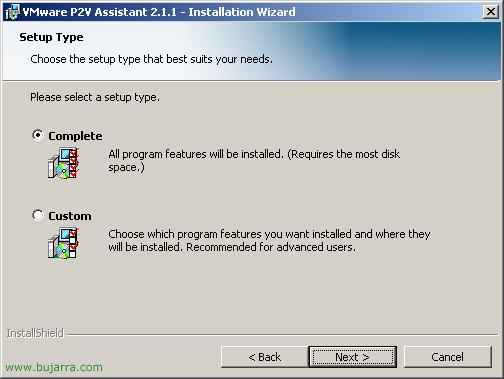
What type of installation, in this case it is the same personalized as complete, So we dial “Complete”, Continue, “Next”,

You are now ready to install it, Click on “Install”,

… We wait while it is installed…
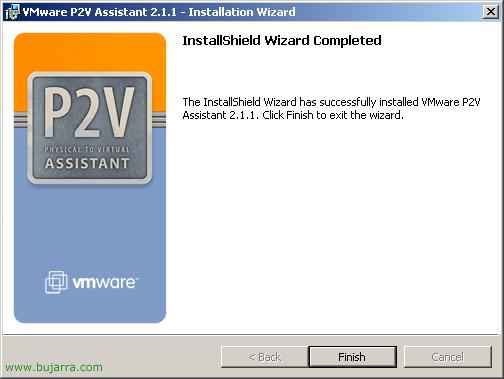
“Finish”,

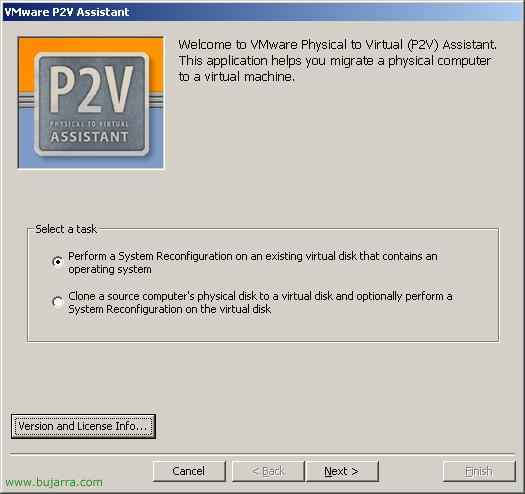
GOOD, Now what I will do is briefly introduce you to this program, for this we open it from “VMware P2V Assistant 2.1.1”,
To be able to use the program, We must license it, To do this, click on “Version and License Info…”
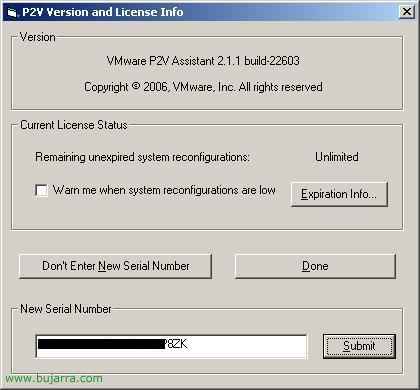
Enter the serial number we have, and we give “Submit”,
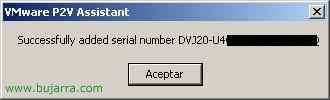
“Accept”, Now we can use the program,

GOOD, The first thing is to clone the disk or disks of a computer/server to make it virtual, So we checked the second option “Clone a source computer's physical disk to a virtual disk and optionally perform a System Reconfiguration on the virtual disk” & “Following”,
But to continue, Now we must go to the computer that we are going to virtualize, restart it and boot it with the bootable CD (Live CD) VMware P2V BootCD. we see the configuration images below (HERE), assign you a fixed IP address or DHCP to be able to continue,
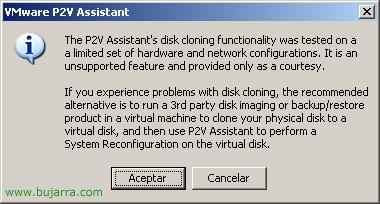
It tells us that it doesn't have to work with this assistant, If it didn't work, we should clone the disk with a third-party application and then configure it with P2V. “Accept”,
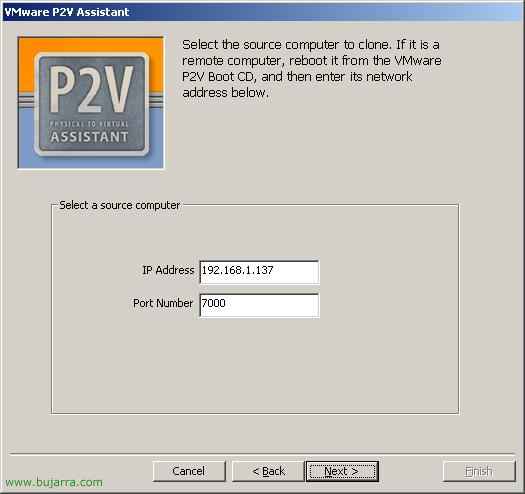
And here we enter the IP address of the computer that we are going to virtualize, which is logically the one that is booted with the P2V BootCD, Click on “Next”,

The album sees us(s) What does the server have to clone, Select the one or others that interest us and click on “Next”,
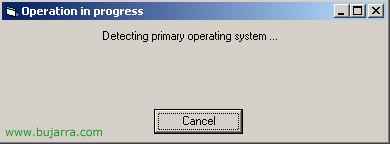
We wait while it detects the OS. primary…
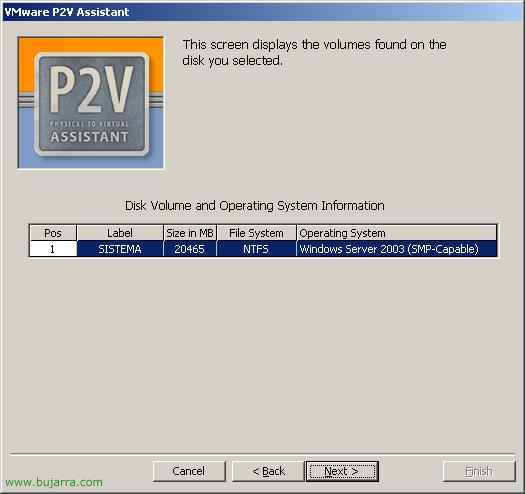
And it will show us the partitions that the physical server has, Select the ones we are interested in copying and click “Next”,
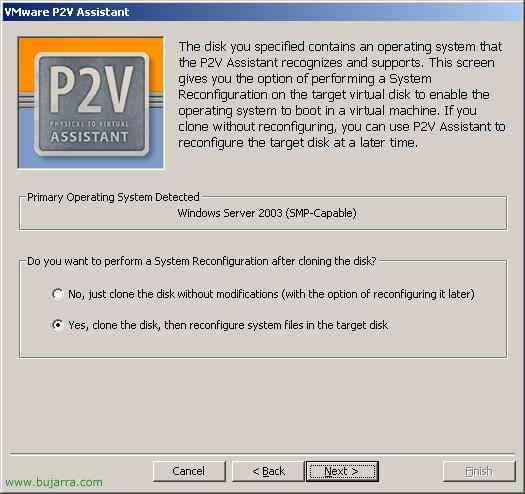
Here we have two options, one is to clone the server directly and another is to clone it and also reconfigure the file system. I select the first option to clone it only and then from this same console I will reconfigure it. “Next”,
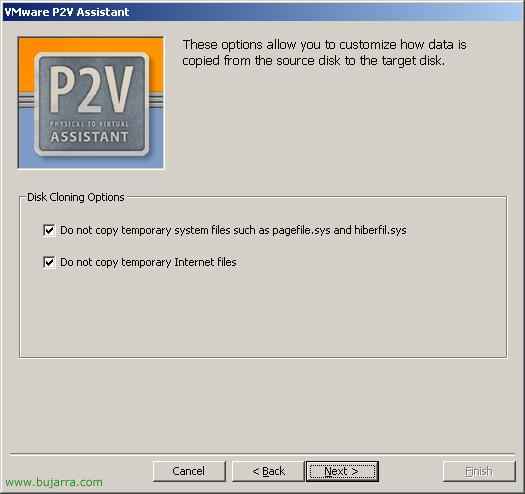
We mark both checks so that it does not copy temporary Internet files or temporary system files, Nor the pagination file pagefile.sys, nor the hibernation, hiberfil.sys. “Next”,
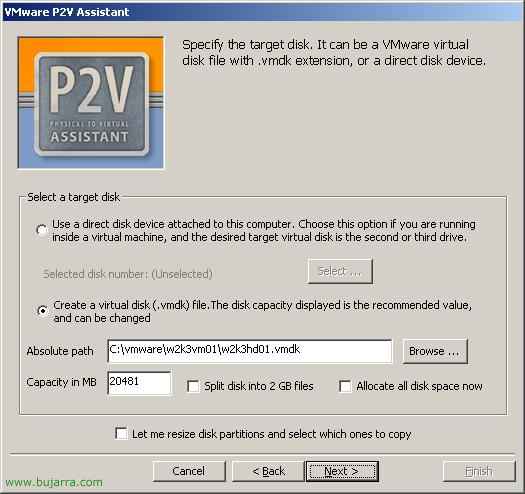
We indicate where we want this image that is going to create for us to save, We have two options, one in local, where this program is running, this only if where we are running it is a virtual machine and we want to crush it with the image of the physical server. The normal thing is to check the second option to create a .vmdk virtual disk and migrate all the data there, So we put the path and the name of the virtual disk that we are going to create. We can also configure more options such as the new capacity of the disk, We can extend this partition and partition other partitions to our liking, Reserve disk space now… “Next”,
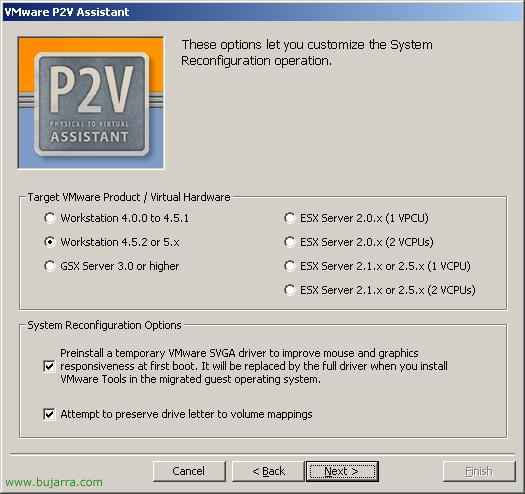
And here it tells us what VMware format it will convert the disk to, we can create from a VMware Workstation 4.0.0 up to a VMware Workstation 5.x. Or to a GSX Server 3.x or ESX2.x, we mark the one that interests us and continue “Next”,
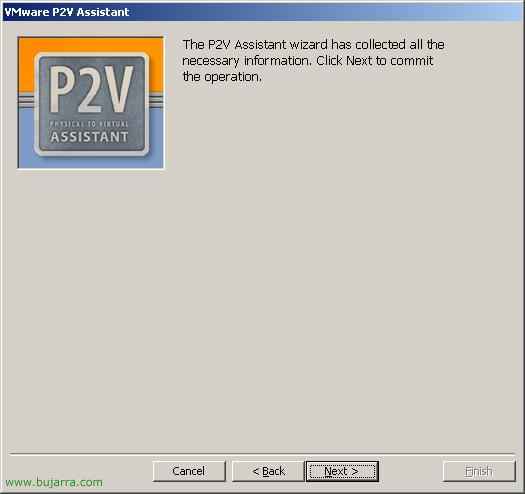
The wizard is now ready to migrate the physical machine to a virtual machine, Click on “Next” Getting Started,
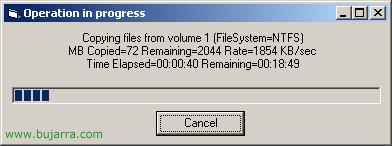
…Now it's time to copy all the data to the VM…
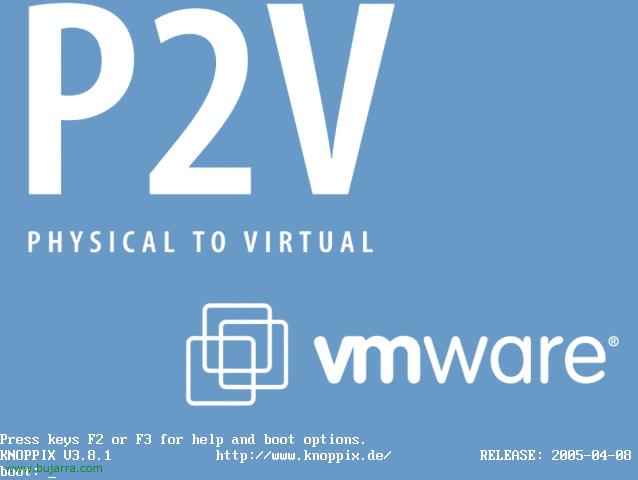
Booting the VMware P2V BootCD LiveCD,
This CD has to be put in the server/PC to be virtualized, We restarted with him, since it will load a linux distribution on a LiveCD, It's a Mandrake.
We hit Enter…
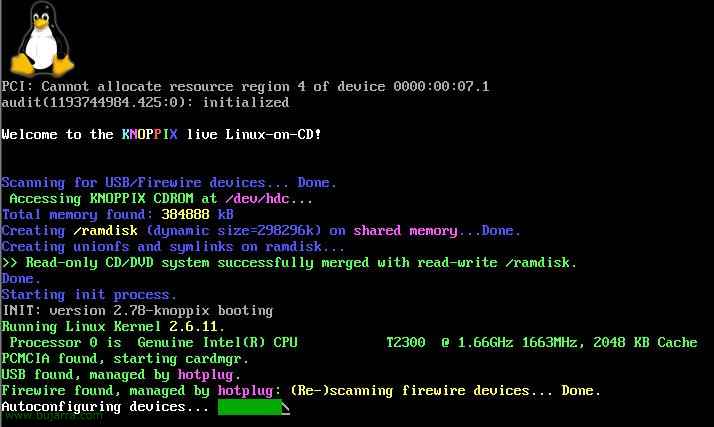
We wait while the distribution starts for us is from LiveCD…

This would be the desk that will create us, We give “OK” in the wizard,
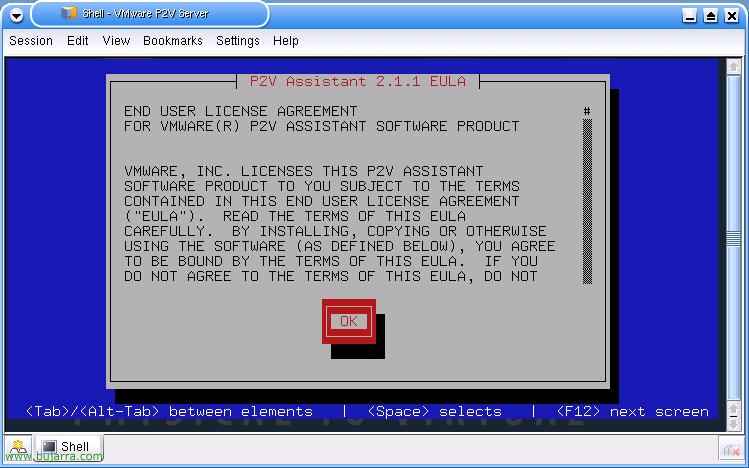
Click on “OK” to confirm the license agreement…

And it will show us the disks and network interfaces that we have, Click on “Continue”,
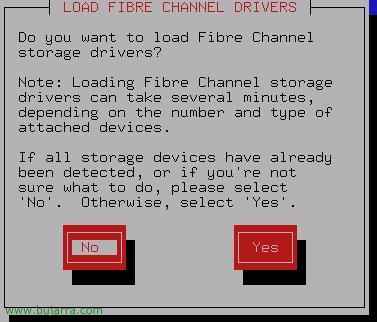
If we do not use fibre channels we are not interested in being loaded with these drivers, “No”, otherwise we click on “Yes”,
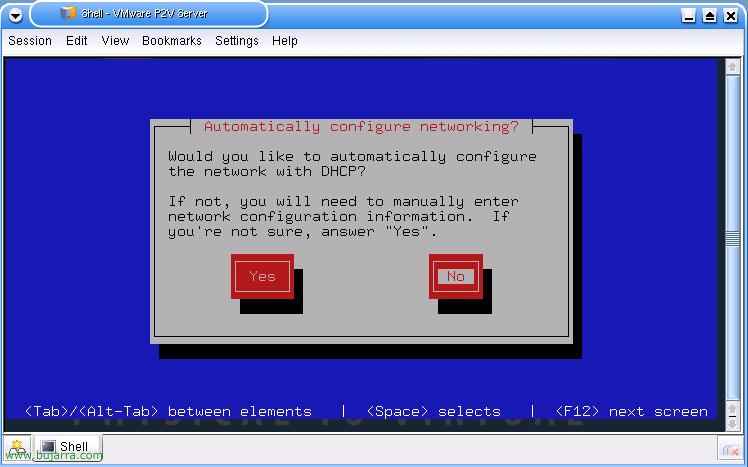
Now we must set up an IP address, can be by DHCP or manual, in my case it will be manual and pulse in “No”,

I set the network and pulse parameters to “OK”,

Thus, this equipment is already waiting for the VMware P2V Assistant to connect to it to copy the data from the disks to virtualize them.
www.bujarra.com – Héctor Herrero – Nh*****@*****ra.com – v 1.0