
Unattended installation of Citrix ICA client

This procedure explains how to generate a Citrix client for us to install unattended on the workstations that we are interested in and the user does not have to interact with the installation screen, if not in a fully automated and optionally transparent way.

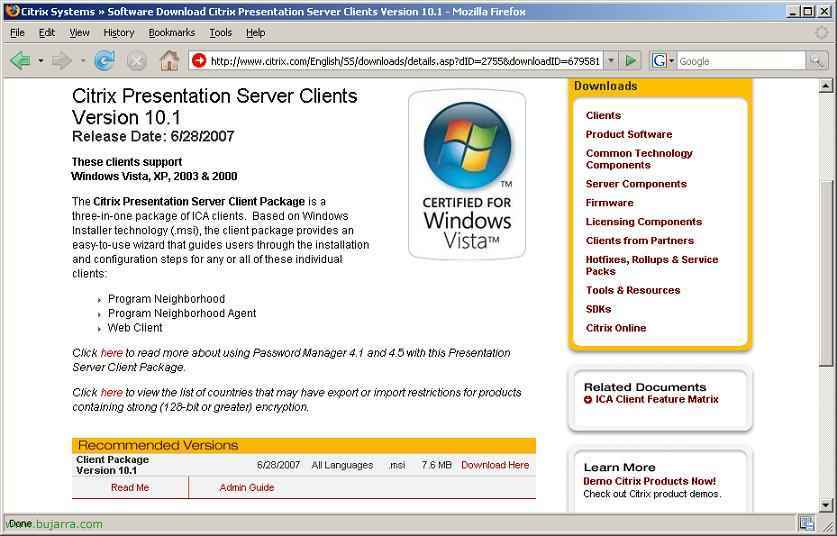
The first thing is to get the latest version of the Citrix client, at this moment it is the 10.1, it doesn't matter what version it is, as long as it's an MSI file, it wouldn't matter to us; so that's it, let's go to the website of www.citrix.com and we download the Client for Presentation Server, in .msi format.

We save the downloaded MSI file wherever we want, in my case, from any PC, I save it in C:, and we execute the following command from an MSDOS window: “msiexec /a ica32pkg.msi” to start the “Client Packager”,

GOOD, the wizard begins to generate the custom Citrix client, “Following”,

It asks us for a location where it will leave the generated package, we specify a path that users will access to install it, and we can choose whether to compress it or not, seleccionamos la opción que más nos interese y continuamos, “Following”,

A partir de ahora es cómo si iniciaramos la instalación del cliente, son las pantallas que pregunta al usuario final, marcaremos lo que nos interese, en este caso hay que aceptar el acuerdo de licencia,

Y aquí marcaremos los clientes que queremos que se instale en los PC’s, si el “Cliente Web”, the “Program Neighborhood Agent” y/o el “Program Neighborhood”, en este ejemplo instalaré los tres para que veamos todos los datos que nos podría pedir, “Following”,

Metemos la dirección URL del servidor que tenga el sitio del Agente de Program Neighborhood para que ya lo tenga configurado de forma automática, “Following”,

“Following”,

We mark the option that interests us, lo más normal es la primera, “Usar nombre del equipo como nombre del cliente” & “Following”,

Dependiendo de nuestra configuración,

Marcamos las opciones que nos interese, if we want the custom ICA connections to be created or not…

If we are interested in updating old clients, we must check the box for “Allow updates if the package is newer than the existing version”,

And on this screen, we will mark what we want to be Visible and what we want to be Hidden for the client, if we are completely interested in automation, we must select all and move them to the right side by clicking “Remove all >>”, if we click on each option and on the button “See” we will see the configuration we have input earlier, We continue with “Following”,

This is the summary of what will be installed, “Following”,

… we wait for everything to be packaged…

“End”

Now we have the package generated. We have two ways to install it:
Manually: Running it directly from this path
Automatically: Podemos hacer un script de inicio de sesión a los usuarios que se ejecute este ica32pkg.msi o desde un archivo bat para ocultar el proceso de instalación y que el usuario no se de cuenta de que se le está instalando algo con el comando: “ica32pkg.msi /quiet”. O directamente con políticas del Directorio Activo con la distribución de software – HERE.
Si tenemos algún problema por que los usuarios no son administradores y no pueden instalar archivos MSI podemos ver el documento siguiente de Microsoft: http://support.microsoft.com/kb/259459. Pero en resumen sería:
Opción 1: In HKEY_LOCAL_MACHINESOFTWAREPoliciesMicrosoftWindowsInstaller creamos una entrada de valor DWORD llamada AlwaysInstallElevated y le asignamos un valor de 1. Hay que hacer lo mismo en HKEY_CURRENT_USERSOFTWAREPoliciesMicrosoftWindowsInstaller. We can do it manually for each user or with a script that modifies it.
Opción 2: With the command: “msiexec -i file.msi ALLUSERS=1“
www.bujarra.com – Héctor Herrero – Nh*****@*****ra.com – v 1.0


