Citrix WI and PNA Balancing with NLB: Configuring Web Interface and Program Neighborhood Agent Groups for Balancing with Network Load Balancing

This document is quite useful if what we have is several servers with the Web Interface service or with the Program Neighborhood Agent and what we want is to balance between them, that is, if one of the servers goes down or we turn it off, we don't have to do anything on the users' PCs so that they continue to work normally. To do this, it will be necessary to configure it on servers that have W.I.. a cluster with NLB, I mean, create an IP address “virtual” to which clients will connect and this IP address “virtual” connect to hosts that are lifted, to one server or another; both for W.I. How to stop PNA.
Crear un clúster con NLB en los servidores W.I. y/o PNA – HERE
Crear los sitios y grupos para WI y PNA – HERE
Crear un clúster con NLB en los servidores W.I. y/o PNA,
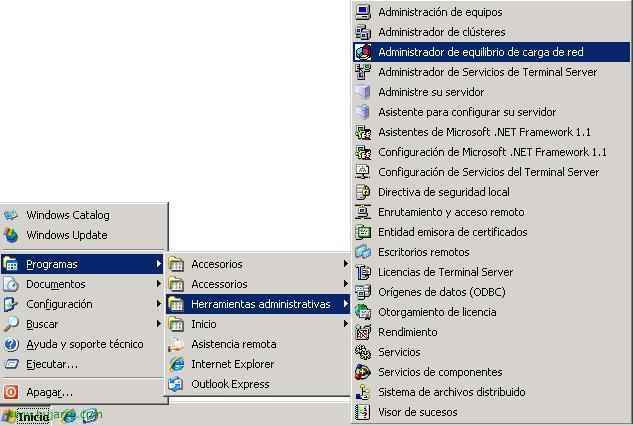
Lo primero de todo es crear este clúster en uno de los servidores, en los demás servidores lo que haremos será unirnos a él como un host adicional, así el clúster tendrá diferentes hosts. To do this, we open the console: “Network Load Balancing Manager” in the “Administrative Tools”,
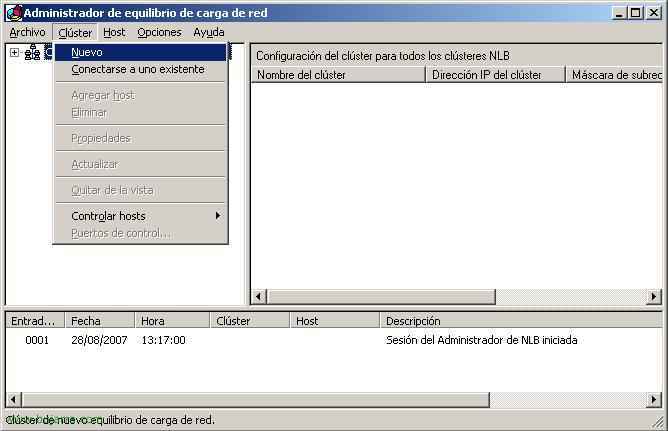
Pulsamos sobre la etiqueta “Cluster” > “New” To create the cluster,

Le tenemos que asignar una dirección IP, está será la del clúster, a donde los usuarios se conectarán para trabajar tanto con WI como con PNA, en mi caso tengo los siguientes servidores CTX4501 con la IP 192.168.1.203 y CTX4502 con la IP 192.168.1.206, en este caso crearemos un clúster que se llamará clu.bujarra.com con la dirección IP 192.168.1.205. Así siempre que alguien acceda a esta última IP se le redireccionará de forma transparente a la 203 o a la 206. In “Modo de operación del clúster” Select “Multicast”, We,
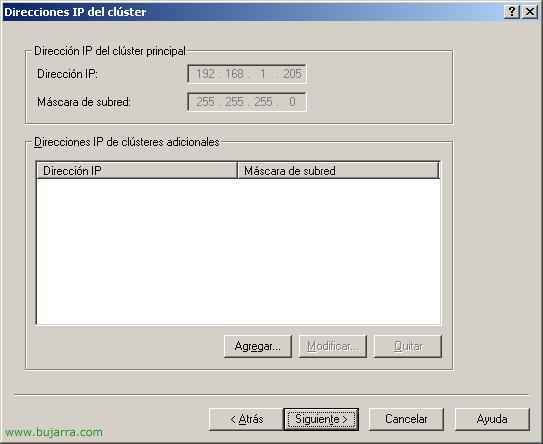
Si queremos podemos agregar IPs adicionales al clúster, en este caso con una IP me basta, “Following”,
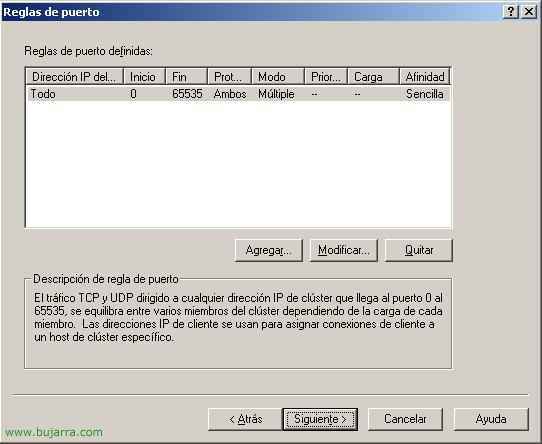
No voy a configurar reglas, “Following”,
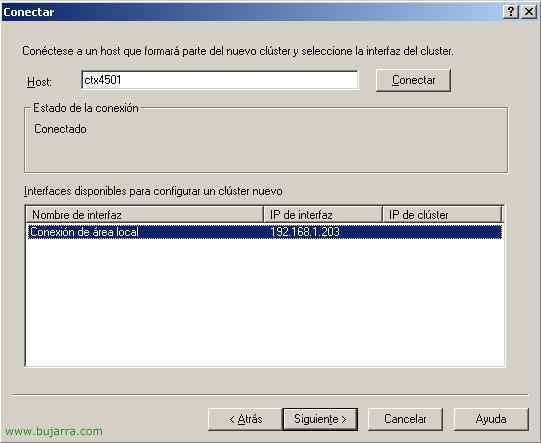
Y aquí es donde agregaré a mi primer host, por ejemplo CTX4501, escribimos su nombre y pulsamos en “Connect”, nos mostrará un adaptador de red libre para unirse al clúster, We select it and continue, “Following”,
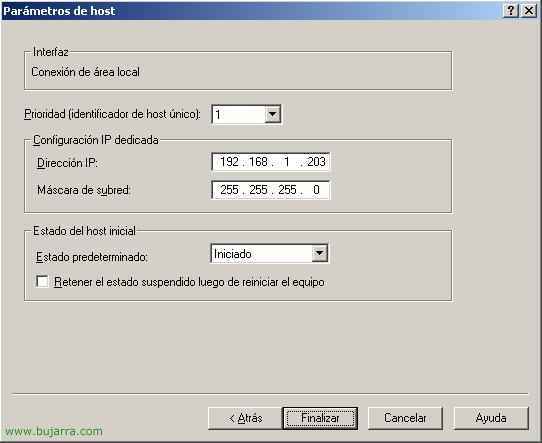
Cómo este host es el primero que metemos le tenemos que indicar que prioridad tiene, cada host tendrá una diferente, de más prioridad a menos, Click on “End” para crear este clúster NLB. Eye! si pulsamos ya en “End” nos desconectará la red durante unos segundos, si hay usuarios trabajando puede que se vean afectados, para evitar problemas se puede marcar “Keep the suspended state after restarting the computer”. So until it is restarted we couldn't add more hosts, It's not my case.
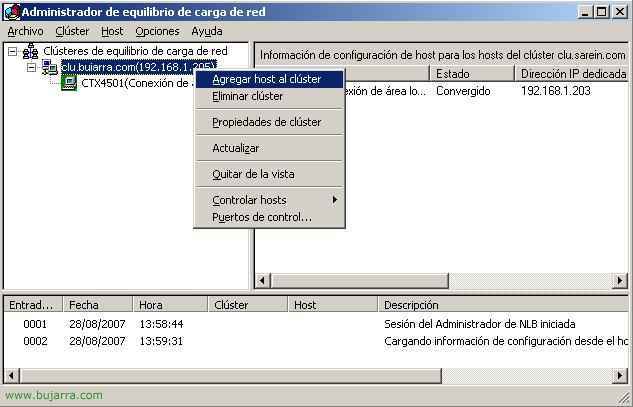
GOOD, now, What we are going to do is add another host to the cluster, To the other server on my network with WI and/or PNA, for this, On the cluster we just created, right-click to select “Add host to the cluster”,
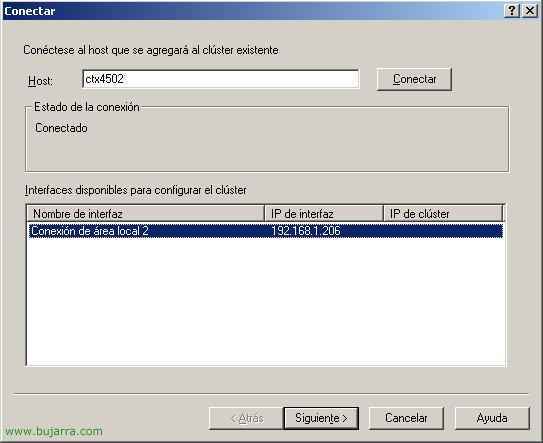
We enter the name of the host and this way we will add as many servers as we want to the cluster, We select its free interface and continue,

This host needs a different priority, And remember that we might make this host lose network connectivity for a few seconds… “End”,

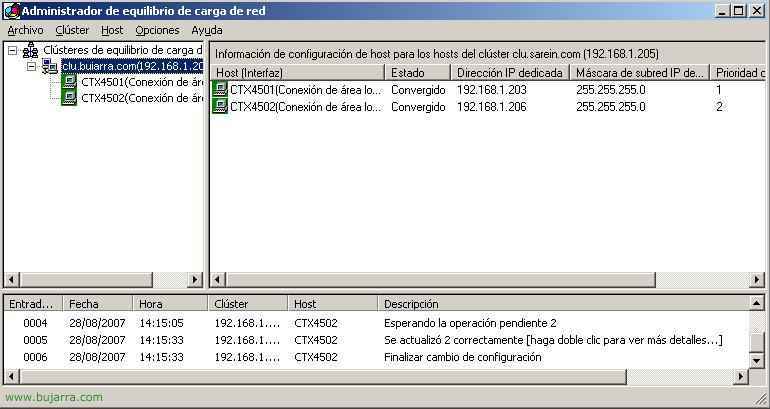
Alright, we now have the cluster created, As long as a request is made to “clu.bujarra.com” These two hosts will accept it, Either CTX4501 or CTX4502. Lo que ahora nos quedaría es crear una entrada en el DNS para resolver el nombre “clu.bujarra.com” apunte a la direcciñon IP que acabamos de crear.
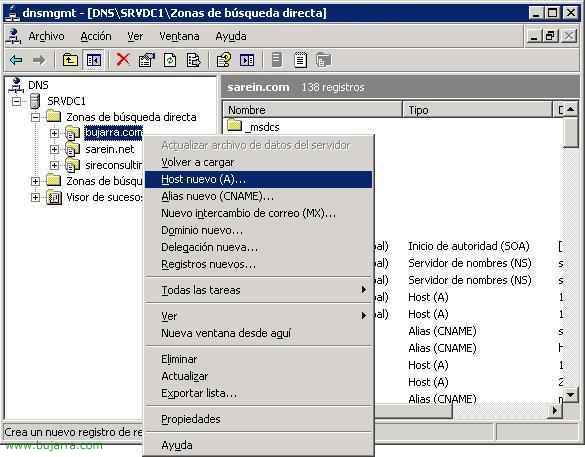
Para hacer esto tenemos que abrir la consola “DNS” in the “Administrative Tools”. Sobre el dominio en cuestión con botón derecho > “New Host (To)…”
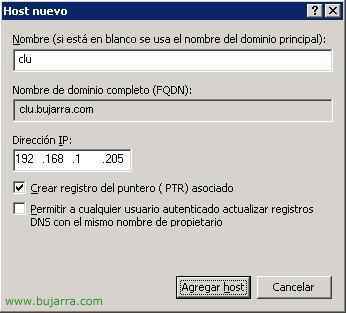
Metemos el nombre del clúster, in my case “clu” y le ponemos la dirección que tendrá, in my case 192.168.1.205, Click on “Add host”,

Ok, perfect, “Accept”
Crear los sitios y grupos para WI y PNA,
Well, ahora tenemos que crear los sitios para Web Interface y para el Agente del Program Neighborhood. Tenemos que crear un primer sitio en un servidor si es que no lo tenemos ya y en los demás servidores crearlo también, pero debemos especificar que nos copie la configuración de este primer servidor. Los sitios tienen que estar configurados de igual forma para poder crear un grupo entre ellos, This is, todos tienen que adquirir la configuración del mismo o mismos servidores, con eso ya podremos crear un grupo entre ellos. HERE se explica cómo crear un sitio para el Web Interface o WI. HERE se explica cómo crear un sitio para el Agente del Program Neighborhood o PNA.
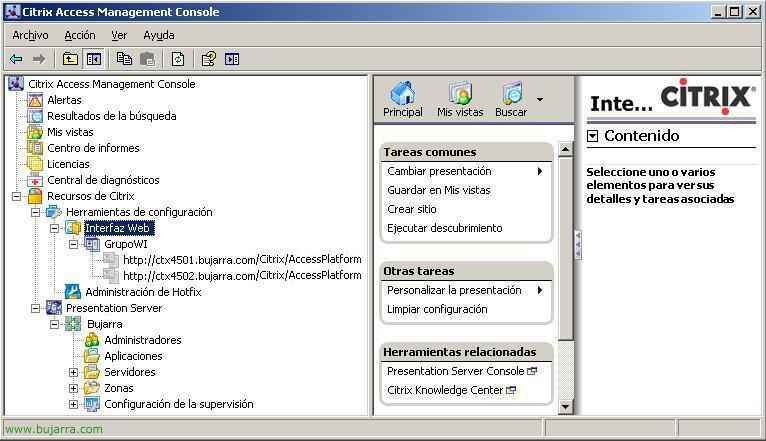
Supongamos que ya tenemos un sitio creado en uno de los servidores, en mi caso en el primero de ellos, por ejemplo en CTX4501, ahora me iría a la consola del otro servidor, del CTX4502 para crear ahí otro sitio para luego hacer este balanceo, así que en este último servidor y en los sucesivos creamos un sitio W.I.

Lo que tenemos que tener en cuenta es decirle aquí que servidor ejecuta el servicio de configuración, debemos tener esta misma configuración en todos los sitios.
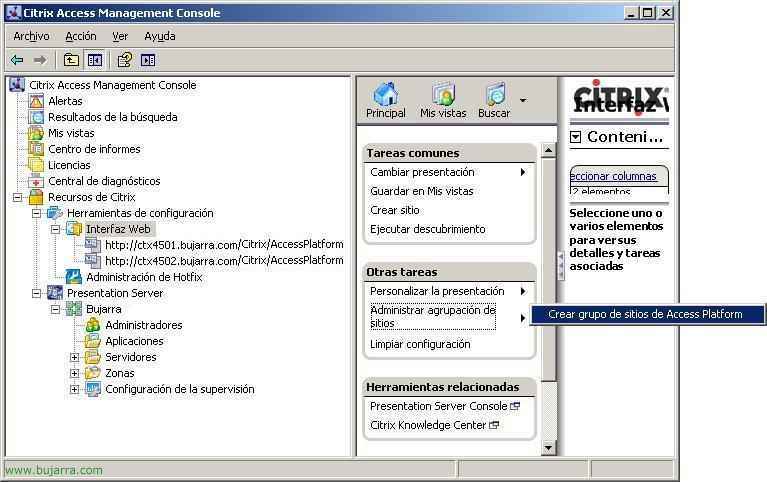
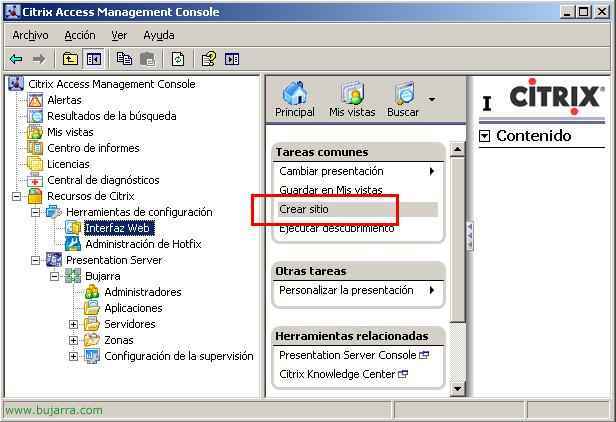
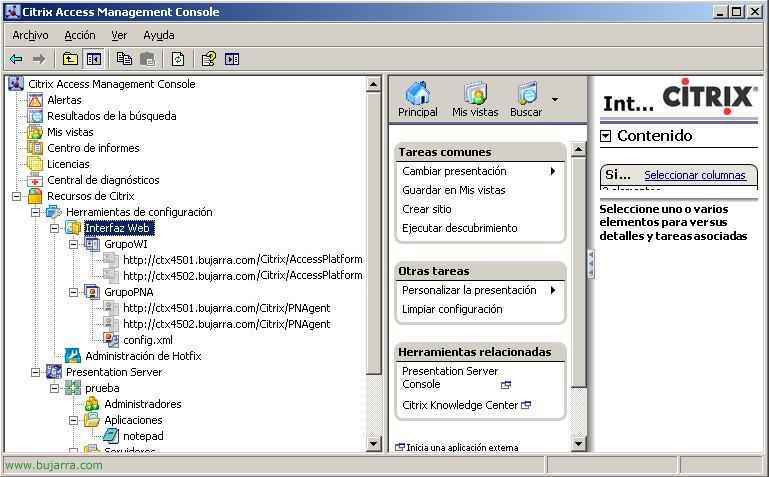
And so if we run a discovery again, all the servers with their web interfaces would appear, We see in this case that I have two WIs on CTX4501 and CTX4502, Now what we must do is create a group, To do this, we click in the central part, in “Other tasks” > “Manage site grouping” > “Create an Access Platform site group”,
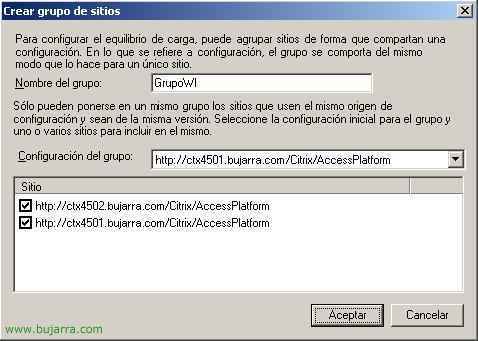
We give this group a name and select below the sites that we want to belong to this group, In the center combo box we will choose the WI site from which the configuration will be taken, This indicates that it will overwrite the configuration on the rest of the sites, We must choose which will be the source WI, Click on “Accept”,
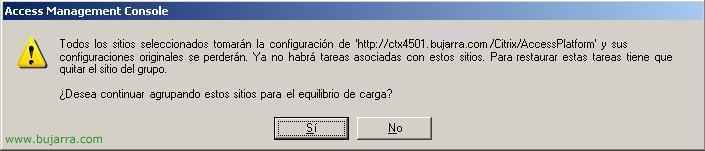
This is what confirms that the configuration of the WI site from CTX4501 will be applied to the other WIs, Click on “Yes” to confirm,
GOOD, We already have the WIs balanced. Now what’s left is whether we are interested in the PNA part, The PNA behaves the same way as the WI sites, We must have one original configured and create the other PNA sites on the rest of the servers with the same configuration that will be inherited from the first PNA site, Once we have the sites created, We perform a discovery to refresh the configuration,

And just like with the WI sites, We must create a group for the PNA sites, for this, In the central part, we select in “Other tasks” > “Manage site grouping” > “Create a service site group for “Program Neighborhood Agent”,

And in the same way, We give you a name, We choose the PNA sites that we want to belong to this group and which site will impose its configuration on the group, Accept,

We confirm what we want, “Yes”,
And here we have the groups perfectly created, tanto para los sitios del Web Interface como para los sitios del Agente del Program Neighborhood, se harán balanceos de carga entre los sitios y los servidores y en caso de caida de uno de ellos responderán los demás.
www.bujarra.com – Héctor Herrero – Nh*****@*****ra.com – v 1.0